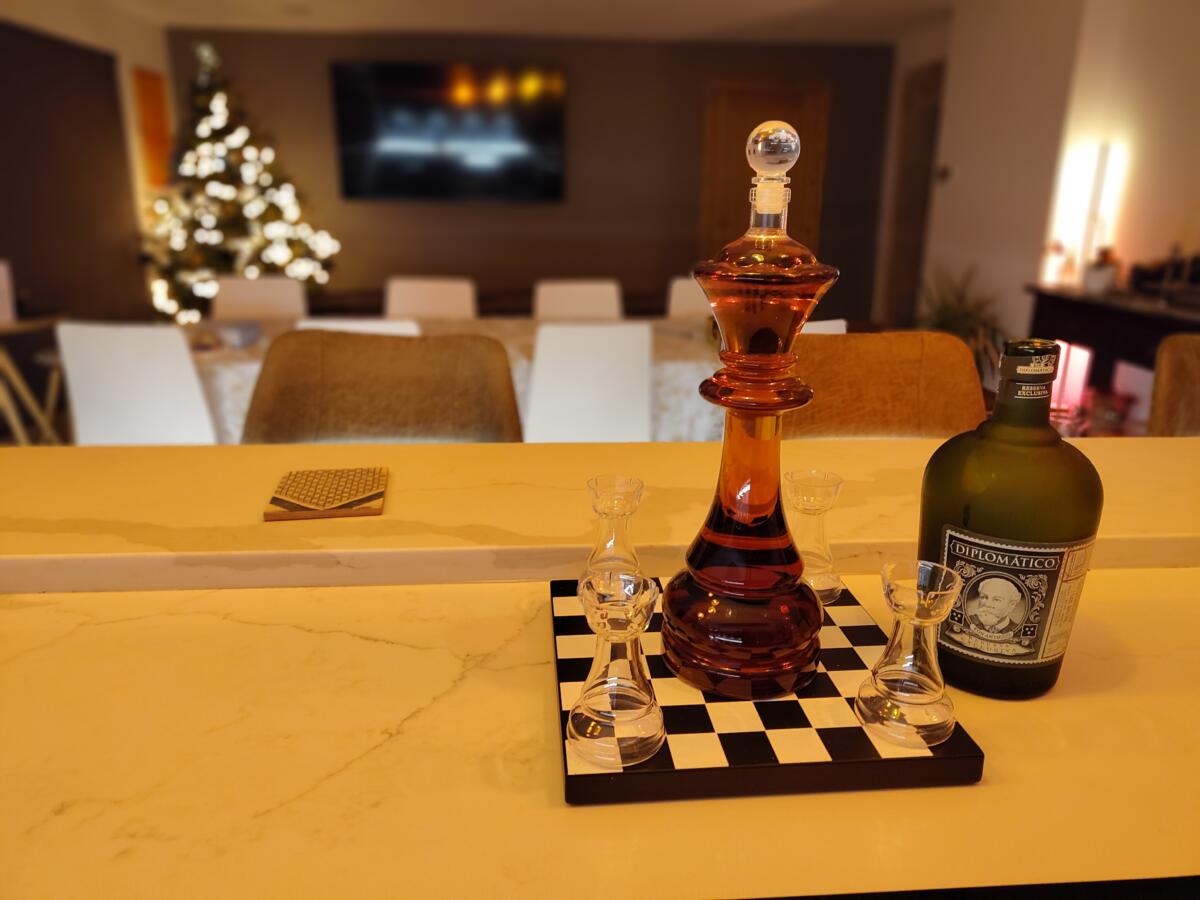
Oli always does a fine job of buying me Xmas gifts. This year he excelled by combining two of my favourite things, chess and drinking.
He bought me a chess piece [ Queen ] decanter which I filled with Diplomatico rum. It’s not quite that full anymore.
As an aside, in the past I could quite happily sit there drinking wine whilst playing Oli at chess and still win. He’s improved. Now I daren’t play him if I’ve had so much as a sniff of wine.
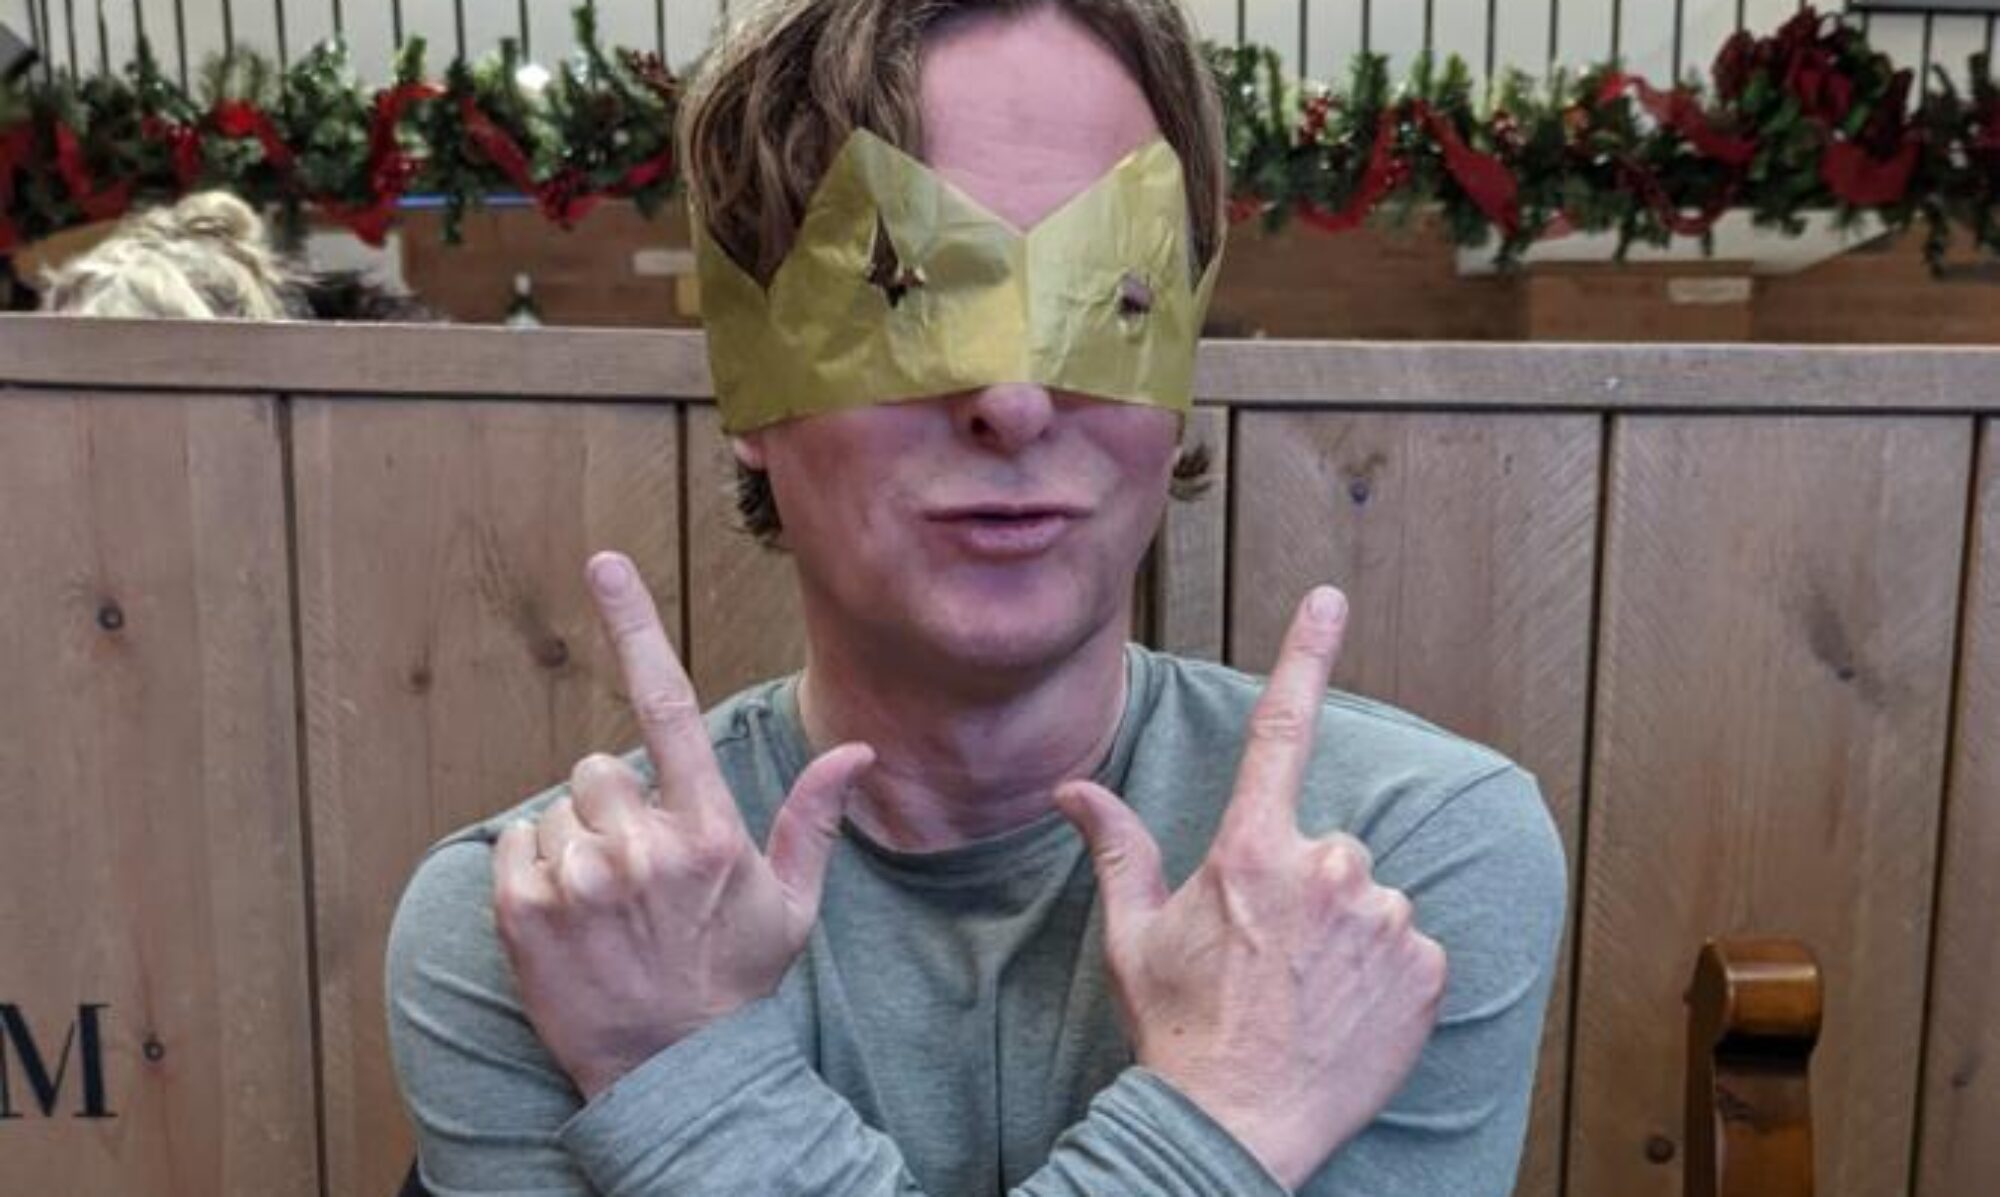
After all my work installing the lighty-uppy-arcade-buttons the day finally arrived. We drank Bucks Fizz from early morning. We moved onto wine. We ate turkey and ham and potatoes and vegetables with stuffing and gravy. We devoured trifle and then eventually made it down to my office.
Usually the annual Tetris-Off is myself and Charlie. This year Oli joined in with us….and annoyingly won.
The competition was all about score. Since we’re going for score the tactic is absolutely to get a “Tetris” when you clear four lines in one go. Oli, being the gung-ho, shit or bust, little turd that he is, absolutely went for it. His stack would get so close to the top but then he’d manage to pull off a Tetris and get the game back under control. It’s not really that we can blame it on fluke as we all had a warm-up game first. In the warm up it went Oli, Me, Charlie. Then we had the proper tournament, and it went Oli, Me, Charlie. So, pretty consistent stuff and unfortunately Oli takes the 2025 Tetris crown.
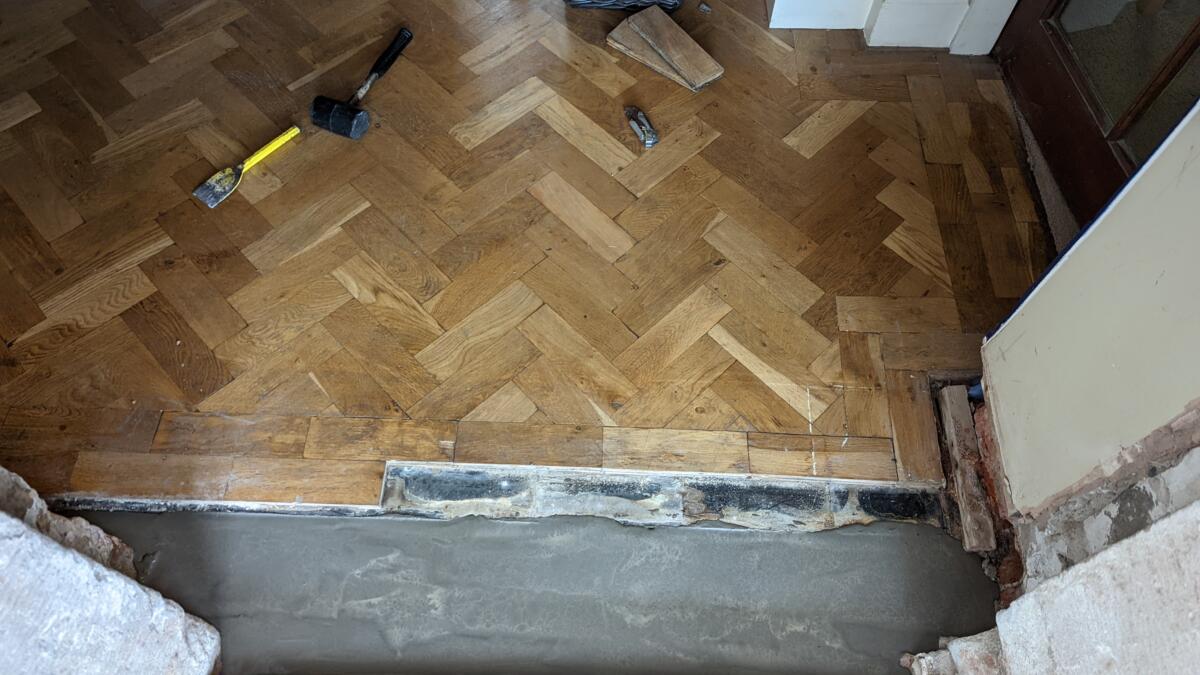
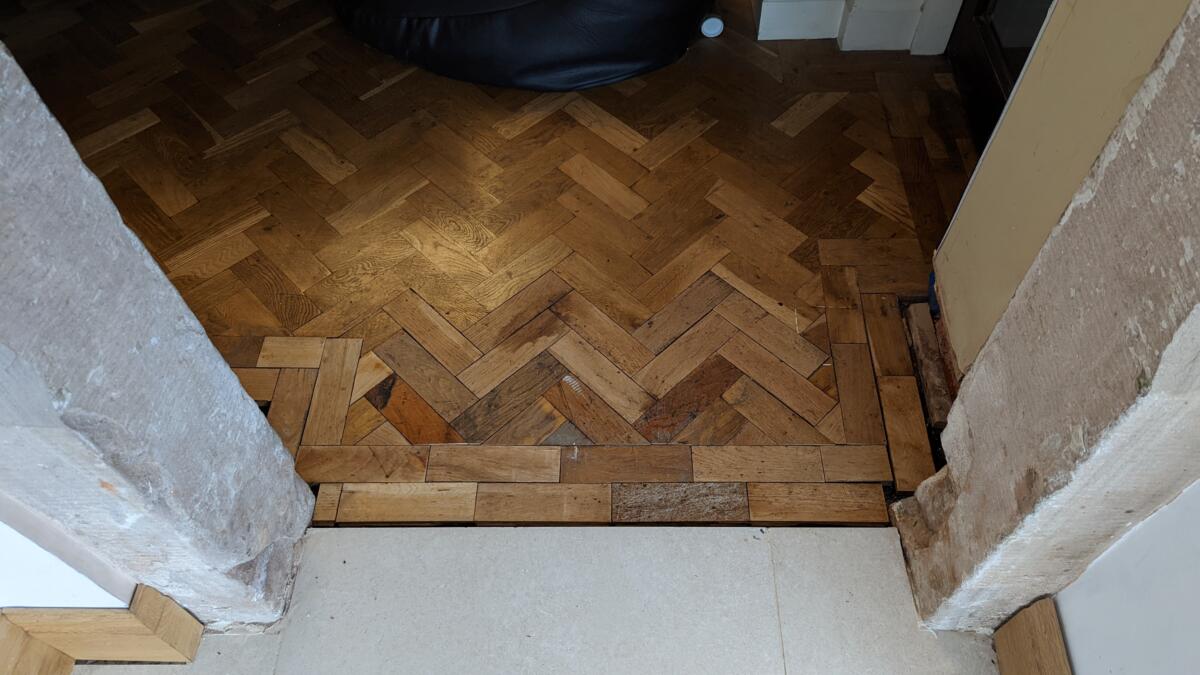
A long long time ago I found myself with a big gap in my parquet flooring due to some building works…yeah, the extension that I’m still having to do jobs on five years later. Anyway, I just came across some old photos of the work and realised I never did a blog post about it.
This job was quite an epic.
Had to put down a DPC kind of paint job to protect from damp.
I didn’t have a bunch of oak parquet floor blocks lying around in my shed so I had to buy some. Fortunately some dude down in deepest darkest Cheshire had lifted a bunch of the up from a school floor and was selling them on eBay. Can’t remember what I bought them for but it wasn’t too bad.
Then I had to clean them all up and remove the old bitumen from the bottom of them and get ready for laying them. Once I’d created a relatively flat surface to lay them on I put down a layer of my own fresh bitumen and got cracking.
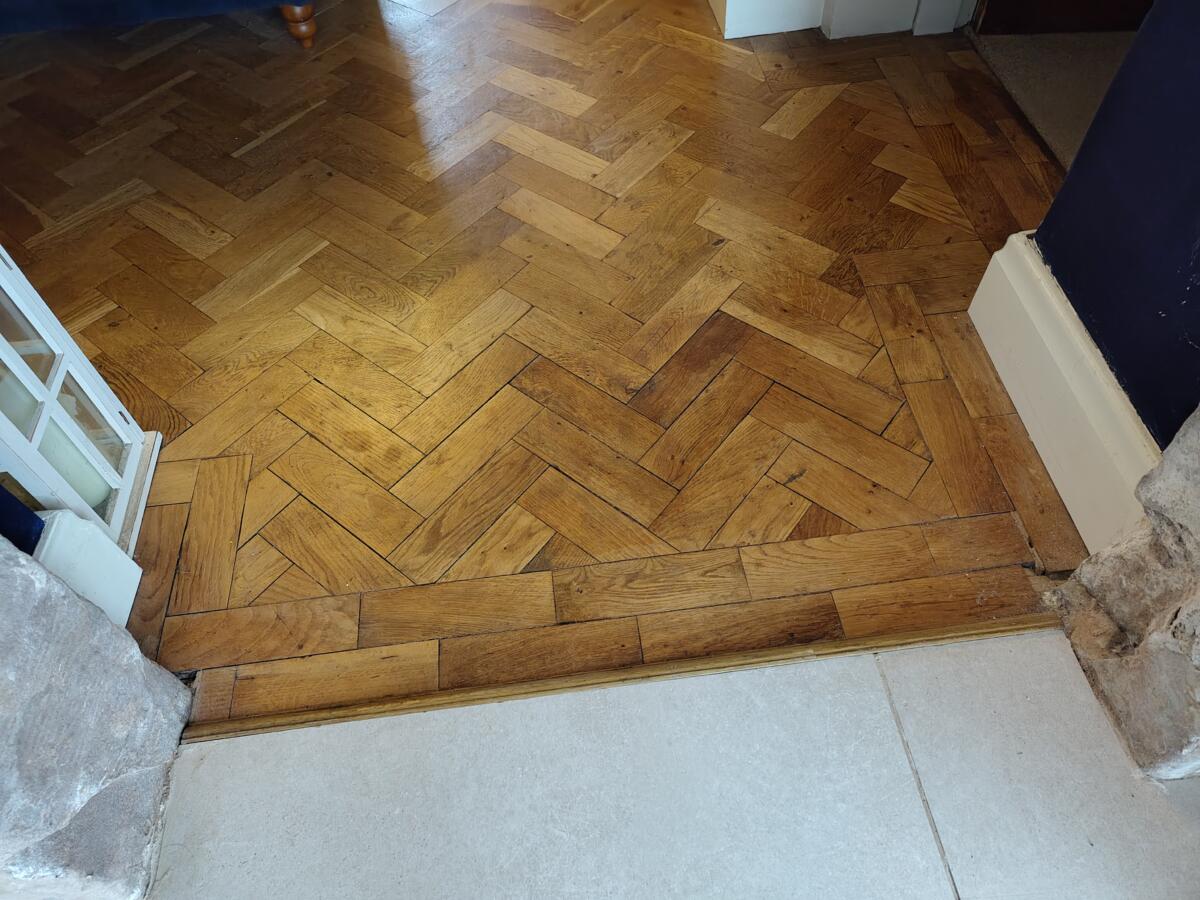
It was actually pretty good fun. Once I’d got the hang of the pattern and the angles they all went down pretty easily. You can see from the picture above that they weren’t exactly perfect joins but they were close enough and having rubbed in some oak sawdust from cutting them to shape and then varnishing them all it looked pretty bob on.
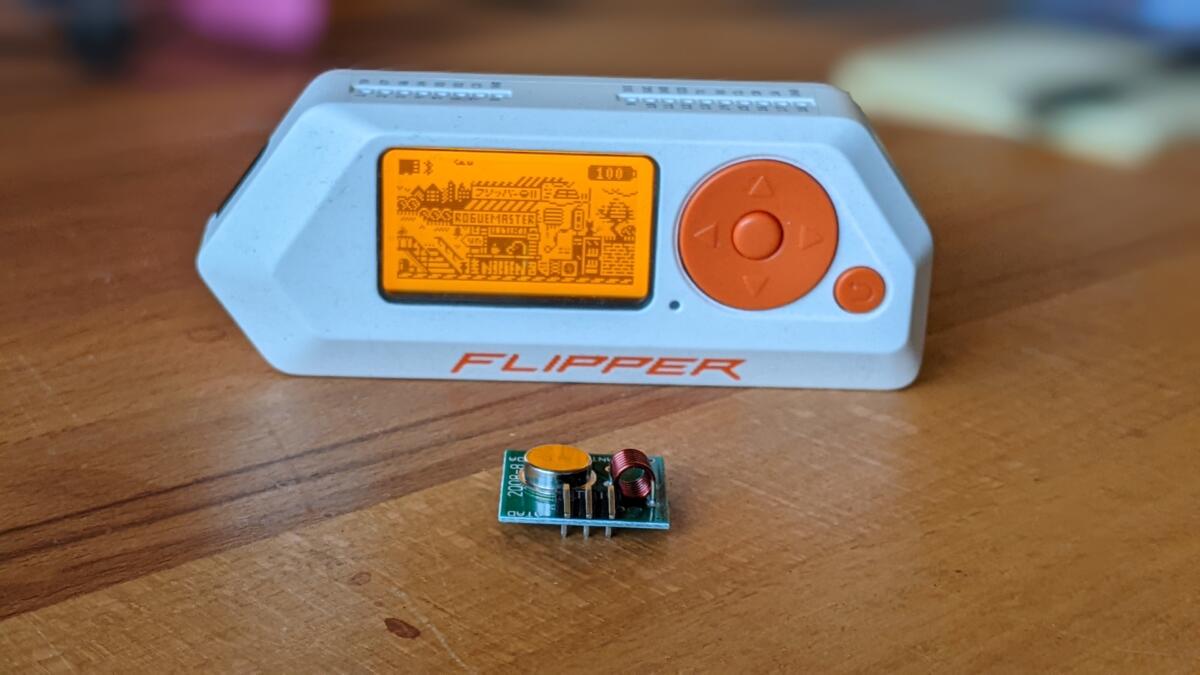
Every morning and every night I have to press a button on the remote control to open/close the blinds in my kitchen. In my constant efforts to have to do less things each day I feel the need to remove these two things.
Enter stage left a 433MHz transmitter that can be connected to [ you guessed it ] a Raspberry Pi and also my Flipper Zero to sniff the signal to send.
Sniffing the signal was the easy bit. I now have the hex code, and therefore the binary signal, to send the blinds up and down. Unfortunately it’s proving a bit tricky to get my Pi and transmitter to send a matching signal.
The Flipper Zero shows that it is receiving a radio transmission but it just doesn’t decode it correctly. It’s either that I don’t have the correct high/low timings for the signals…or that when I first hooked up the transmitter I attached the 5v line to the data input for the transmitter. Oooops.
I’ll keep beavering away and keep you, my dear single reader with the long hair and a talent for music, informed.
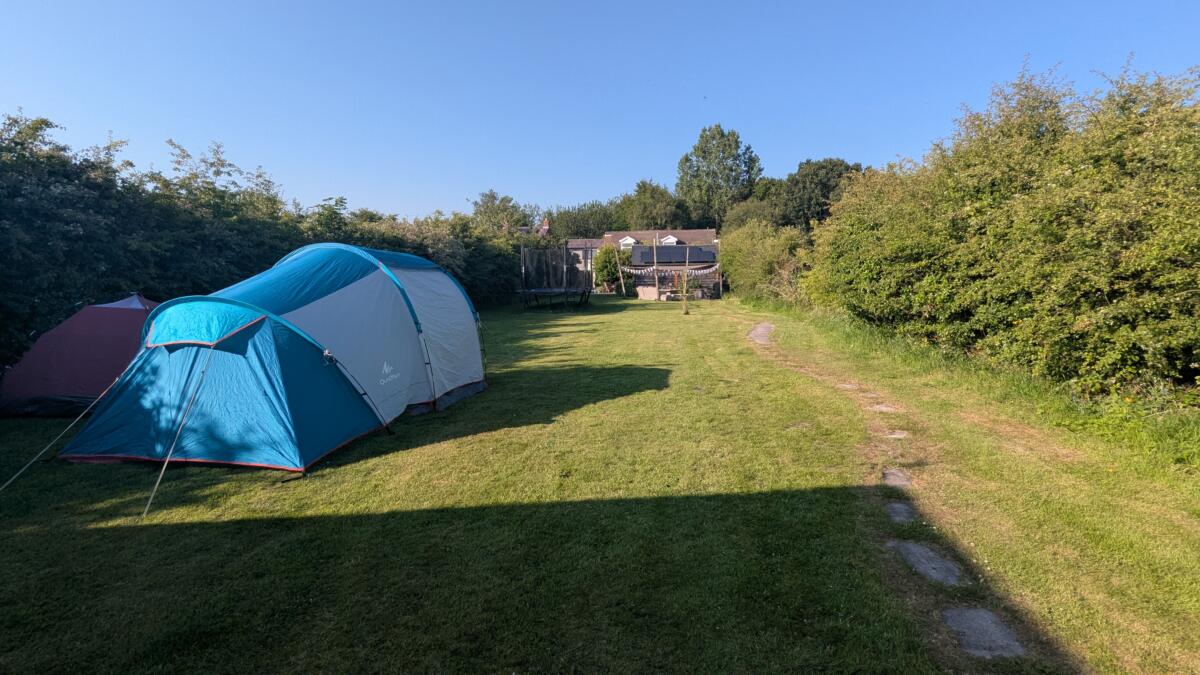
Oli has finally finished high school and will soon be making his way to college to study some yet-to-be-determined-which A-Levels. Before all that nonsense they had, as is the tradition in the UK these days, a prom to to attend. After the meal in the pub prom celebrations the class decided they wanted to have a proper party with beer and drugs and dancing girls and what have you.
OK, just beer.
In an overly optimistic moment Oli decided to put up some tents where everyone could sleep. Josh came along and helped by putting his tent up. Which is currently still in my garage.
The night arrived, pretty much the whole class came back to my house. I went to bed. My hard work had been done organising the garage just in case it rained.
I came downstairs at about 6am and opened the kitchen blinds. There were still a bunch of boys partying and I think it’s the first time I ever saw my little boy drunk. Apparently the last girl left at 5am so a pretty good party all in all.
I made them all a bunch of sausage butties and a plate of beans on toast with cheese and egg on top for Ayman.
Then I started the clear up. I swear to god – these kids must have just been opening a beer, taking a sip and then wandering off before coming back and opening another beer. The quantity of beer and cider I had to pour away before recycling the cans was simply heartbreaking. Flippin’ youf!
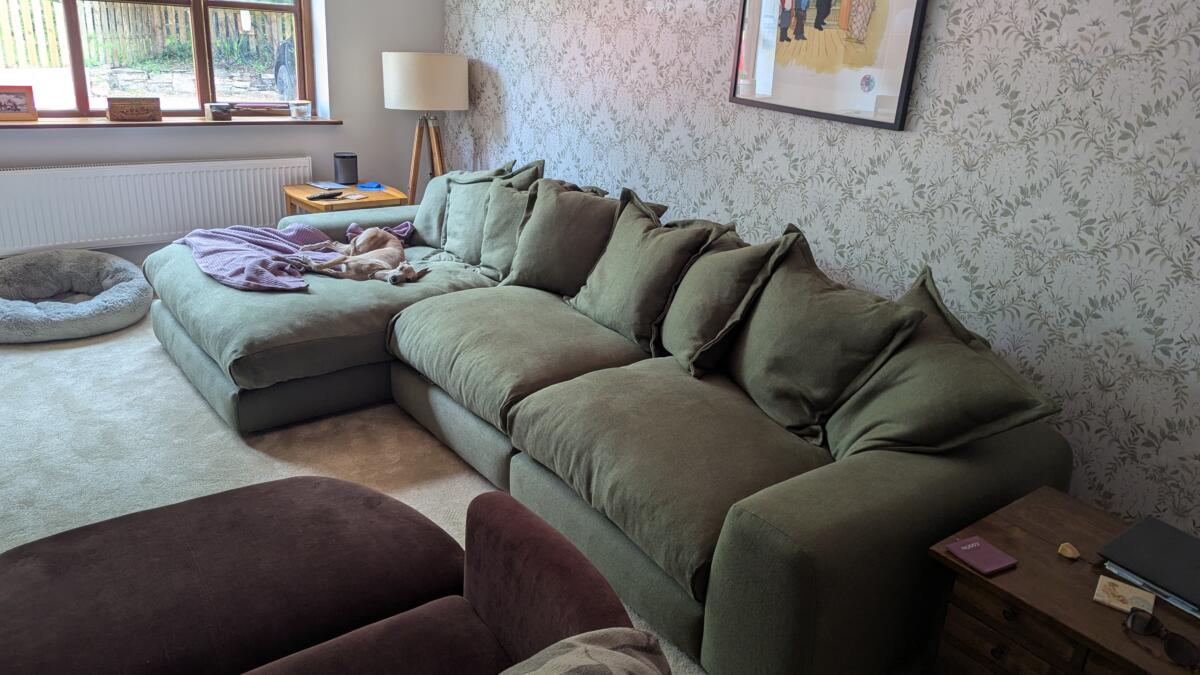
The old sofa was falling apart. It had been sat on for over a decade, flipped over to turn into a mini fort for the kids on many many occasions, had gallons of tea/wine/lager spilled on it – but I still love it and it’s taken up residence in my office for lunchtime snoozes.
It’s been replaced by this bad boy
When it first arrived my initial thought was “it’s too big”. After having had it for a while I’m now thinking “it’s too big”. We have to get rid of the purple sofa, get rid of the tripod lamp and then maybe, just maybe we’ll be able to move around in our living room.
I can however confirm it’s very good for snoozing on. Many naps already completed and we’ve barely got the labels off it.
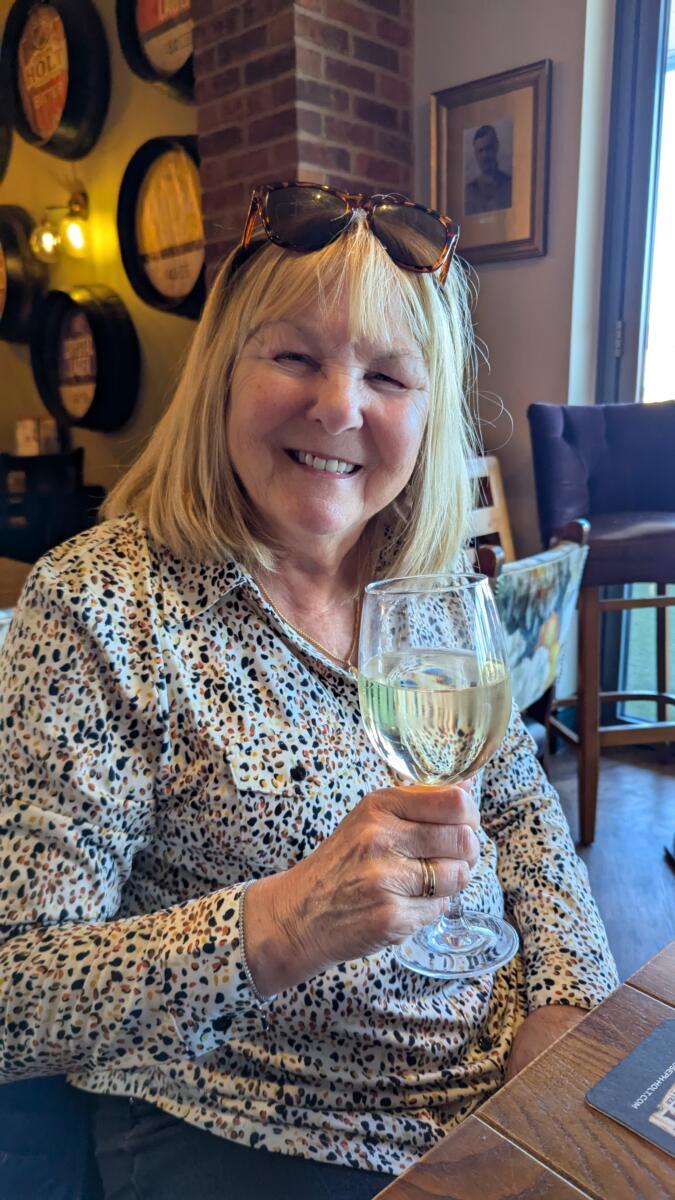
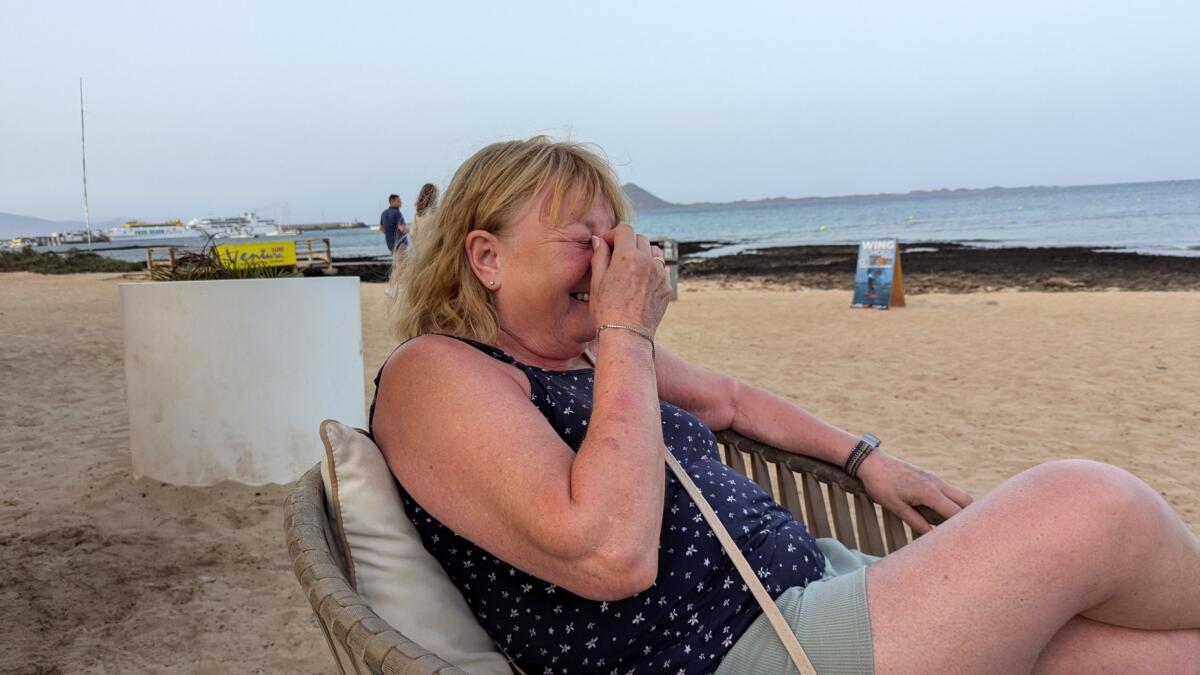
Every now and then my Mum and I will have a few drinks in the rather fabulous Goats Gate and then get a Chinese takeaway. I took a picture to send to Uncle Chris who was busy holidaying at the time. It turned out to be such a lovely picture I had to publish it.
Every few years JC and I have a game of chess. We must have done it using computers or something last time because we didn’t have quite so much confusion at the start of a game in the past, but now that we’re using chat and doing proper chess notation like Qe2 and all that we’re making a right pigs ear of it.
Several phone calls have taken place along the lines of “oi, the bloody queen can’t do that – it’s not a horse you know” and such.
Anyway, we’re off and running – Jason usually beats me – so we’ll see.
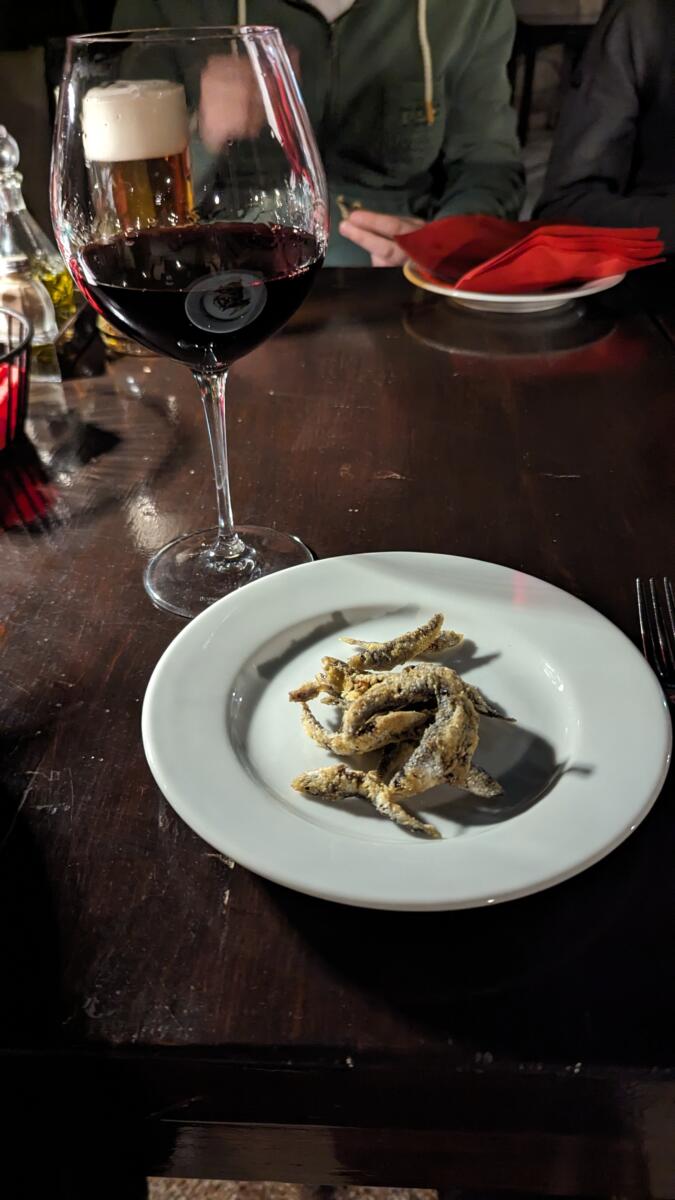
My mother, uncle and I all headed into Manchester to witness a plea. Long story about why we had to do this which I’ll not go into. But along the way we came across the Paddington bench in Spinningfields and formed a happy memory, which makes it all worthwhile. Afterwards we had a little wine and tapas and made our way home.
Nico was absolutely desperate to get some freshly made doughnuts from Blackpool so a trip to the Pleasure Beach was instigated.
It was glorious! The place was empty. It was the 4th September so all the schools were back [ apart from Oli ] – ok, so most of the schools were back. We barely queued up for any of the rides and because of that we’d pretty much done every big ride in the park by lunch.
Jason and I sat down and had a couple of beers whilst the boys went off and did the same rides again, and again. Jason vowed he was never going on the Big One again and I kinda agreed with him – I always come off that ride with a headache. However, given that the park was so empty we came up with the “cunning” plan of queuing for the front seat of the Big One.
It only took 5 or 10 minutes to get to the front seats and was an astonishing ride. Properly terrifying. Anyway, about half way through the ride I look at Jason and he’s got his head down scrabbling in the footwell. I was all confused and yelled “what are you doing?”. Jason didn’t hear me though – we were going very fast and it was very noisy. So when the ride came to an end a very ashen faced Jason looked at me and said “My phone flew out of my pocket”. Disaster. Proper disaster.
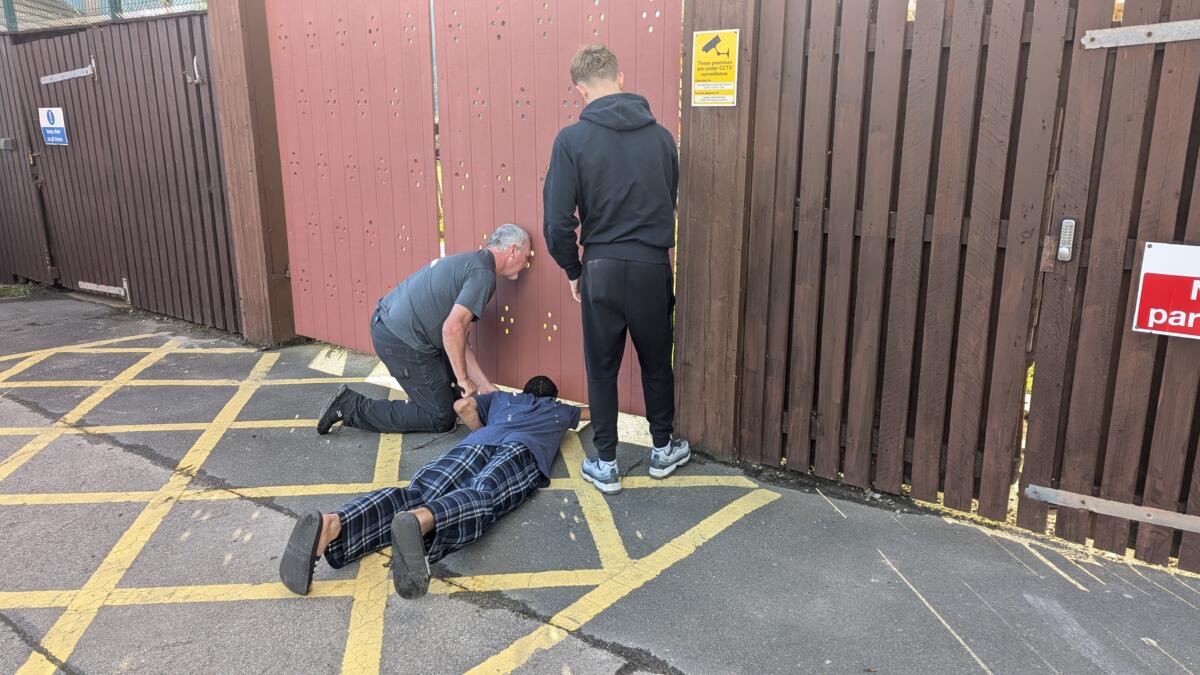
Jason reported it to the park authorities and they said they’d try and find it in the morning when they do the walk around the track. This was a bit rubbish though. I asked if Nico had a “Find My Phone” type thing setup so that he could see the locations of Jason’s phone. Turns out he did. Turns out the phone looked like it was outside the grounds of the Pleasure Beach and really close to the Big Blue Hotel. So off we went, to the Big Blue Hotel.
After wandering up and down the fence line going “we’re right on top of it” and “it must be here somewhere” we eventually caught a glimpse of the phone through the hole in the gate. Some cunning teamwork and a big stick meant that we were eventually able to retrieve Jason’s phone. It was an amazing bit of fortune. The people walking the track would never have found it as it wasn’t on the Pleasure Beach property. If the phone hadn’t landed next to the gate we would never have spotted it as we couldn’t see through the fence.
Jason was overjoyed
There were a few new scratches and dinks but it had survived a fall of about 20m at high speed.
After a pretty relaxing week up in Washington we took a flight down to Ontario, CA. We were going to fly into LAX but were advised a smaller more intimate airport would be better. It was. We got out of the airport quickly, picked up the hire car quickly and hit the freeways of LA to get to our apartment in downtown.
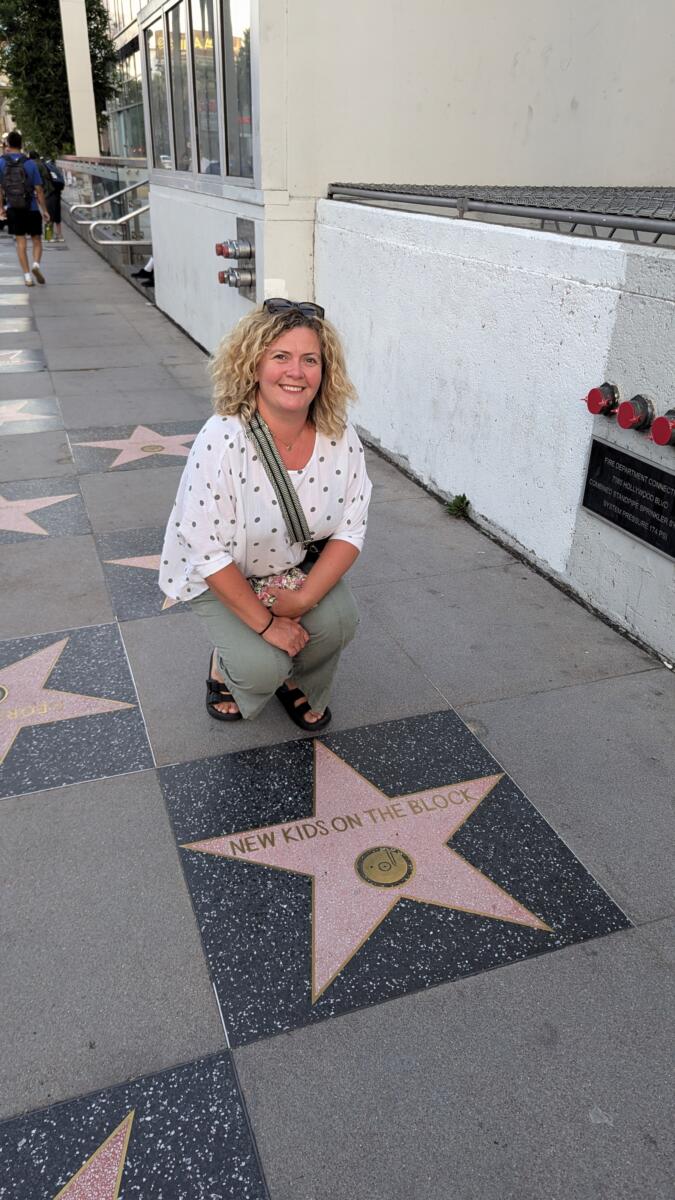
Turns out our downtown apartment really was very downtown! We went out for dinner at a Thai restaurant but managed to take a wrong turn on the way there and ended up on the road with all the stars in the pavement., Hollywood Boulevard.
We hung out in LA for a couple of days and did our best to avoid the major touristy stuff. Scouse offered us some tickets to go to Disney but it was just sooooooo hot that we didn’t fancy standing in a queue for 1hr for a 1 minute ride. We saw the Brae tar pits, Griffith Observatory, shopped for trainers in West Hollywood, ate at Chick Fil A amongst other places, took a long walk down Hollwood Boulevard looking at the stars in the pavement. It was a pretty cool place to be.
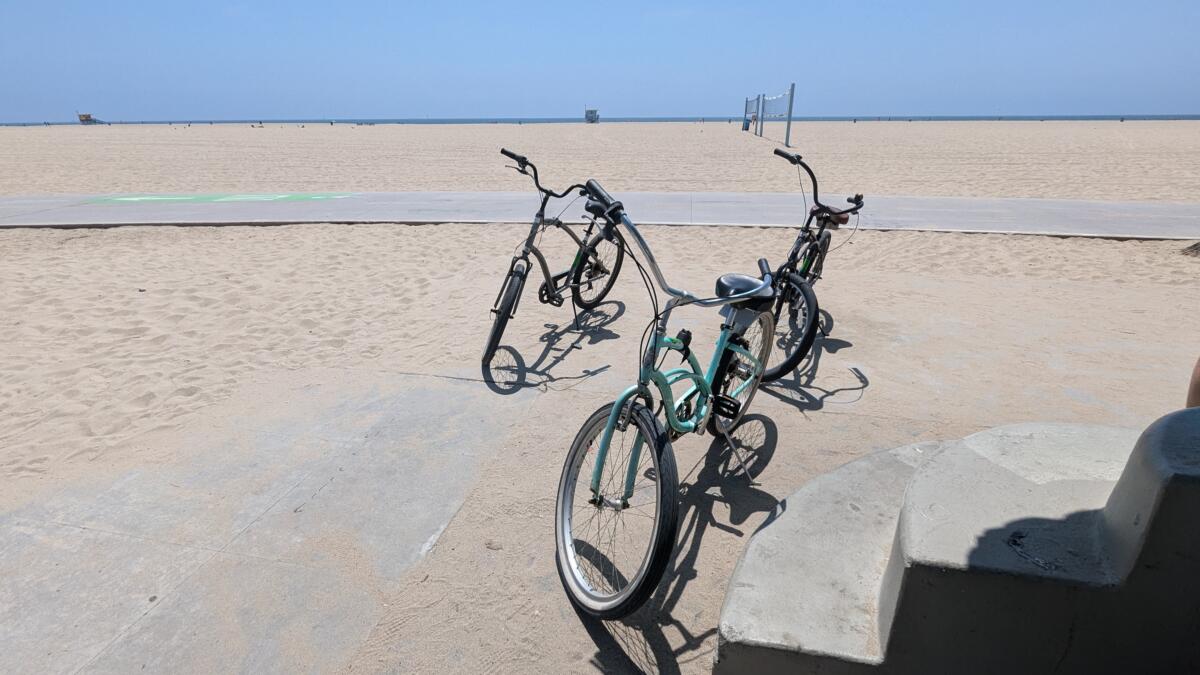
After a couple of days in our apartment in LA we decided to head out to the beach and so rented a hotel near Venice Beach. It only took about an hour to get there and was a pretty cool place. The big revelation was the constant smell of weed. I don’t mind a bit of weed, used to quite like the smell – but after days of being constantly bombarded by it – well, it got a little much really. Maybe the UK should decriminalise rather than legalise, but ho hum, I digress.
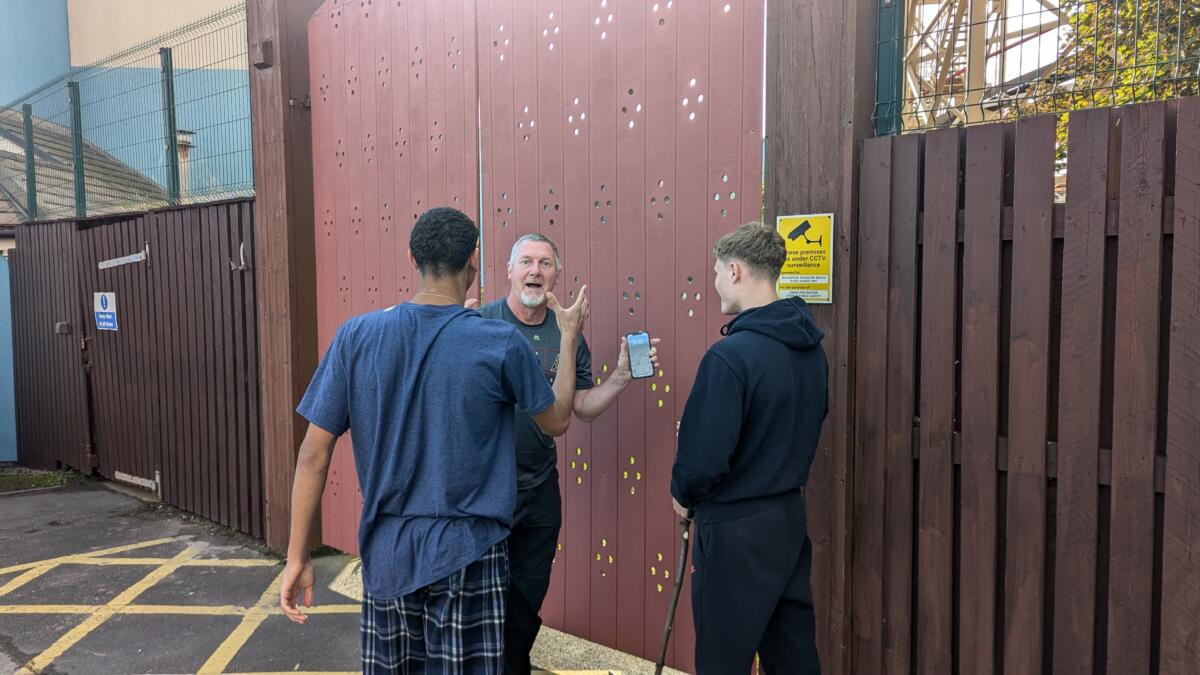
We rented a bike each from the beach and headed north towards Santa Monica Pier along the Venice Beach cycle path. We had an excellent time. Cruising along with other people on skateboards, e-bikes, scooters. Was truly epic. Then the day took a turn for the worse. After we handed the bikes back we were wandering in the general direction of our hotel looking for somewhere to eat lunch, and drink some beer, when out of nowhere appeared a muscle bound psychopath. Emma and Oli saw him stomping down the road with no shirt, fists clenched, a look of anger on his face yelling stuff and gave the dude a wide berth. Unfortunately I was in a bit of a world of my own and only saw him at the last second. I swerved to avoid him but he took a sidestep in my direction and full on shoulder checked me. He then spun around and started hurling racial abuse. “Show some fucking respect white boy. I’m gonna punch those curly blonde hairs out of your fucking head” – stuff along those lines. Was pretty scary really. I kept walking expecting a punch to the back of the head at some point but he moved on to harass somebody else, and we drank quite a few calming beers. On the bright side at least I now have a crazy story of some big black dude harassing me in LA.
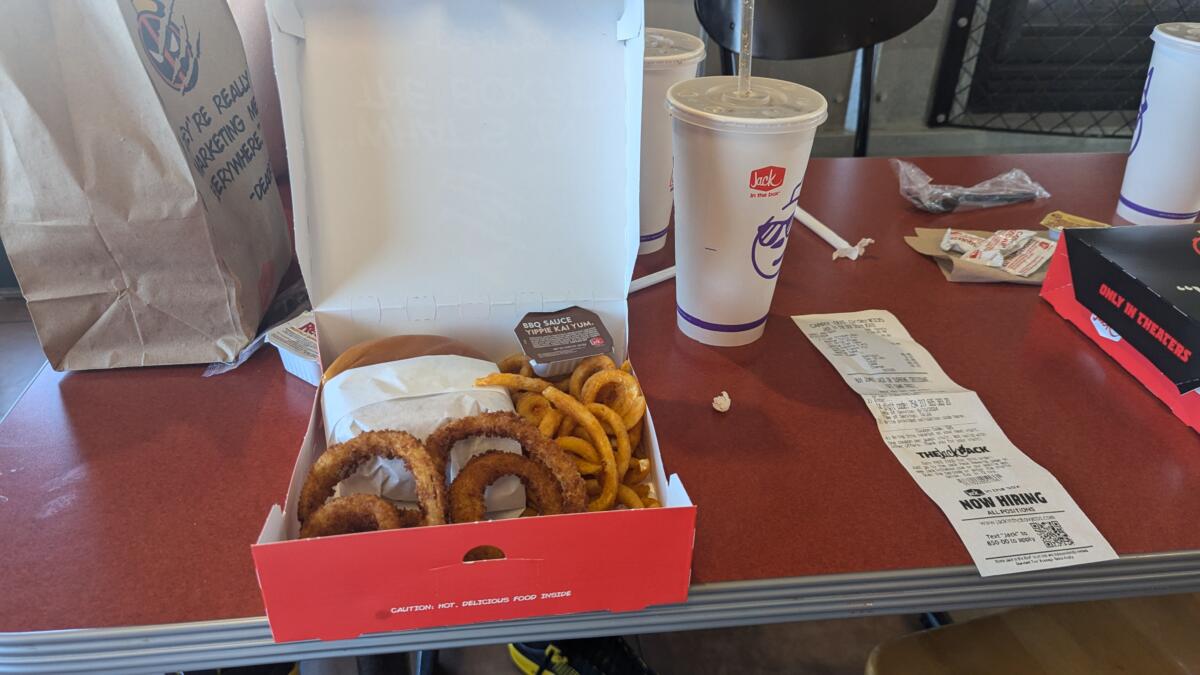
The next morning we were heading to Monterey which despite looking like a teeny tiny distance on the map actually took us hours. Many fun bits to this road trip but one particularly memorable bit was the pit-stop in Paso Robles. Whilst we were in America it was hot. Seriously hot. Unseasonably hot. As we got out of the car in Paso Robles to visit Jack-in-the-box [ they actually give you the food in a box ] the temperature was 109F. It was unbearably hot and made my skin tingle just standing in it. Fortunately by the time we arrived in Monterey it was 20deg cooler.
Food – in a box!
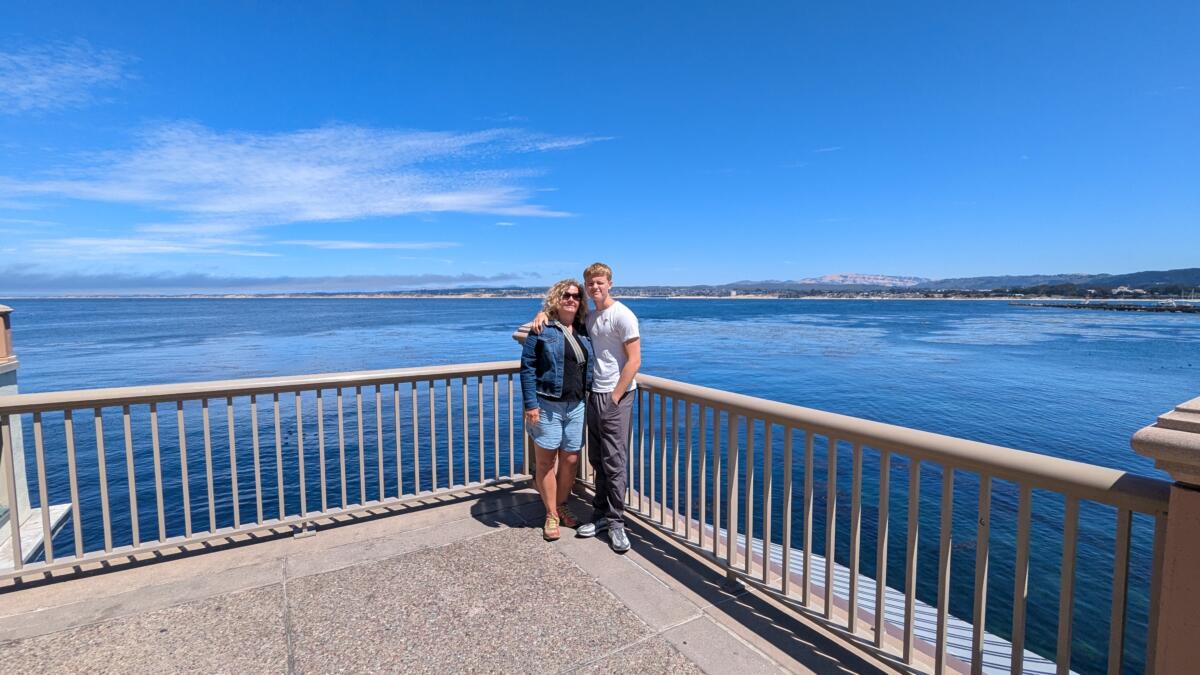
Many fun bits in Monterrey. Me messing up the uber and getting us dropped off in the middle of nowhere and having to hike the rails to trails route into town. Oli getting asked for his number by some girl at the bowling alley. All of us being there at the same time as the Monterrey Car Festival with people slowly driving through The Cannery in old American cars with the suspension bouncing up and down. It was pretty epic…but a little too touristy for me.
Emma and Oli in Monterrey
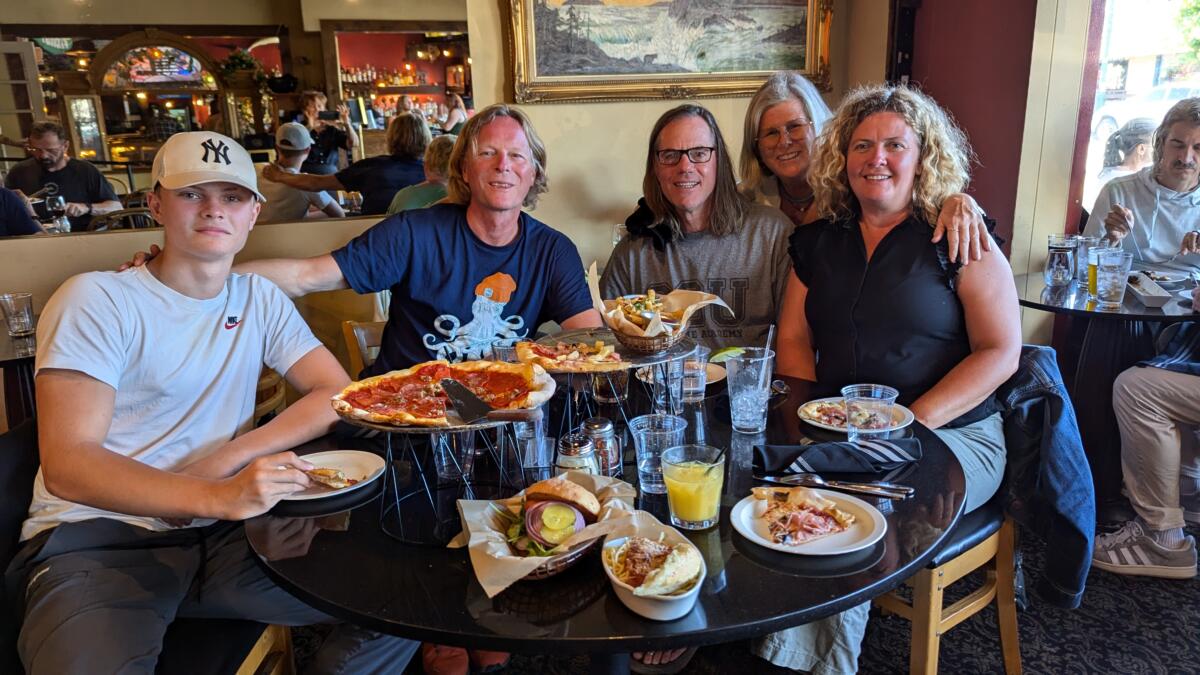
After two nights in Monterrey we continued our journey north to meet up with Tommy and Pat in Russian River. Driving over the Golden Gate bridge was a little disappointing as the top was hidden by mist. Our planned stop at Muir Woods to see the Redwoods had to be abandoned since it seems it’s turned into a proper tourist attraction since Emma and I last visited twenty years ago and now you have to reserve a parking space! However, it was great to arrive in the middle of nowhere [ but surrounded by Redwoods which was cool ] at Tommy’s rented cabin in the woods. We kayaked on the river, we drank beer, we played darts and generally caught up with T and P whom we hadn’t seen for far too long.
Oli, me [ in my new t-shirt ], Tommy, Pat, EmI do own more than one t-shirt – honestly
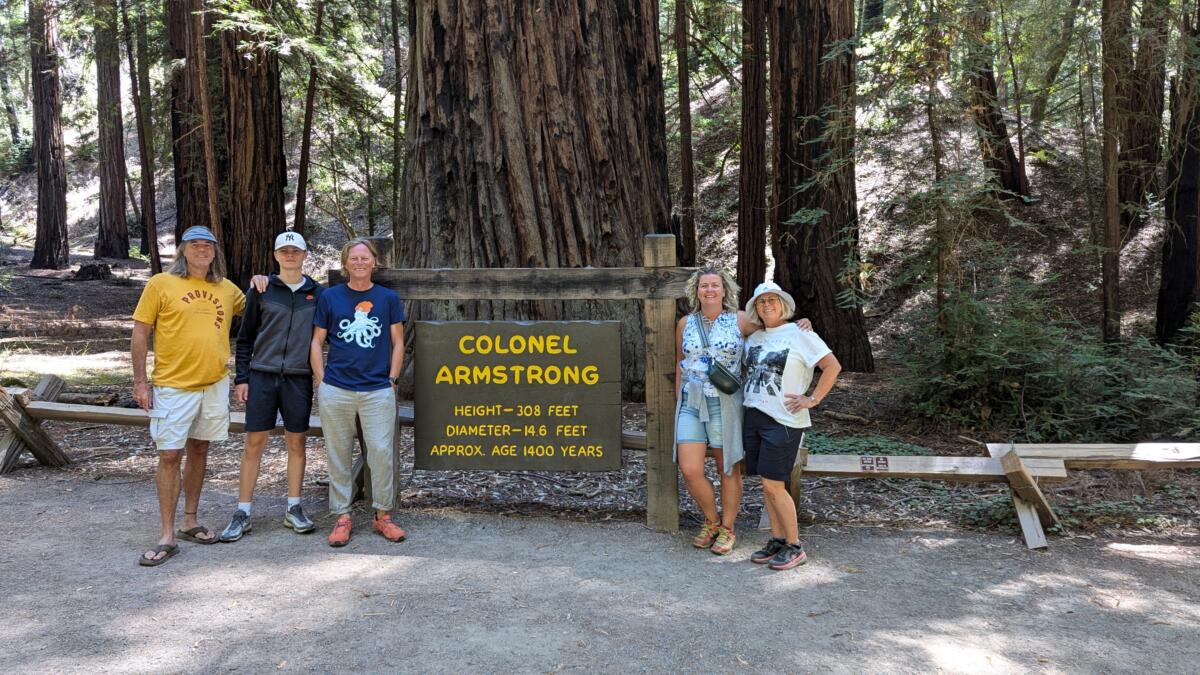
After two nights of sleeping on Tommy’s mezzanine with the ceiling inches from my face causing me to bang my head every time I moved in the night, we headed off to Vallejo to borrow Pat’s house for a bit. Before setting off though we went for a walk in Armstrong Woods near Russian River. Just as beautiful as Muir but without all the tourists.
The deal was we look after Pat’s house, cats and plants and in return we have a place to stay rent free. Which was a bargain. When we arrived we could only find one of the cats which was OK as Pat had said the other was very skittish. However as we were exploring the gardens Emma made the rather grizzly discovery of a dead cat that had been partly eaten by something – we think Raccoons. After a bit of a delicate conversation with Pat we were advised to check the dead cats chin since there is a cat similar to Pats that lives in the area but apparently has a hairier chin. So Oliver and I were out in the baking California sunshine using a stick to lift the decaying dead cats head up so we could see its chin. At this point I compared the markings on the dead cat with the markings on a picture of the cat that P had sent me. They were two very different cats.
So we dug a hole, stuck the dead cat in it and filled it over again. Welcome to Vallejo!
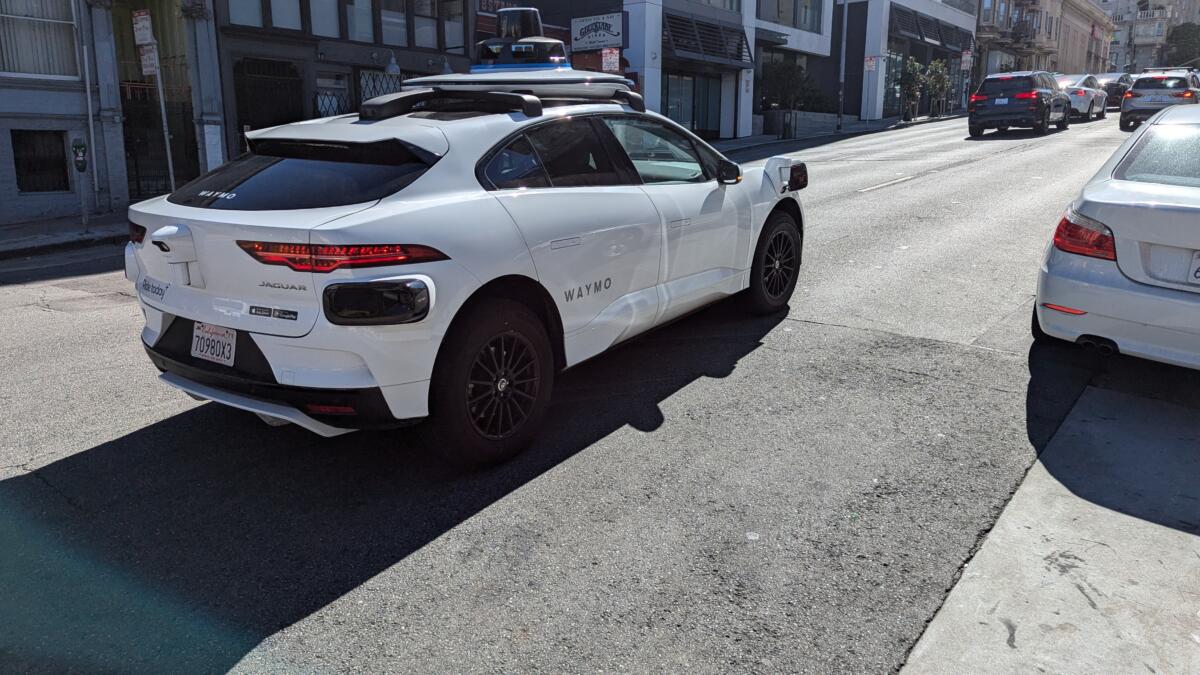
From Vallejo the best way to get to San Francisco is to take the ferry from Vallejo Harbour straight into the Port of San Francisco. So we did. We rode the trolley cars, we jumped on buses, we climbed Coit Tower…all 13 floors since the elevator was broken, we walked down Lombard Street and we ate some food in China Town. The thing we didn’t do however, which was a big thing on my bucket list for this trip, was ride in a self driving Waymo taxi. I had the app, I’d been invited to use the taxi system but when I came to put in my credit card details it demanded a zip code with numbers in it. 90210 – that sort of thing. No matter what I tried I couldn’t authenticate my card for the app. So it was with a heavy heart [ after some racial abuse from a homeless black guy! ] that we boarded the ferry and left SF.
I however was not to be deterred. I messaged Jason and asked him to send me his credit card details so that I could book a Waymo. He didn’t believe me at first. Thought I was having a bit of a laugh. But eventually he relented and sent me the details over. I popped them into the Waymo app and with great delight saw the message “Where do you want to go”.
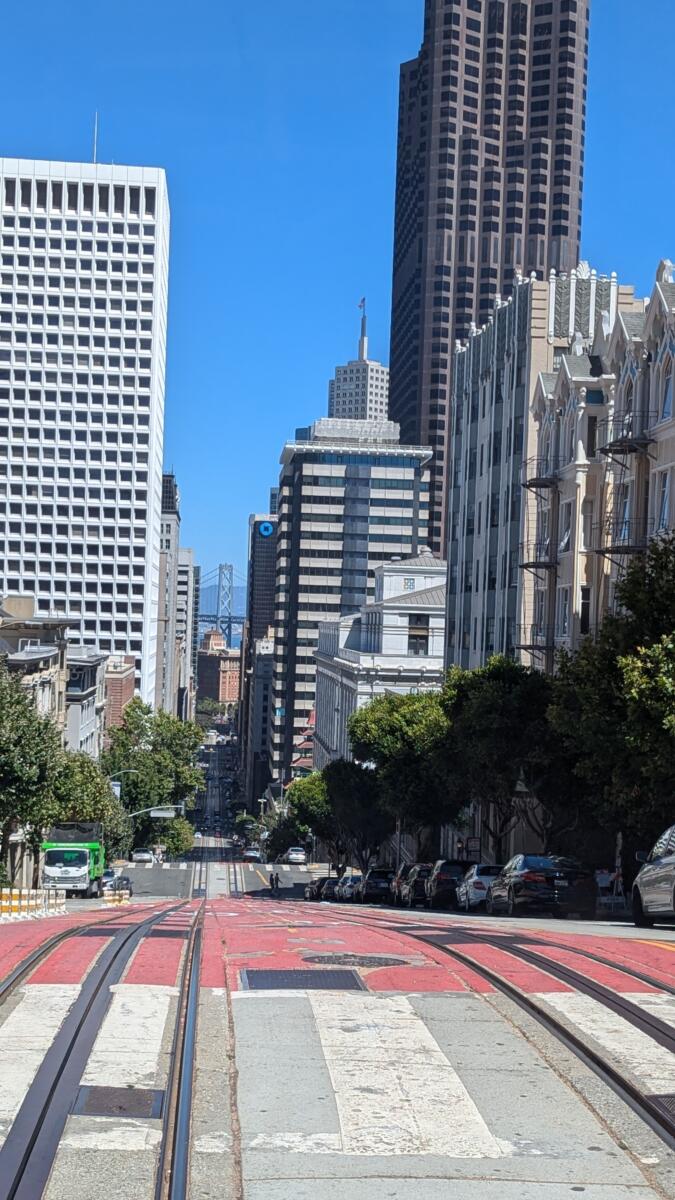
So the next day we caught the ferry back into San Francisco. We hopped on to the cable car from the ferry port that took us, well, frankly we didn’t care where it took us since we planned to get a Waymo at the end, and made sure we sat/stood on the outside of the cable car
Hanging off the side of the cable car taking a photo was a bit dicey
We jumped off the cable car at the last stop. Got shouted at by some crazy white guy wandering the streets of SF, ate some Vietnamese food, and summoned a Waymo.
It was absolutely fantastic. No driver, just a steering wheel moving around with signs all over saying “Don’t touch the wheel”. It drove us for about 25 minutes up to Haight-Ashbury and we wandered around the hippy district looking at cool clothes and shoes. But I don’t think anybody bought anything.
Back to Pats. Ate food, drank wine, slept and then surprisingly Tommy popped in as we were leaving for Oakland Airport to head back to Seattle/Tacoma.
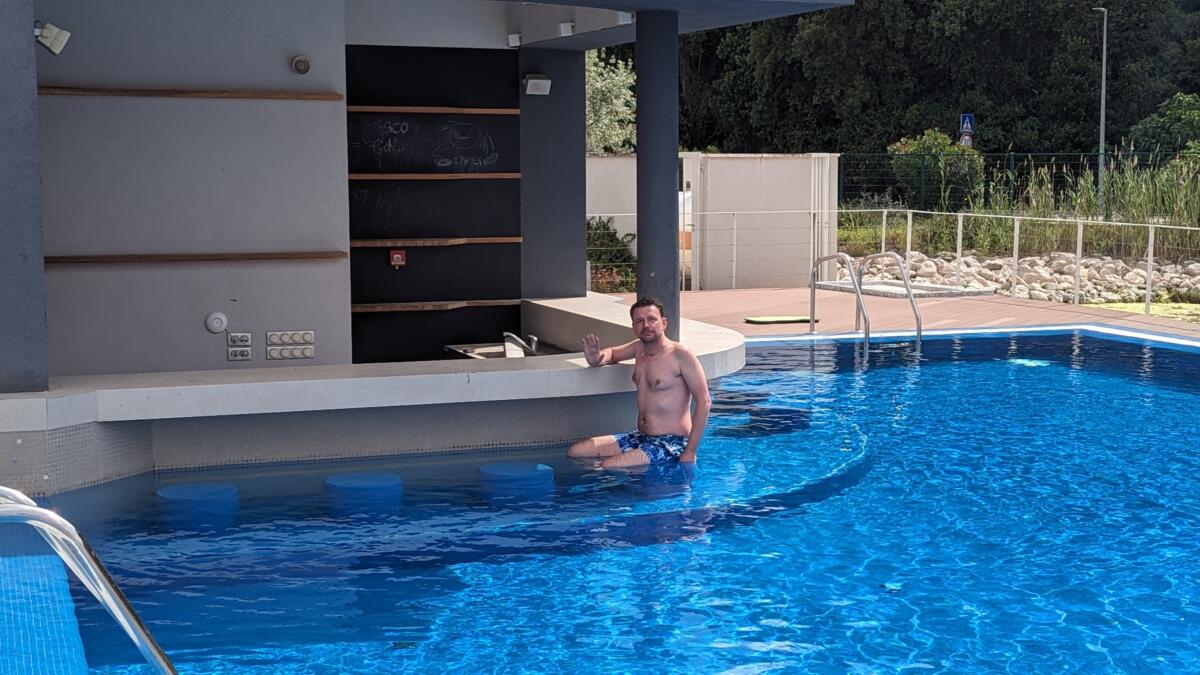
We set off from ACI Slaton heading for Sipanska Luka. Everything was beautiful. Three of us started the day with a swim in the sea and then we headed for the pool in the marina which had a pool bar.
Captain Michal pretending to wait for a beer
Unfortunately the weather wasn’t hot enough for us to sit at the pool bar and have a beer…but we still had a morning beer.
We set sail for Sipanska and I took the boat off the mooring with some great coaching from Michal. I took us out into the main body of water heading for Sipanska and we decided to raise the genoa. We sailed along like this for a while and turned off the engines. We were making about 5kts and the winds were good so we decided to raise the main sail. We didn’t want the Genoa bumping about as we put the main sail up so we furled it away…a bit. In hindsight we should have furled it away entirely but hindsight is a bugger. It took us a while to get the mainsail up due to various problems and all this time the Genoa was flapping about. This flapping managed to loosen the shackle that attached the Genoa to the sheet until the shackle undid completely and shot the length of the boat like a bullet narrowly missing taking out Goochy. So now we had a mainsail half up and a severely flapping Genoa that we now had no control over. We managed to furl the Genoa some more to get rid of that problem for now, and then we carried on with the mainsail. It was at this point we put the first reef sheet into the electric winch to put some tension in it. Sadly we came straight out of the jammer and onto the electric winch at a bad angle. So when we started the electric winch it ripped the sheet out of the jammer and we broke it. So now we had a broken Genoa and a broken jammer, but we had a mainsail up.
Unfortunately on a Catamaran you can’t really sail on just a main as the boat becomes unbalanced and keeps heading into wind. So we dropped the mainsail again and started heading to a protected bay to make repairs.
We found a decent enough spot to park and anchored. We found a spare shackle and put the sheet back onto the Genoa and then tried to furl it away completely only to discover we’d over rotated the self furling jib mechanism thing and couldn’t put it away. So we made some more repairs, fixed that problem and then had a beer and did a little swimming.
Finally the time came to head to Sipanska so we decided to weigh anchor and get ready to go. We had some issues with the anchor earlier on the trip where the anchor chain would sometimes bundle up near the winch instead of dropping neatly into the anchor chain locker. This time it bundled up before we could stop it and knocked the anchor chain off the winch. This meant the anchor chain was attached to nothing and instead of raising the anchor chain we deposited 100m of chain onto the seabed. Fortunately the end of the chain is attached to the boat by a line so we were able to drag a few metres of chain back into the boat by hand, attach it the winch and started lifting the anchor again. This time I occupied the locker next to the anchor chain and kept jamming to end of the boat hook into the pile of chain to make sure there was room for the anchor chain to drop neatly.
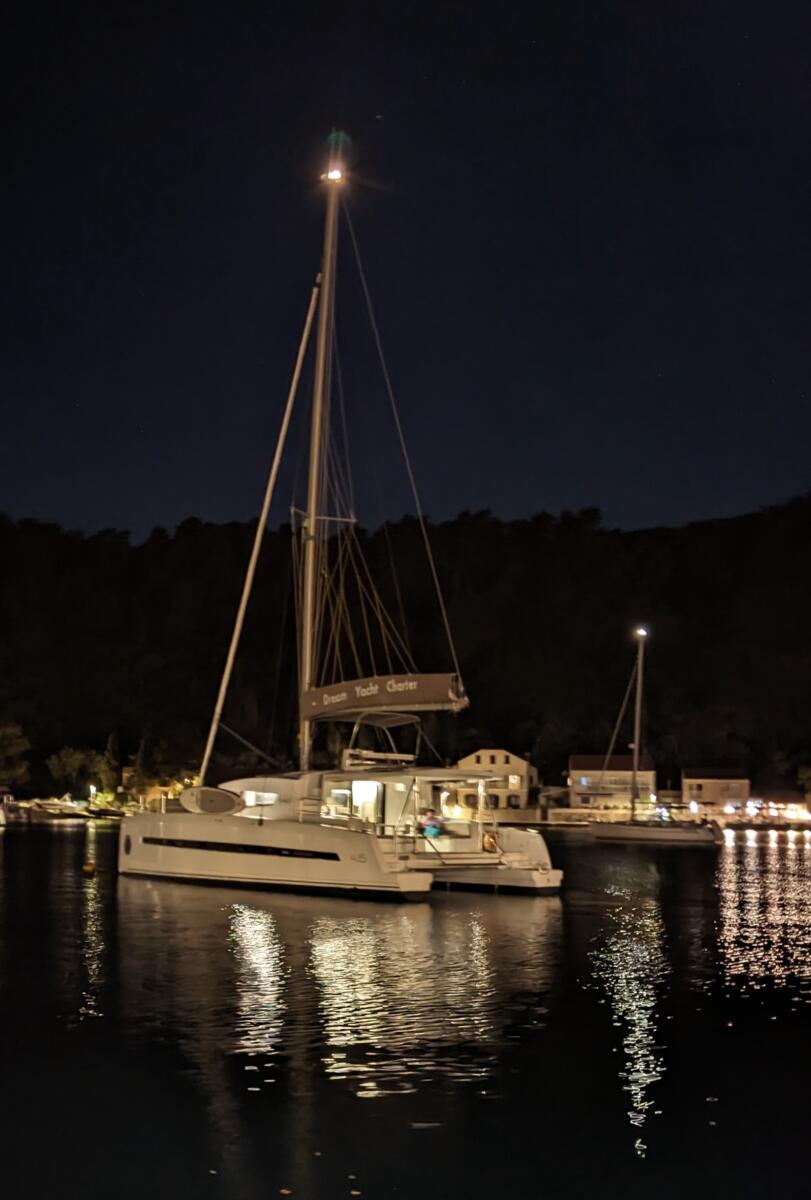
We eventually made it to Sipanska for some much needed food and wine.
End result – we snapped some plastic off the jammer.
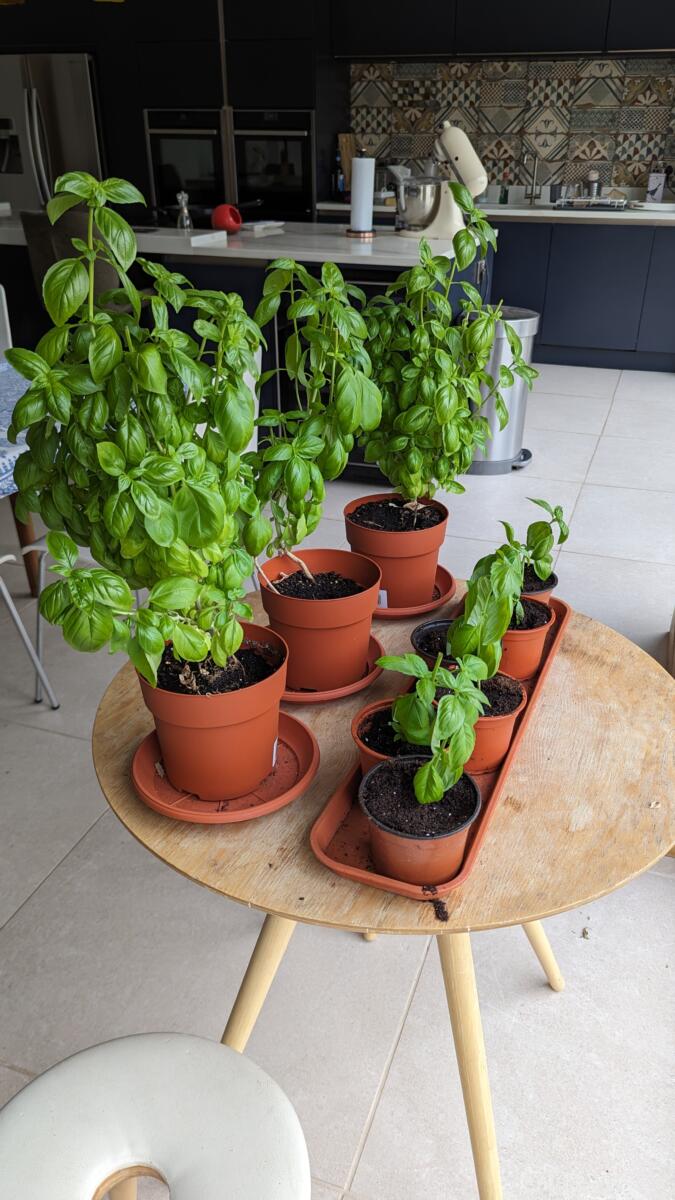
My new passion is growing Basil plants. No way do we need this much Basil but I’ve been cultivating new plants from cuttings and then giving them away as presents. Who in the world does not need a fresh Basil plant on the window sill? Seriously…who?
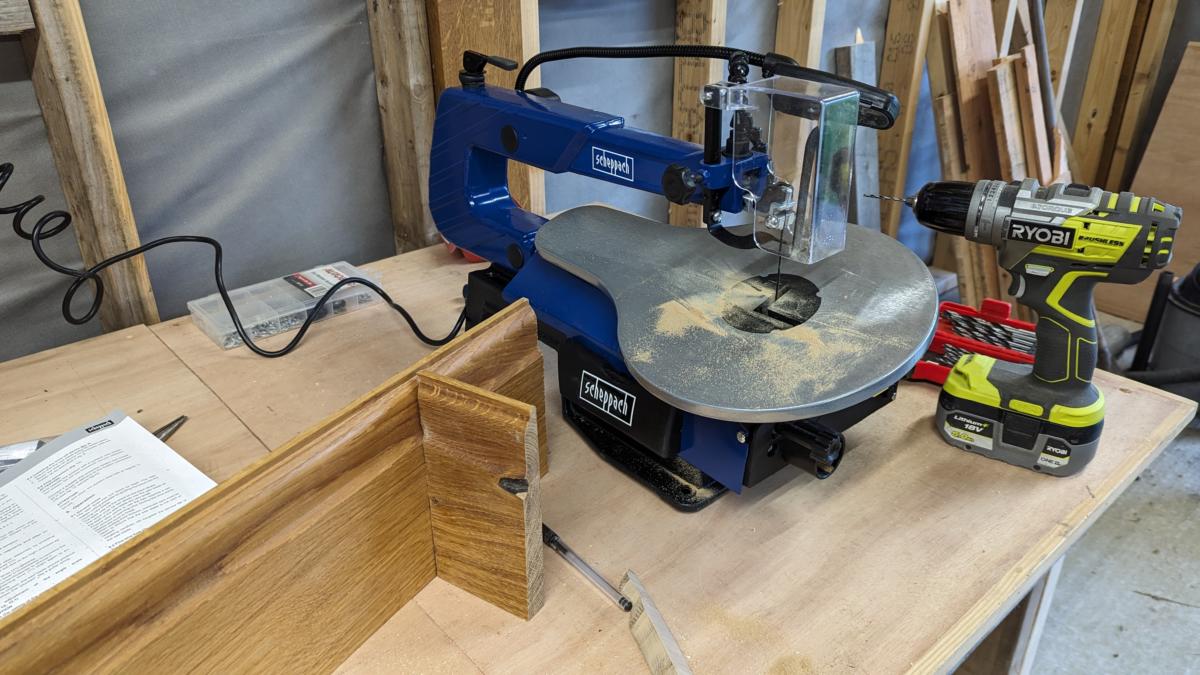
When we did the extension the builder installed some Oak skirting boards. He did the joins using a butt joint. I moaned about it here [ https://junglefreedomfighters.com/?p=2017 ] in the past.
Well I’ve just been bought a scroll saw [ thanks Mum ] to have another crack at all this. The scroll saw is essentially a powered version of the coping saw I mention in the post above.
Turns out I’m still a bit rubbish at it.
Shiny!
The skirting board joint you see above is my first attempt. I’ll persevere with my scroll saw with a bit more practice and then hopefully I’ll finally have the skirting boards I’ve dreamt of.
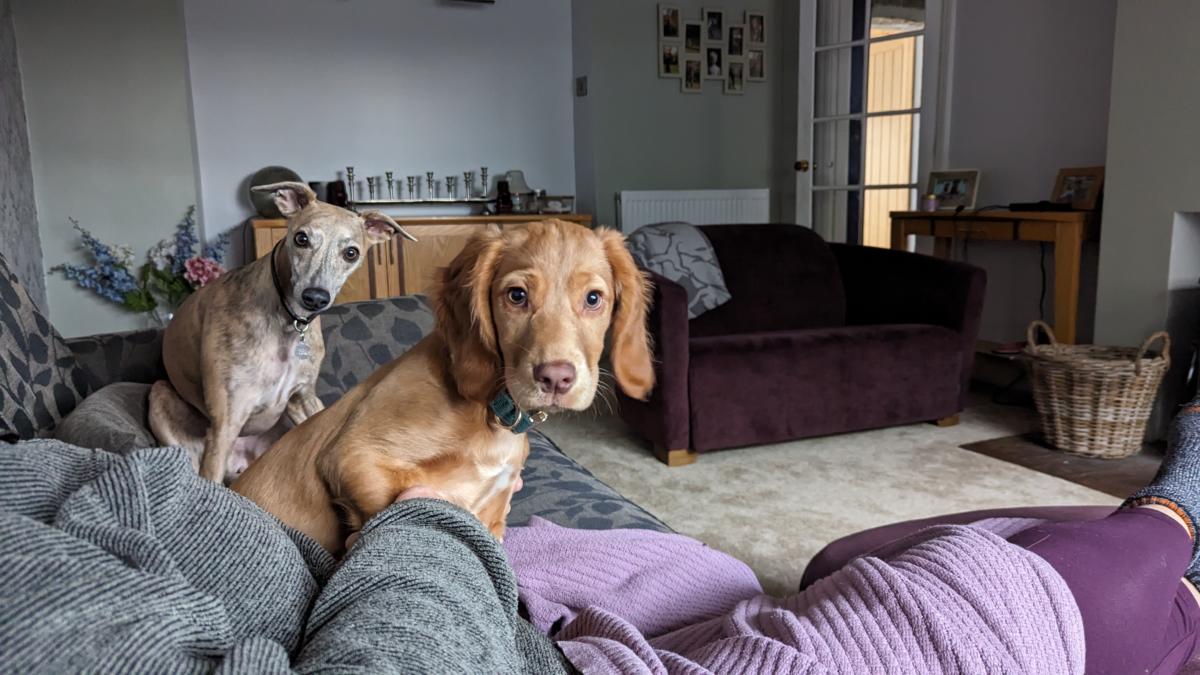
Jac and Mark and the kids all went out to celebrate one of their children’s birthdays…yeah I should really know which one but I’m rubbish at things like that and I was totally distracted by us getting Holly for the day.
We absolutely loved having her. Yeah, there were a few puddles. Yeah, she did nearly break the patio doors by running head first into them. Yeah, she did have a bit of a chew on my hat. But it was brilliant to have such an excited bundle of energy in the house. Violet enjoyed it for the first hour or two but then she wanted a sleep…and Holly didn’t.
As a side note I also popped around to Jac and Mark’s yesterday and Holly came running and jumping at me and was so excited that a bit of wee came out onto my foot. Her wee, not mine.
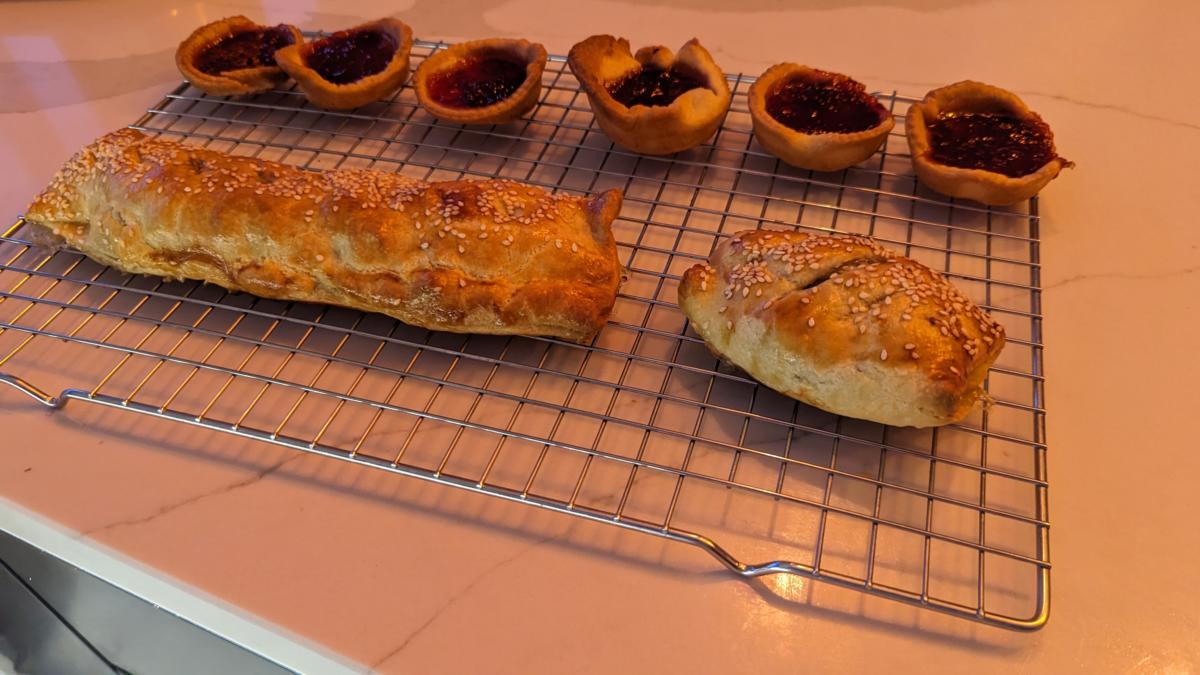
When I was young and at Primary School my Mum was a Schoolteacher and so couldn’t pick me up. Fortunately Nana Molly lived a few hundred metres away from my school and so after I finished school I’d walk over to Nanas and she’d make me my “tea”. Dinner was often “Lobbies”. Meat, potatoes, onions and other veg in a gravy. Some call it potato hash, some call it scouse. We called it lobbies. Anyway, quite often Nana Molly would also make jam tarts. They were amazing. Highlight of my day even though it was just shortcrust pastry with some jam in it.
I recently had some pre-rolled shortcrust pastry that was past the use by date so I had to do something quick. So I picked up some sausage meat from the local butcher and made some posh sausage rolls. I had some left over pastry and we had some jam in the fridge that had been there a while and this is the end result.
The third from the right was made without using a pastry cutter. Dunno what I was thinking
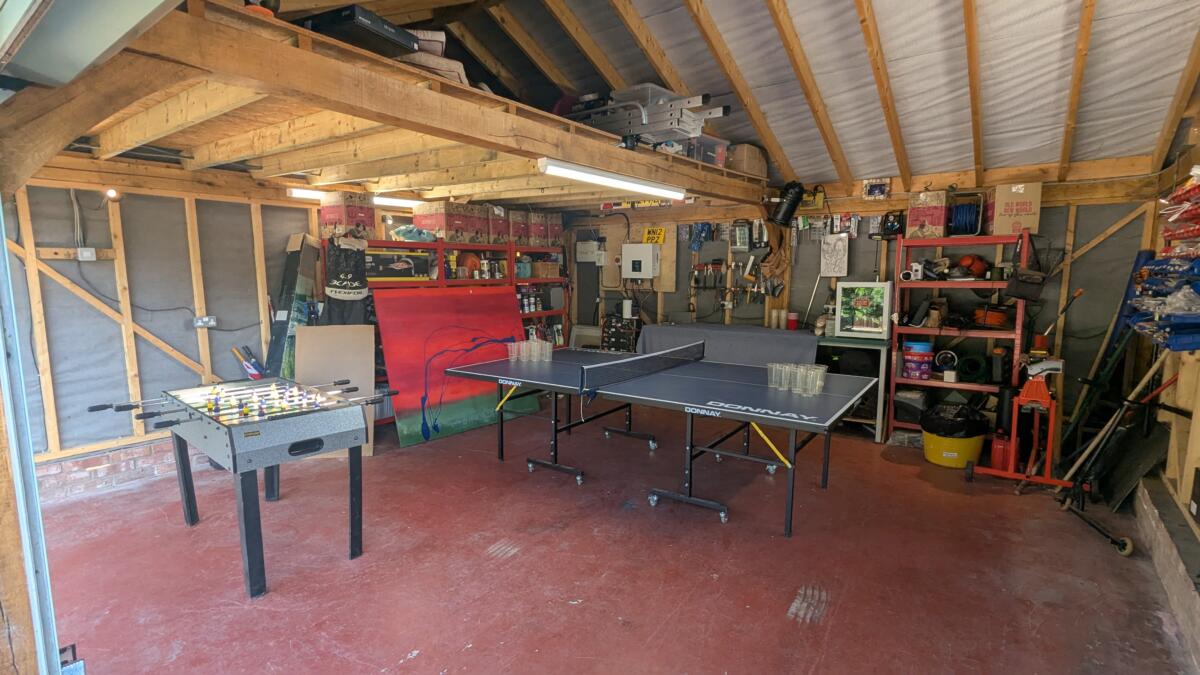
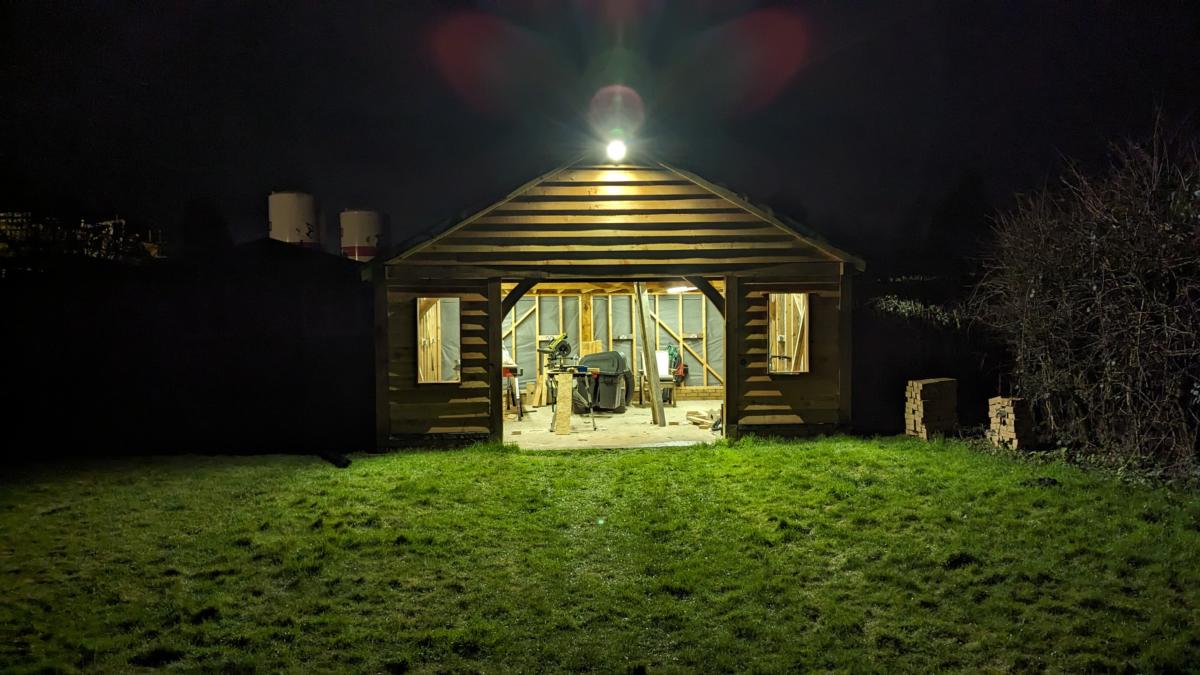
My friendly neighbourhood electrician finally found some time for me and came and hooked my workshop up to power. I specified my usual ridiculous number of plug sockets, four strip lights and two outdoor sockets. The electrician quizzed me about what I intended to use the outdoor sockets and I had to admit I had no idea. I’m sure they’ll come in useful for something though.
We left the armoured cable trailing over the garden because neither of us were up for digging. The sun came out the next day and Oli fancied earning a bit of cash so out he went and buried the cable for me. He actually did a pretty good job of it too.