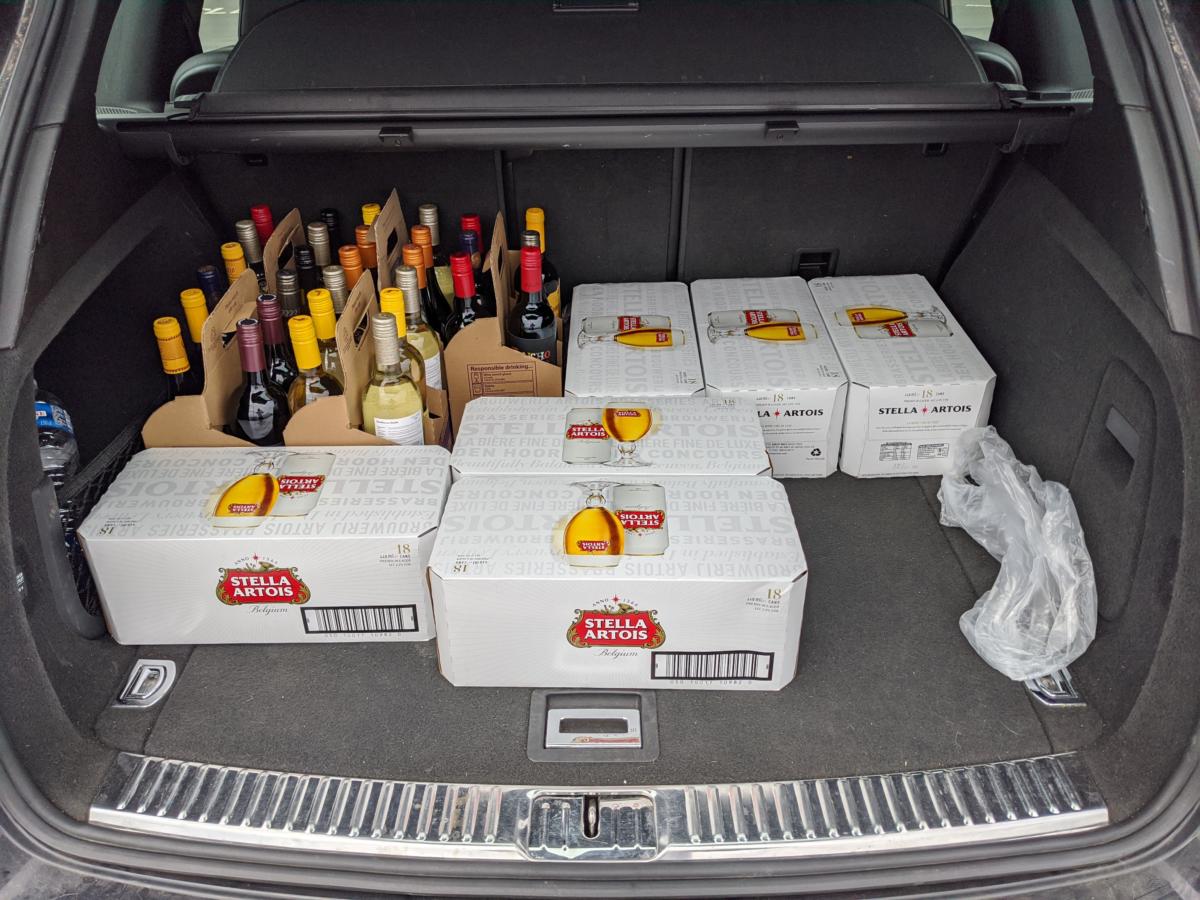
Nipped out to get some essential supplies

The place where I document the stupid stuff I do

Nipped out to get some essential supplies
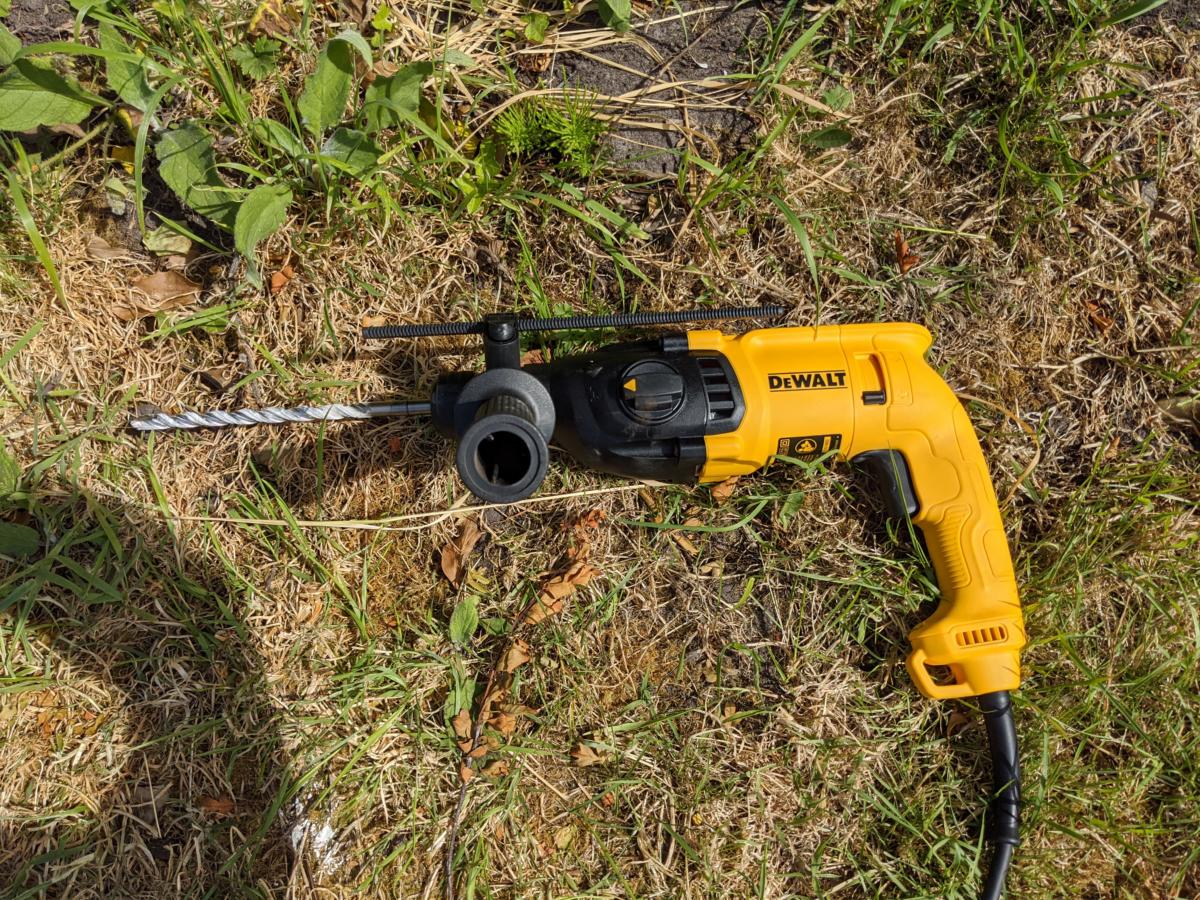
Emma and I left the sail shade out and failed to notice that we had a load of wind coming. The wind blew, the sail shade whipped around, the pole snapped. It was most definitely not a cool thing. Fortunately my neighbour suggested a quick way to fix it would be to put a post-foot into the concrete and slide the post in. To do this I had to drill some holes in the concrete to fix the post-foot down. My drill burnt out whilst doing this…which meant I had to buy a new drill. It’s a thing of beauty
Then I worked out that I’d been doing the sail shade wrong all these years. I now have a smaller shade rigged up with paracord to tension it. Should have taken a picture of it really!
Alan, the very talented chap that built my garage popped around for a socially distanced beer. Whilst he was here he observed that I hadn’t Osram oiled my garage. I had no recollection of him telling me to do this in the past but my memory is pretty bad so he may well have mentioned it. Anyway, long story short – bought some Osram oil and spent a lovely sunny morning oiling the oak.
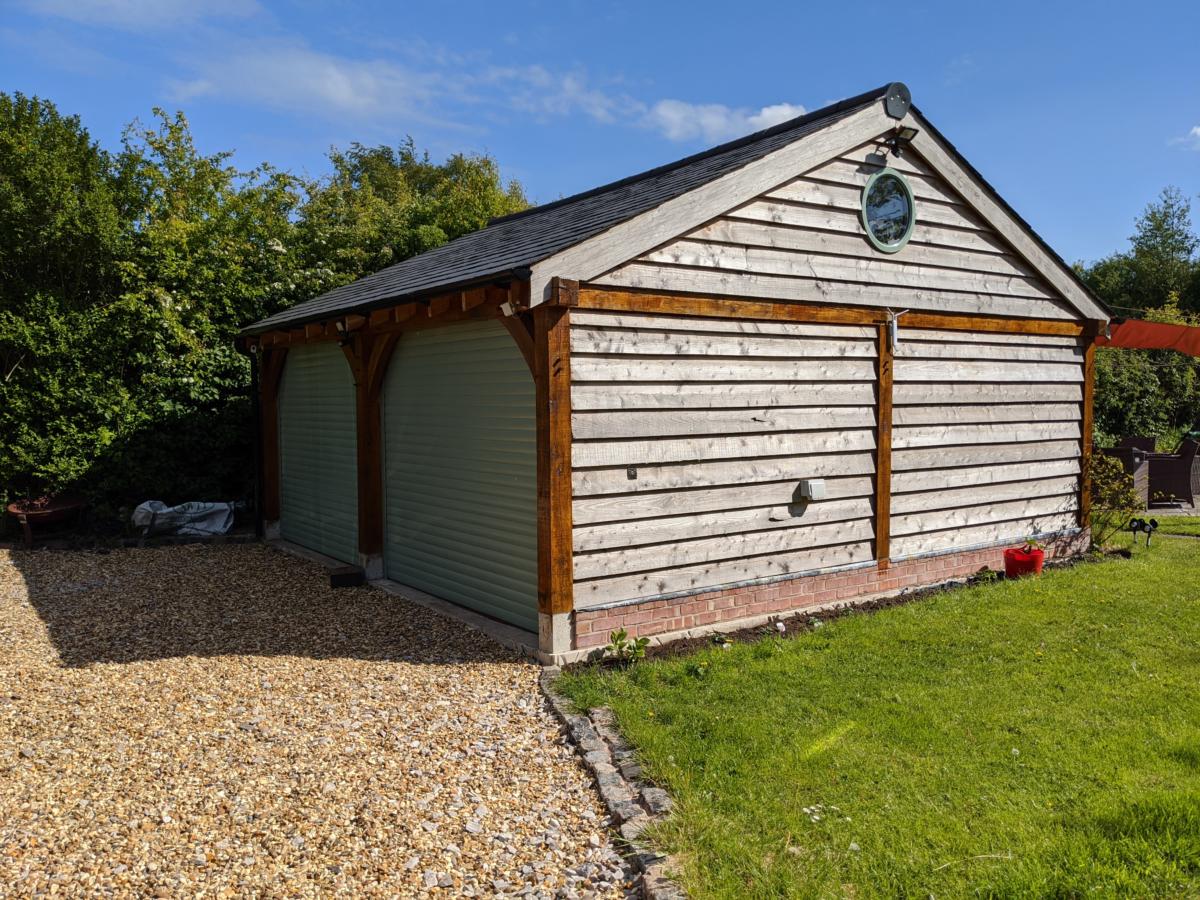
I think it turned out rather well
So thrilled that my crazy friends got together and sent me a beautiful bottle of Japanse Whisky for my birthday. Absolutely love it!


We used to get fixed line broadband but it was a bit unreliable since the cable comes through a bunch of trees and whenever the wind blew the connection would keep dropping out. Obviously this would not do.
So 3 do a mobile broadband solution for £29 per month. I managed to snag it for £20 a month but this lead to a whole bunch of calls with 3 who insisted on charging me £29 per month…but that is a whole other story!
Anyway, we got a reasonable speed from the 3 router – about 18Mbps down and about the same up I think. But whilst researching why my page loads sometimes stalled I happened across a site where people were discussing their download speeds and some of these dudes were getting 80Mbps. Needless to say, I fancied a bit of that. So I bought myself a Poynting external antenna and sent the boy up onto the roof
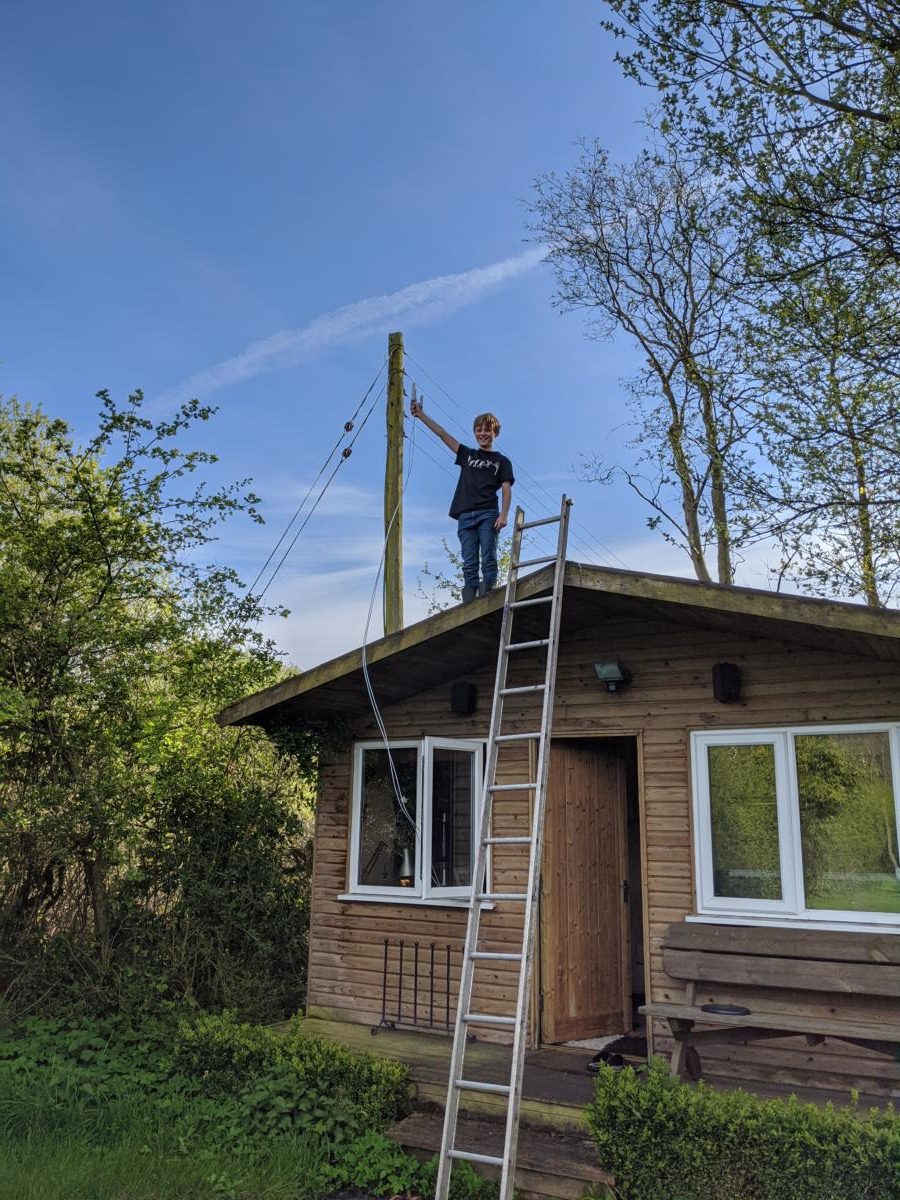
Turns out having your son on the roof holding the antenna and just pointing it in random directions didn’t work out too well. So I built myself a little wooden caddy for the antenna and got myself up on the roof with a mobile app that measures all sorts of funky stuff like RSRQ, RSRP, RSSI and most importantly SINR [ Signal to Noise Ratio ]. By some judicial repositioning of the antenna whilst keeping an eye on the SINR mesaure I managed to get this…

Well over double the speed I was getting from fixed line broadband. I’ve since seen it up at 50Mbps – but it all depends on how many people are on that given cell tower. These speeds are with 4G too – when 5G comes along … well
For Emma’s birthday we dumped the kids on Granddad John and shot up to the Lakes for the weekend. All was lovely. We did a bit of eating and drinking at L’Enclume
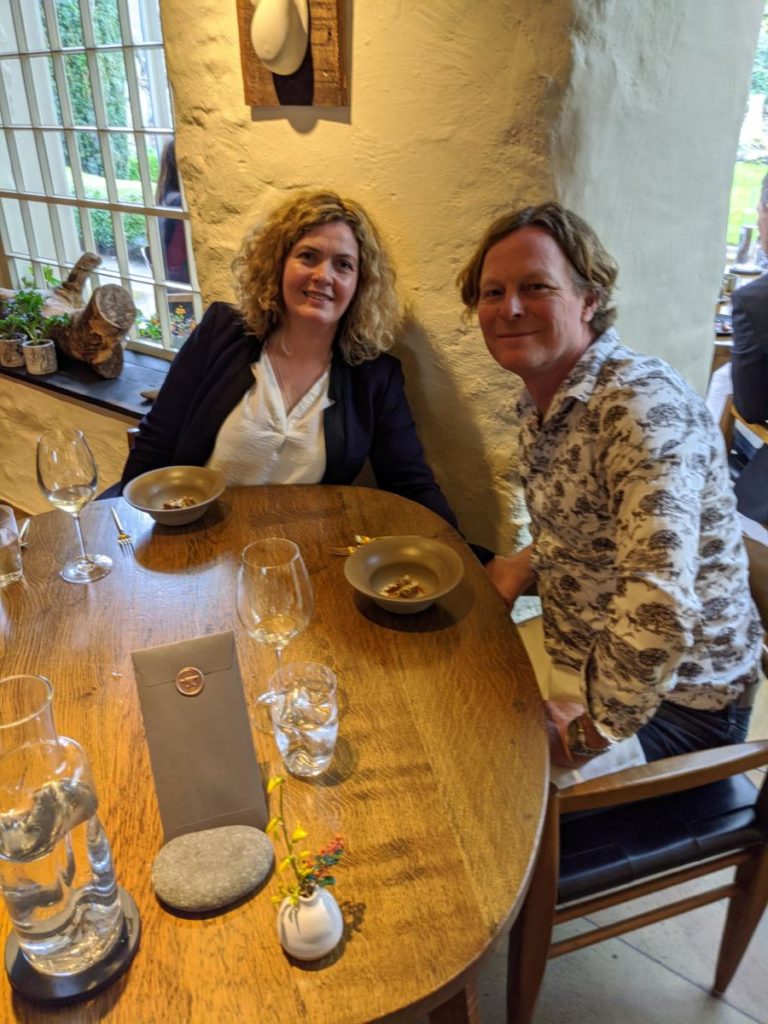
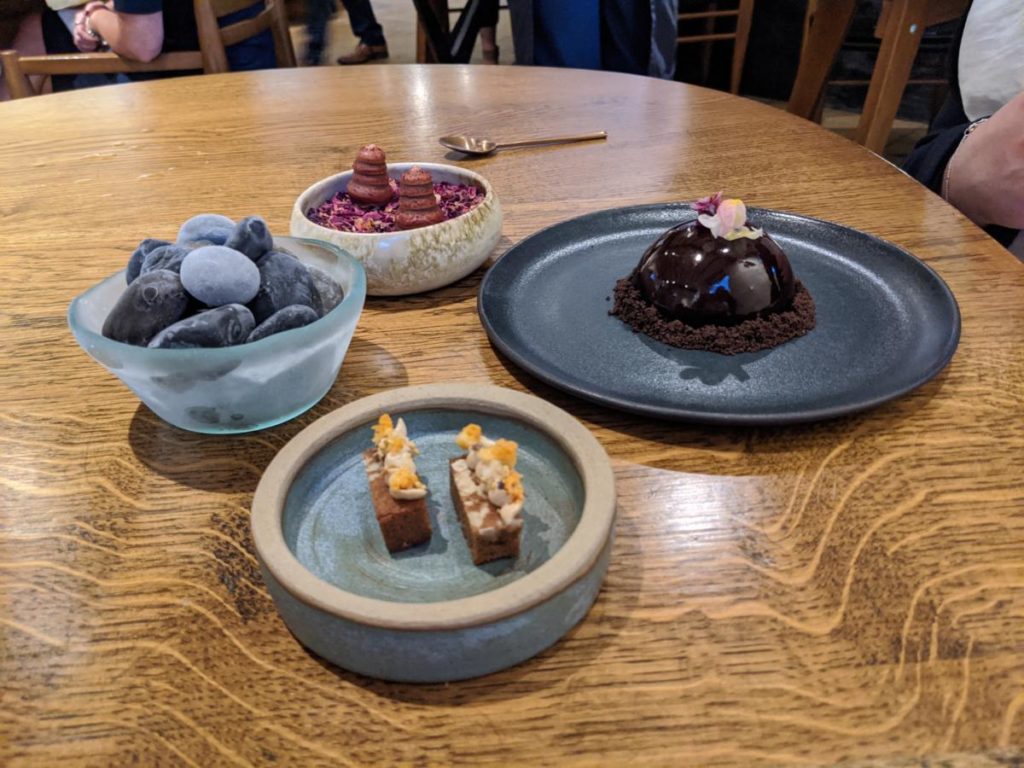
Did a bit of walking around Grasmere…
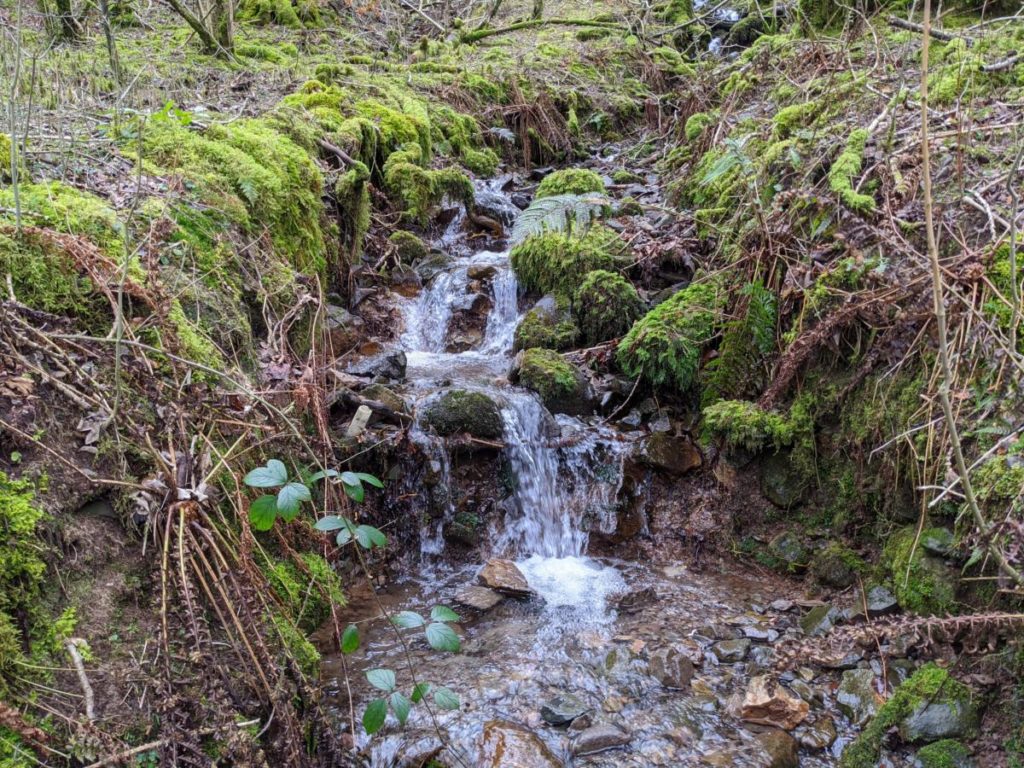

and generally had a groovy time.
My dear friend Aggy had a rather big birthday this year so we decided we’d head over to Snowdonia and climb https://en.wikipedia.org/wiki/Crib_Goch. Storm Dennis, however, had other ideas.
For our weekend of near death experiences we stayed in this luxurious mountain retreat.
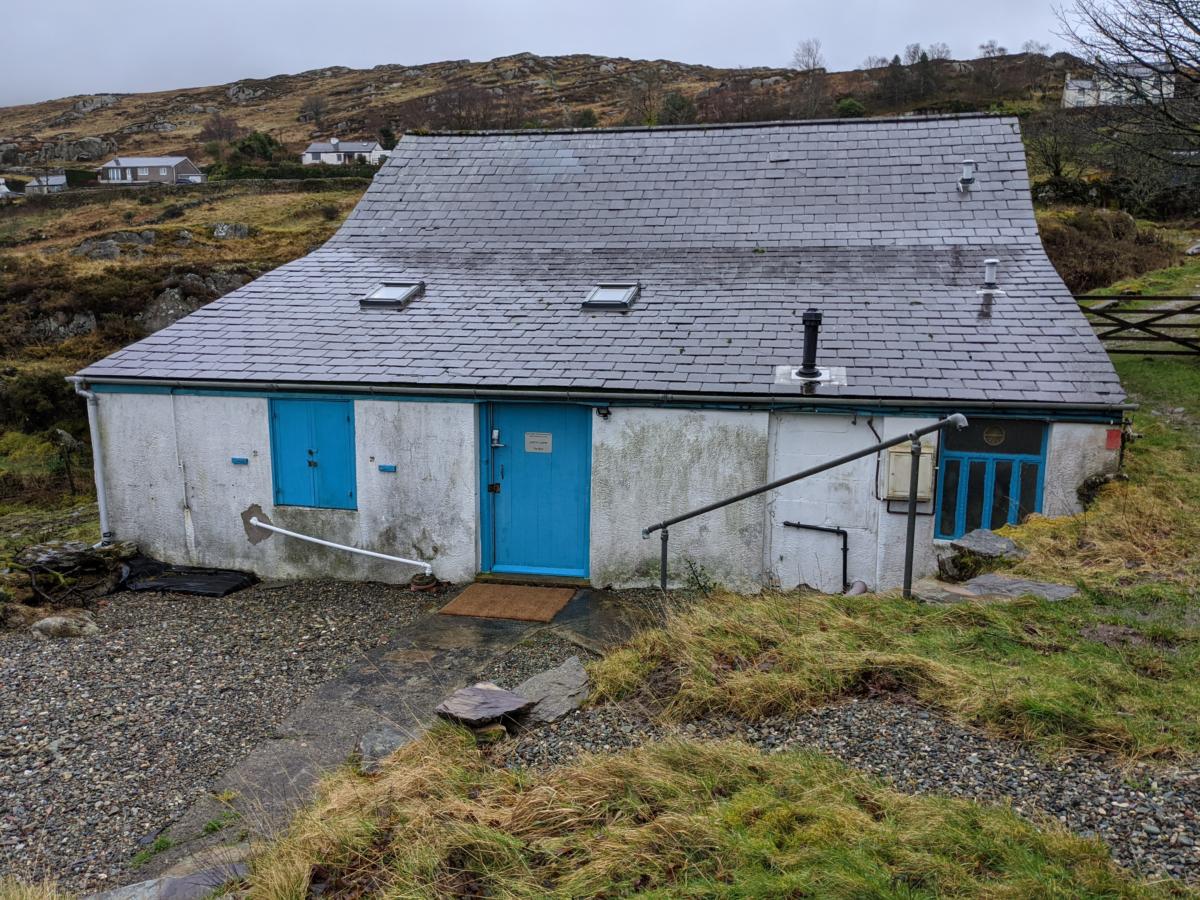
Storm Dennis meant that climbing Crib Goch was a really really really bad idea. So we did a bit of a hike up to a hydro electric reservoir dam type thing and got properly … properly soaked
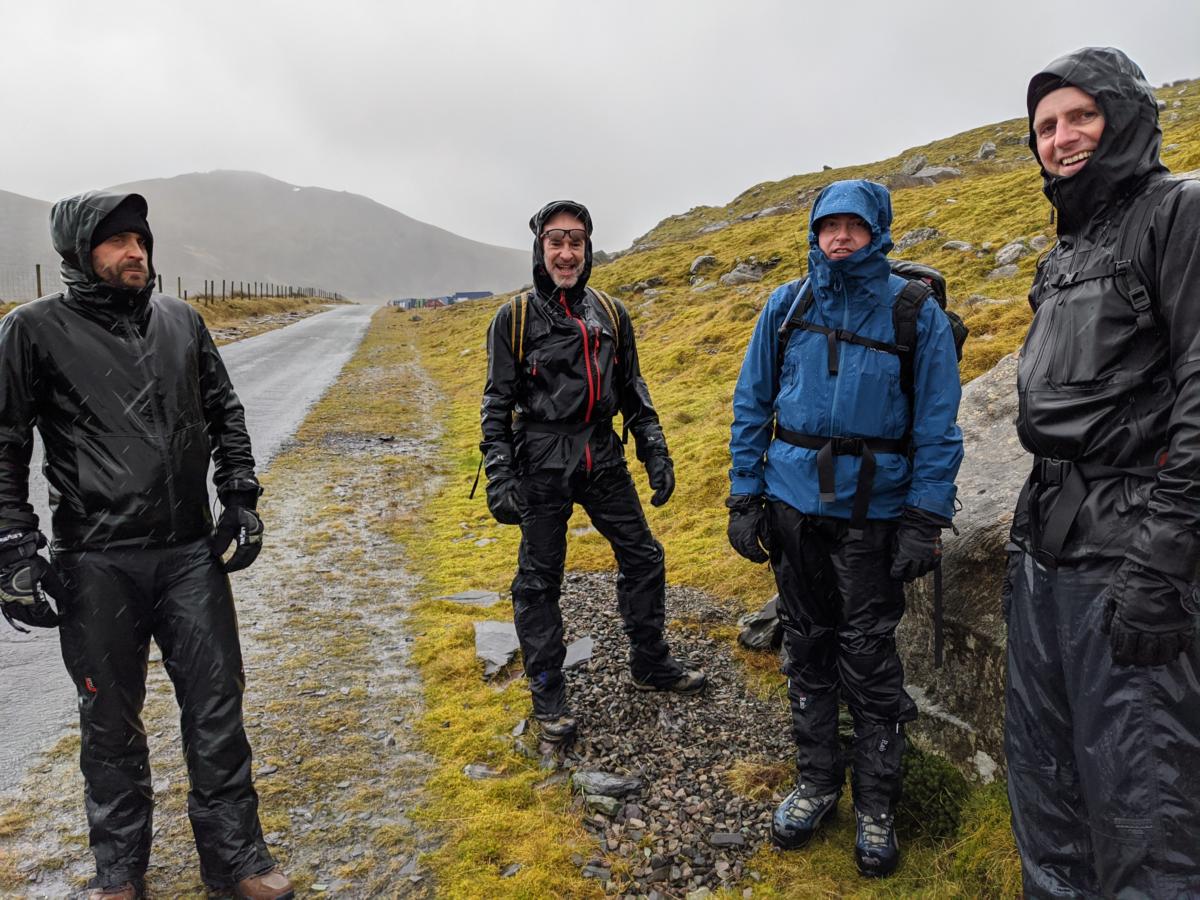
Everything that I was wearing that I thought was waterproof, absolutely wasn’t.
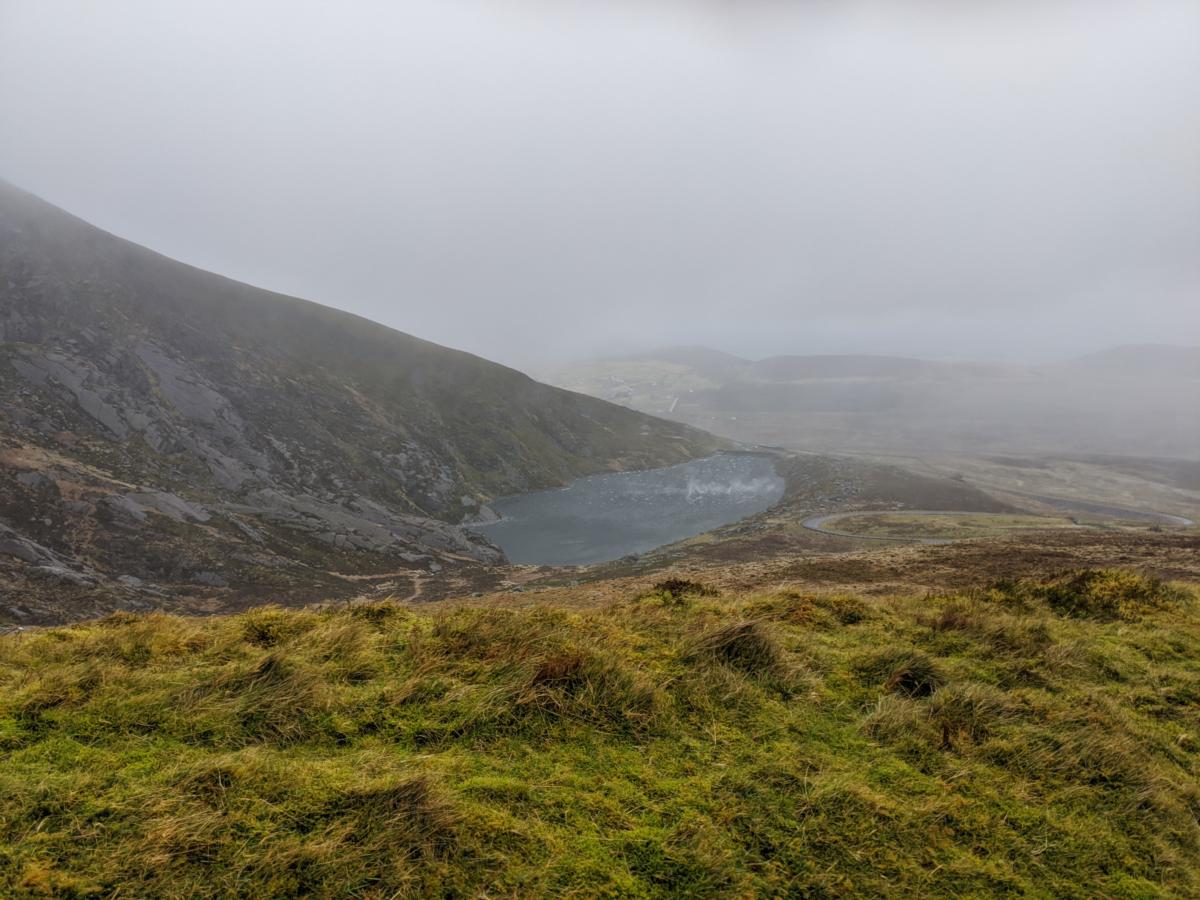
Yes, those are white-capped waves on a lake. It was blowing a right gale! At one point I had to sit on the ground for fear of being blown over.
After getting to the reservoir thing we made the right decision and walked back to the car, got warmed up and went to the pub.
Charlie and I decided to nob off to London for a few days of sightseeing. It all started in Wigan Wetherspoons followed by a quick journey on the train down to Euston and a tube up to Camden. We arrived at our funky apartment and then went out for some drinks which quickly degenerated into chaos. The next day was our proper full day in London and it started by walking up to the top of Primrose Hill to take in the views

We then hopped on a bus and headed into Central London. I think we might have had a beer somewhere before heading to Covent Garden – but where that beer may have been is a mystery to me.
A spot of lunch in Covent Garden before embarking on a mission to find the Dr Martens shop…without using google. We wandered here, we wandered there – drinking beer in both places…at one point we ended up in the Bear and Staff where we met quite possibly the dullest and least helpful barman in the whole of London.
Eventually we worked out it was on Neal St, then we cheated a bit since we were pretty pissed by this point and looked up Neal St on Google Maps.
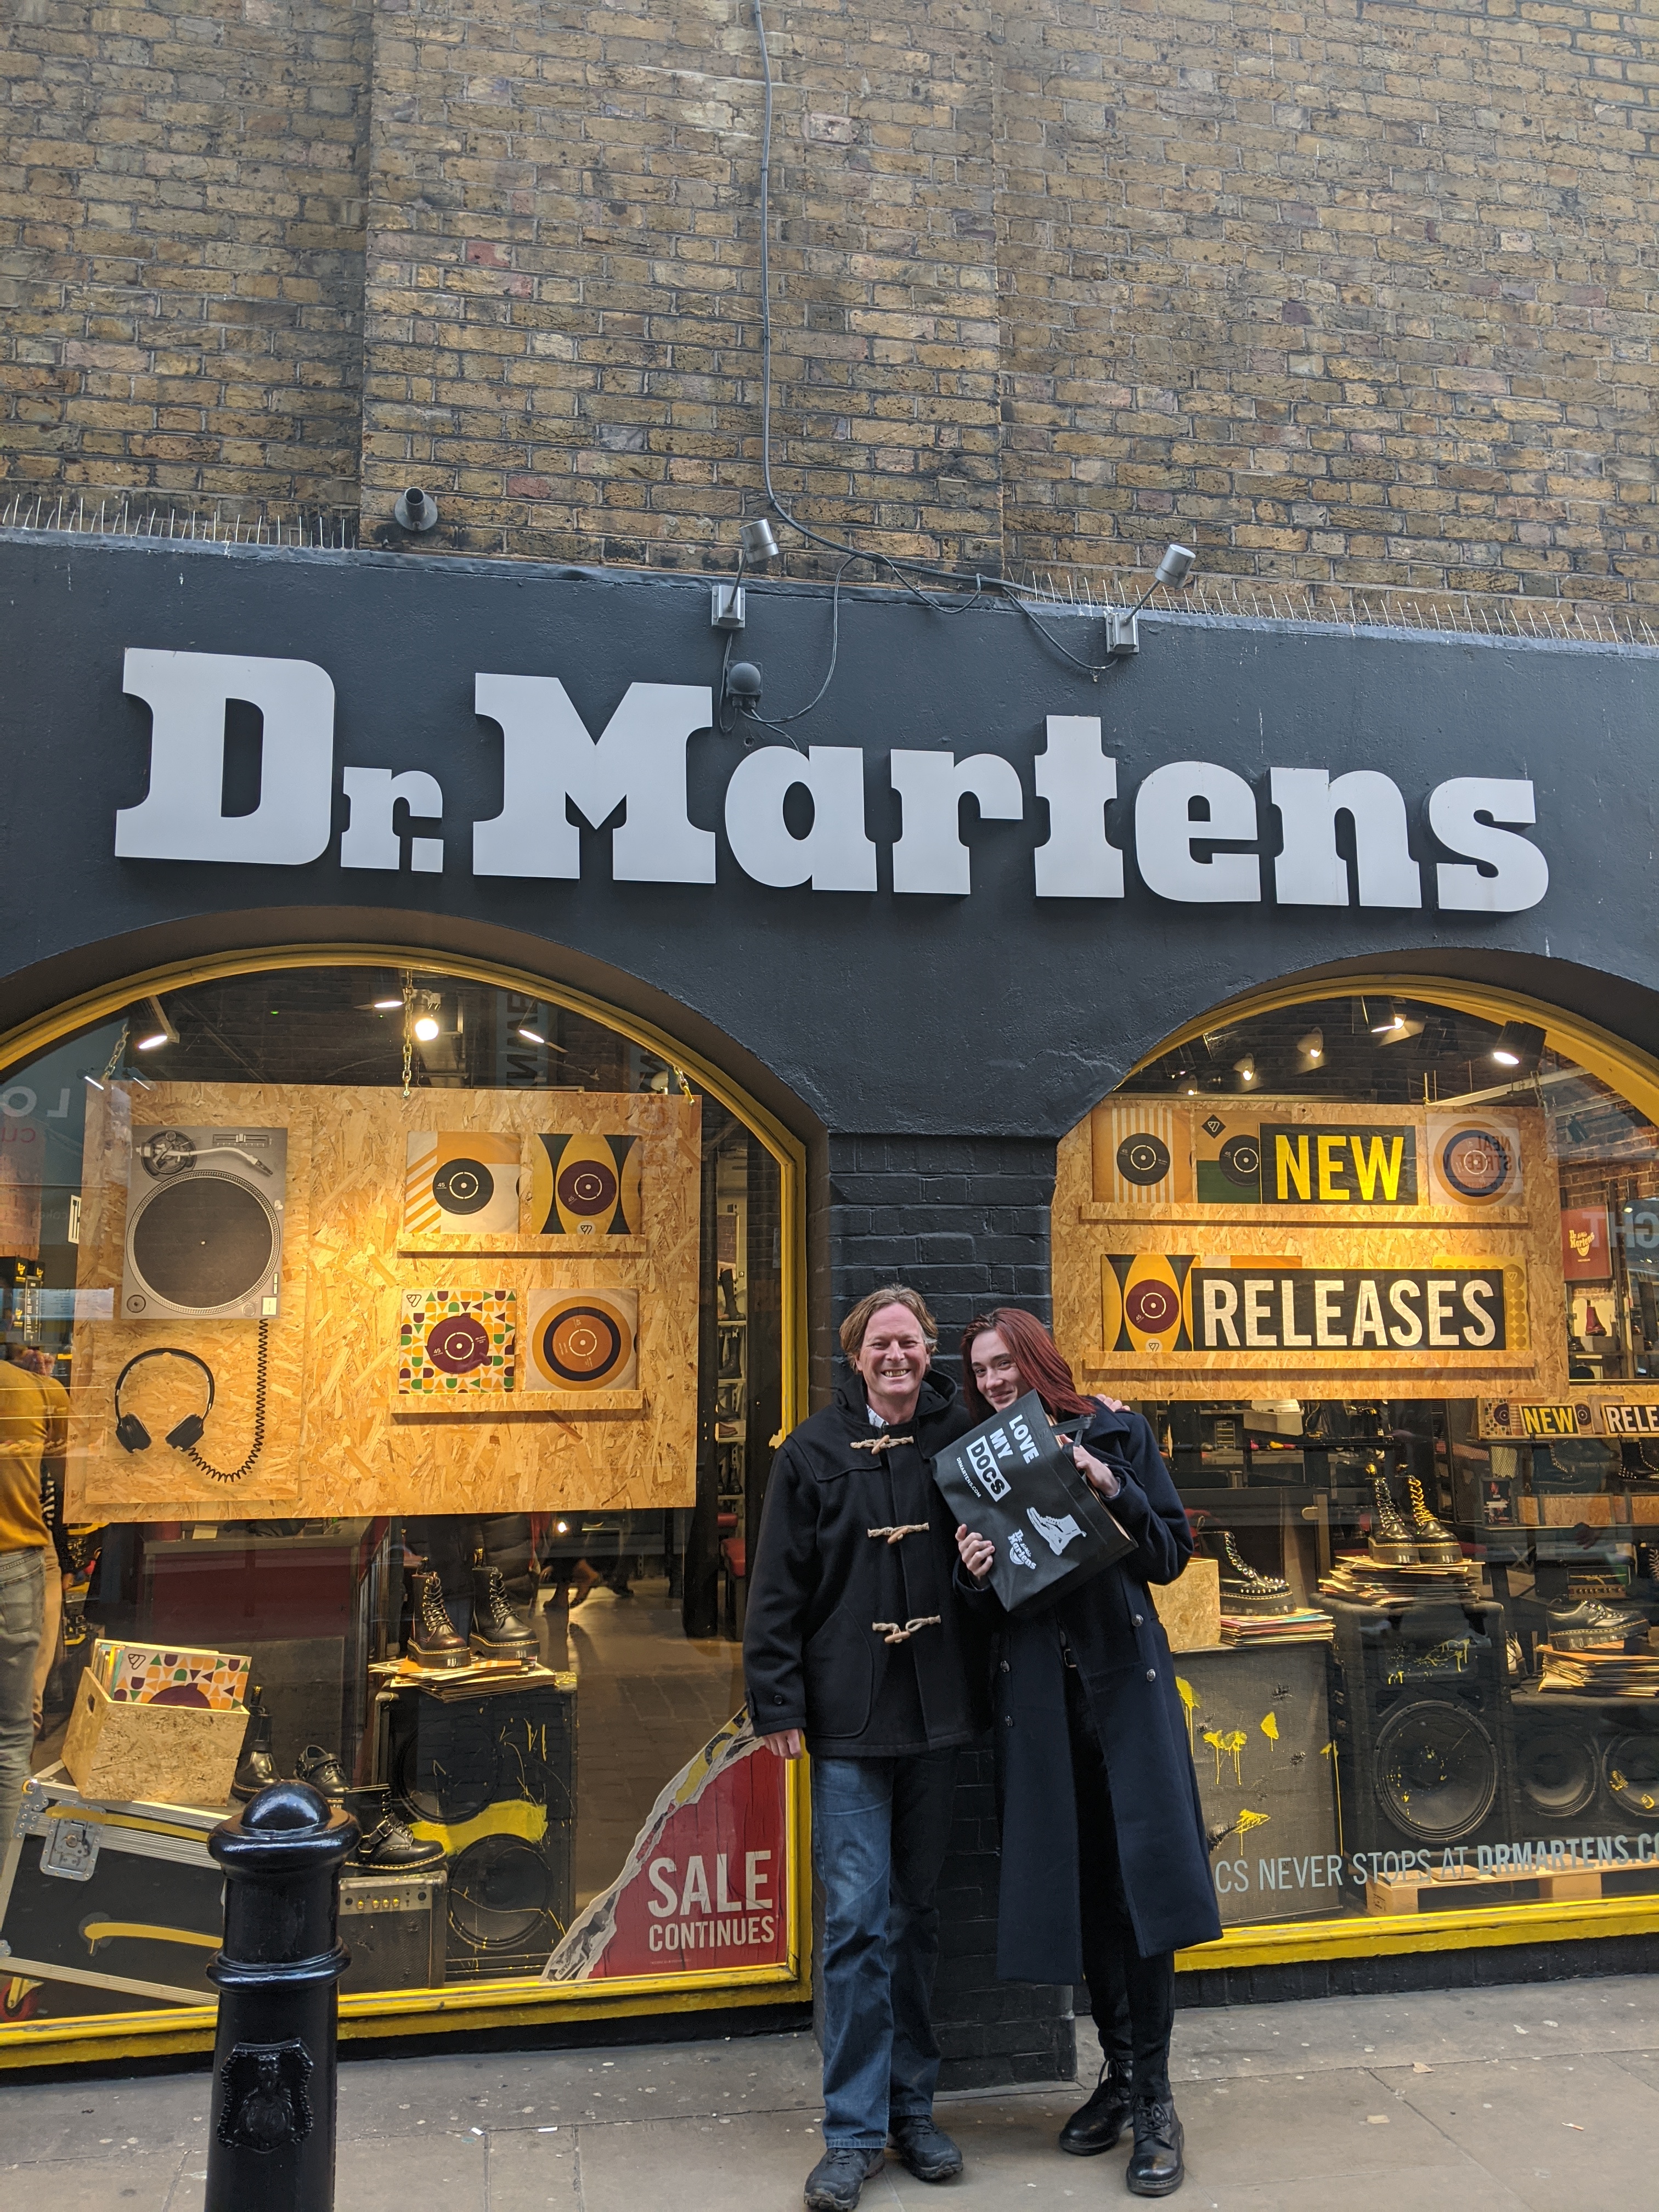
We made it and Charlie got his DM’s. At this point we wanted to do the tourist thing so we went over to Punch and Judy and drank beer on the balcony watching some pretty epic street performers.

It all gets a bit blurry here but we got on the tube, on the wrong spur and ended up down by London Bridge. Got out of the tube and ate dinner in the first random pub we came across, The Southwark Tavern, which served pretty wonderful food actually, and then we hopped onto the correct tube and went over to South Kensington to meet up with Gerome

This brought the night to an end – we uber’d back to Camden and passed out.
On the last day we grabbed our stuff and left the unbelievably insecure apartment we rented…turned out you didn’t need to put a code in – just turn the handle and off you go … and headed down to Embankment to show Charlie one of my favourite views in London from the bridge outside Embankemt Station. I always thought it was called Hungerford Bridge but that could be the bridge the train goes over – according to Google maps it’s called Golden Jubilee Bridge.
We finished the London mash with a glass of wine in Gordon’s Wine Bar. I’ve been to this place many times but it’s the first time I’ve ever managed to find a table in the vaulted section. It seems daytime drinking has something going for it after all

We both slept most of the journey back on the train being rudely awoken just before Wigan. In the mad dash to get off the train I managed to lose my pilfered emergency wine glass. Sad face.
We forewent [ if that’s even a word ] the usual NYE celebrations and instead got an early night so we could get up bright and early and drive to North Wales…Loggerheads to be precise, so that we could climb the lofty heights of Moel Famau. We got there and the first hurdle was that we needed £2 to park on the car park. Since I pretty much pay for everything via contactless this was a bit of an issue. In my rear view mirror I could see a queue of cars forming behind me as everyone in the car [ including kids ] were scrabbling around trying to find some change. Fortunately Emma found a couple of pound coins and in we went.
We set off walking in our boots, hats, scarves, snoods and jackets. After about five minutes the scarves, hats and snoods came off and the jackets were unfastened. It was hard going and we were all getting pretty hot. Amelia was loving it
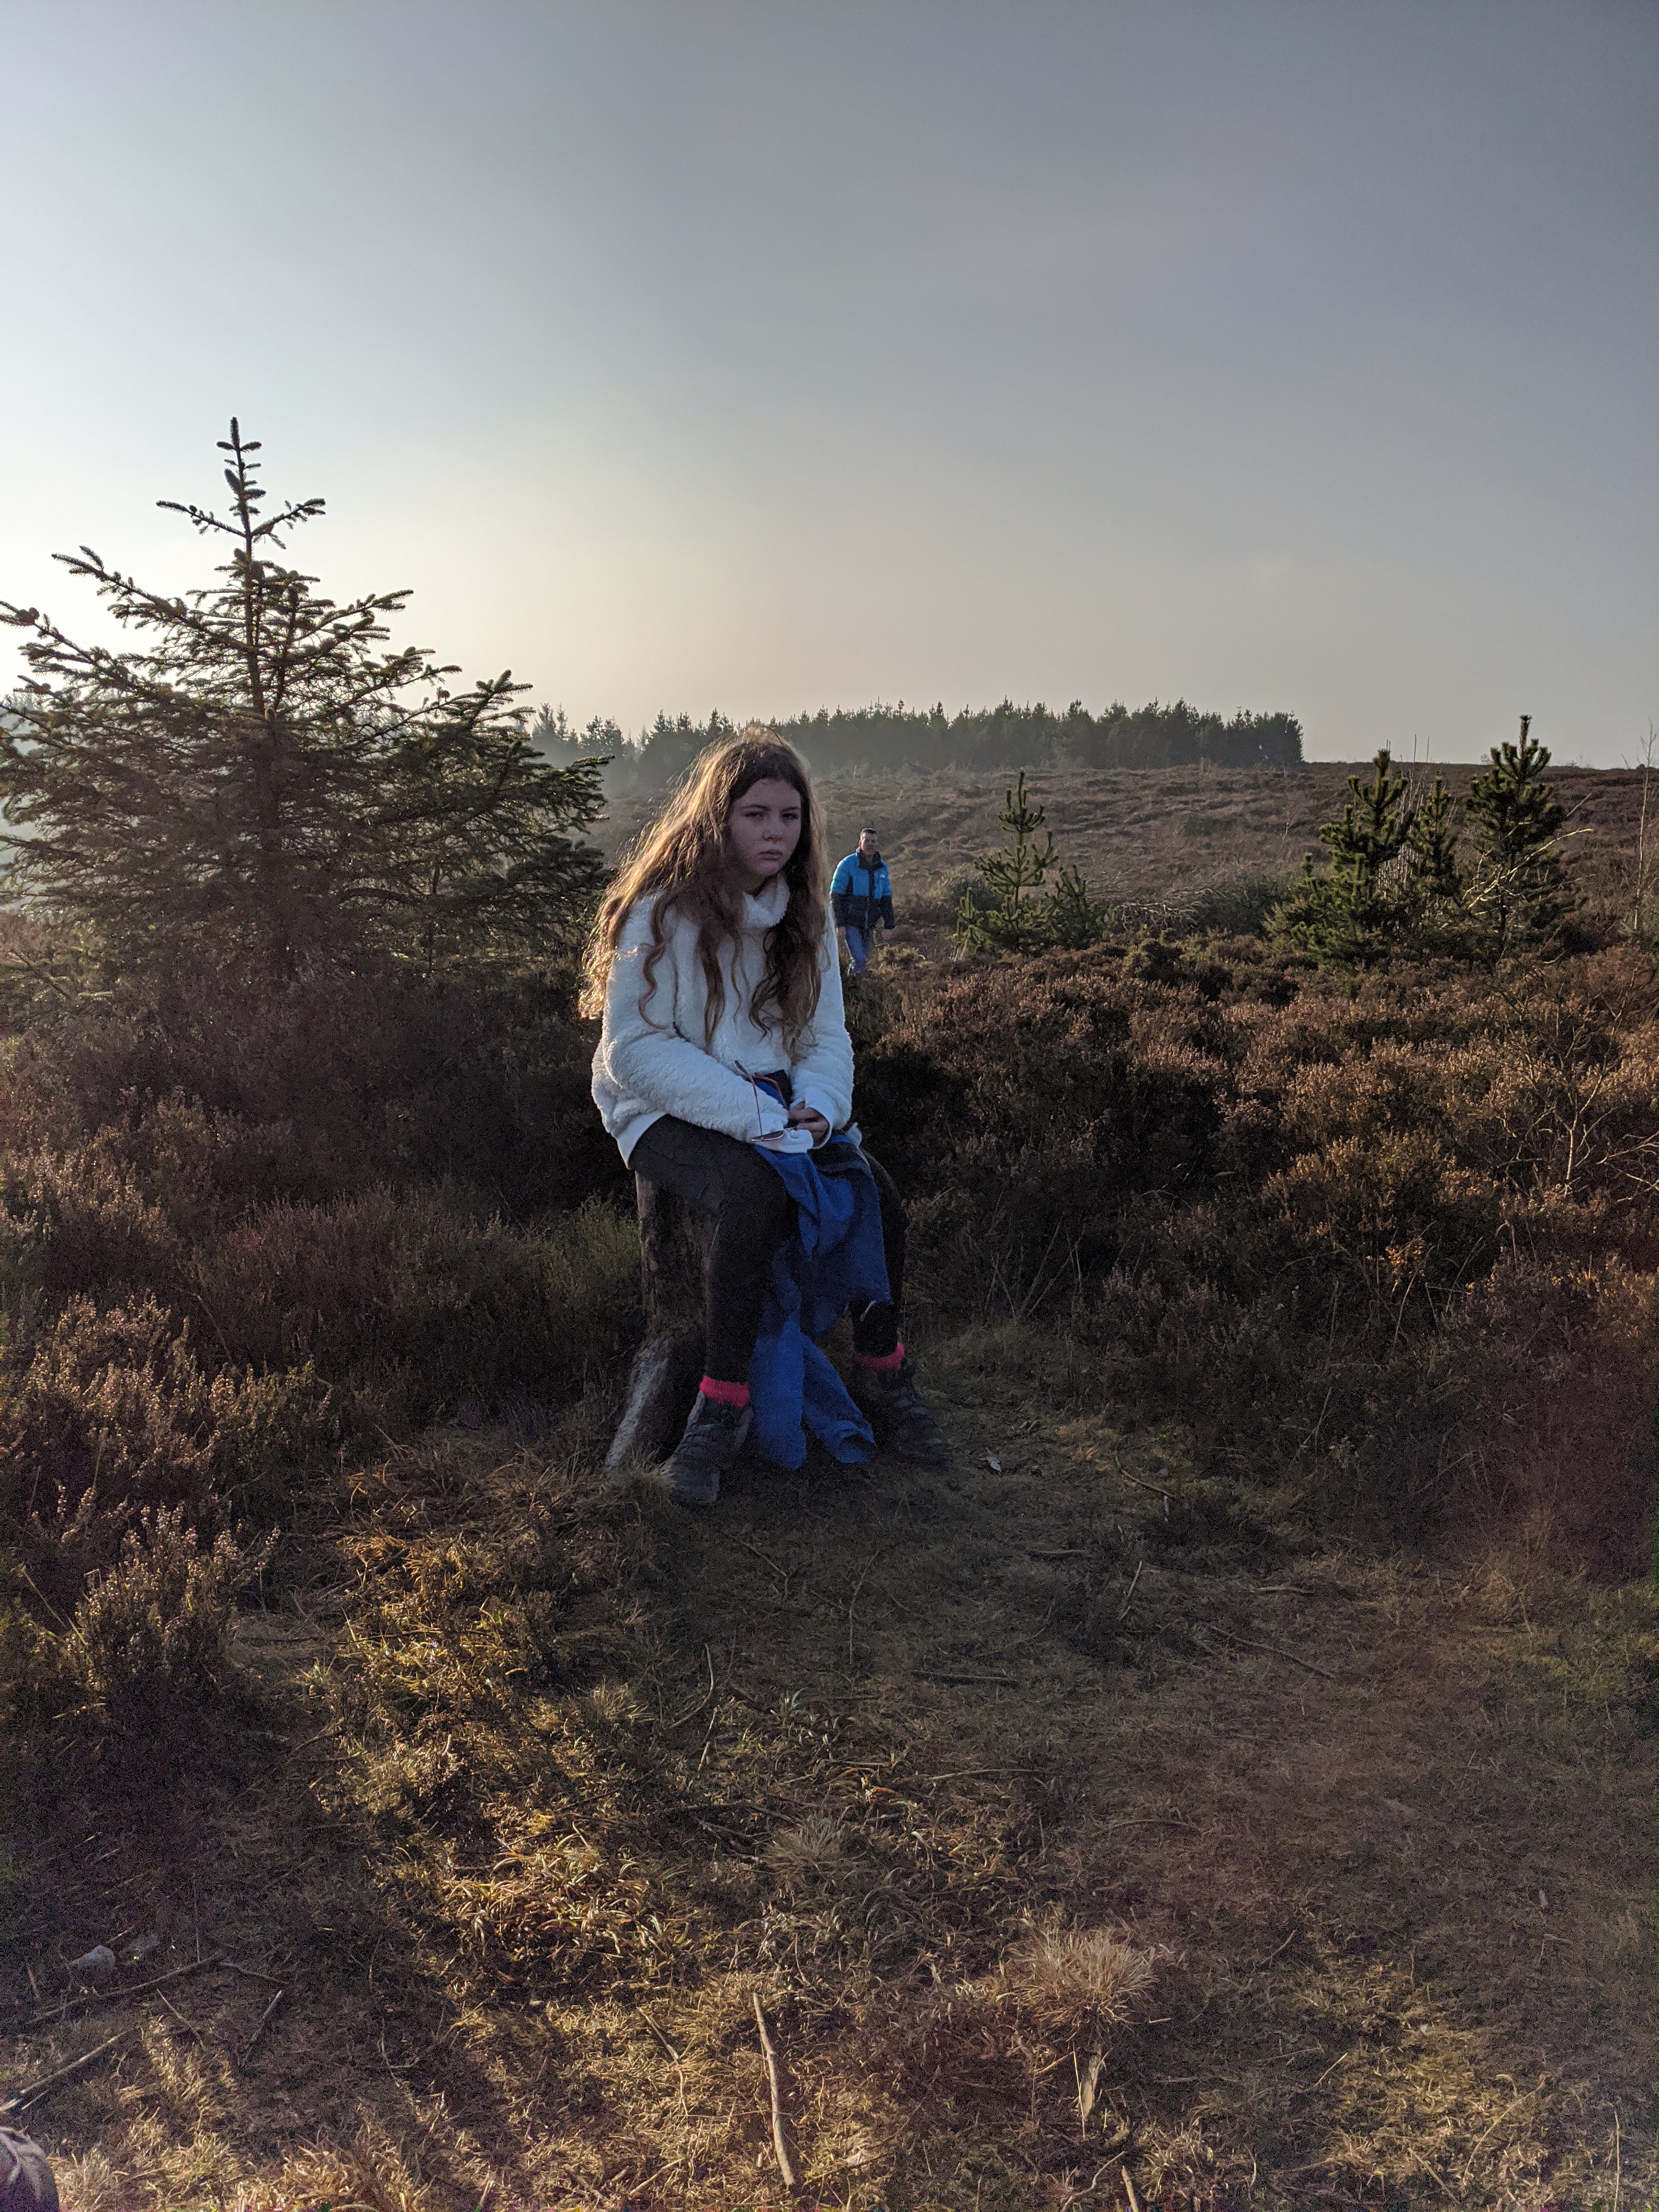
At one point we thought we were getting near the top as all the trees started thinning out….nope, we just popped out above the tree line and then saw that the summit was a loooong way away.
We persevered though and made it to the top.
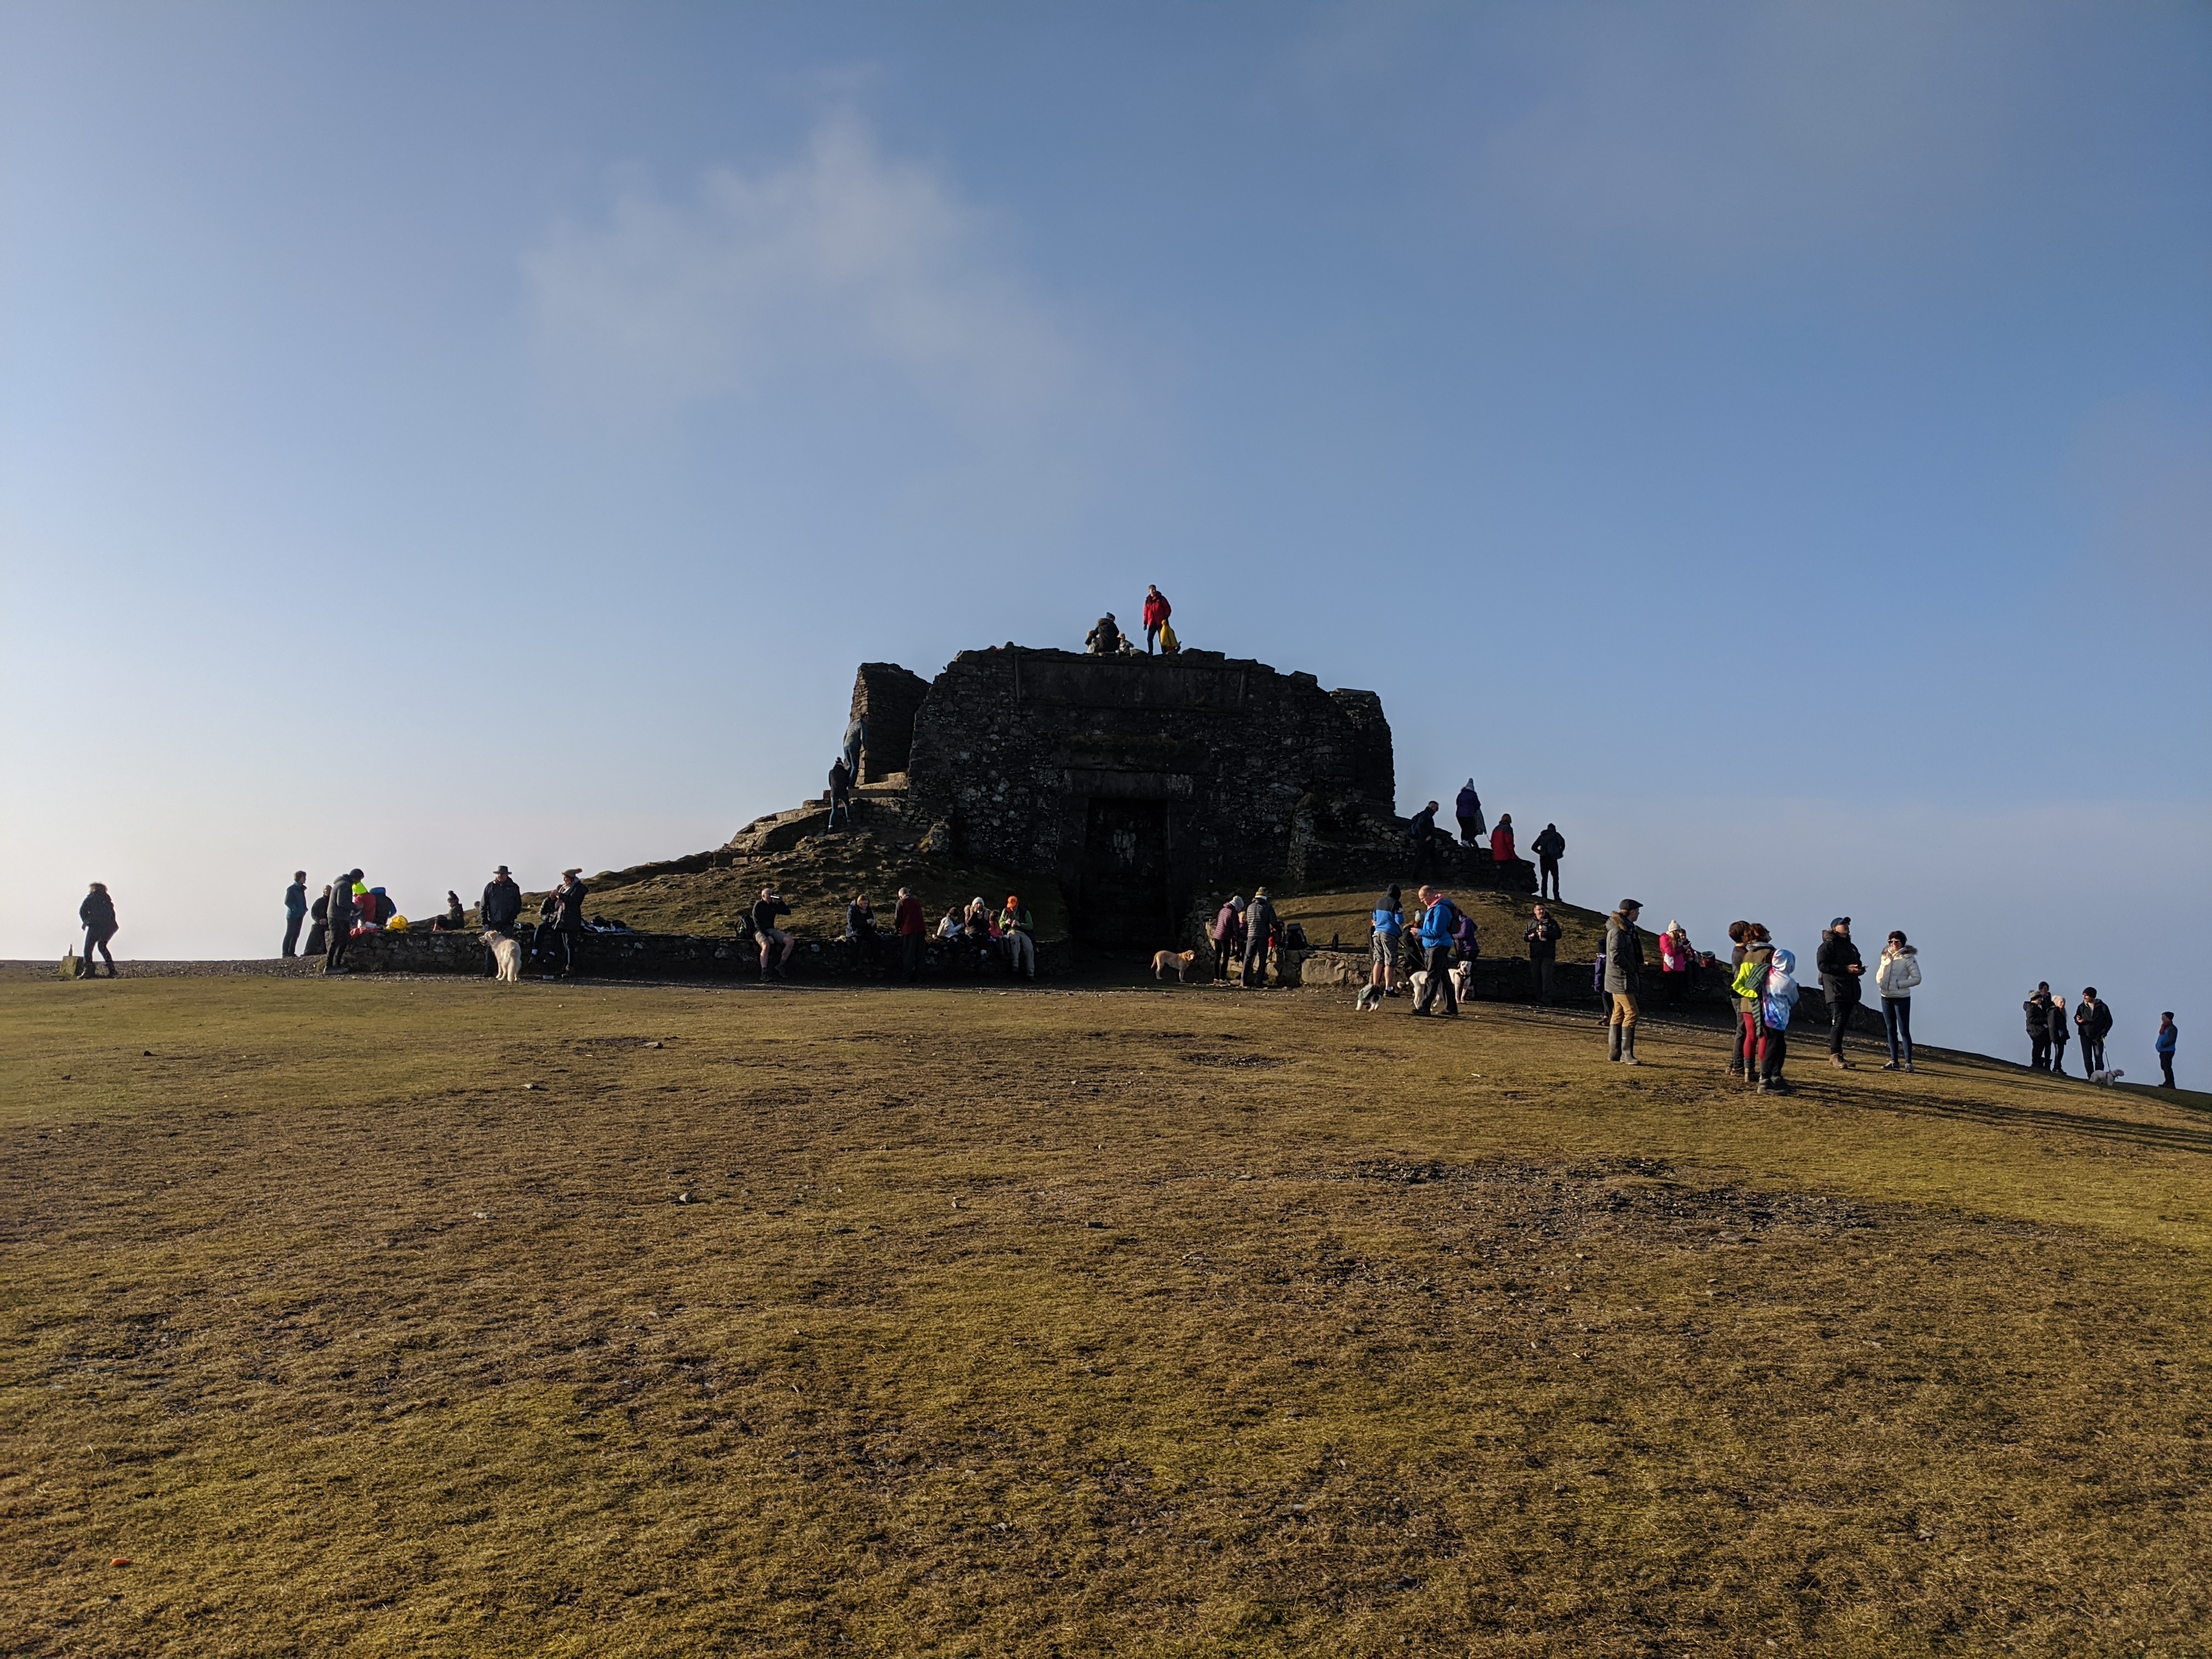


After some sandwiches at the top we started walking down again….Amelia cheered up by this point

This is where the fun really began. We didn’t realise Moel Famau was such a popular New Years Day walk. As we were coming down the hill there was a mass of people heading up. Some were in trainers and shorts, pretty much everyone had dogs, there were some guys walking up smoking a spliff and I’m sure I saw some guys walking up with tins of beer. Anyway, the important part was the car park was rammed and so people had started parking on the road. This reduced the access road to a single carriageway meaning people were trying to get out whilst people were trying to get in and it was just deadlock. We ended up stuck on the road for about forty minutes until somebody managed to organise the people coming up the road to pull onto peoples drives and reverse back down and all sorts of stuff. Eventually we got away and made it to Nana Pat’s for a New Years Day lunch. In summary, beautiful walk, definitely do it again…but not on New Years Day.

You’ll all be pleased to know that my soldering has not improved one tiniest little bit. However, it was good enough to get the job done and my Pi is now driving the Neopixel LED strips. Next step is to power the Pi from PSU that powers the LED strip, but first I have to work out how much power the PSU consumes when the LED’s are not illuminated.

An afternoon/evening over in Hoylake resulted in the above happy hour purchase of 2 * Pornstar Martini and 1 * Some-sort-of Negroni. We ended up a little drunk 🙂
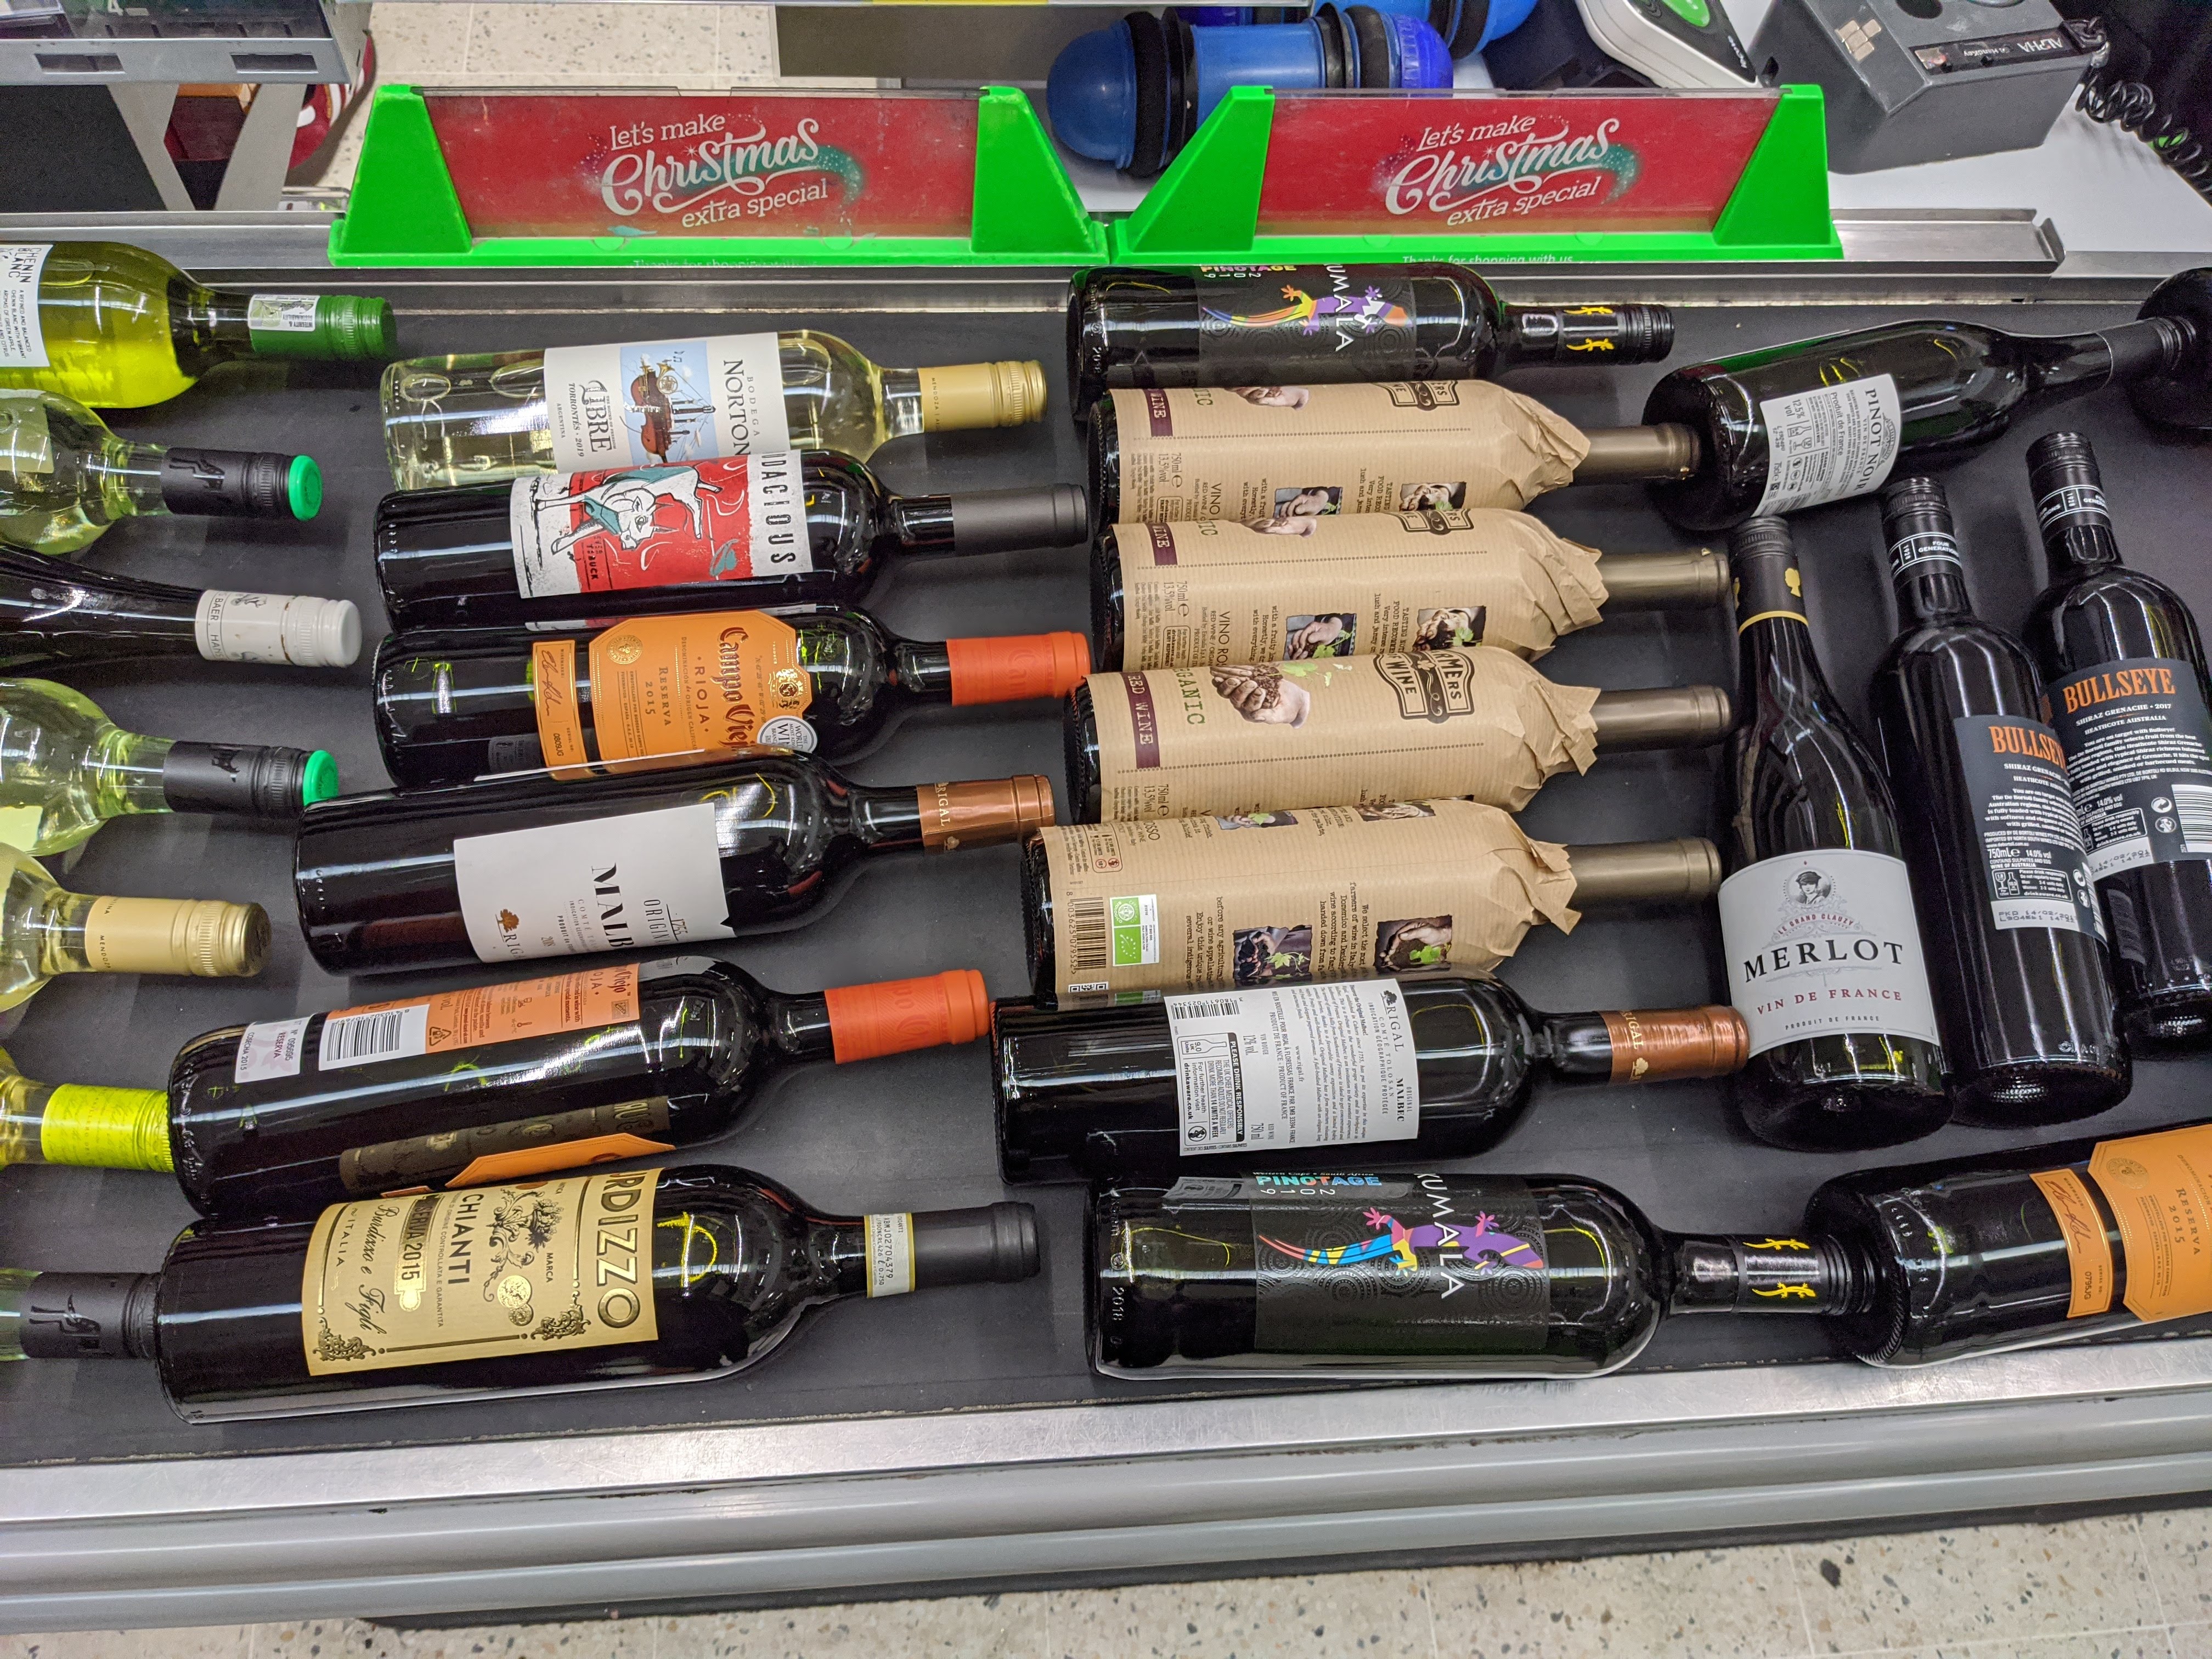
Amelia spotted that wine was 25% off so off we popped with a load of wine carriers and the big car. I thought we bought 42 bottles but it turned out I miscounted and only got 38. Should last us a while though

I cannot stress enough how much I hate this printer. The way it will totally randomly decide that a colour has run out every single god damned time you switch it on. The way it kind of gives a gallic shrug if you decide to print to it – sometimes it will print, sometimes it just can’t be arsed and no amount of prodding, poking, resetting wifi connections or kneeling before it begging to just print ONE FUCKING page will do any good.
Well today enough was enough. The kids seemed quite concerned at my hulk roar of rage but generally took it in their stride as I calmly unplugged the power cable, took it outside and used all my strength to smash this annoying piece of crap into many many [ but not enough ] pieces. Fuck you Canon – I just bought a Brother laser printer that just works.
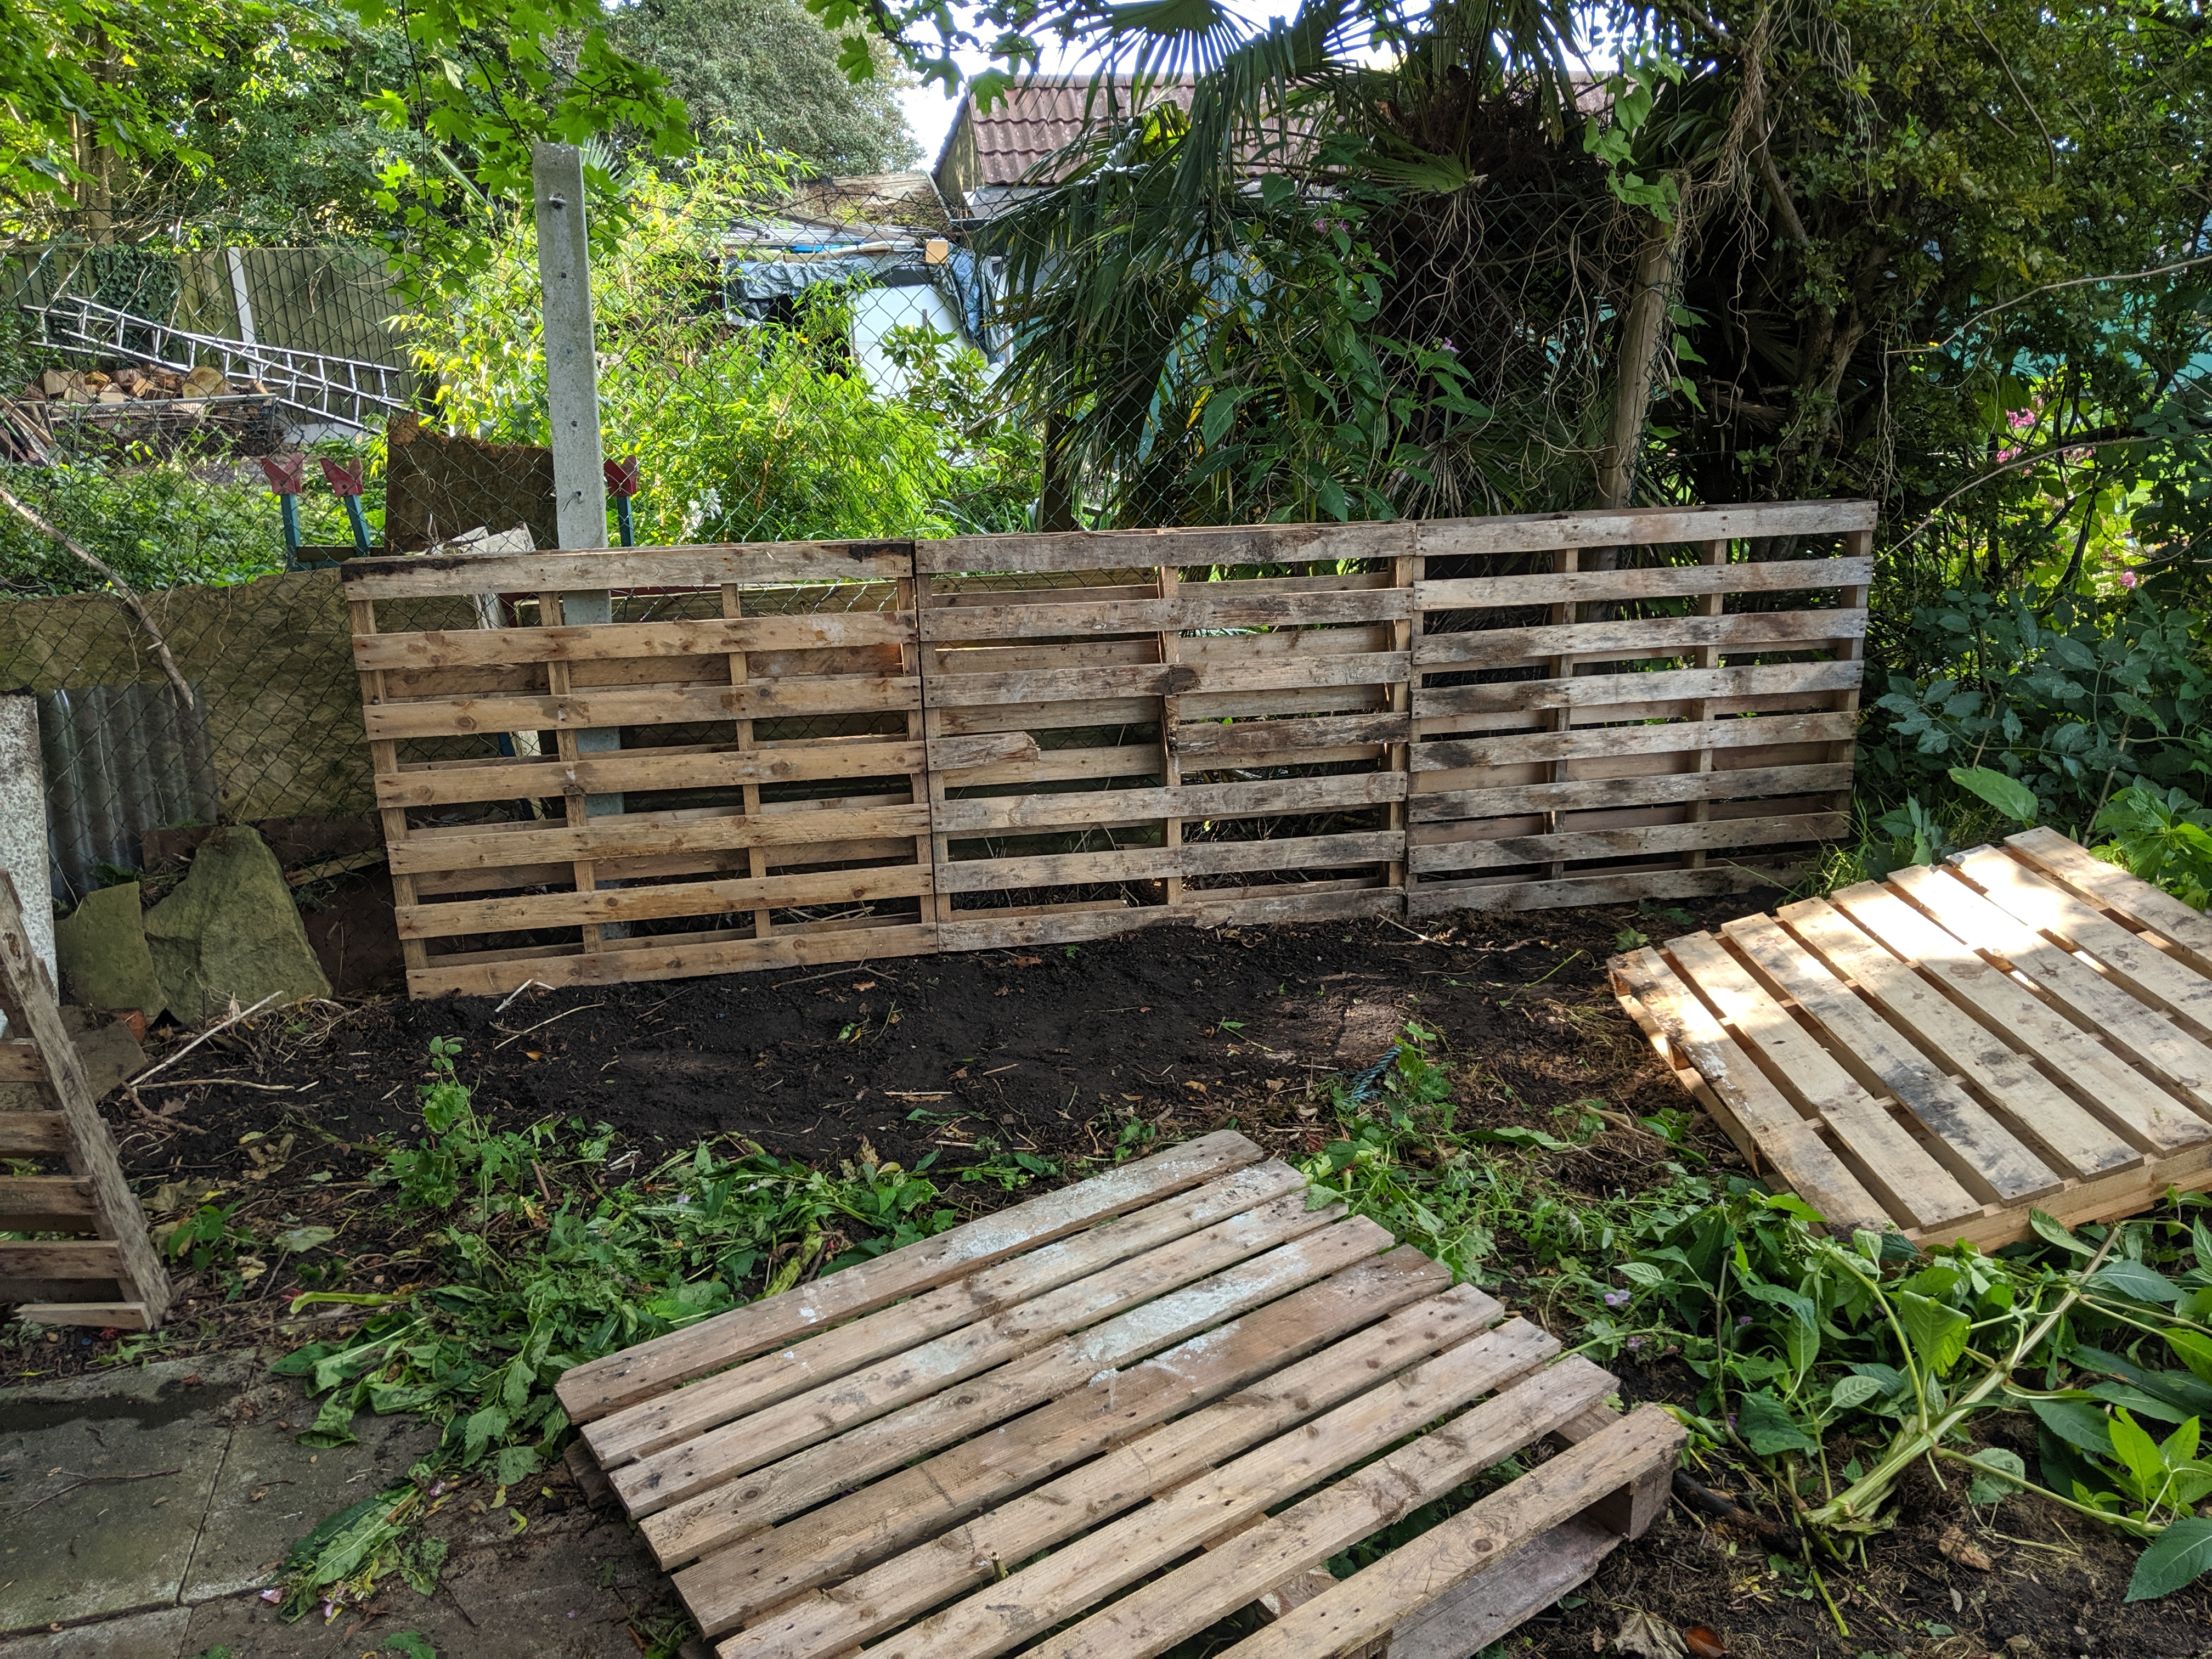
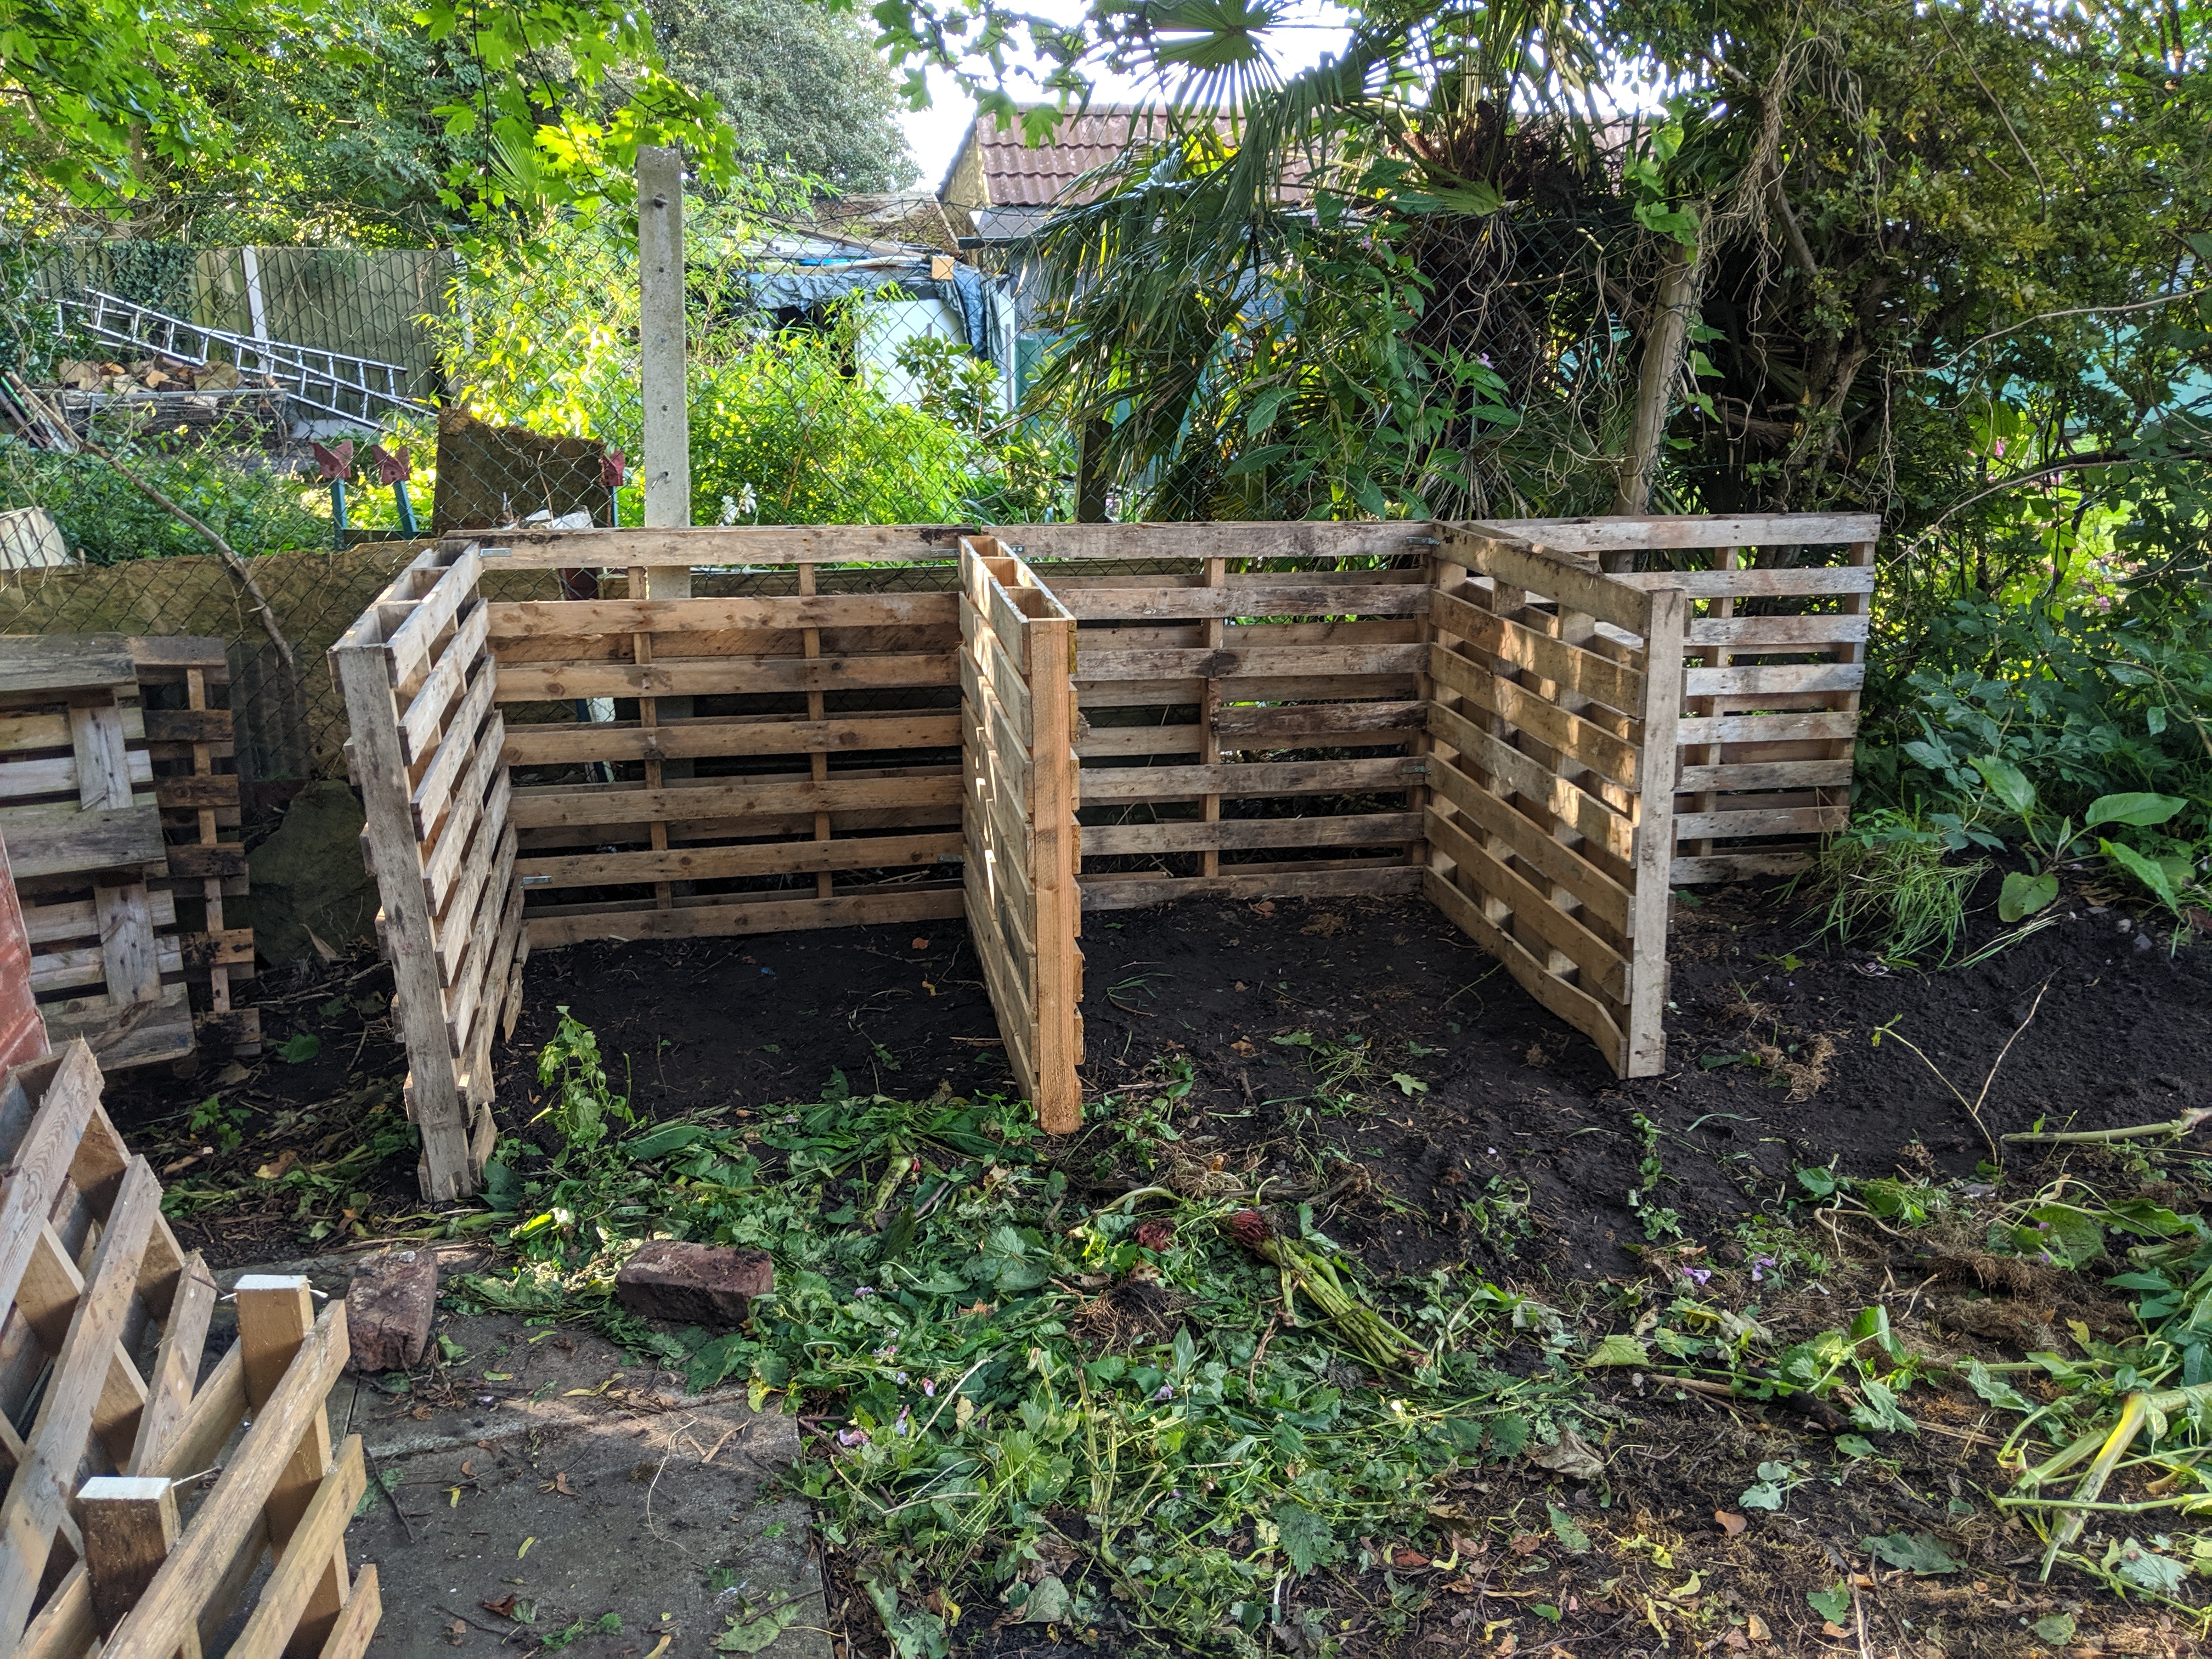
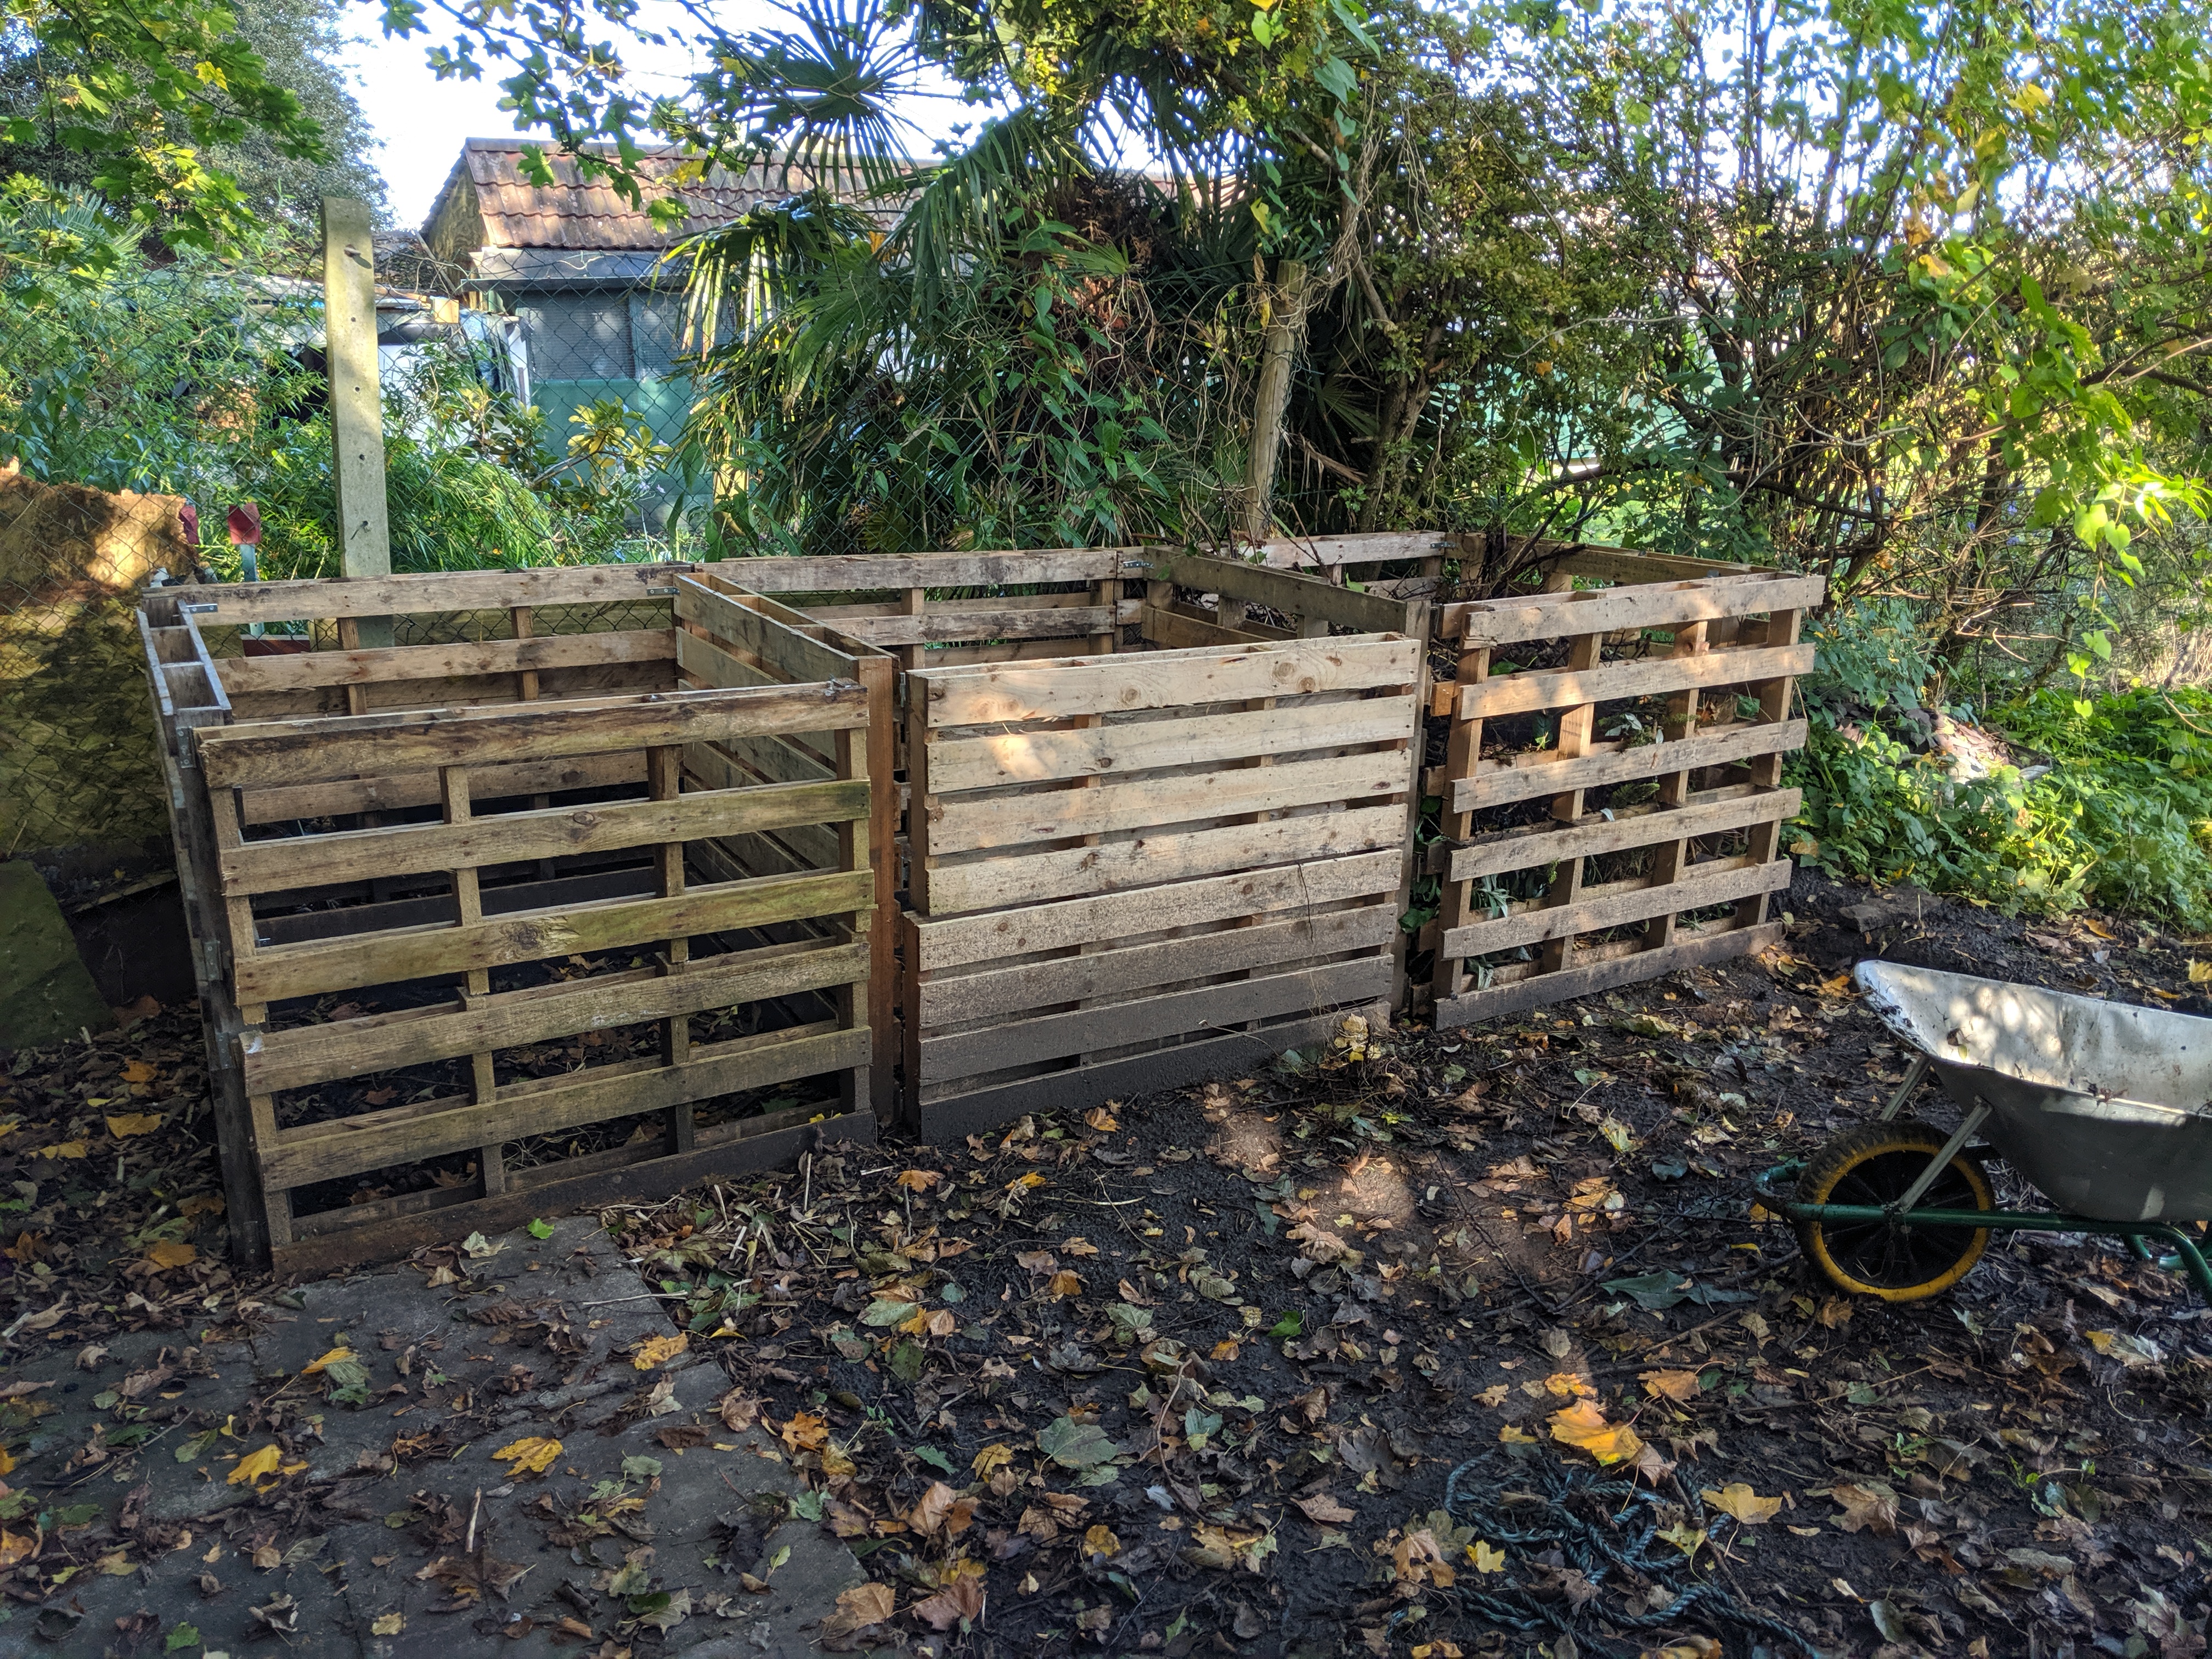
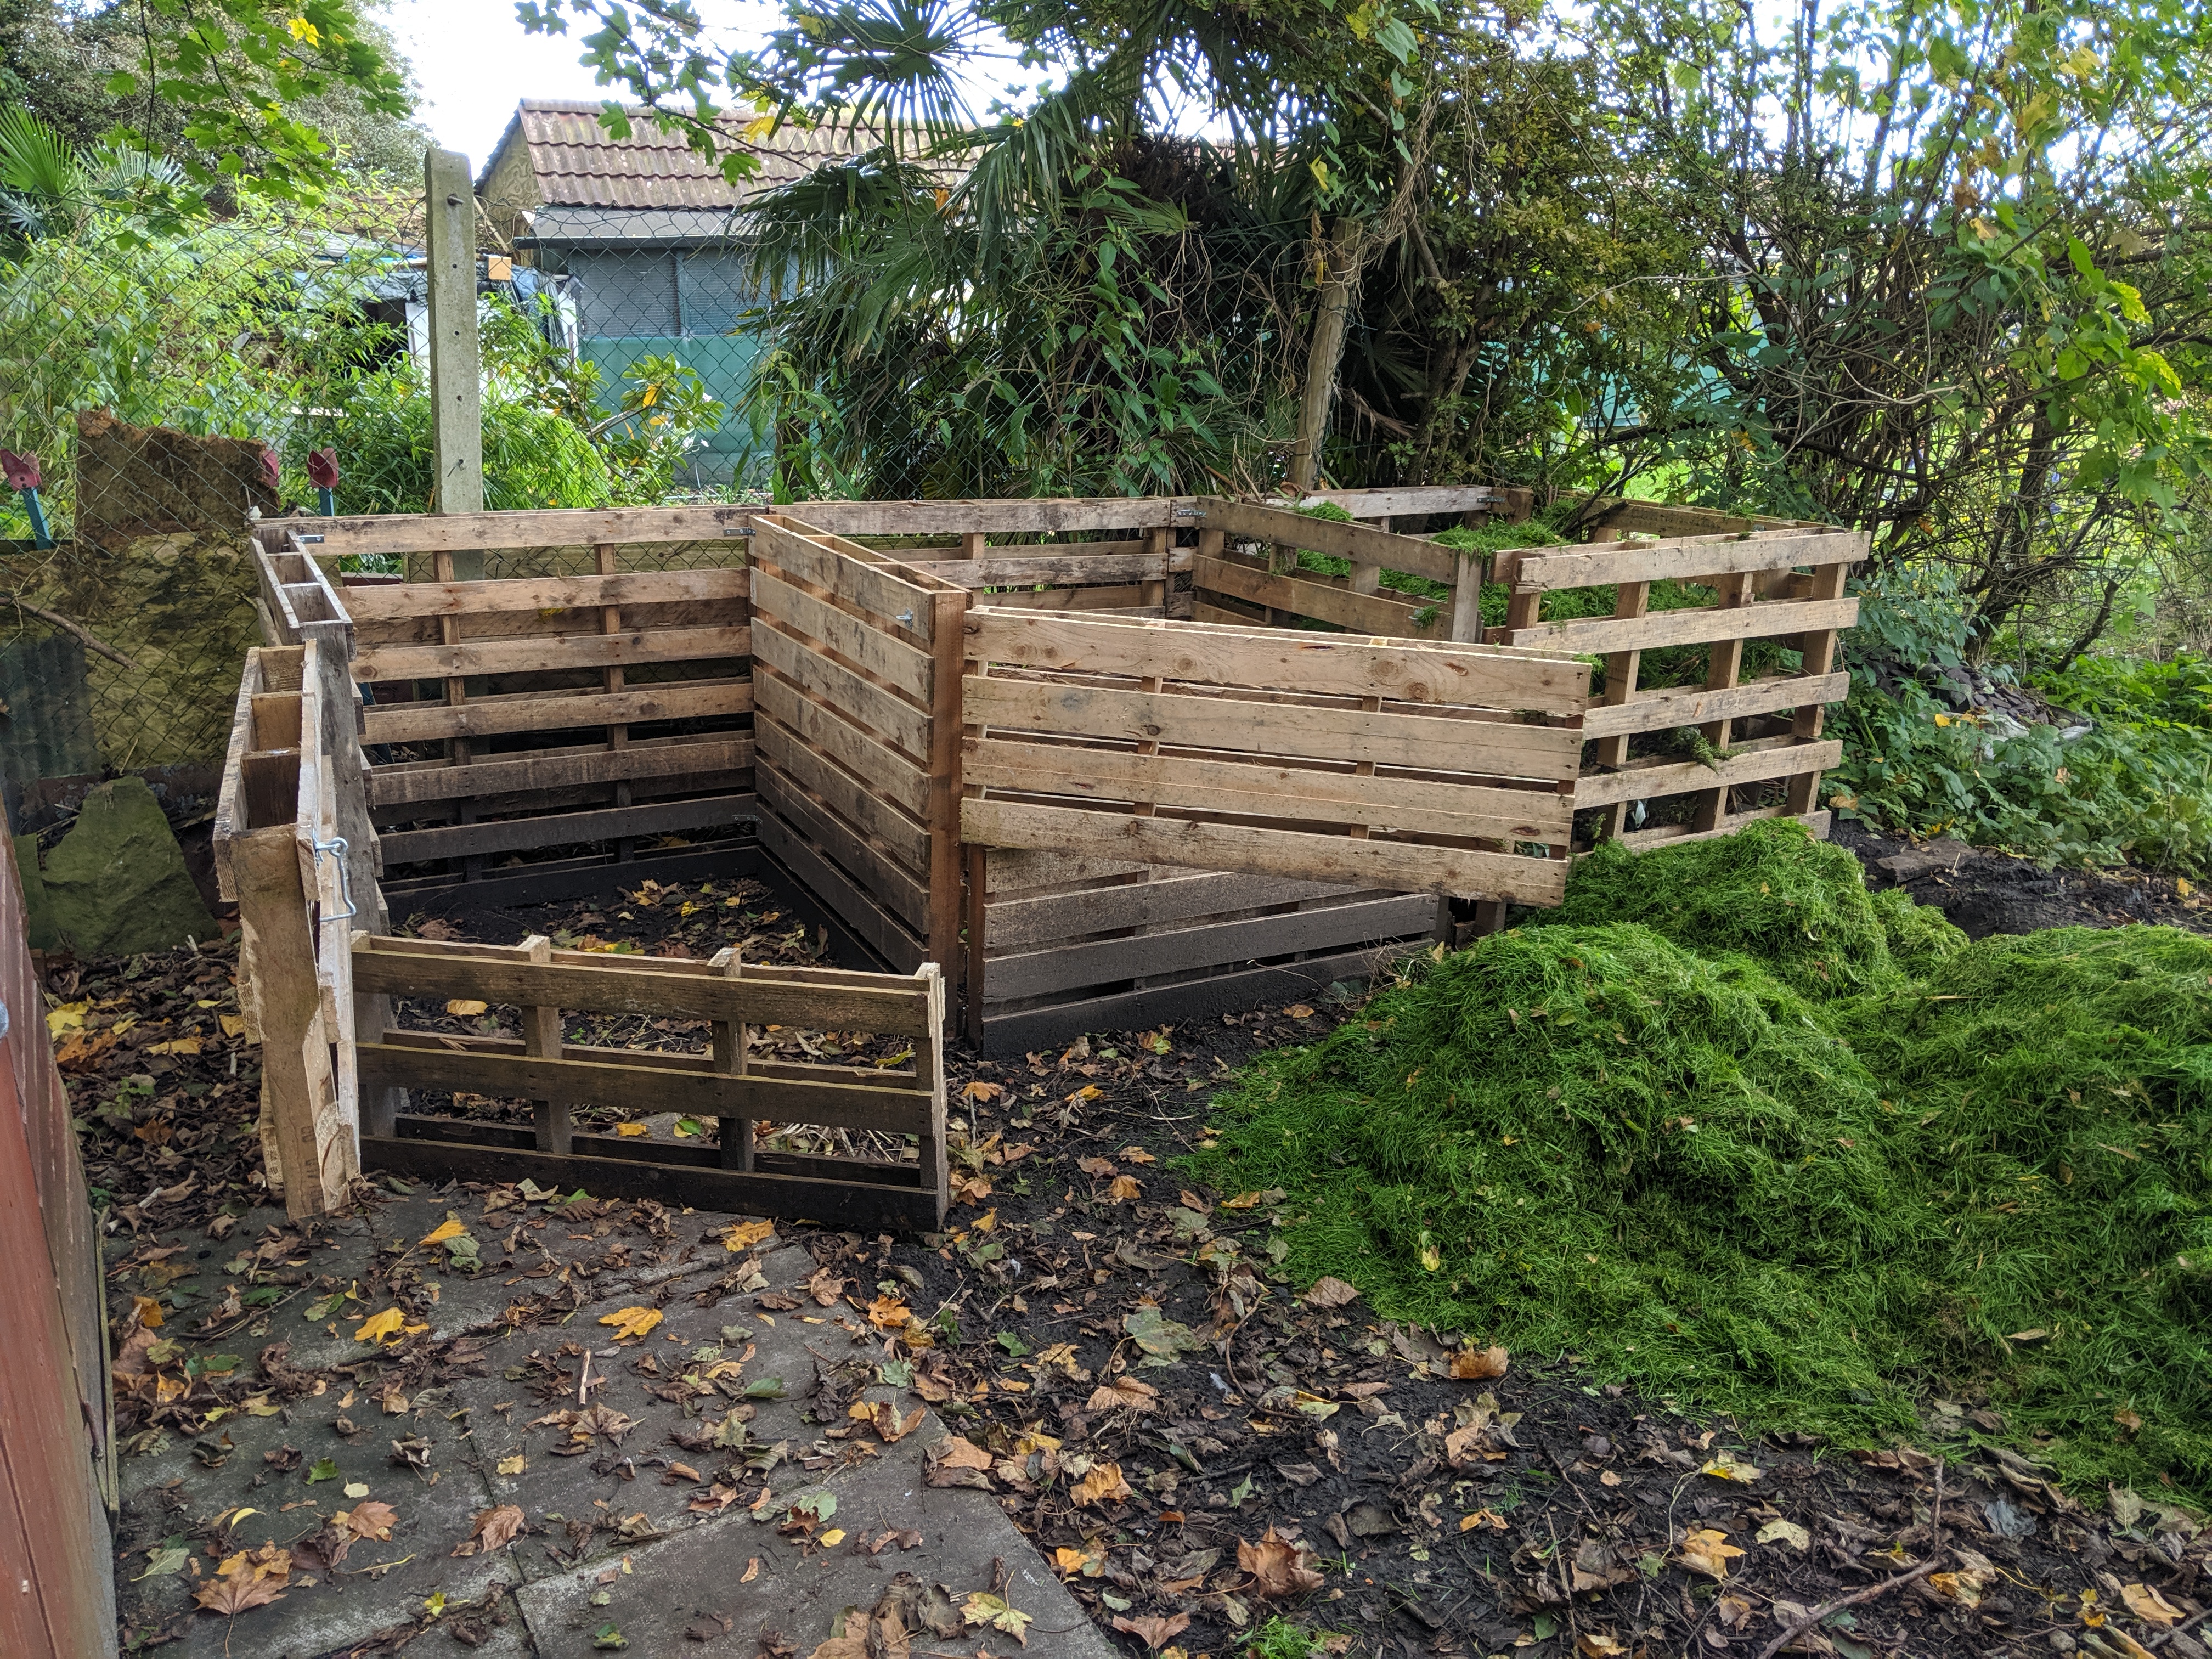
We have quite large gardens and we end up creating an inordinate amount of grass clippings.
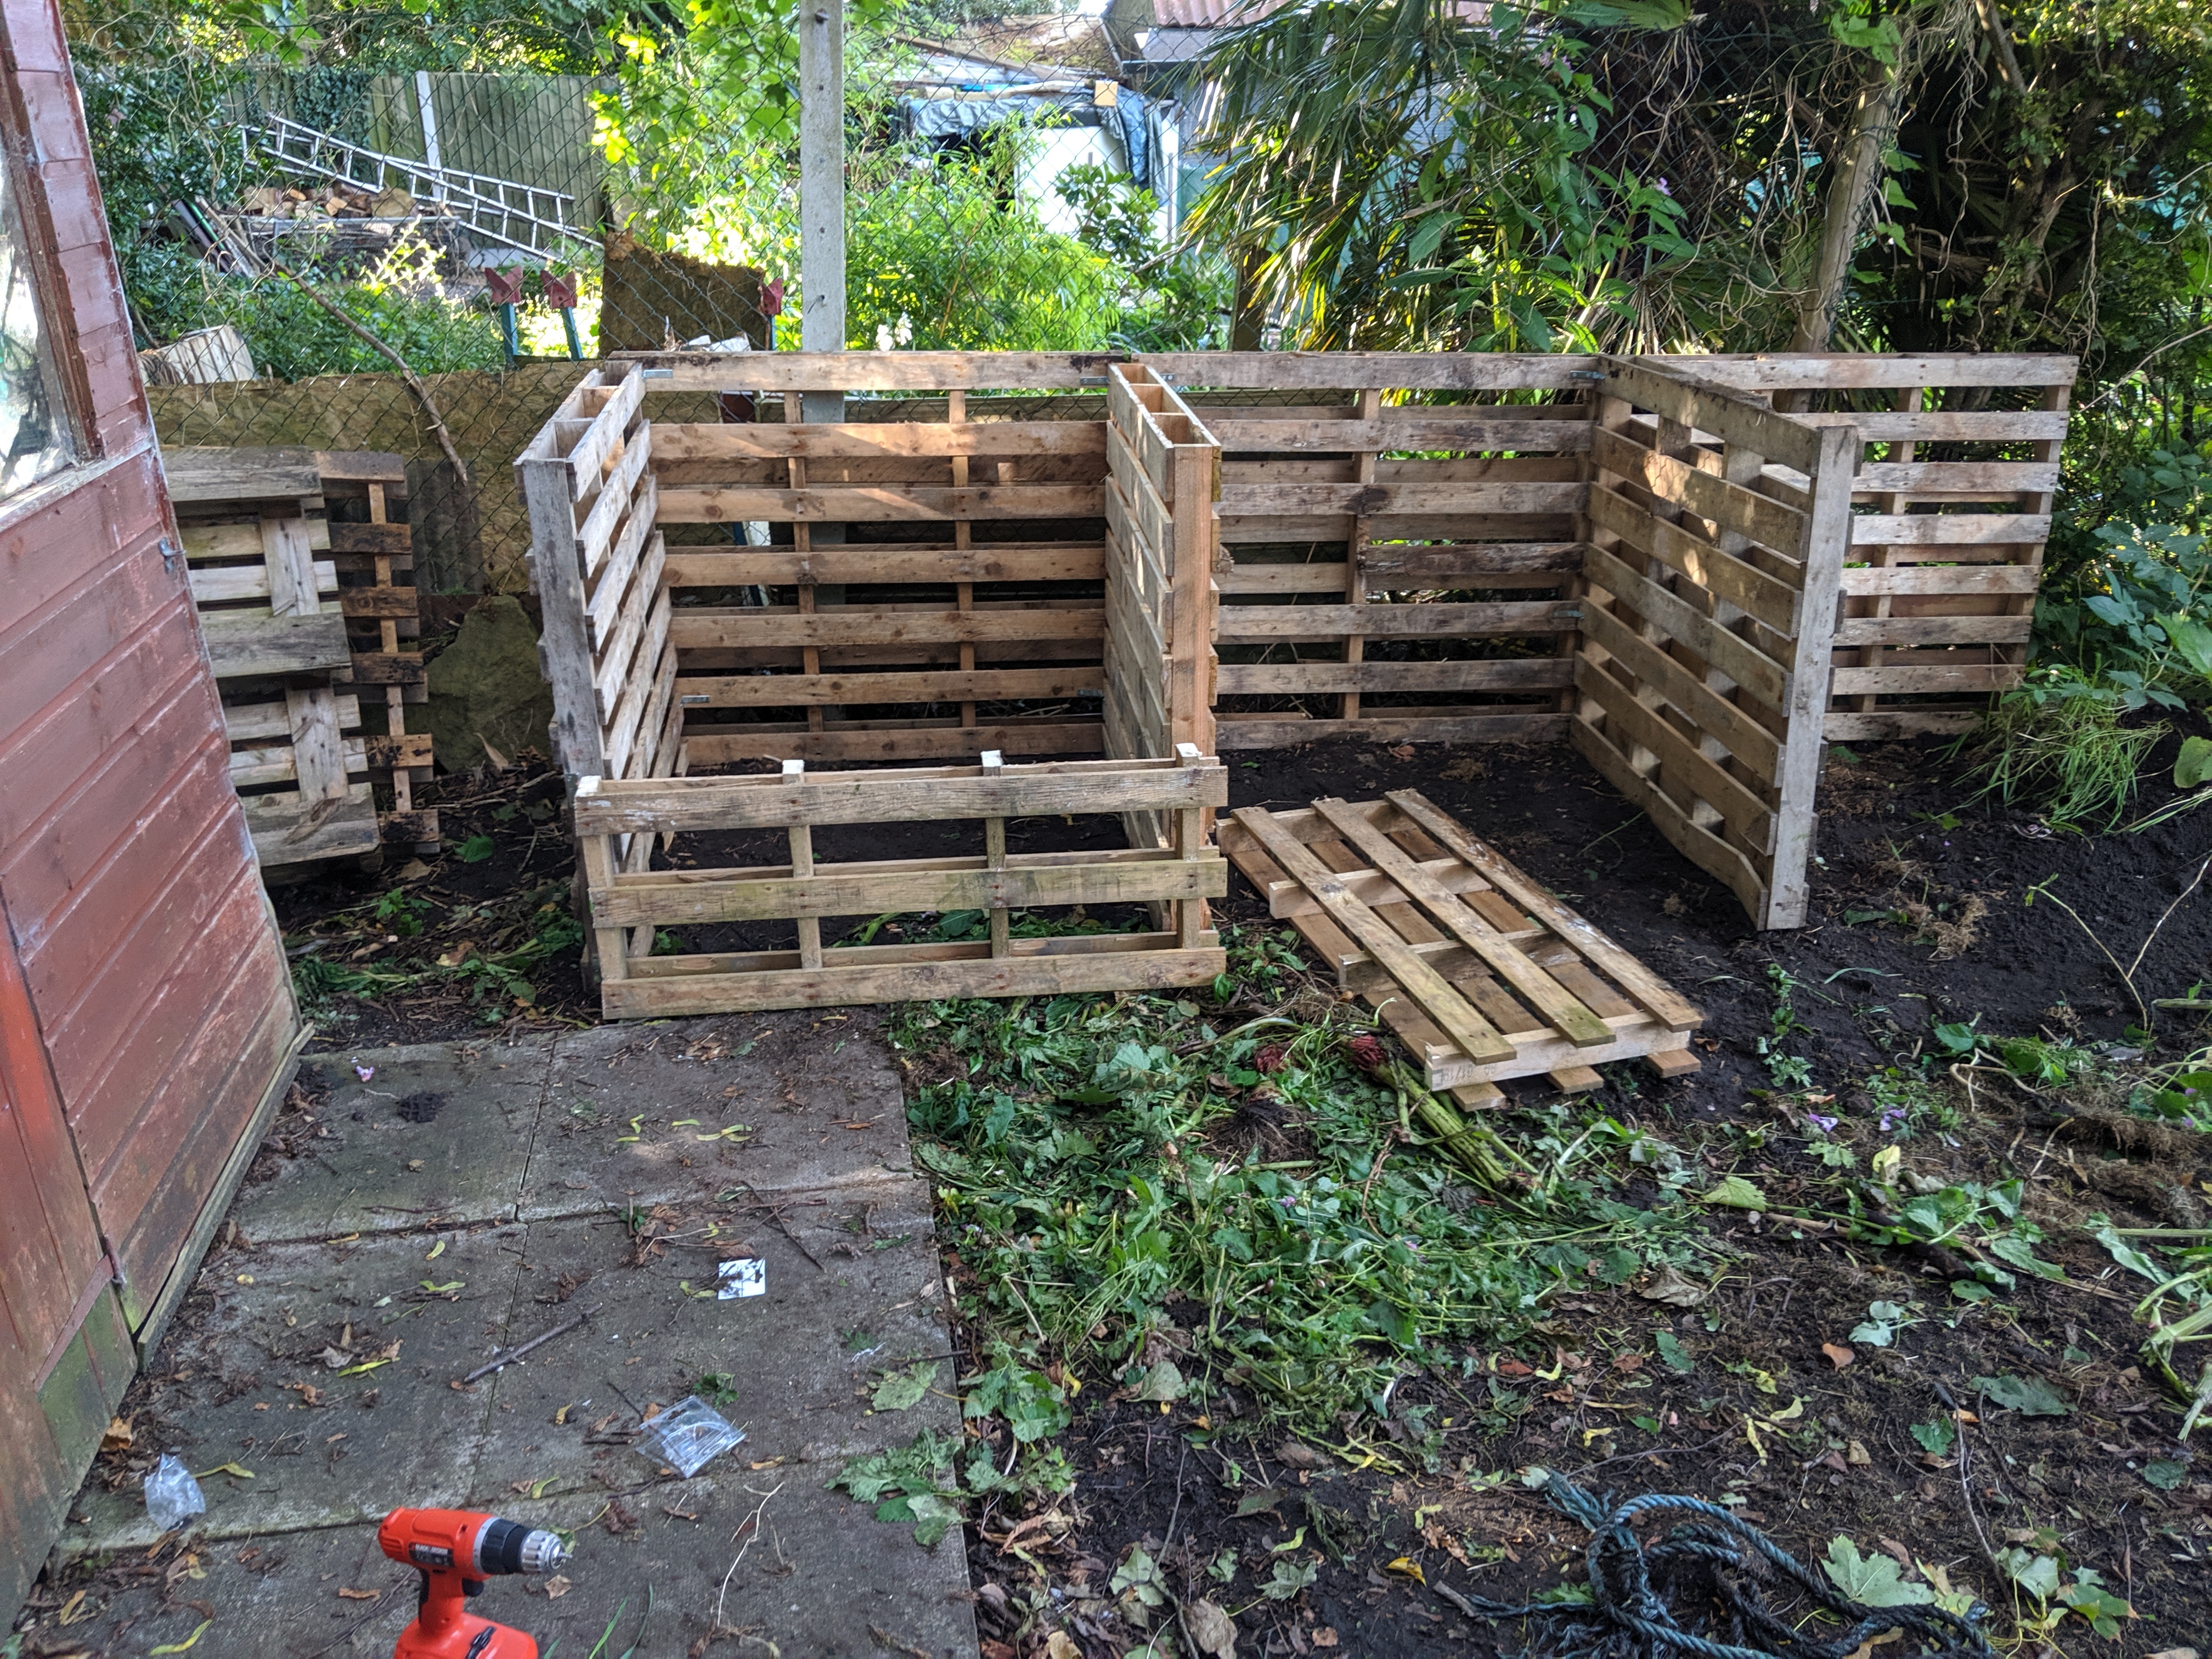
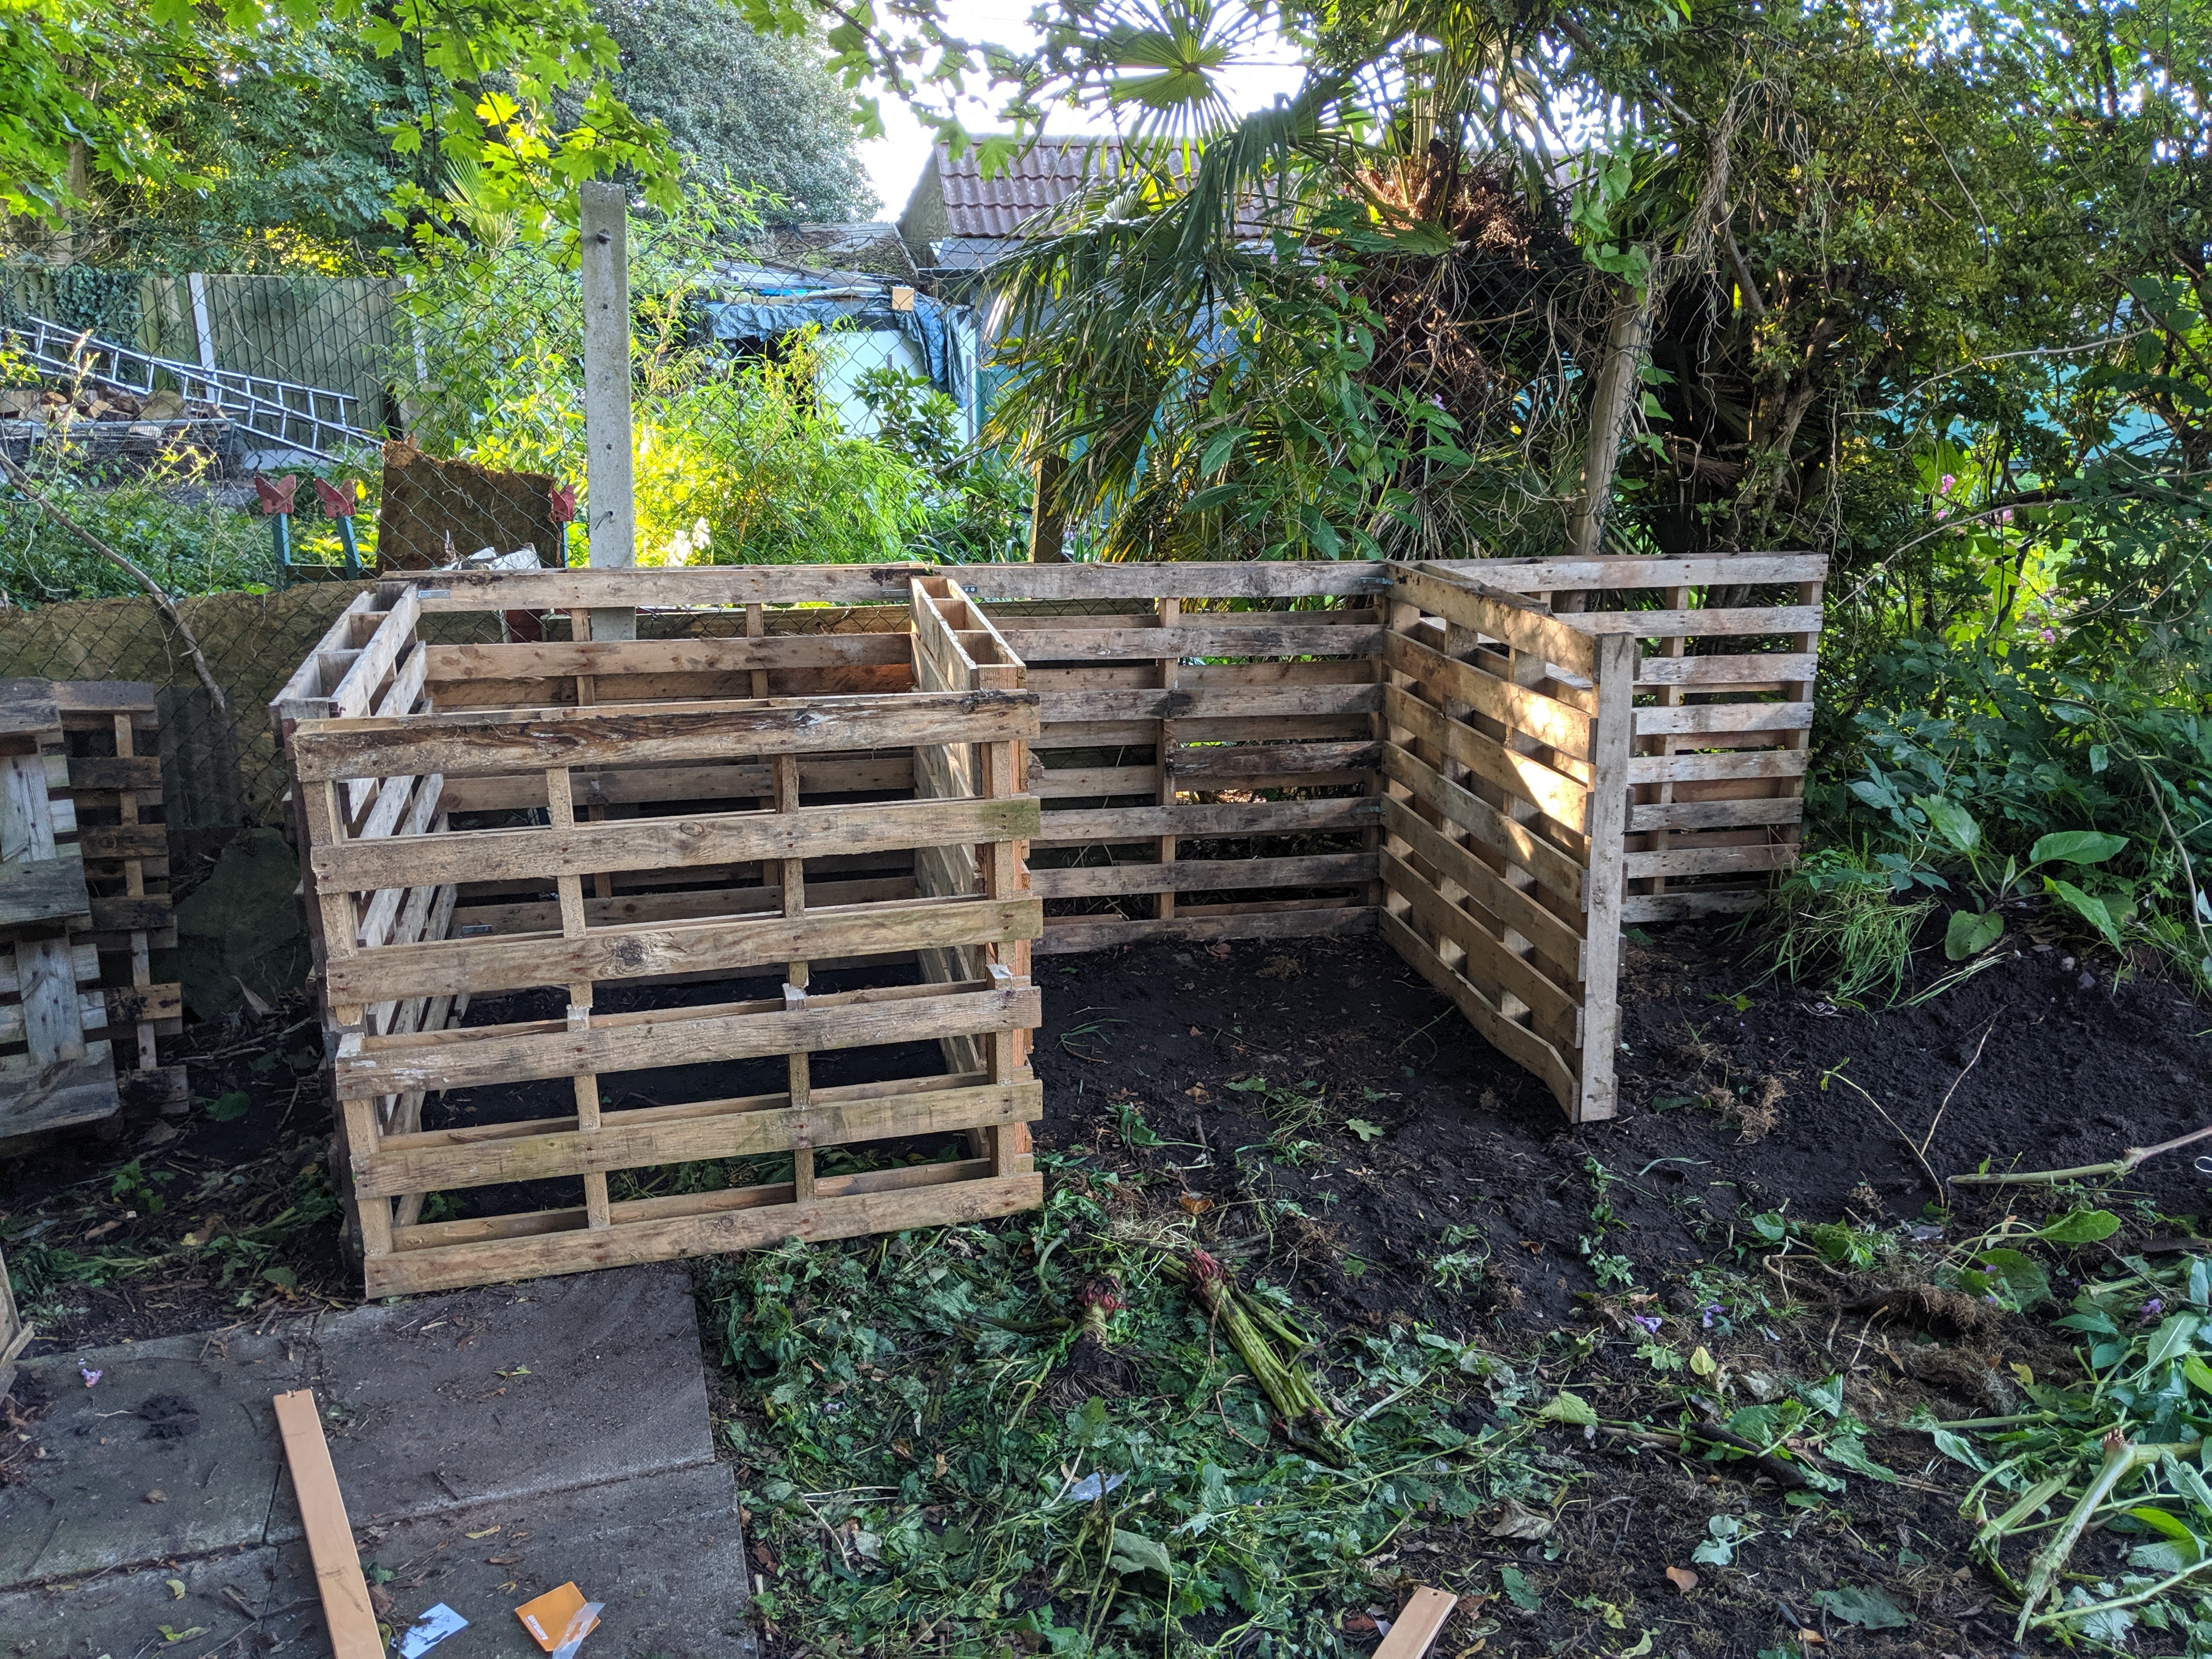
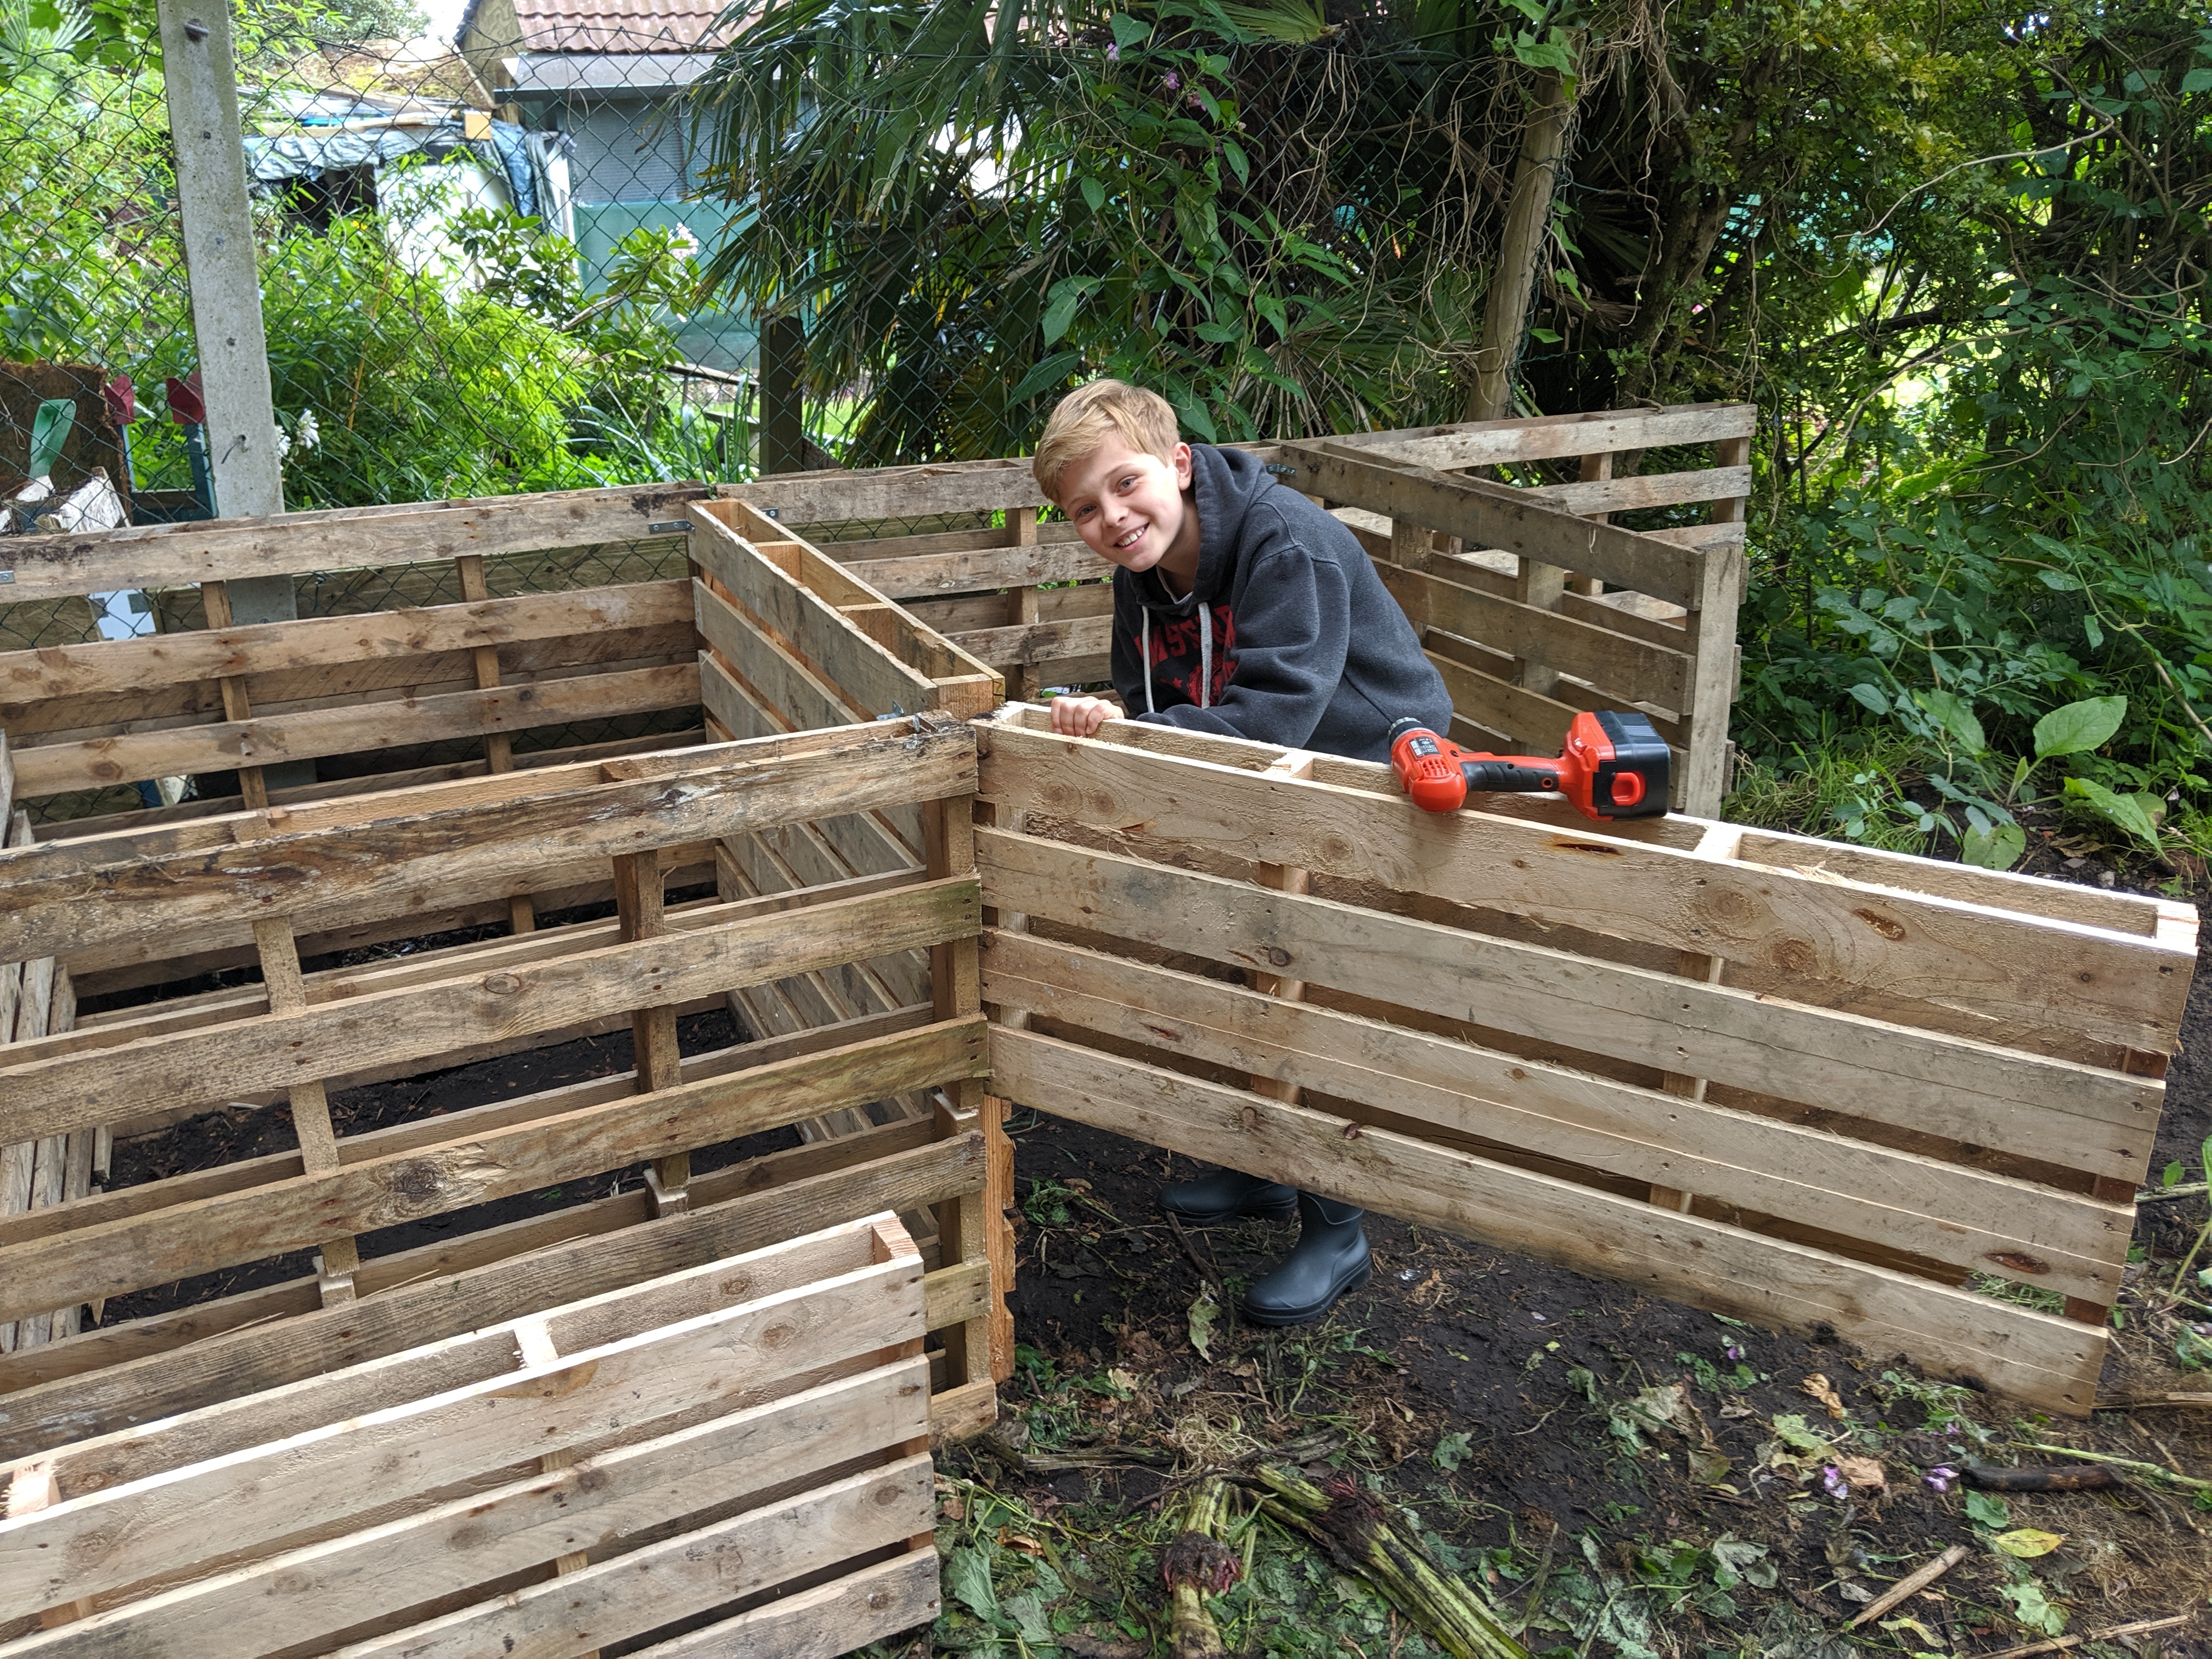
We had a massive party and we ended up with an inordinate number of pallets left over from building the stage.
So off we go with an eco Extinction Rebellion inspired solution to the problems.
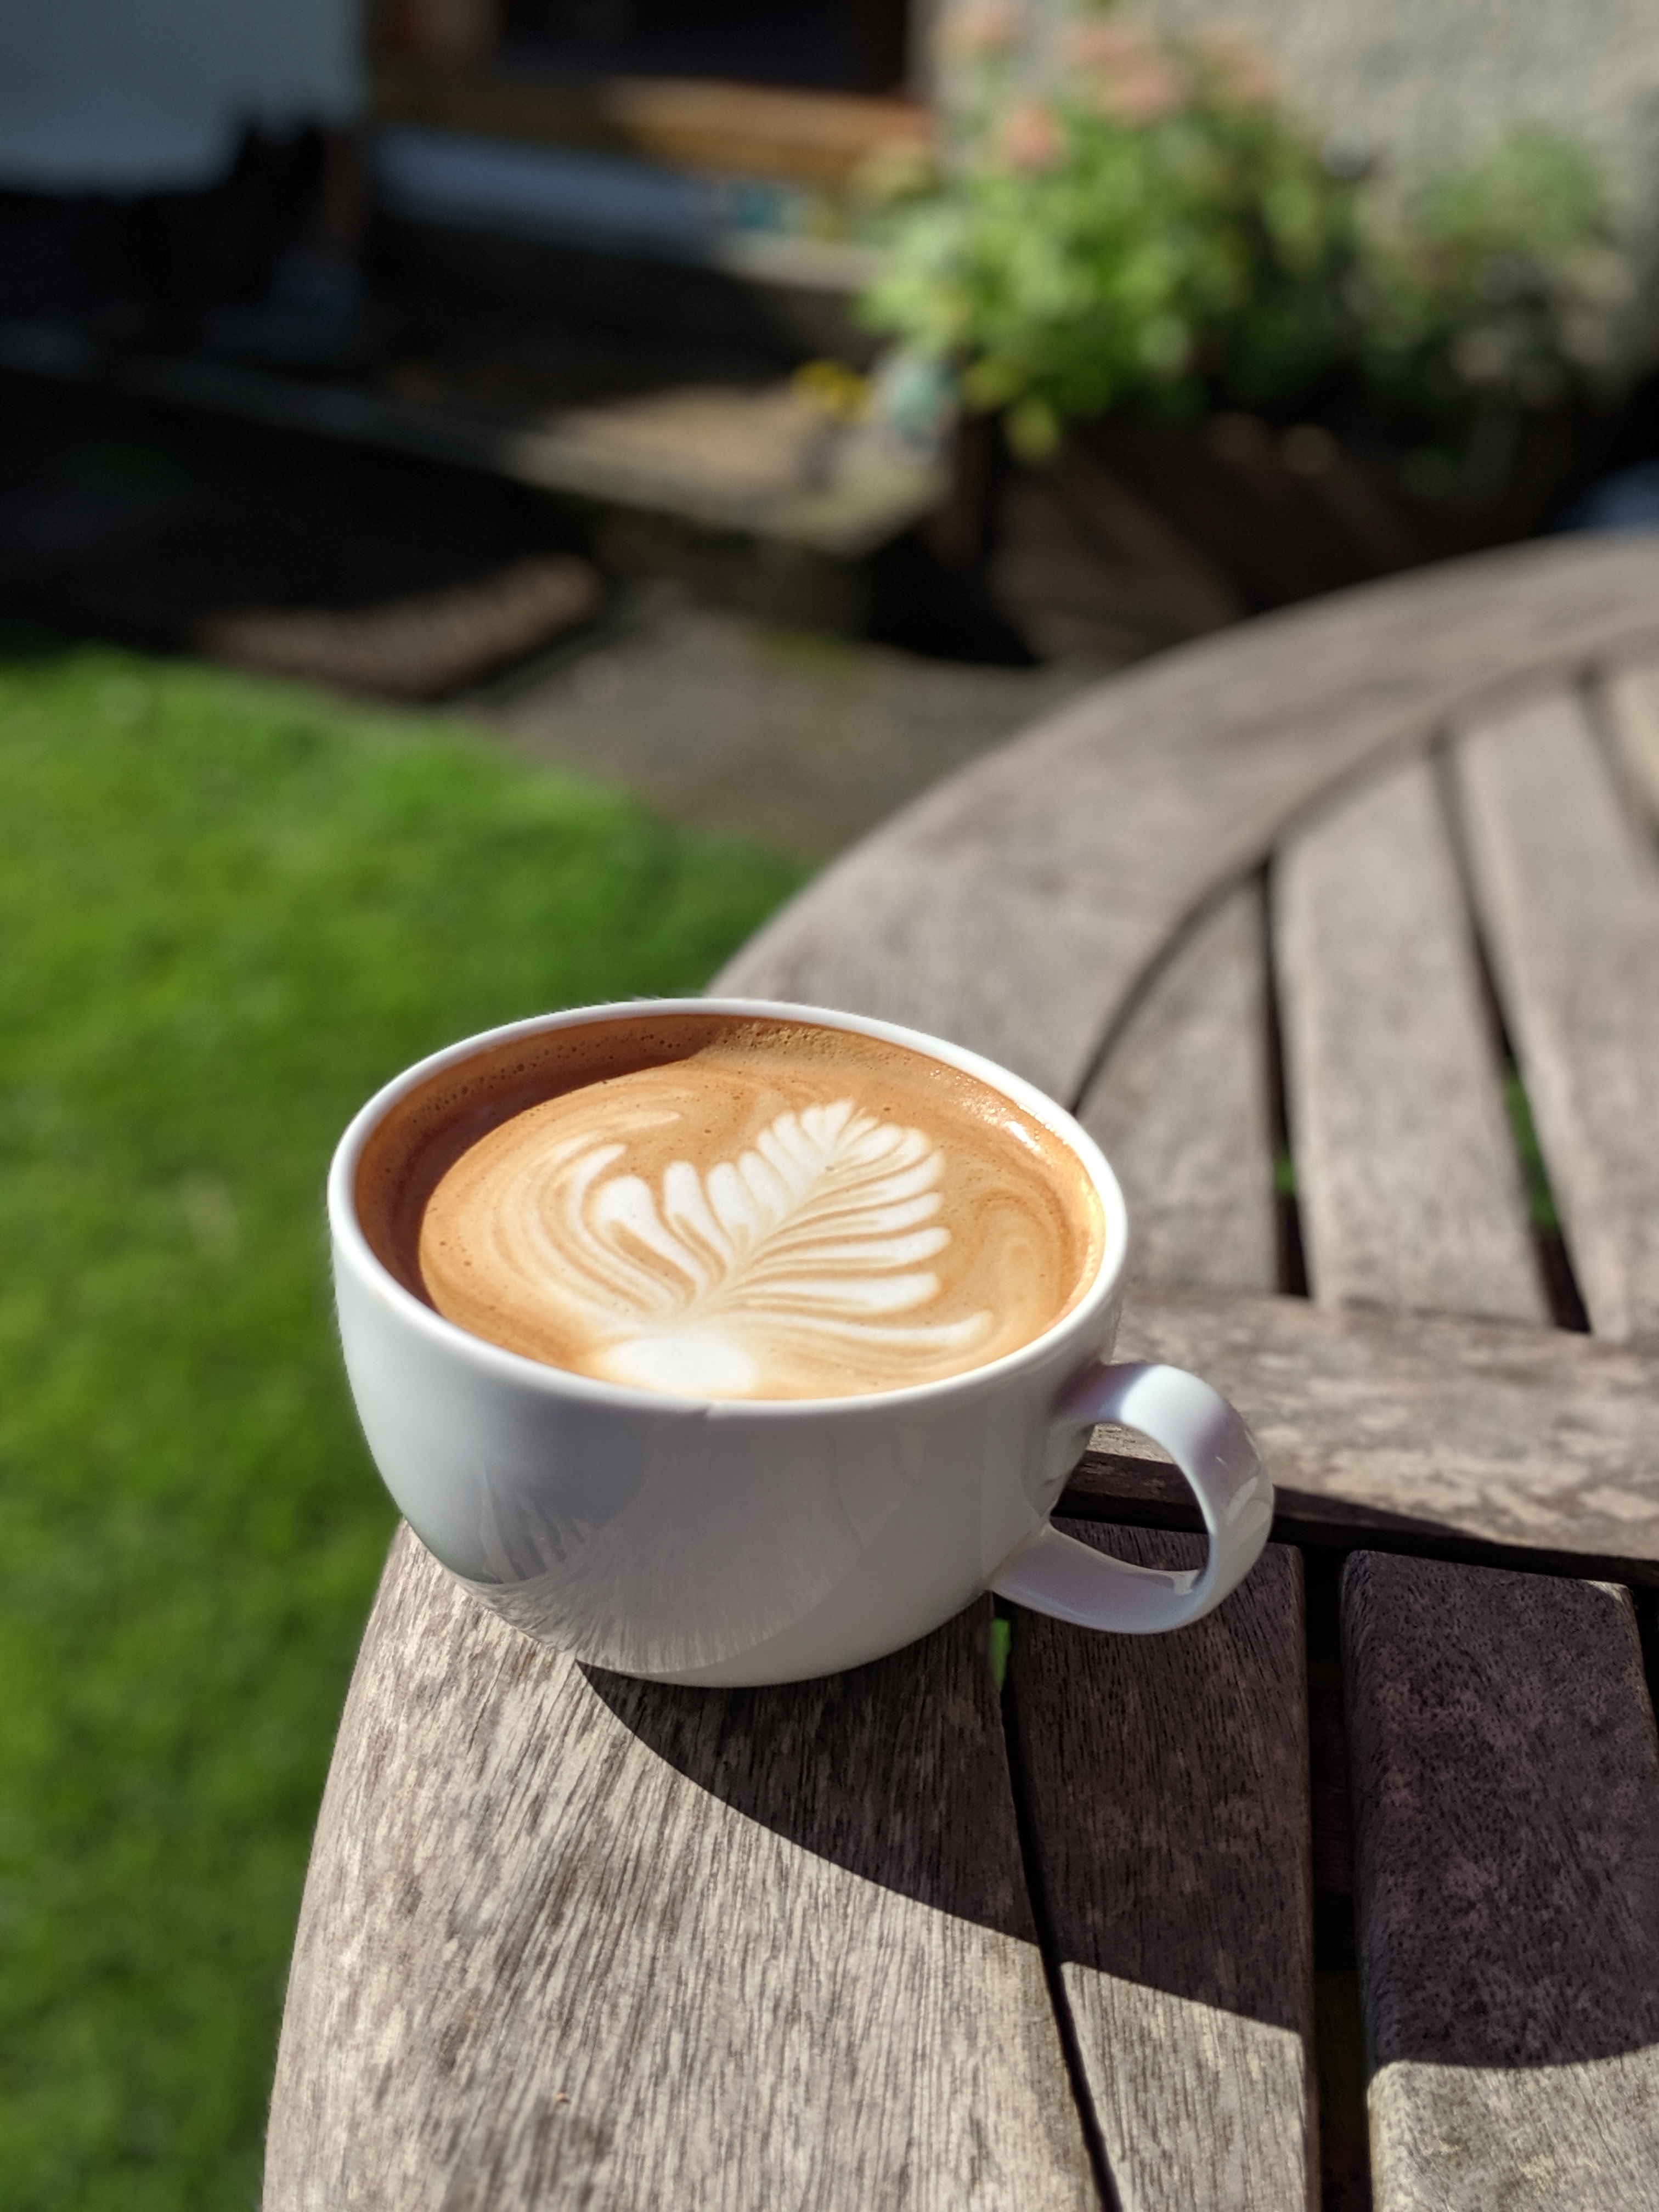
We went to visit Erika and Keith [ and their darling children ] in Hoylake for the weekend. We ate, we drank, we flew kites, I lost my phone and then it was found again on the beach…but…but…I drank a coffee.
Keith has spent years perfecting his coffee making prowess and insisted I try one. I try coffee every few years – and every few years I decide it’s not for me.
I drank more of this coffee than any coffee I have ever tried before – but I didn’t finish it. I’ll try again in the future but for now I’m still a tea drinker.
We had a bit of a party in the garden, it rained. A lot. So we put up a couple of marquees and had the Inkbirds over to play
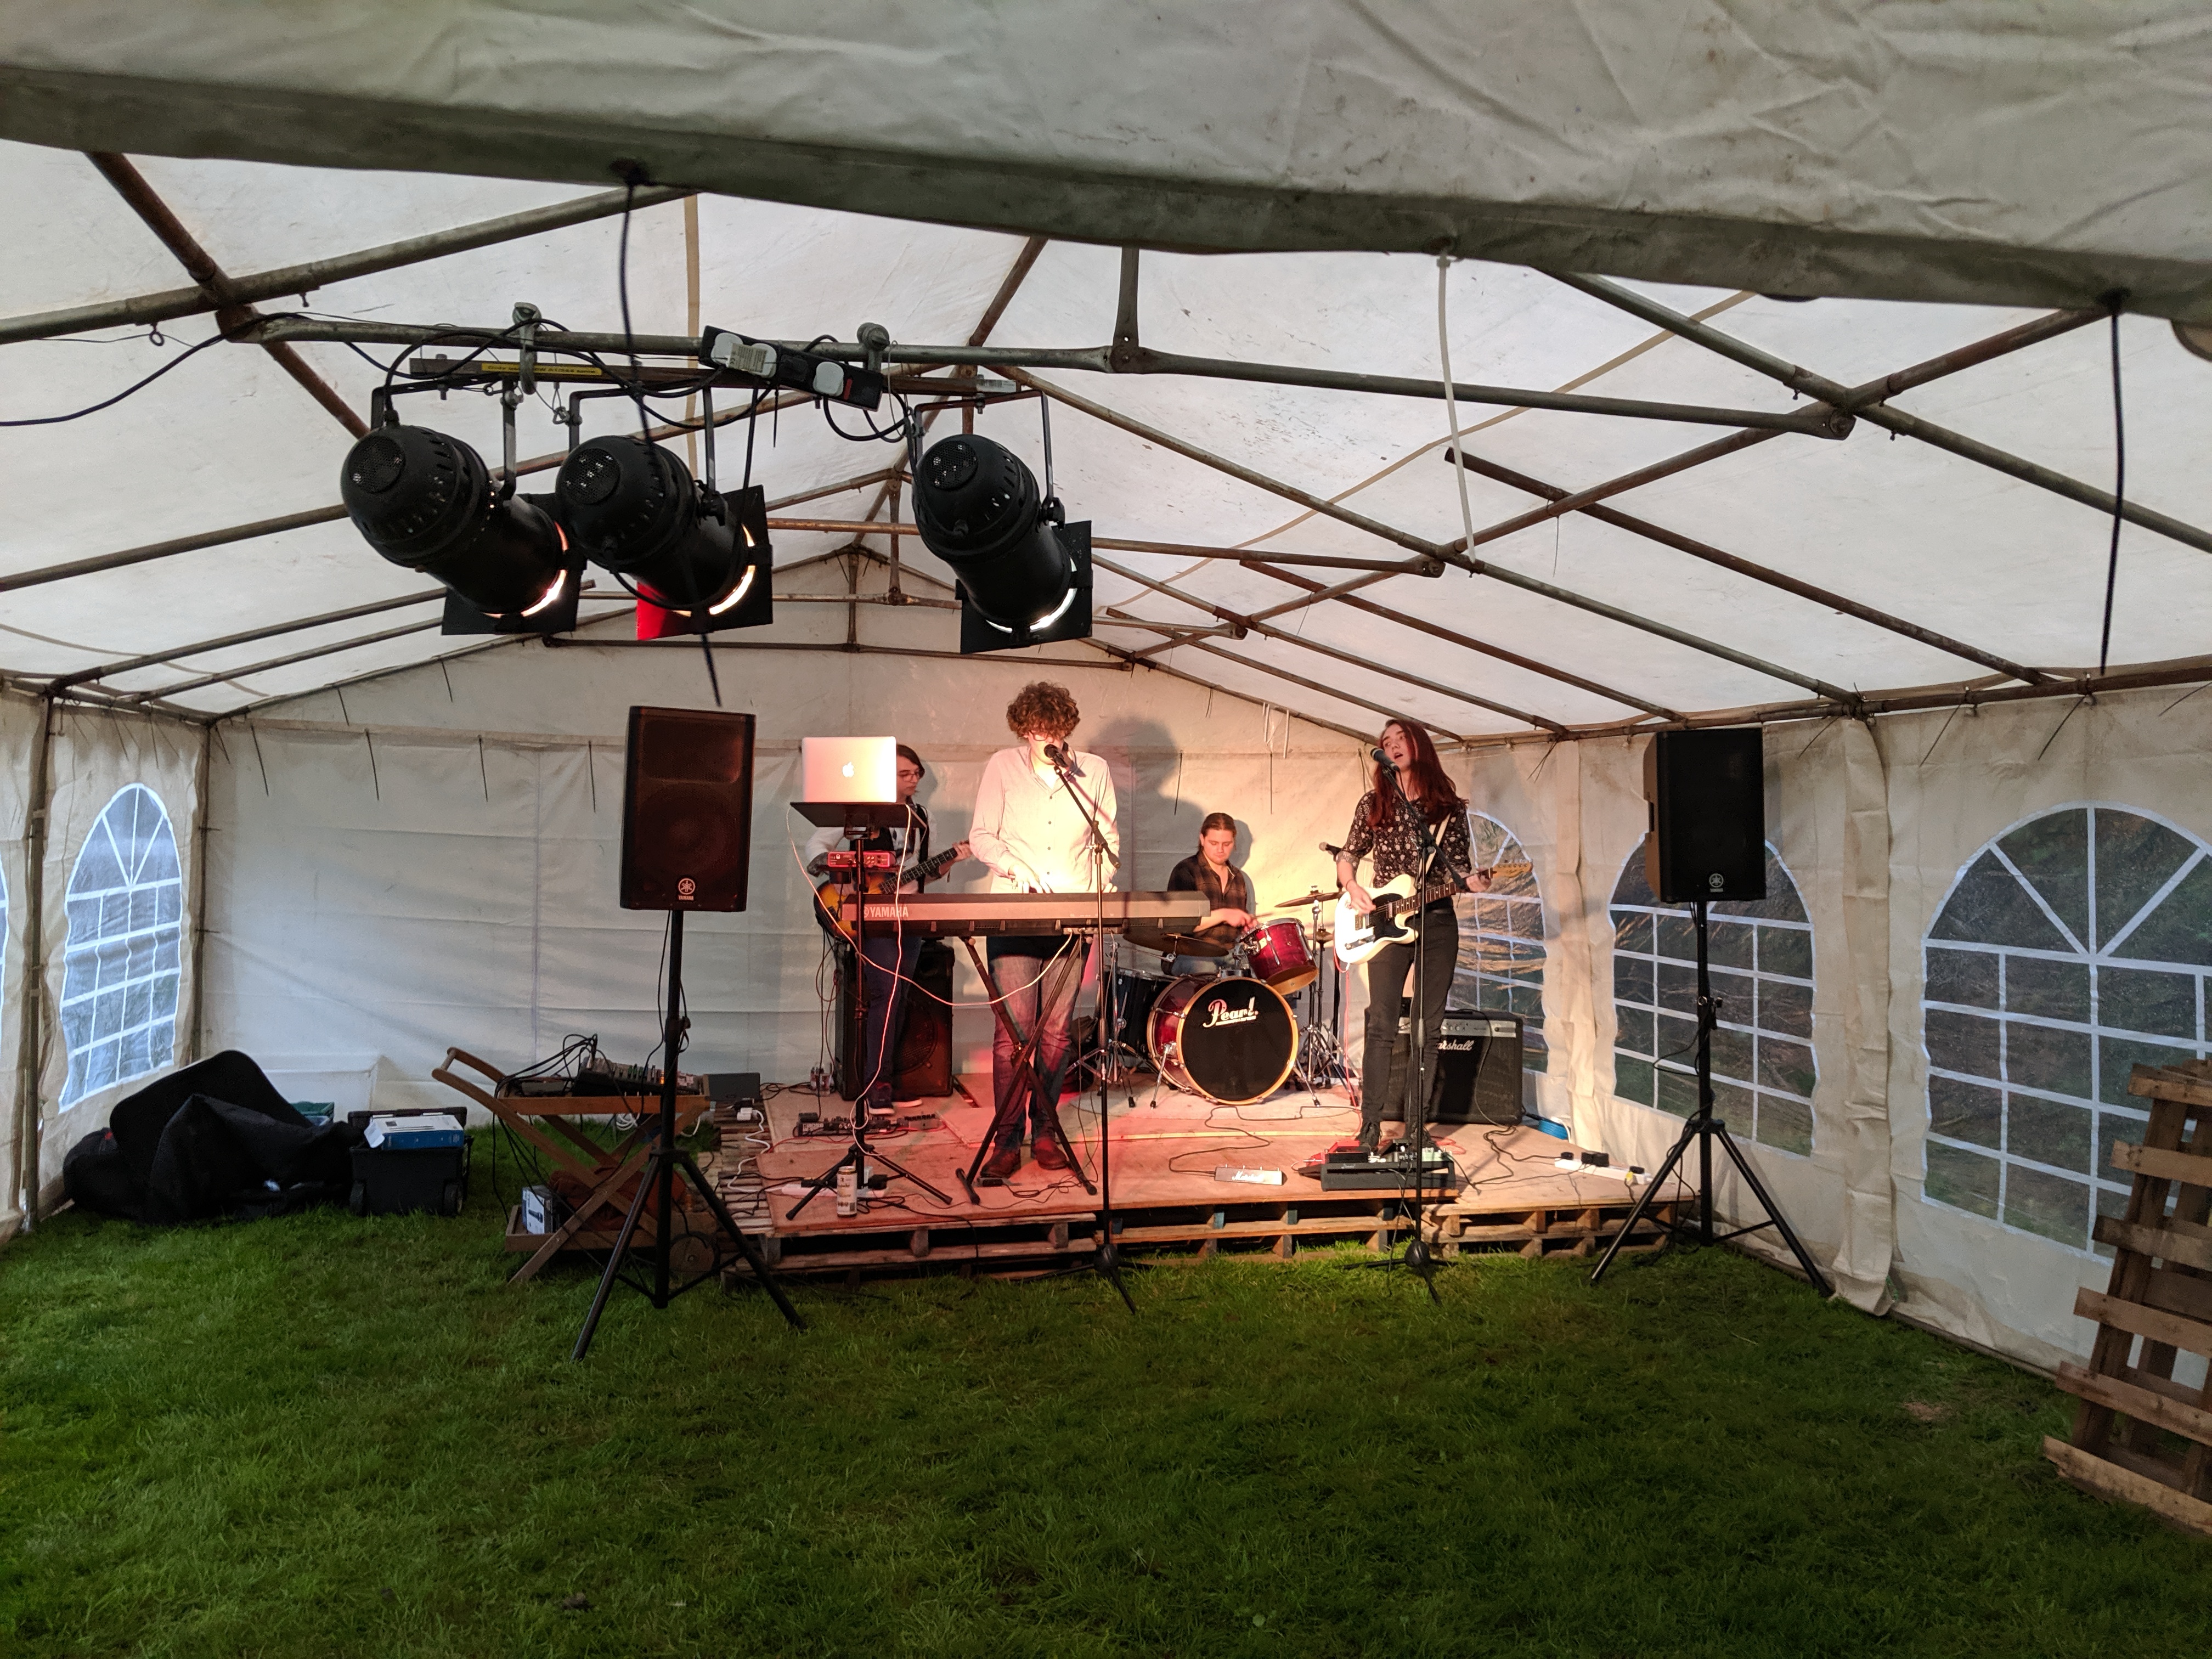

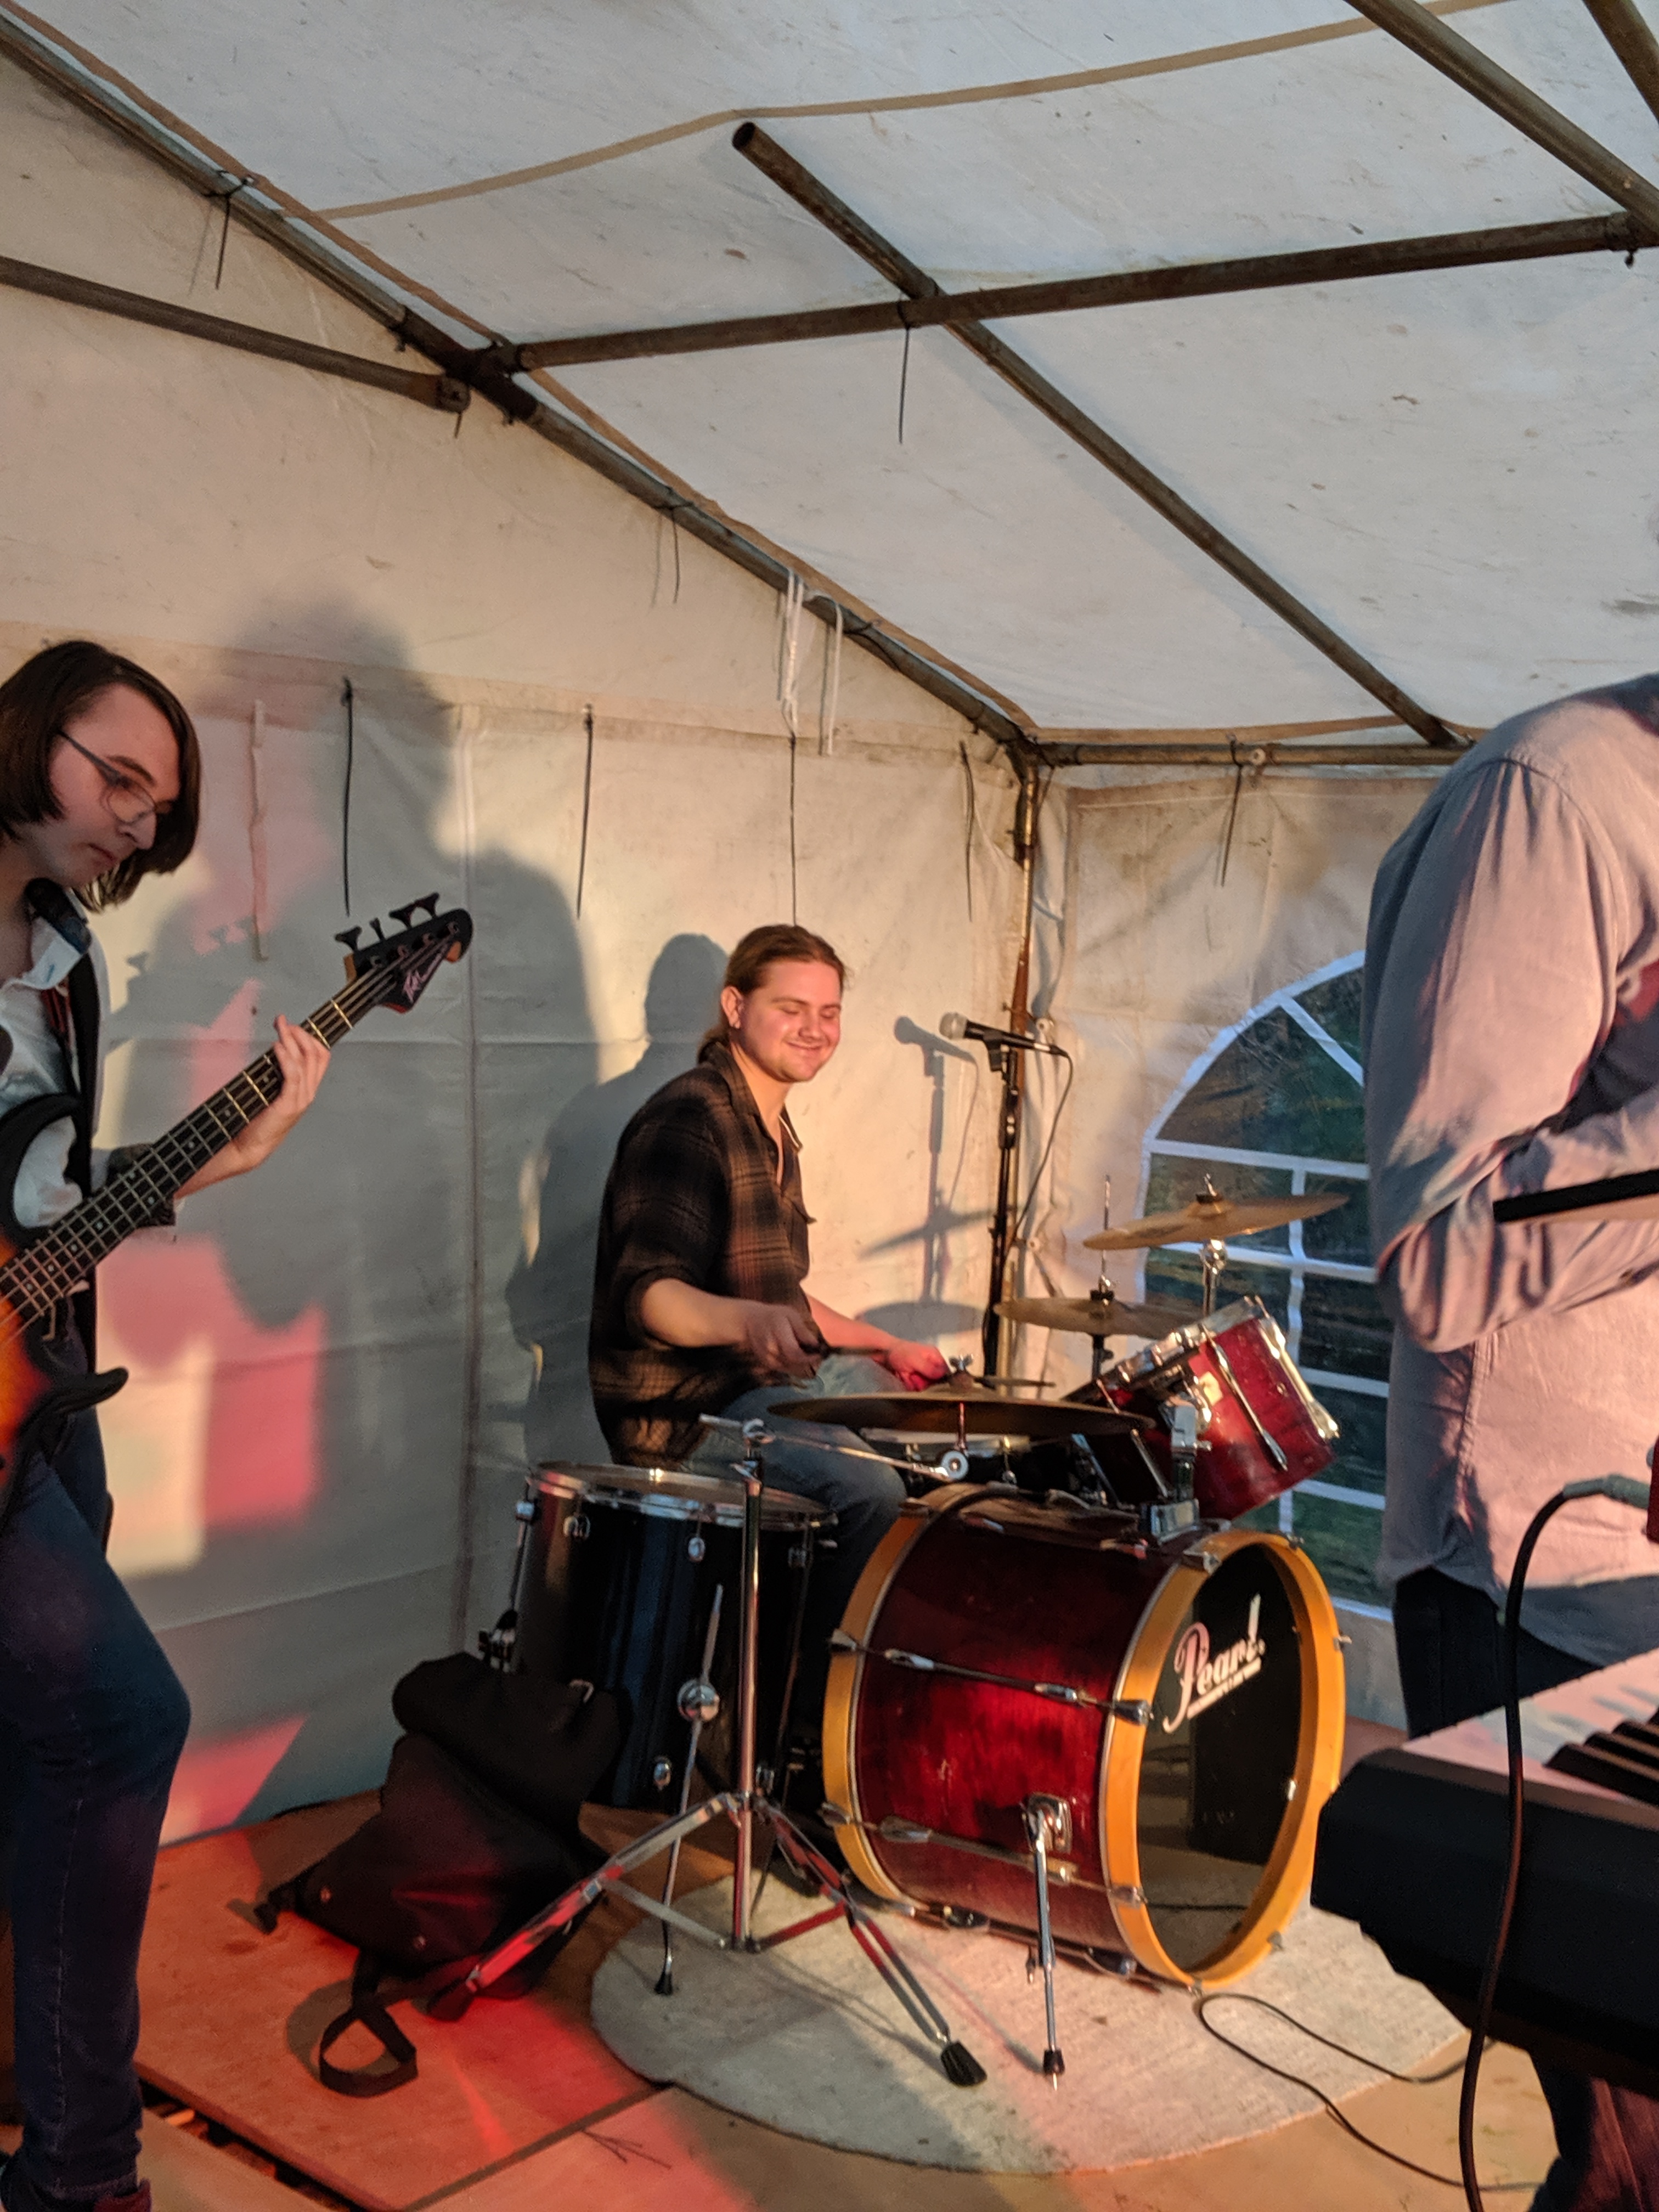
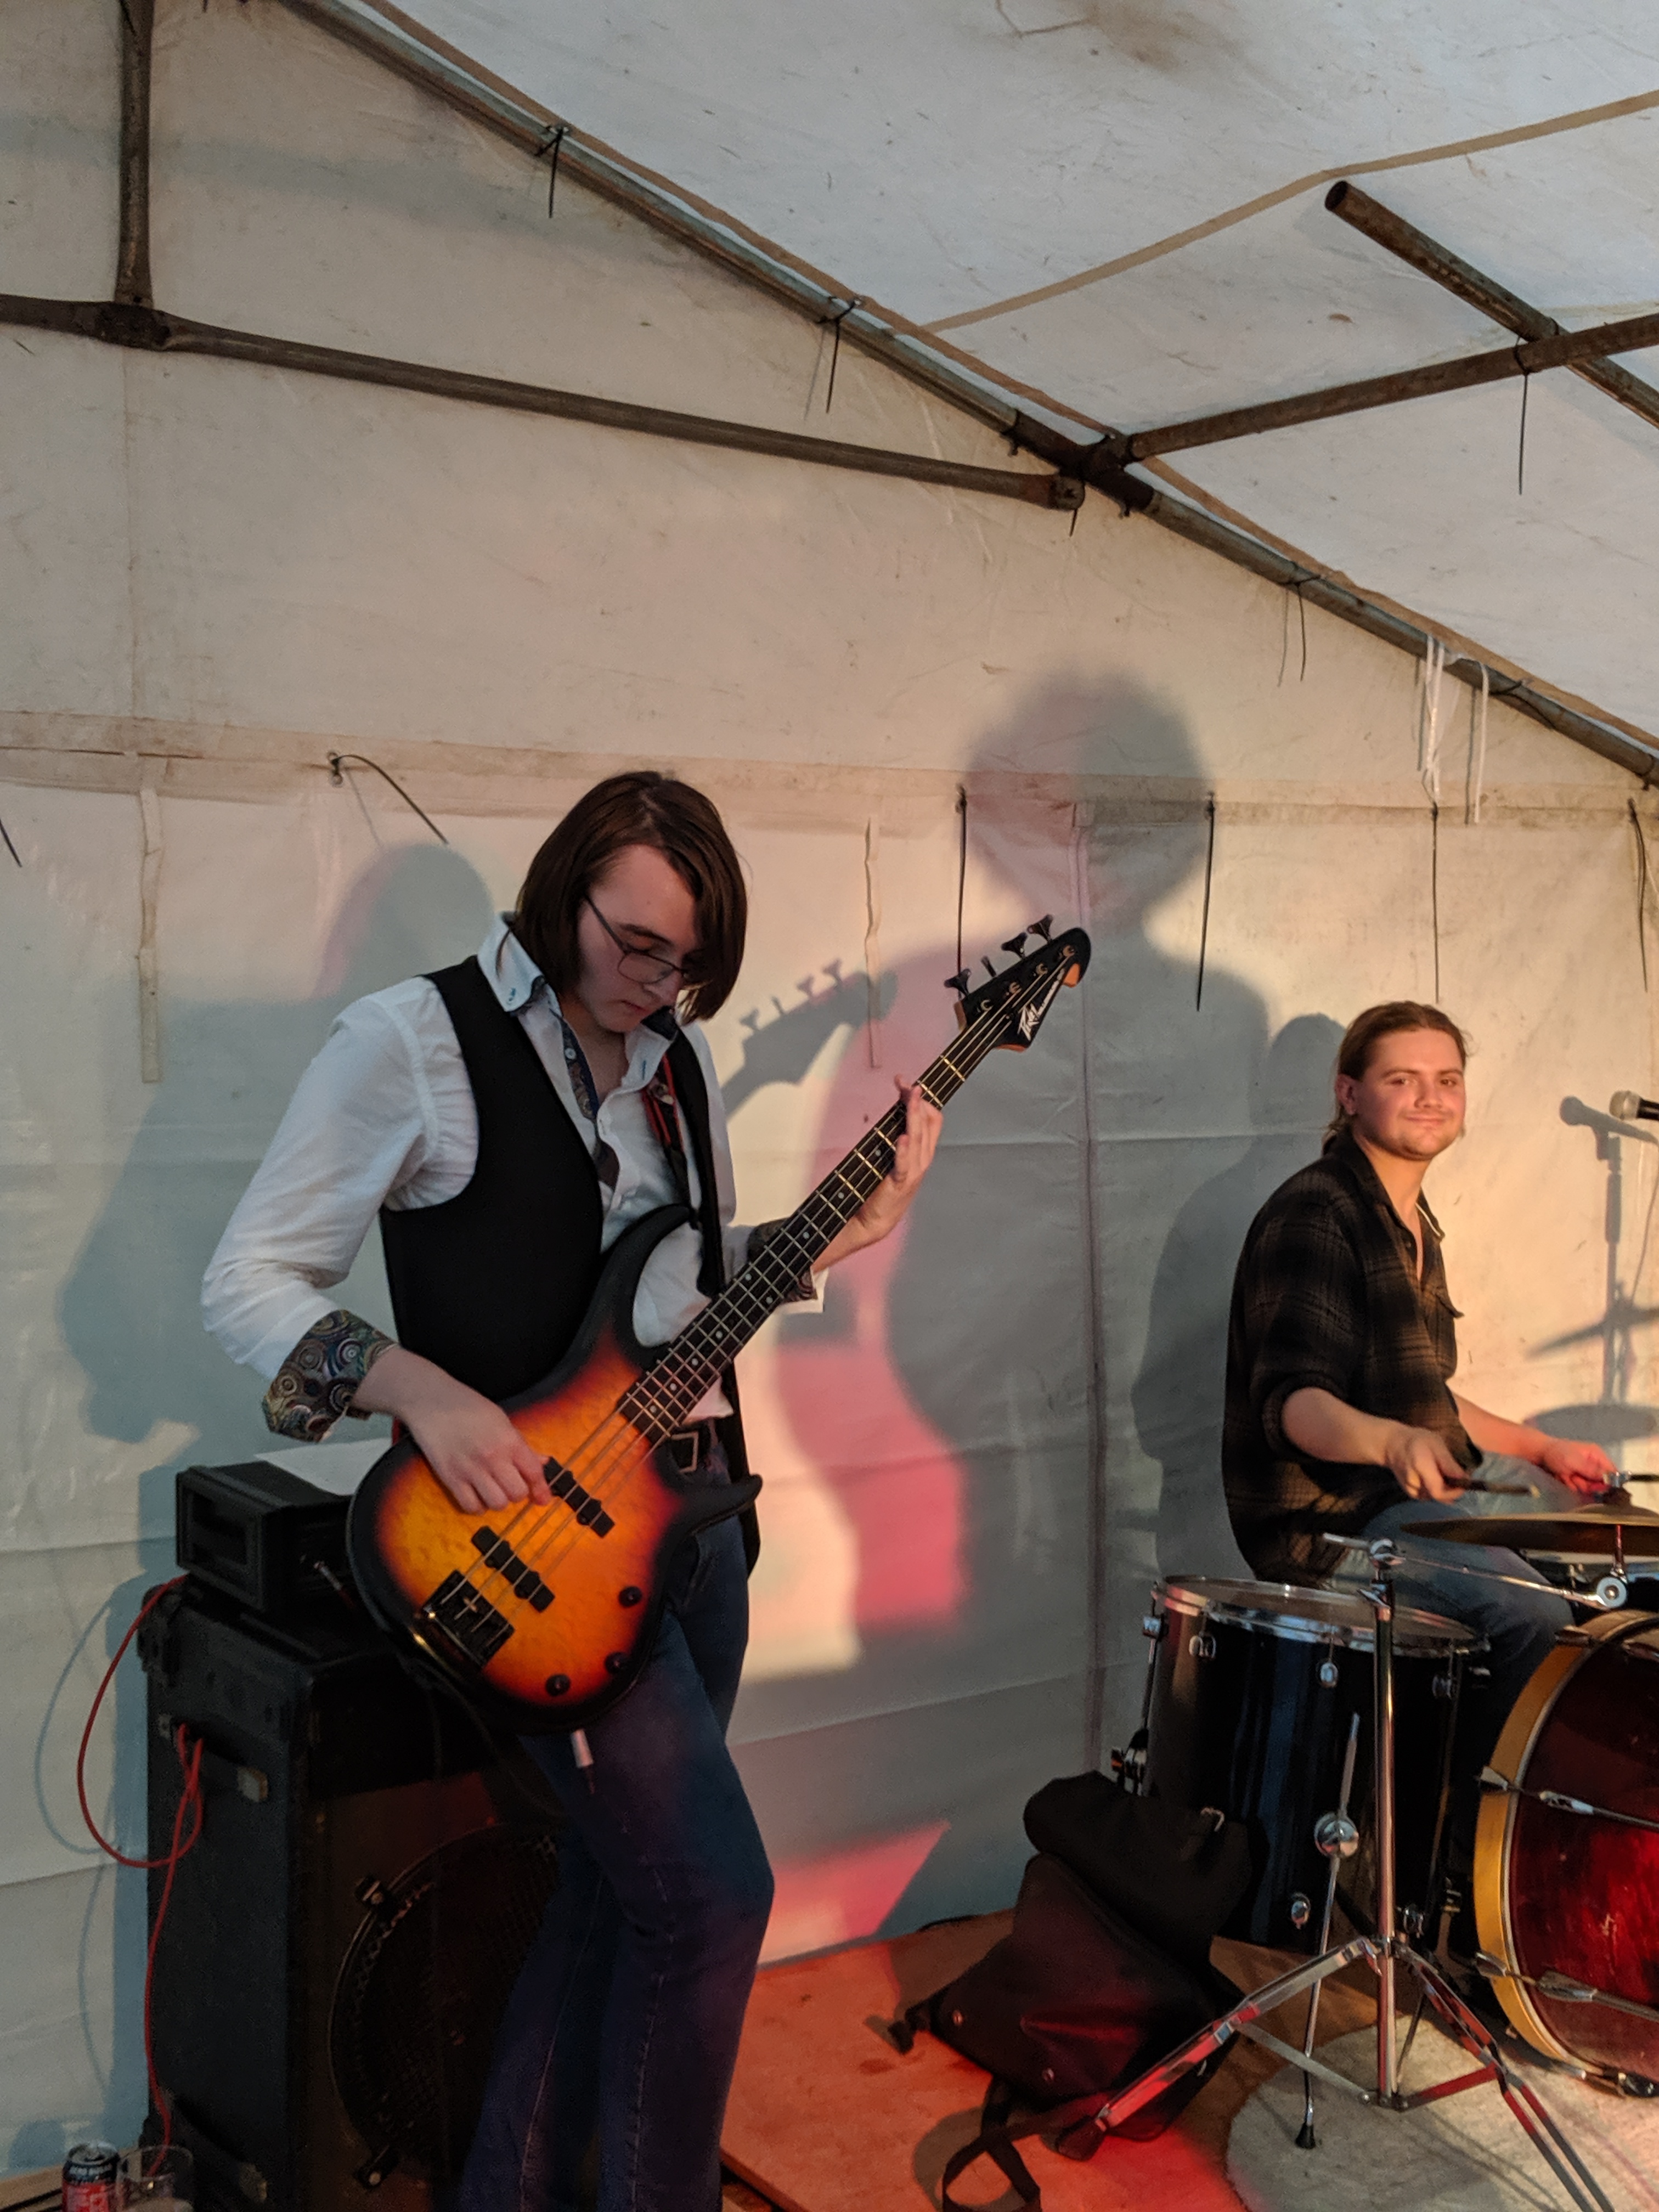

Not entirely sure why the gallery widget has decided to put some of my portrait images as landscape but ho hum. We had fun
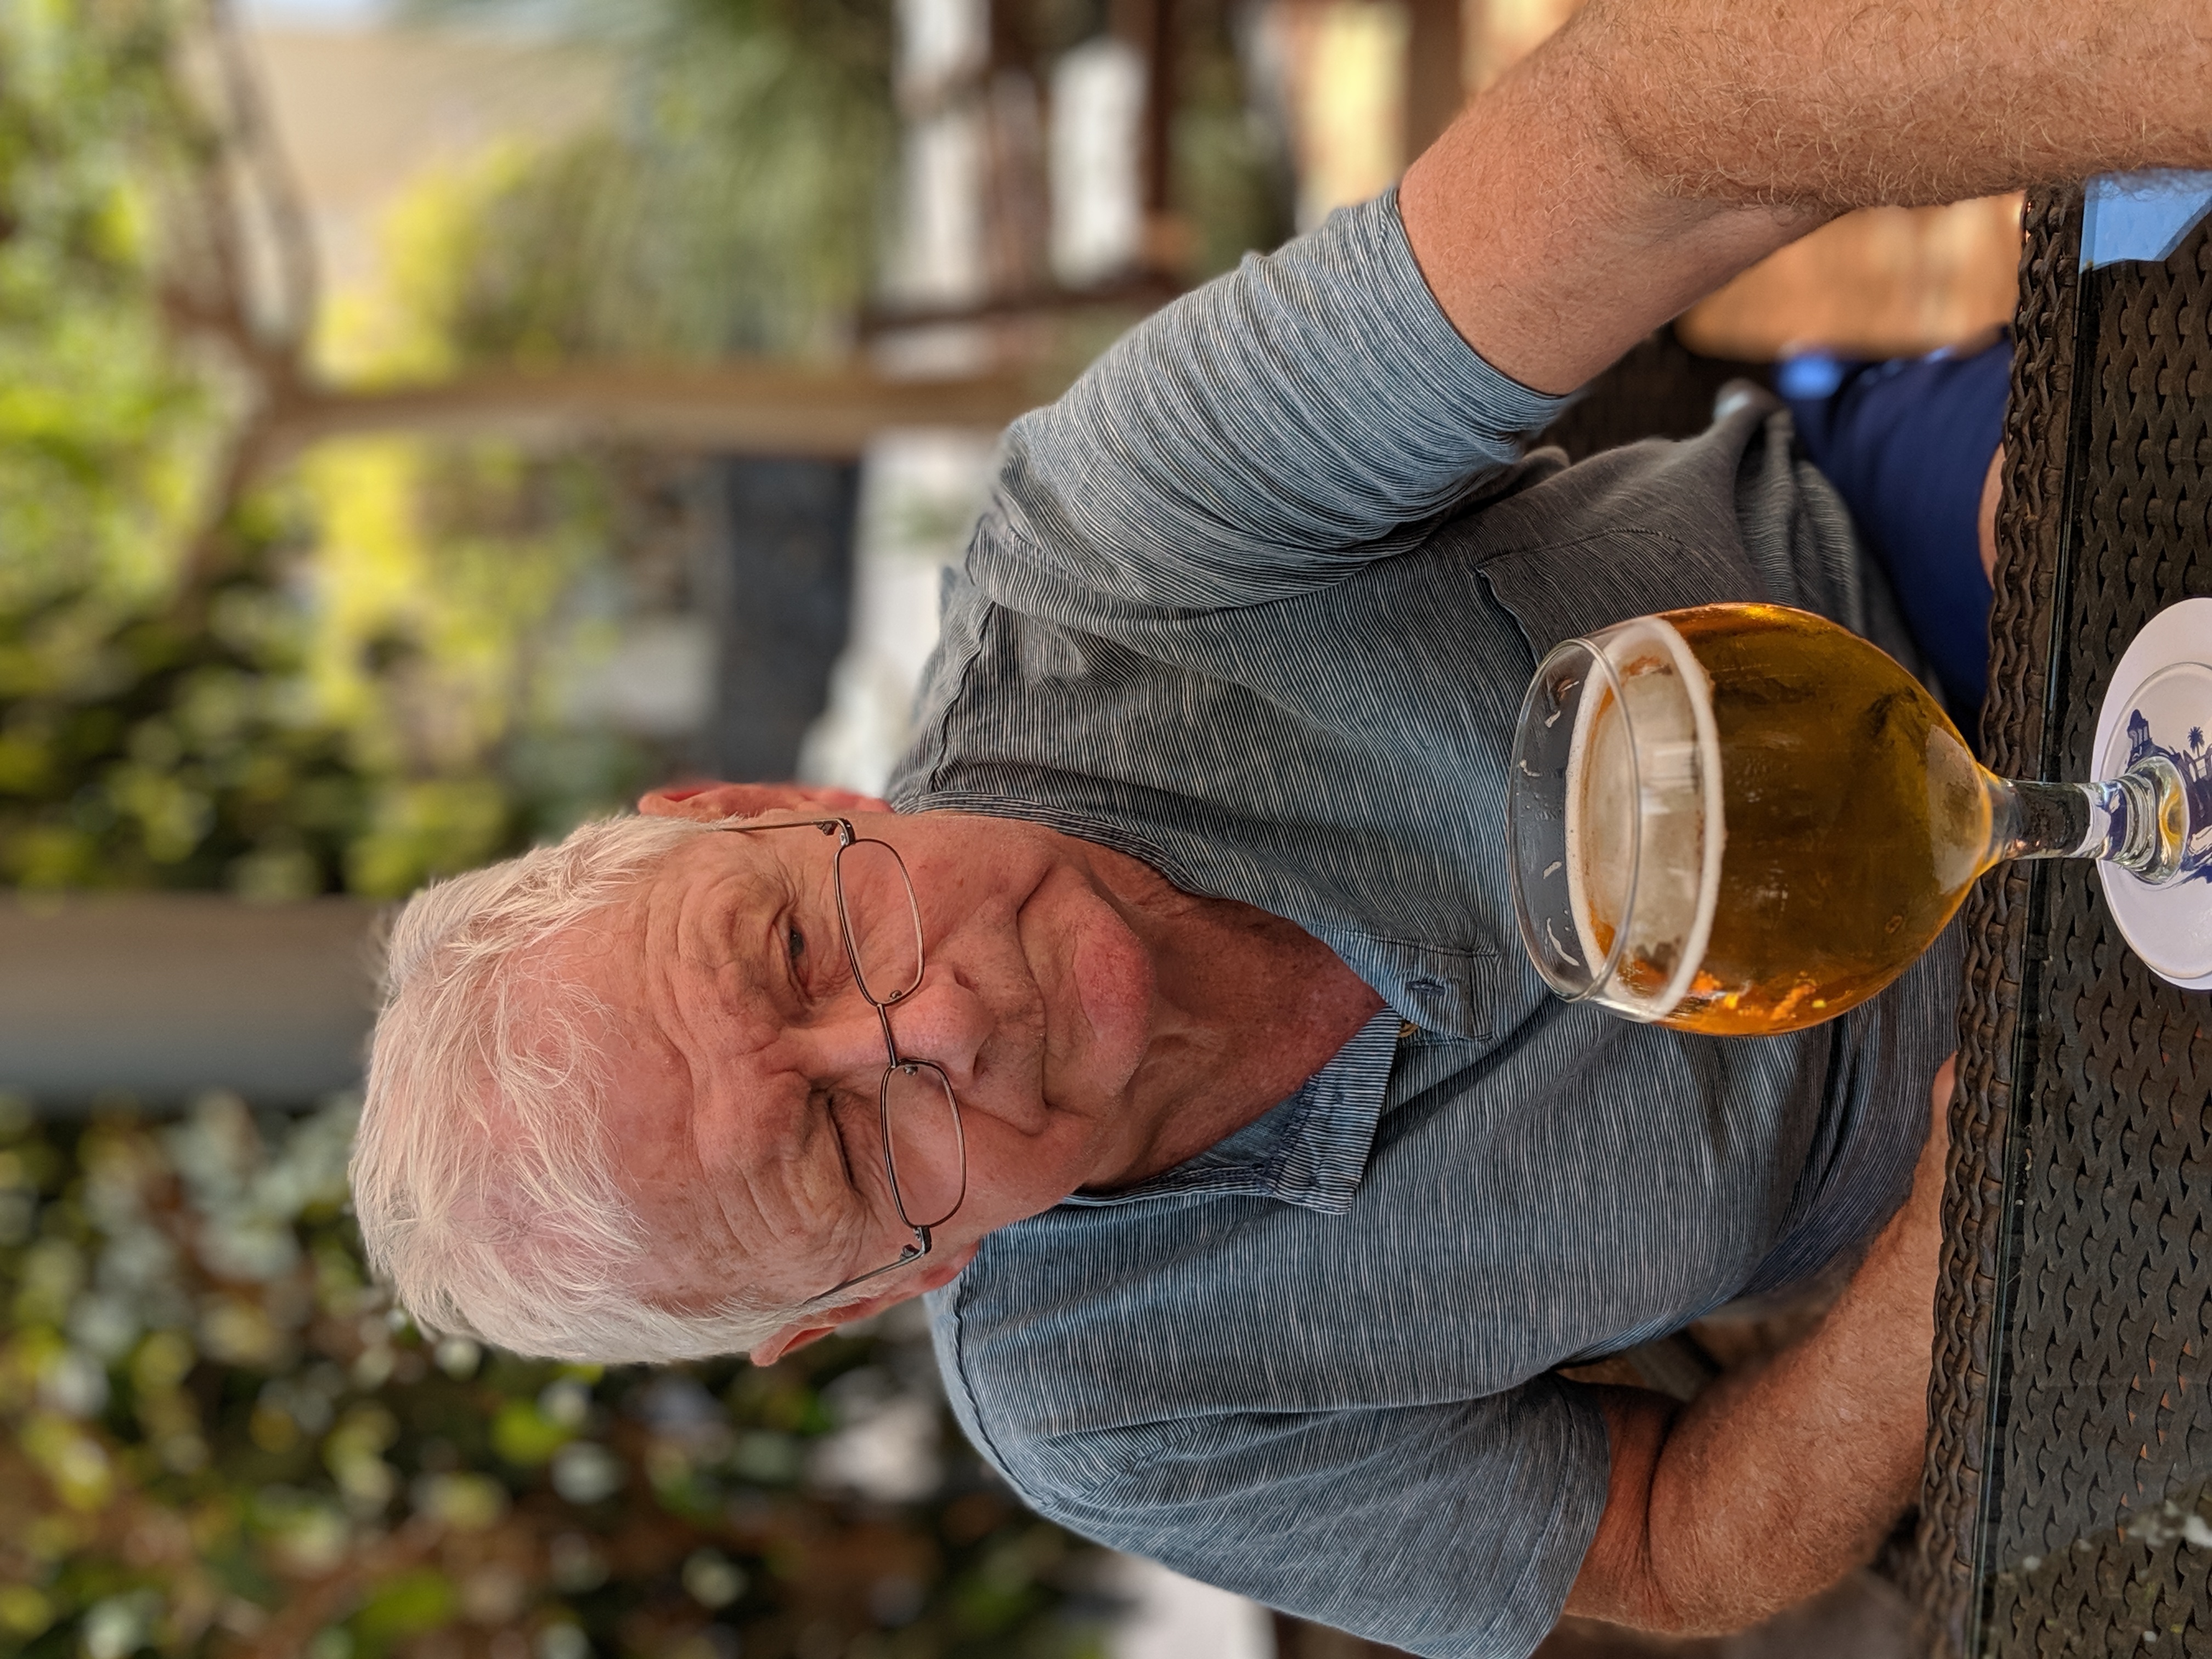
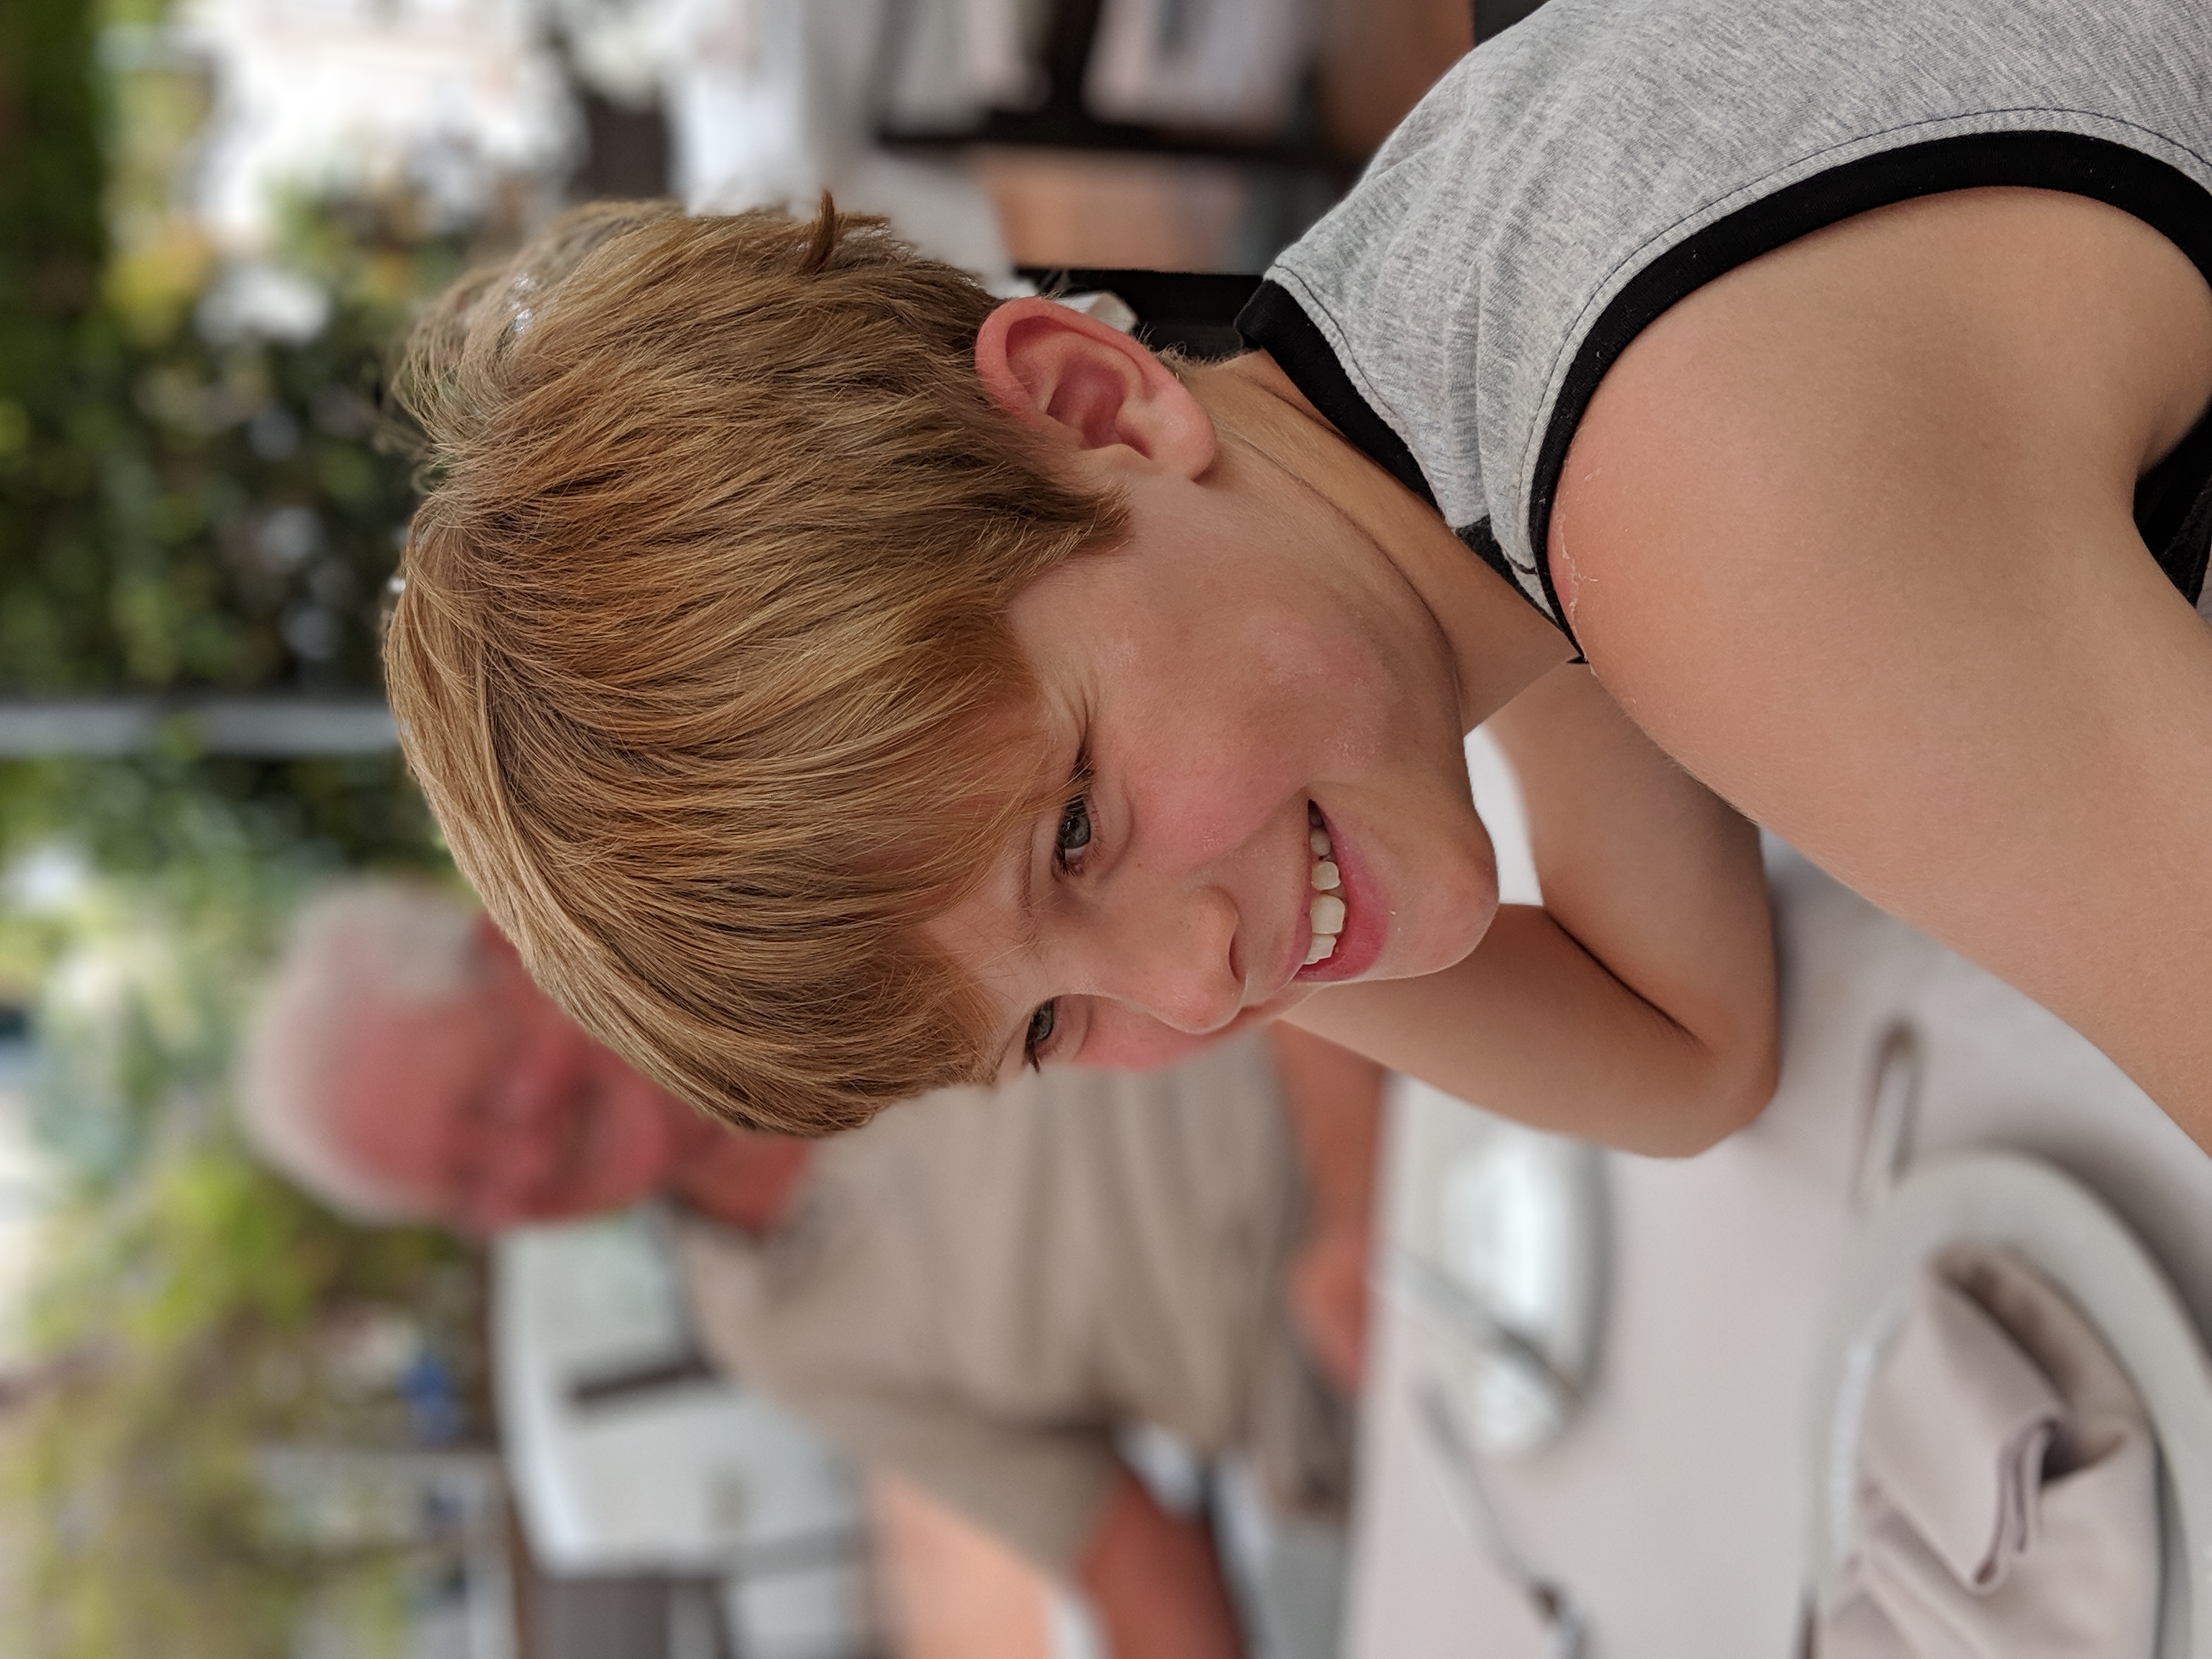
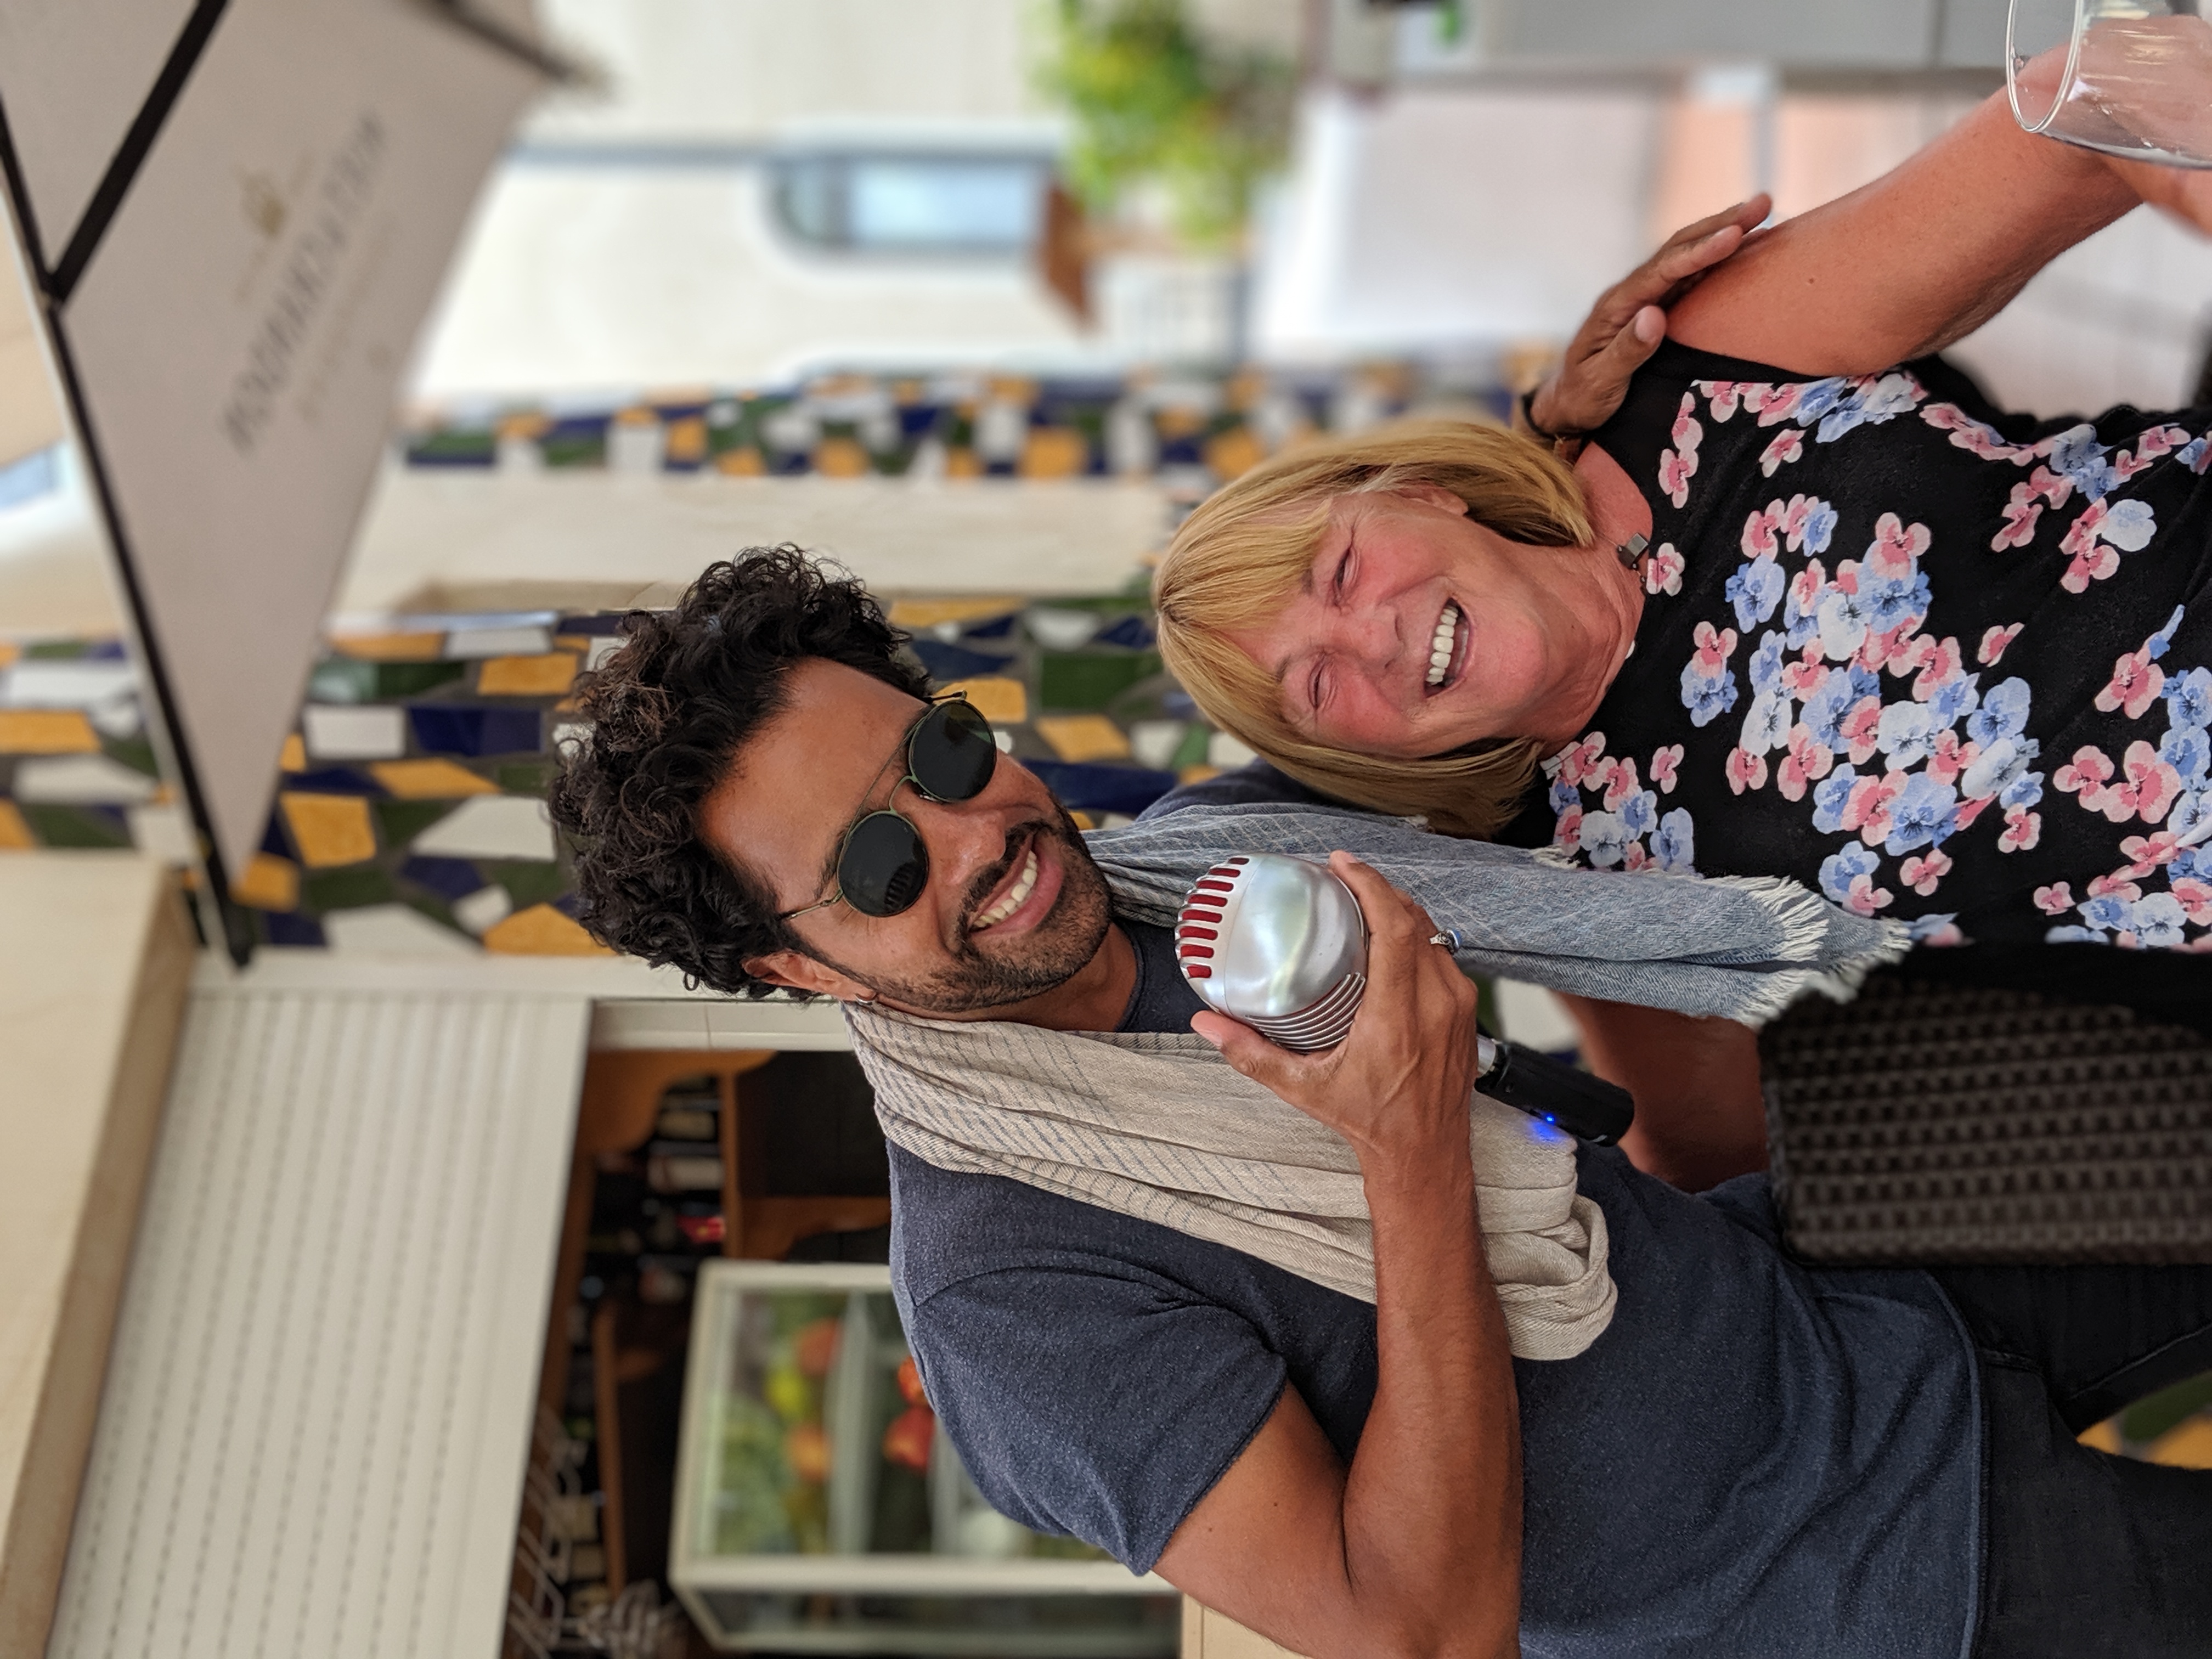


This is a bit of an epic of a post. Lots of pictures and lots of words because lots of work went into it.
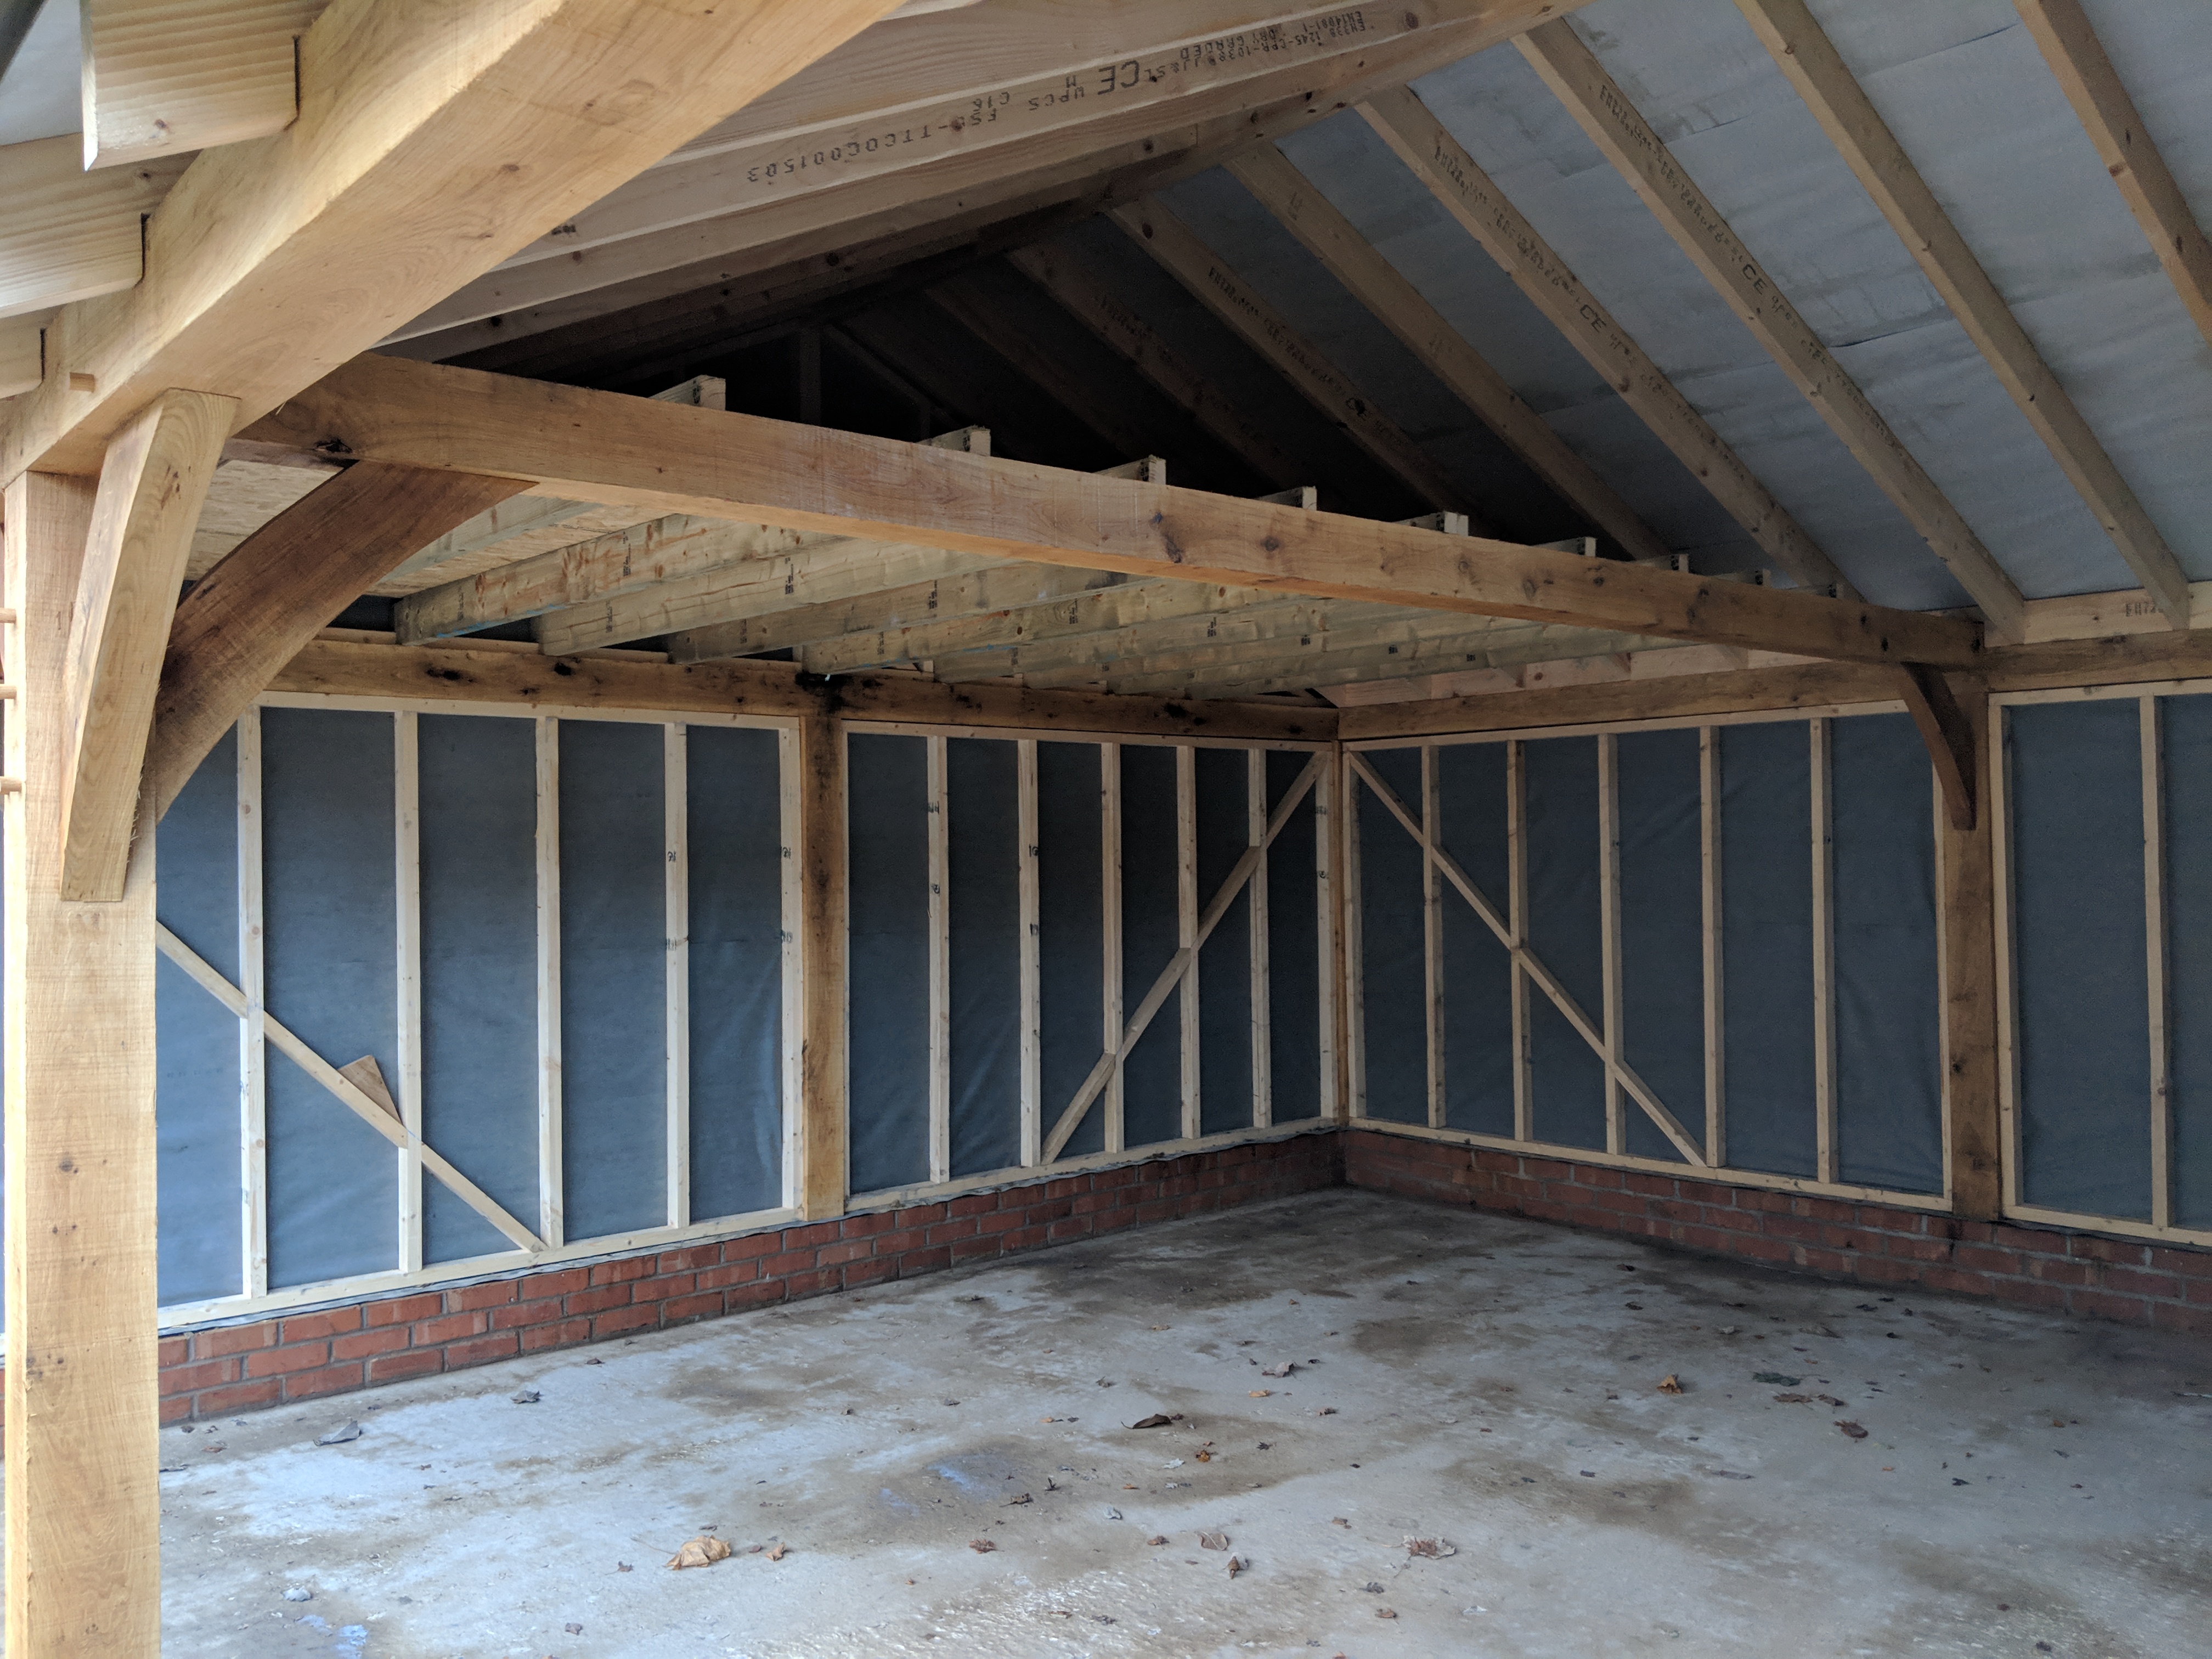
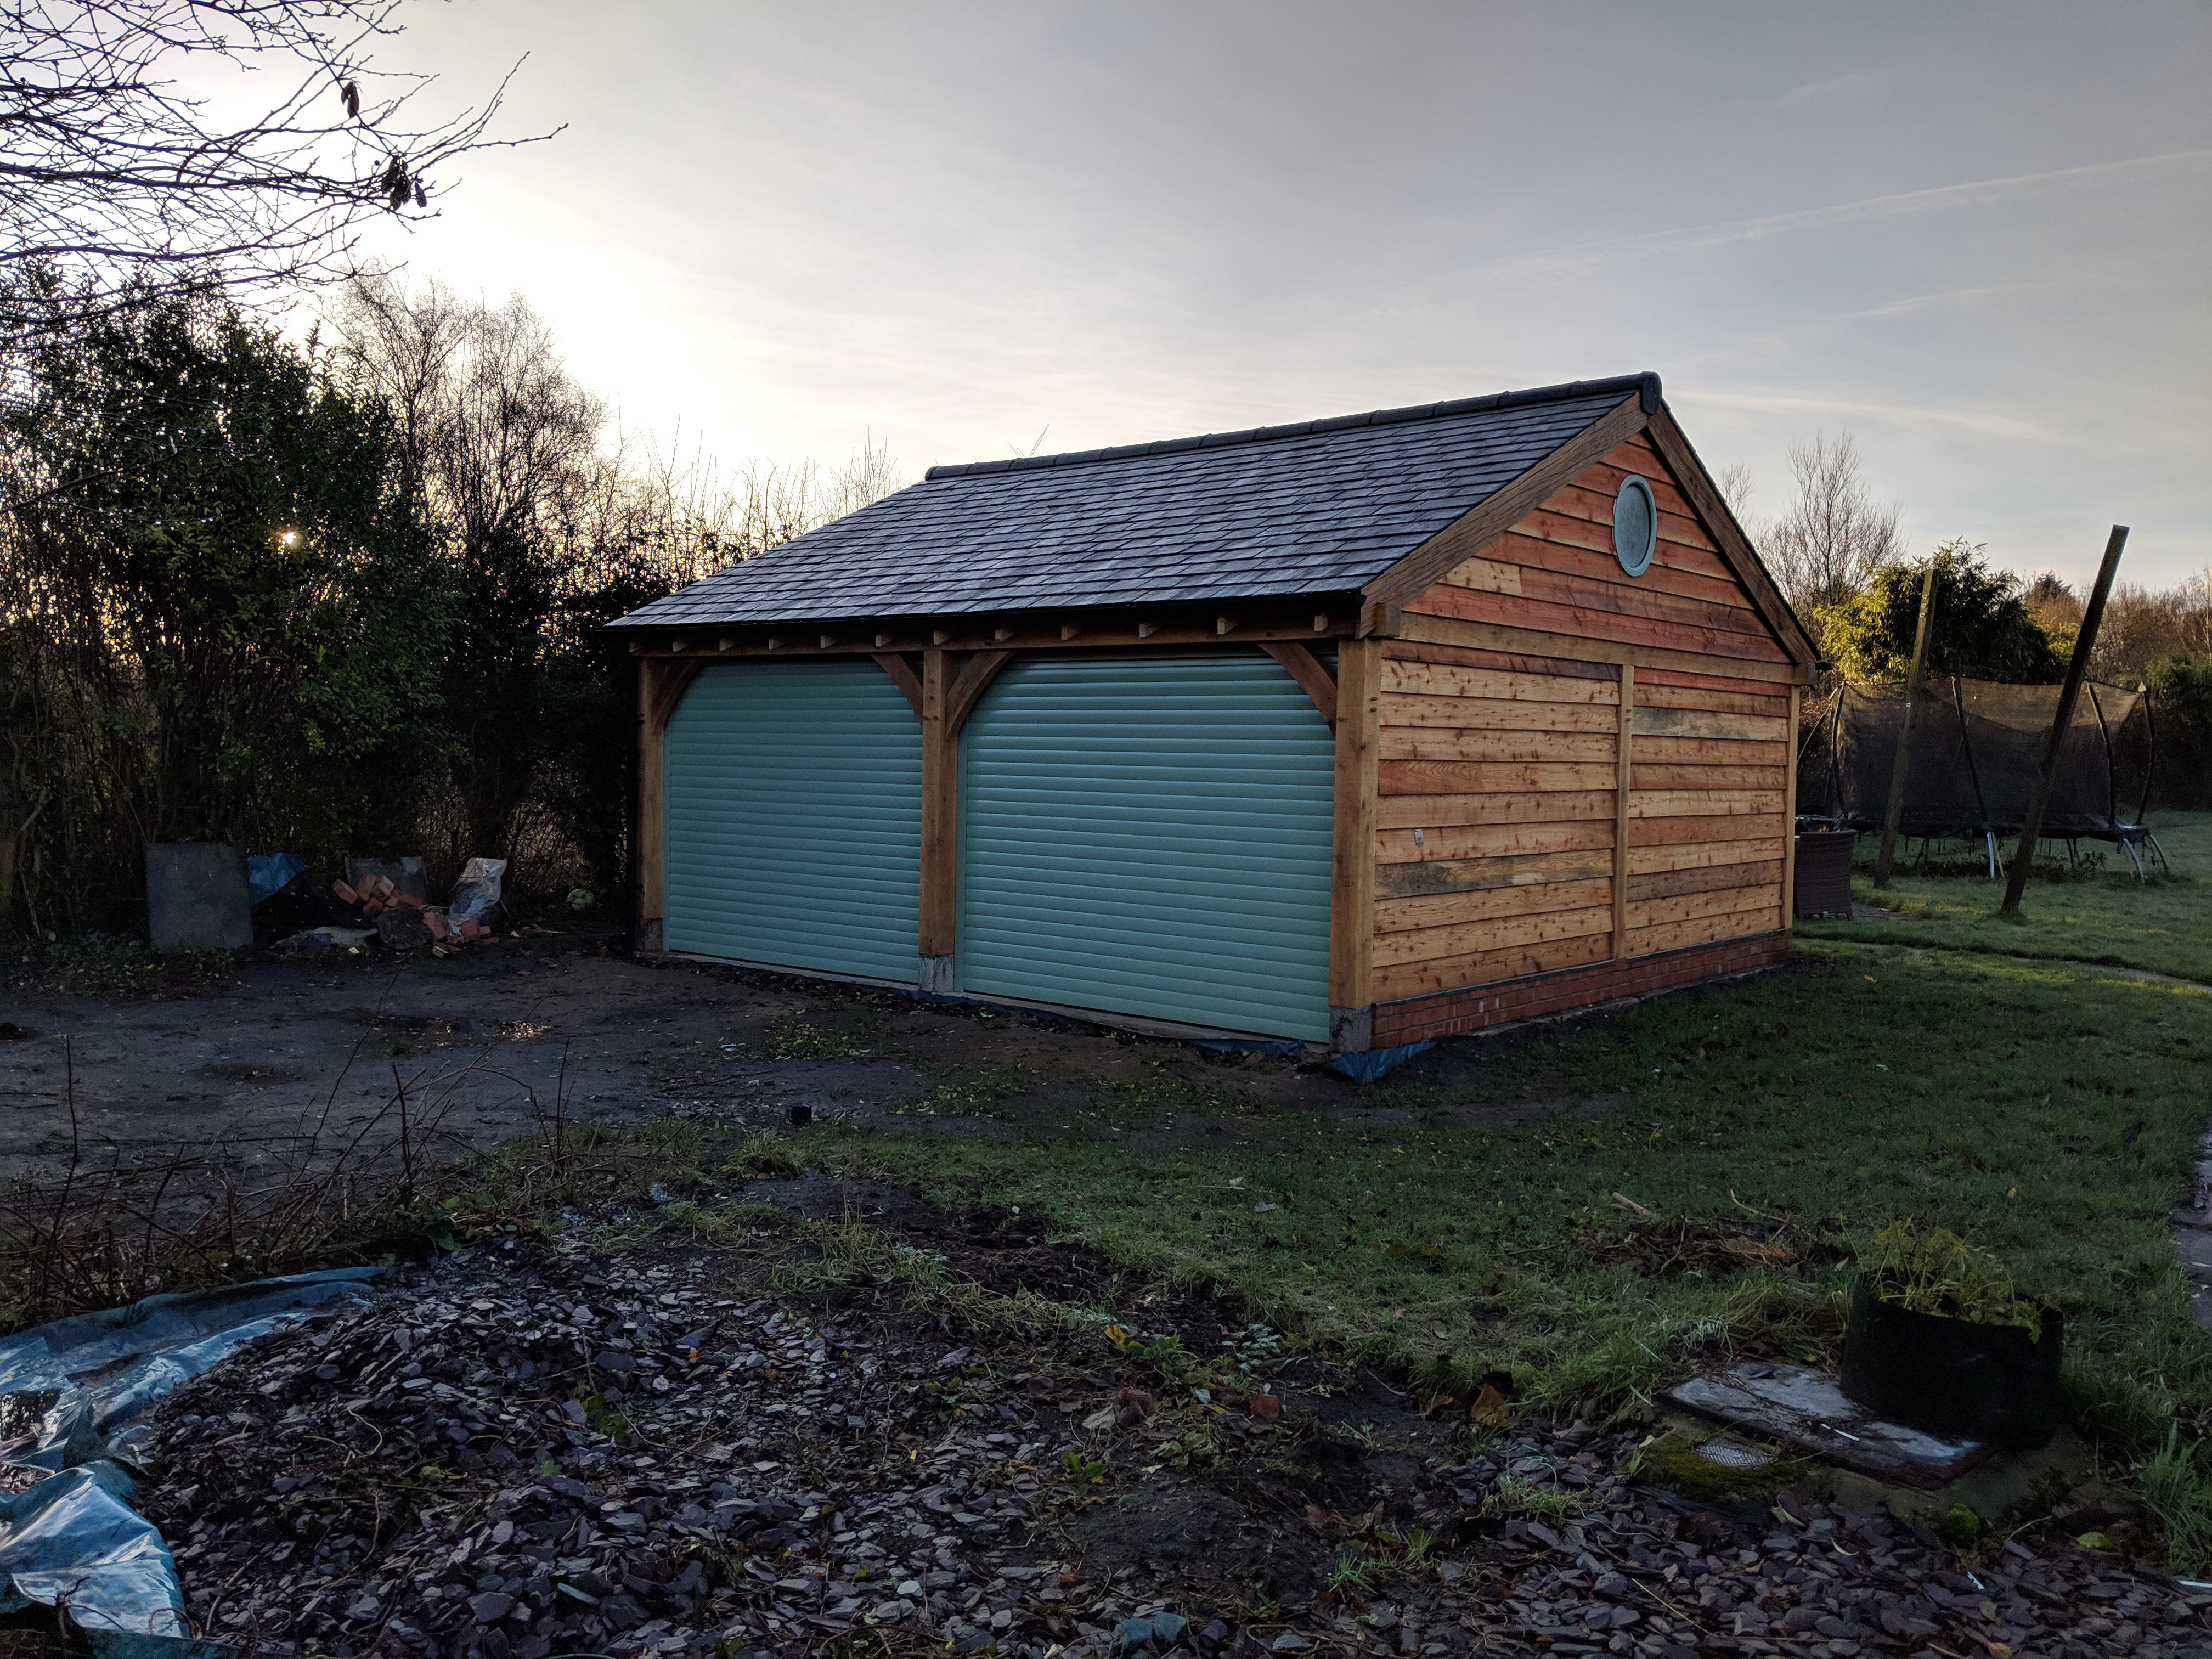
For a long time it’s been my ambition to drive a car that’s older than me. Parking such a car outside in the British weather means that car wouldn’t last much longer before it fell apart so we had to build a garage.
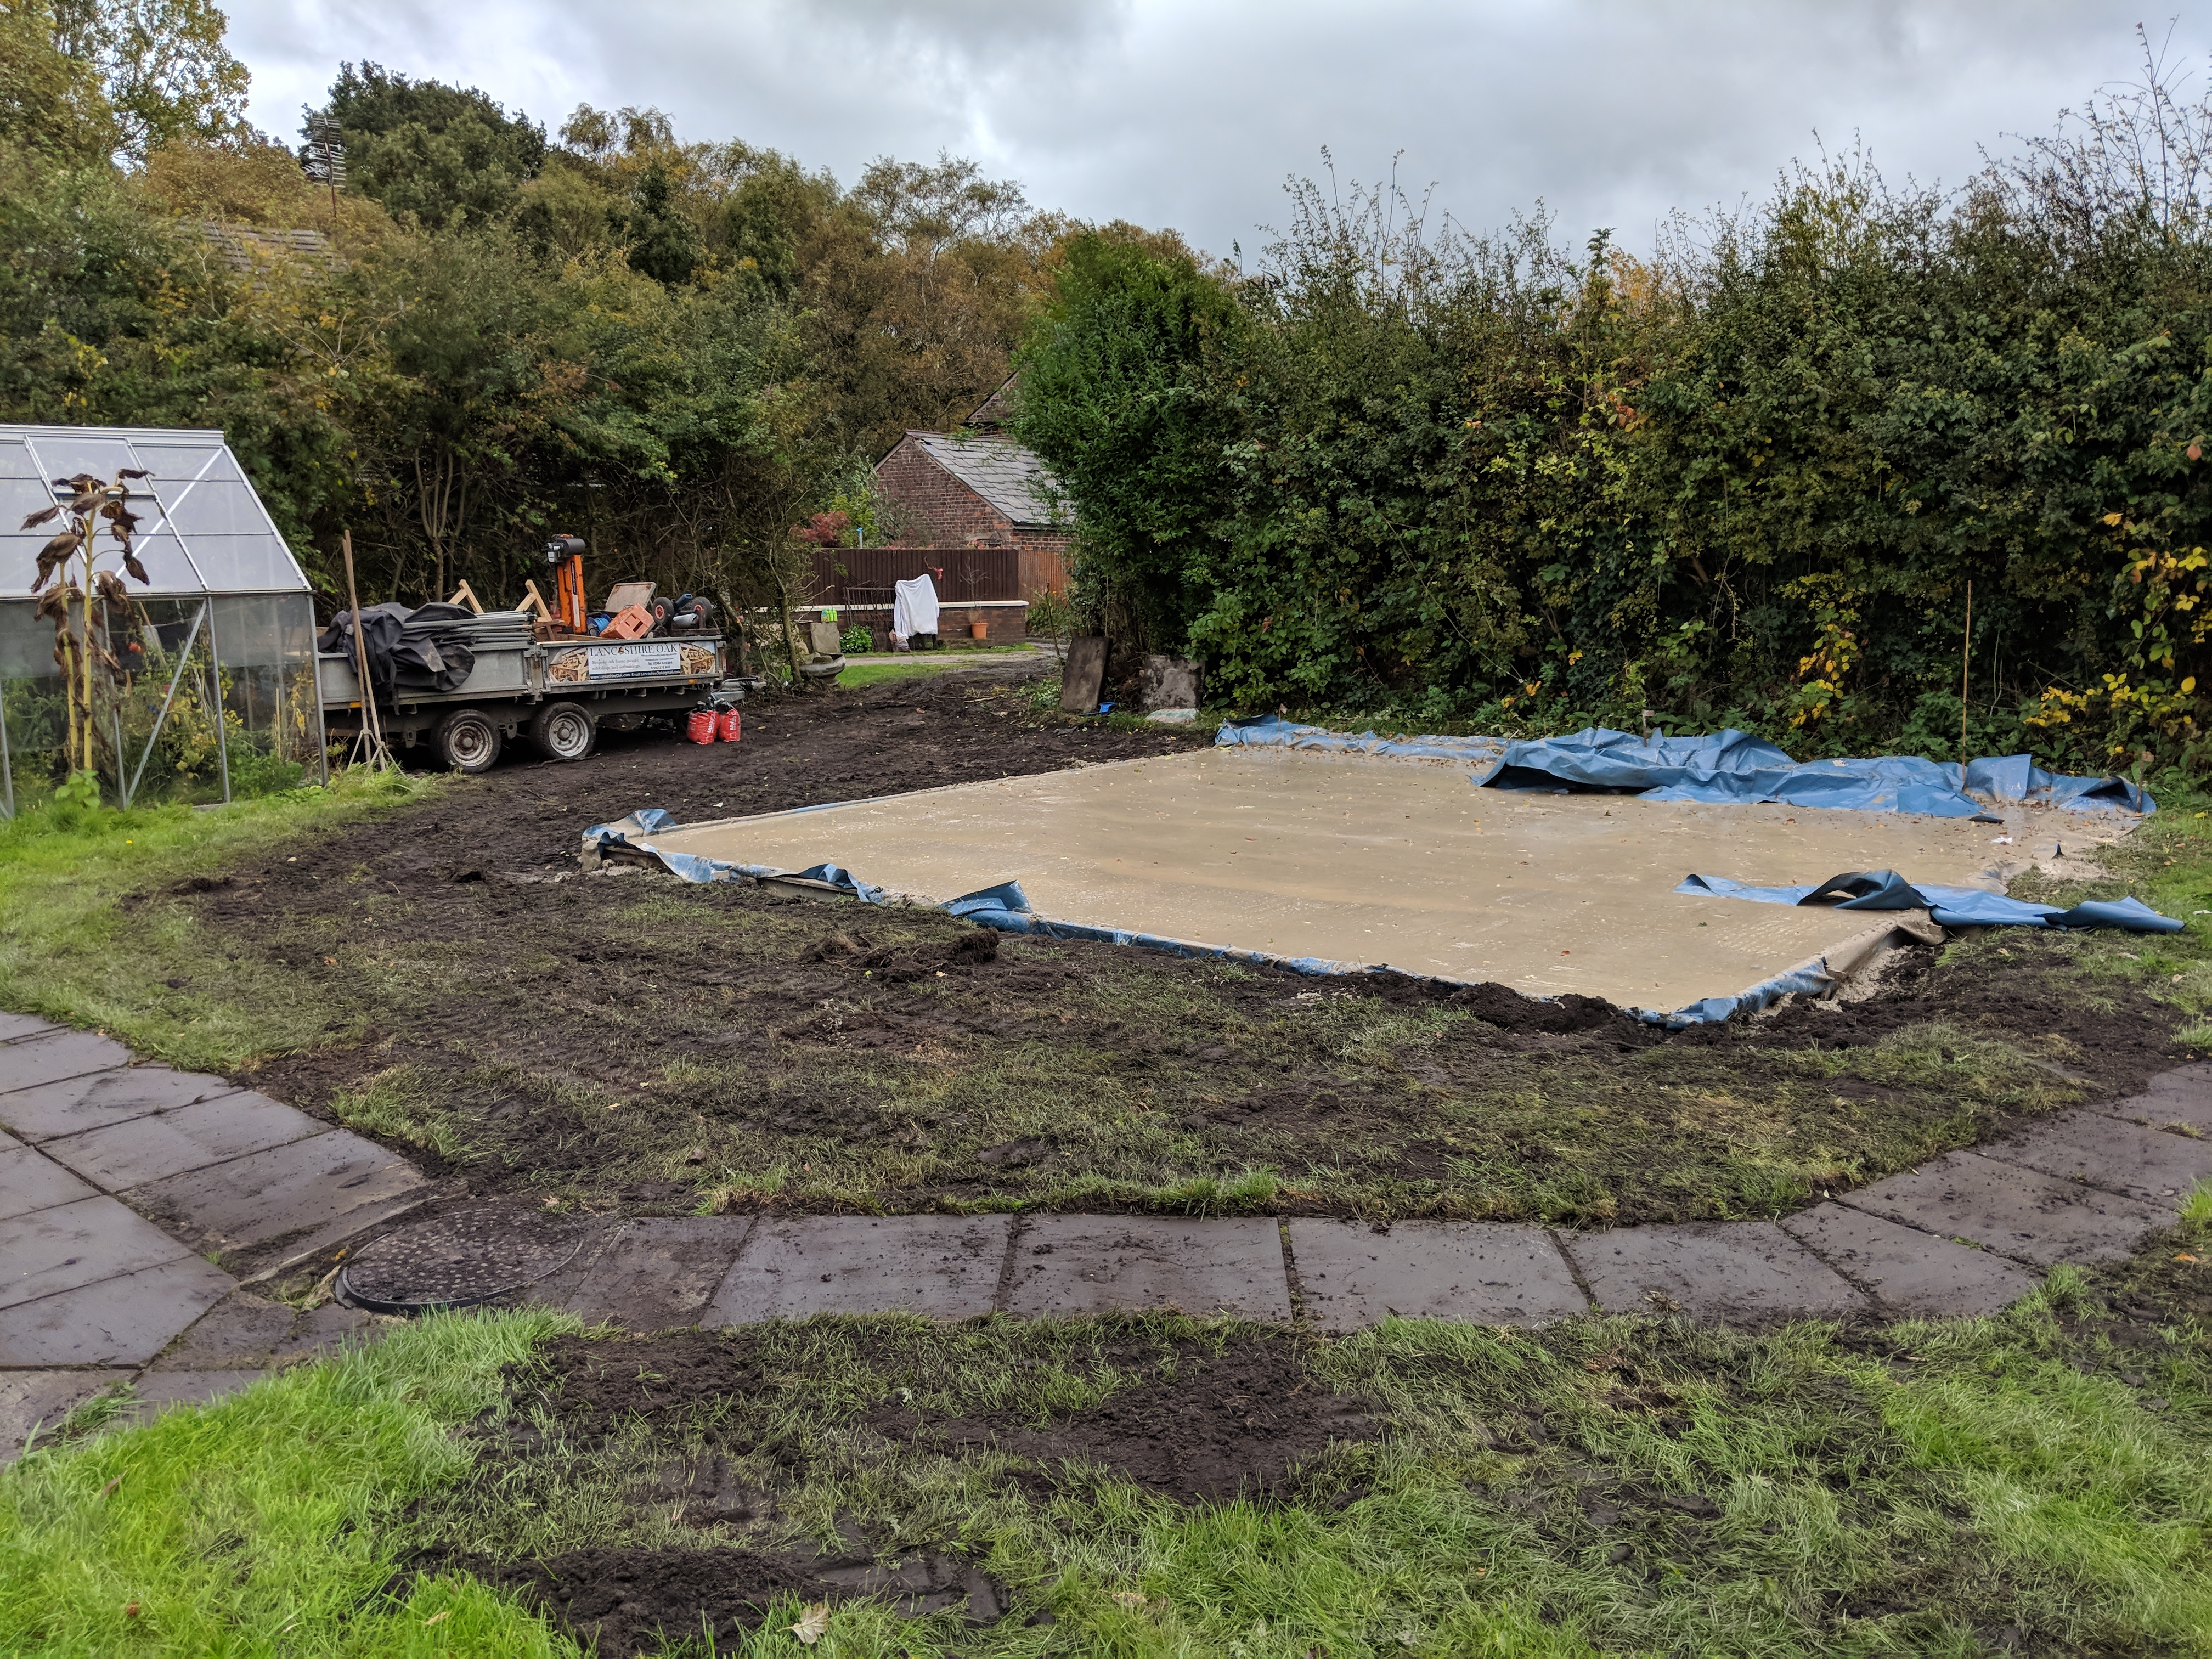
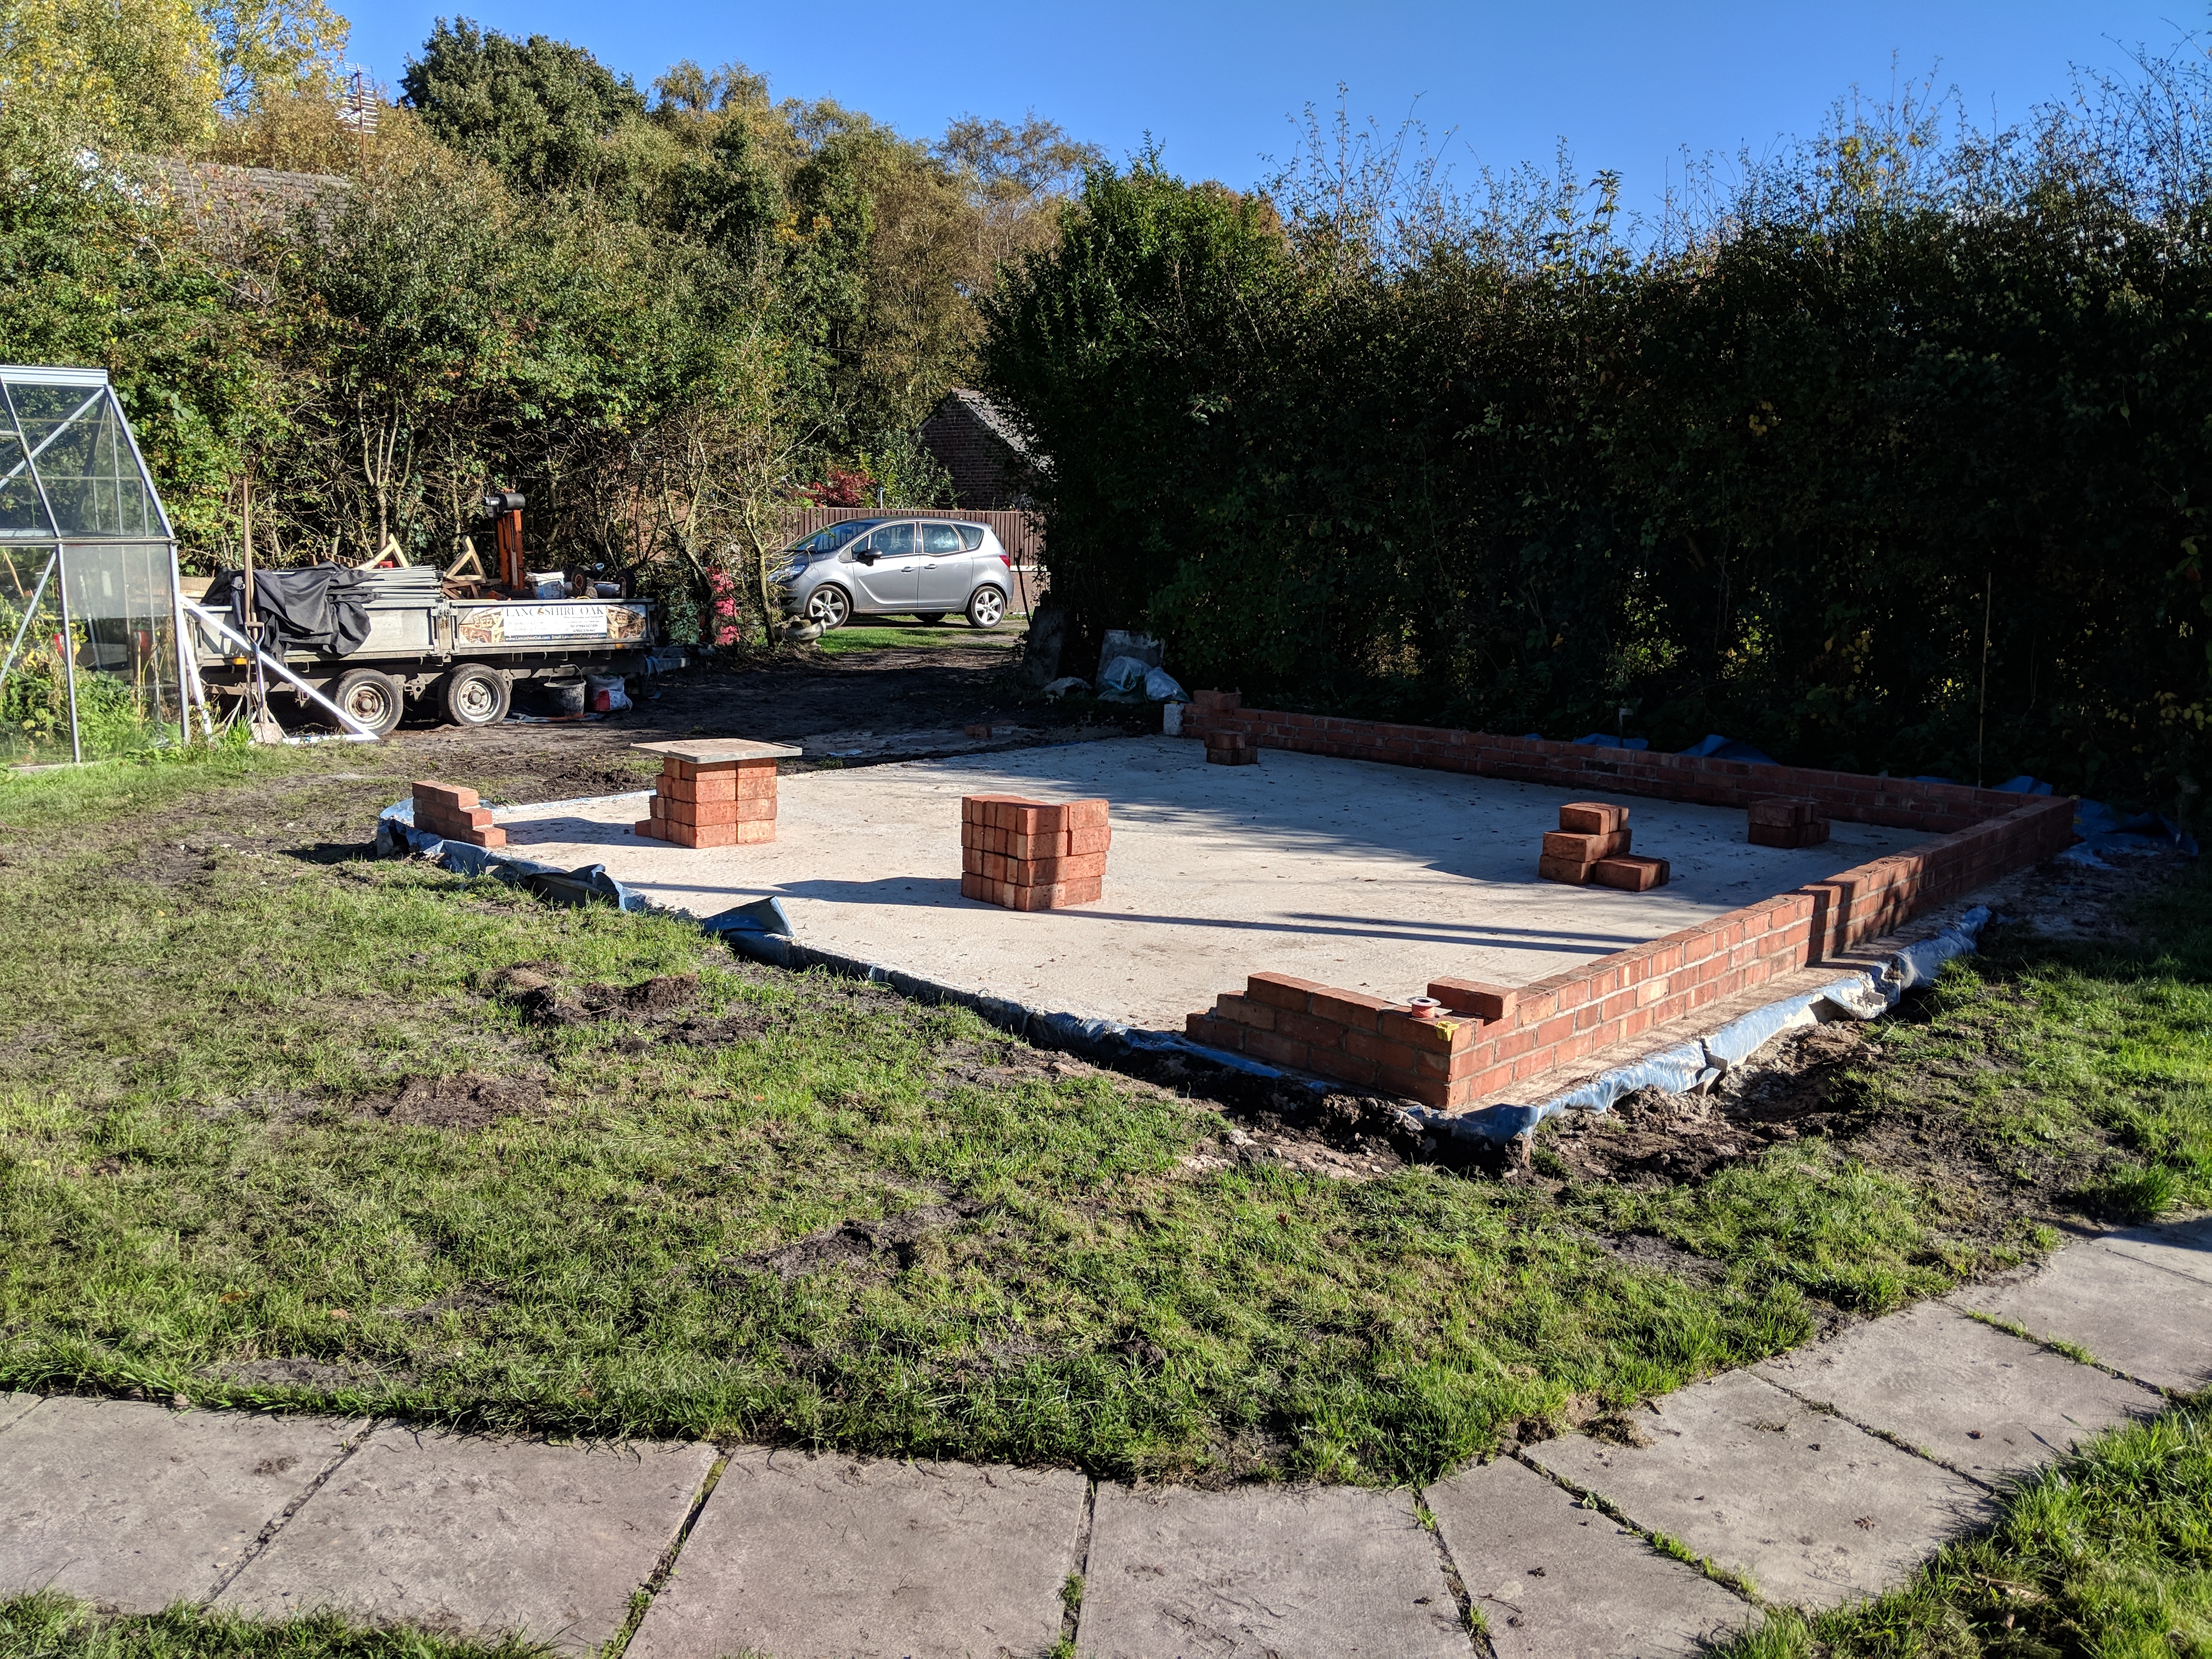
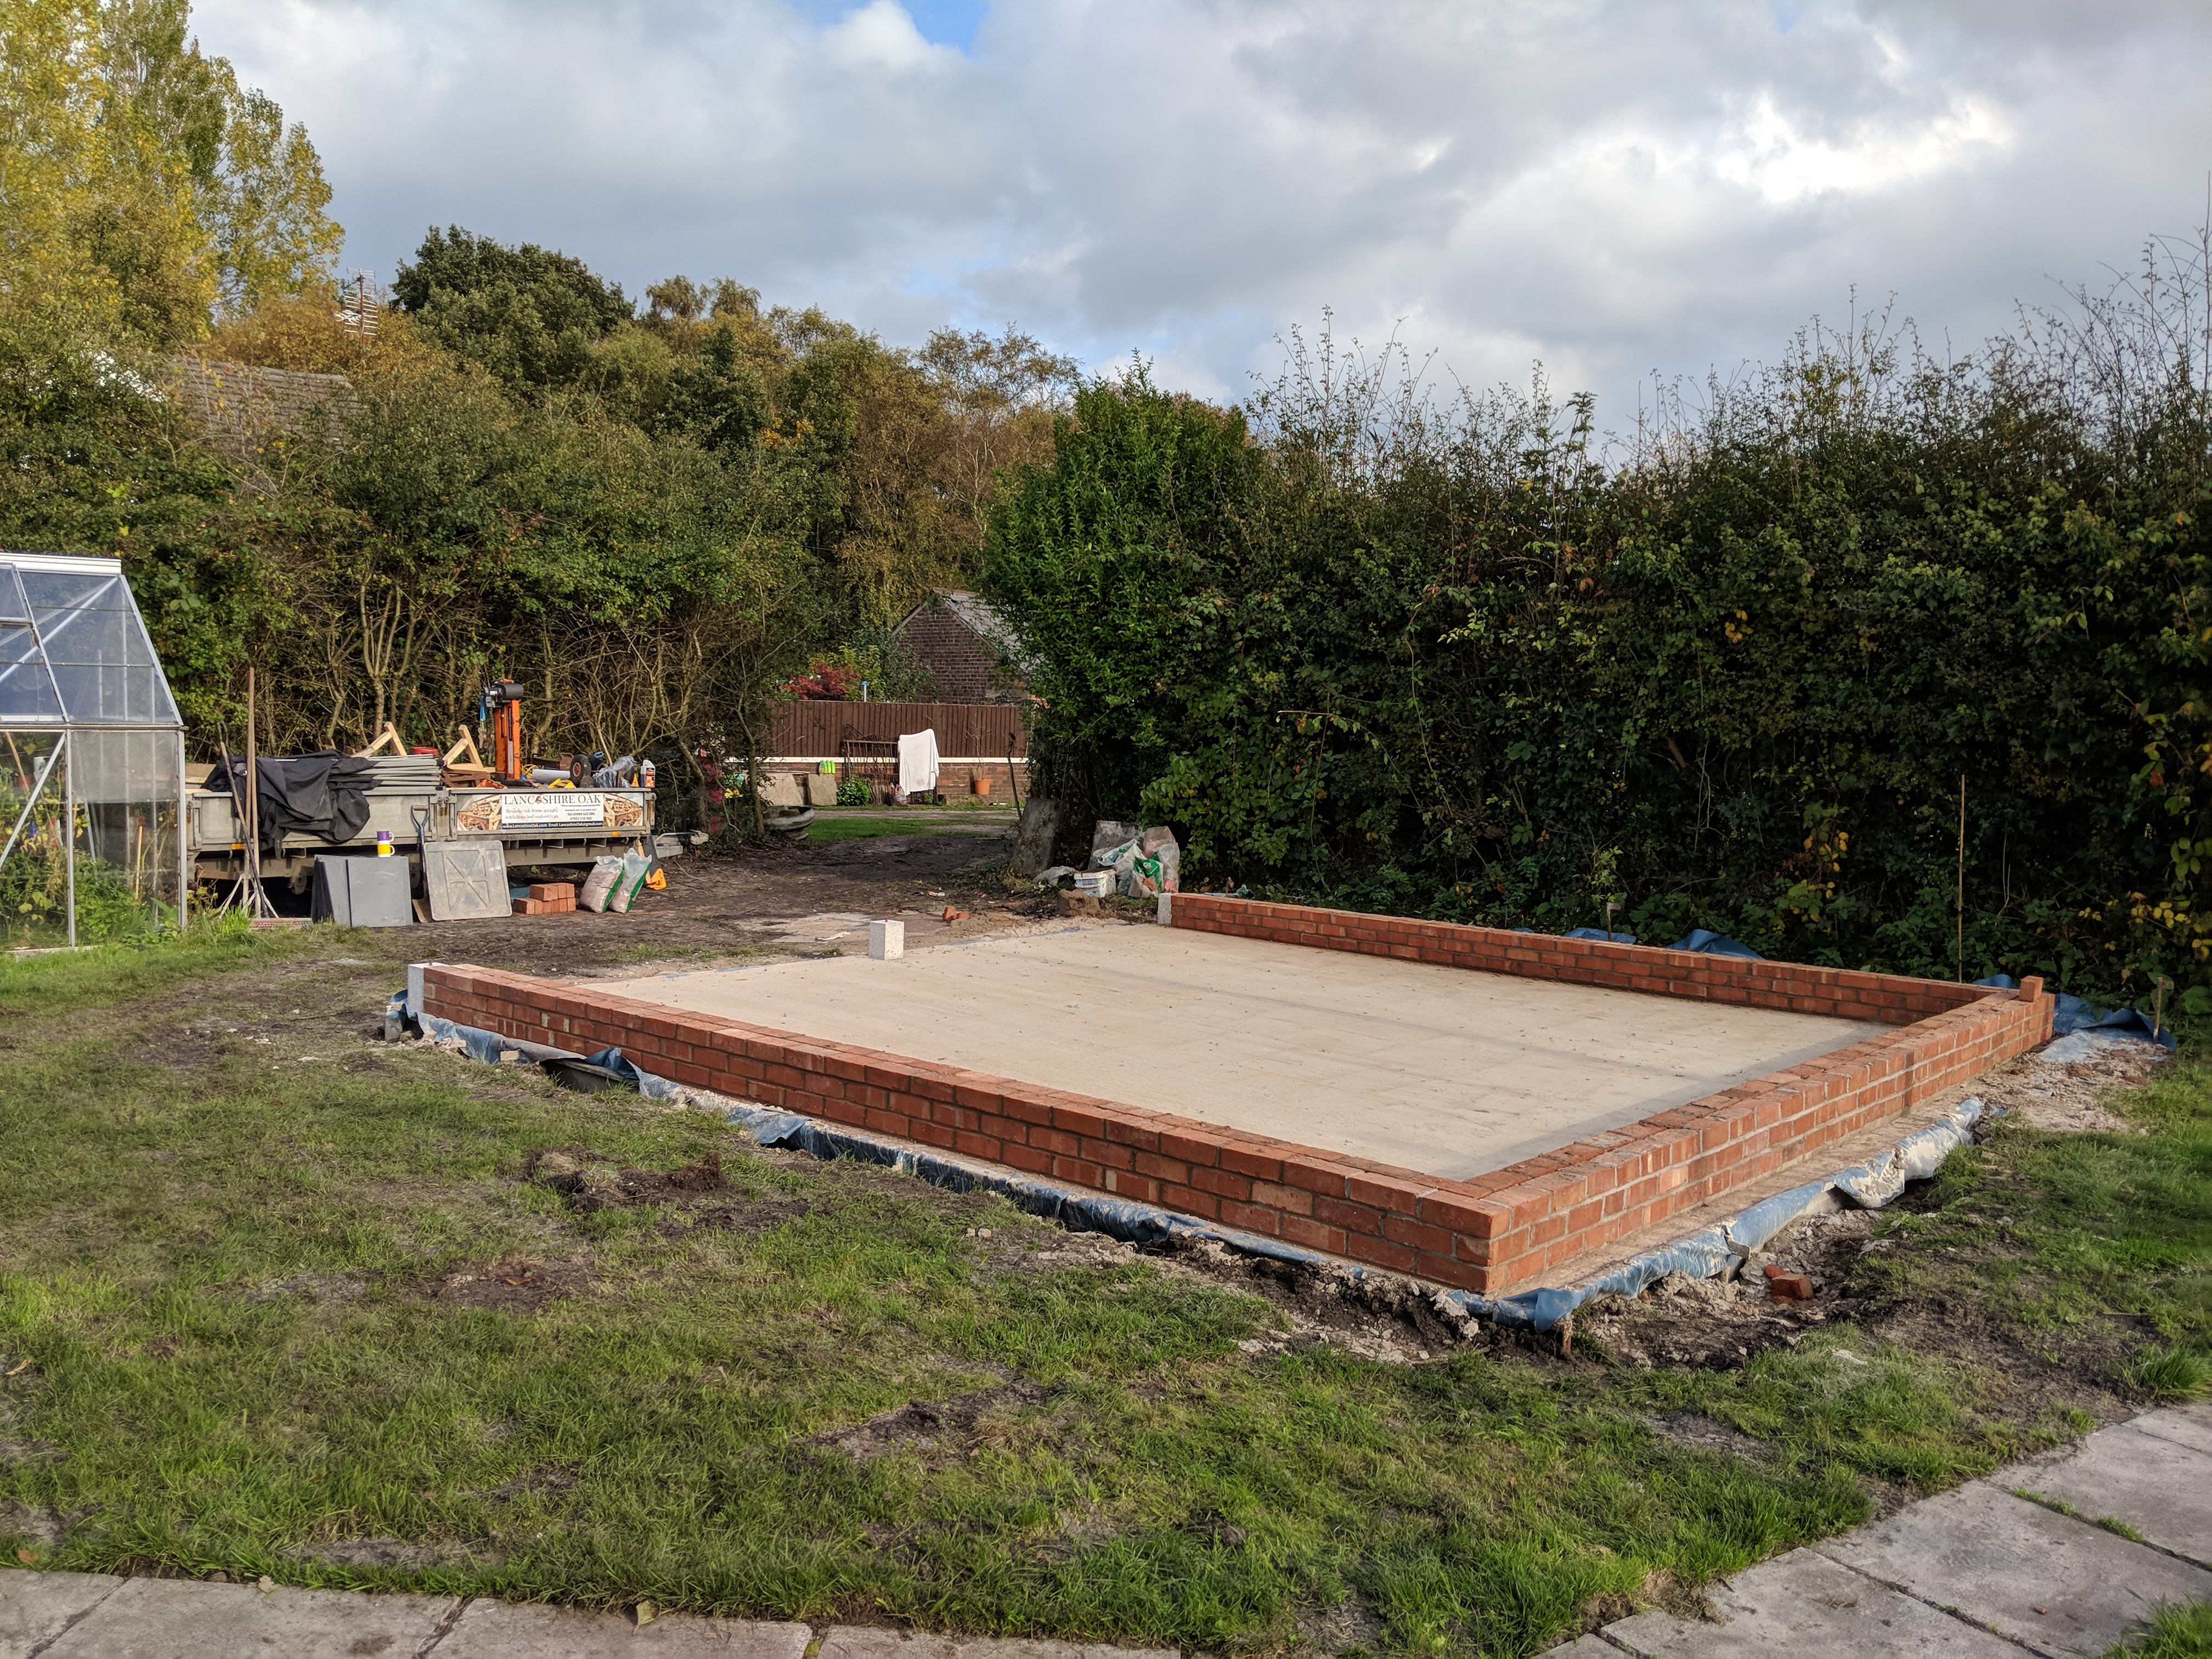
Needless to say I had nothing to do with digging the hole for the concrete, pouring the concrete or laying the bricks.
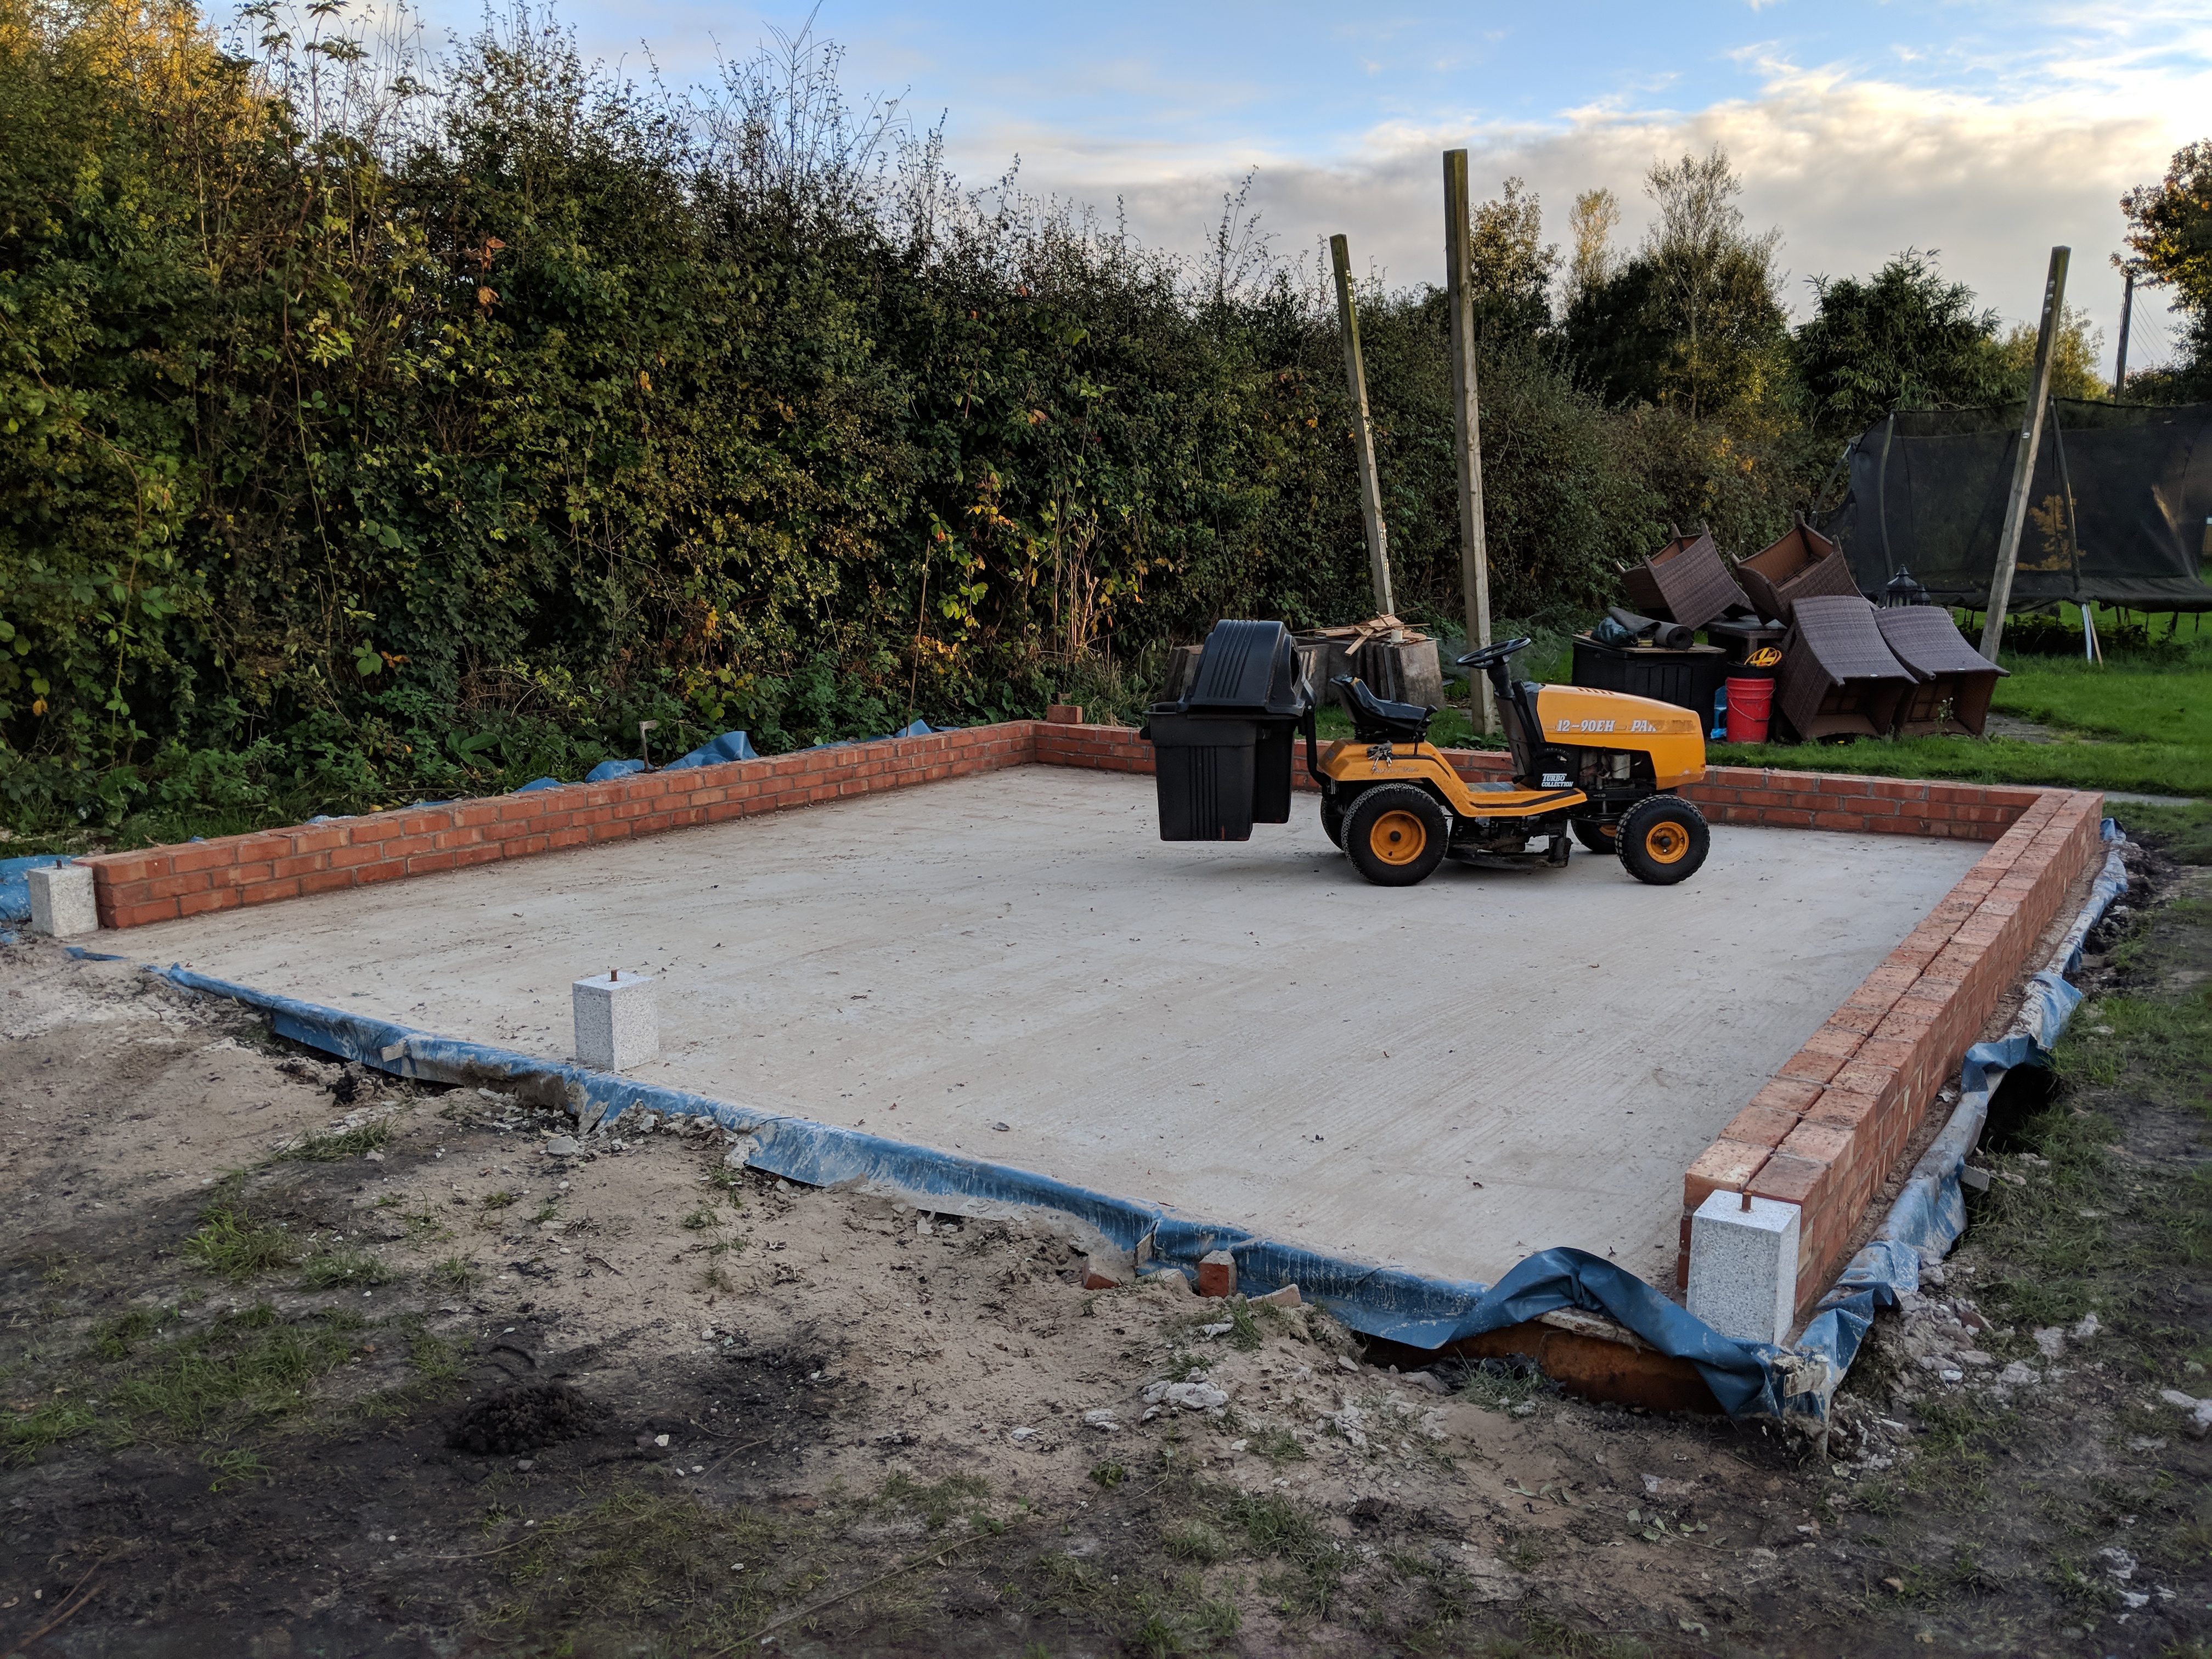
With the concrete set I thought it about time to make sure my old tractor would fit, it was quite a relief when I managed to get it in.
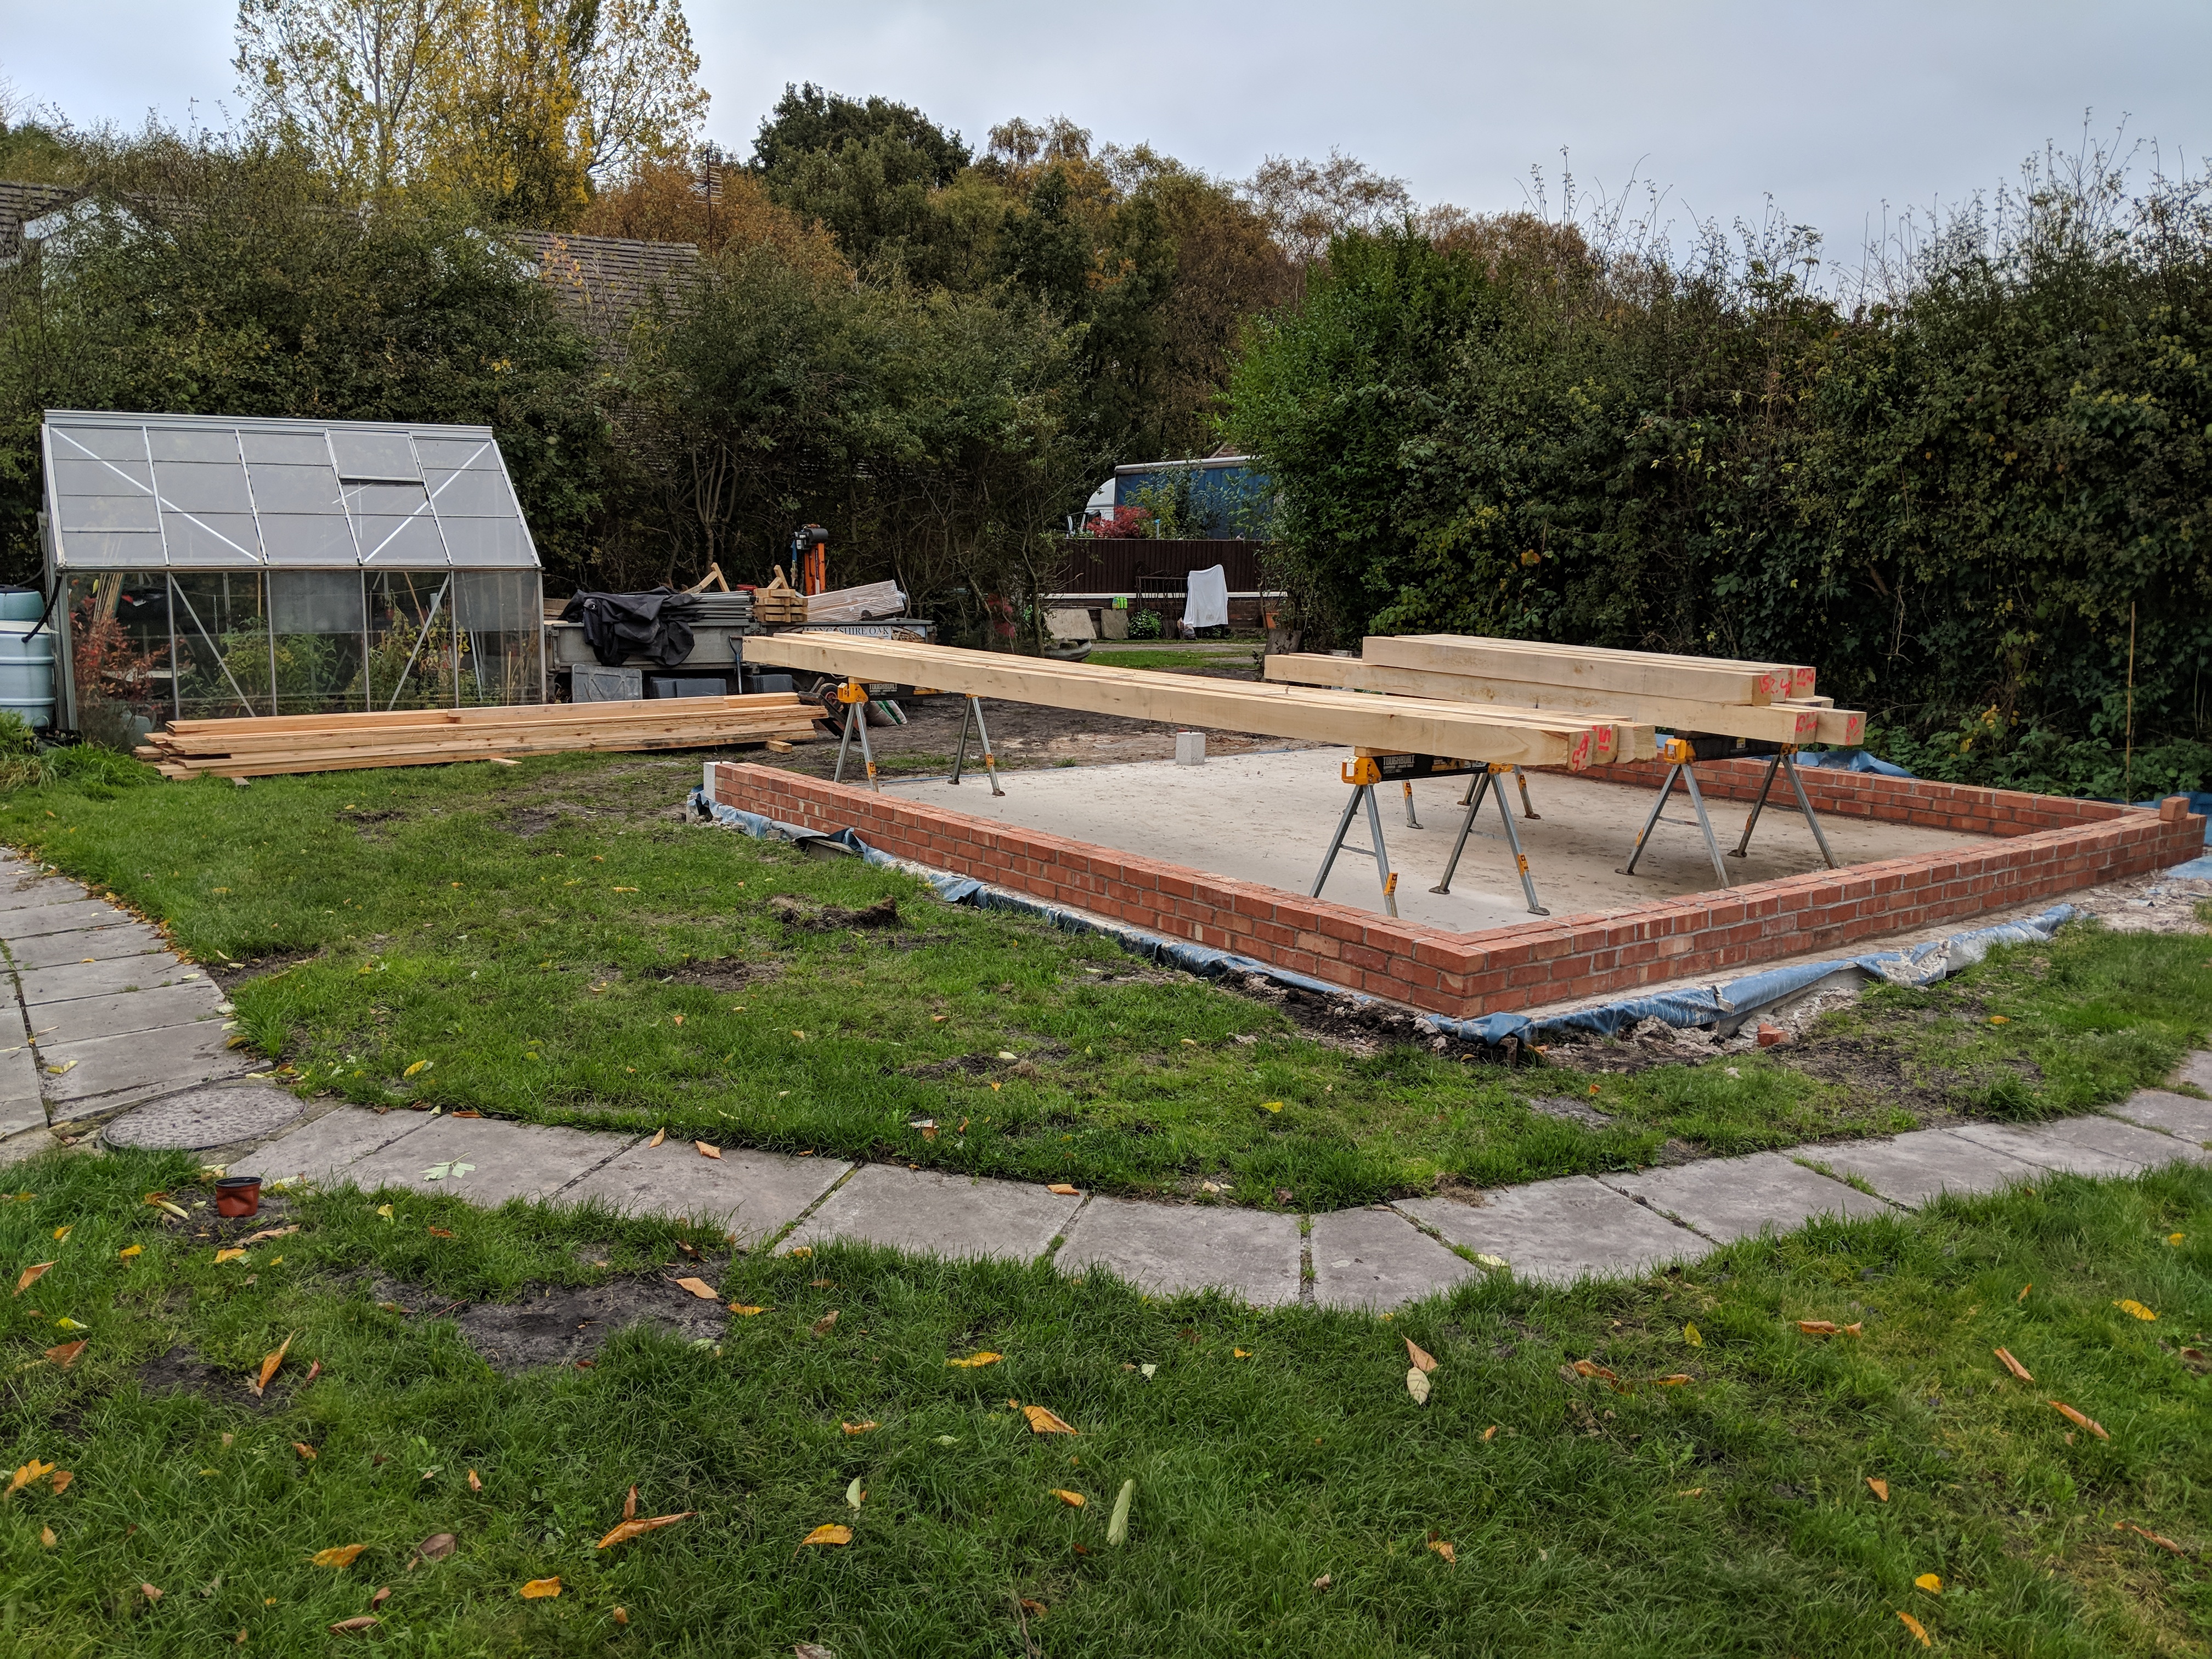
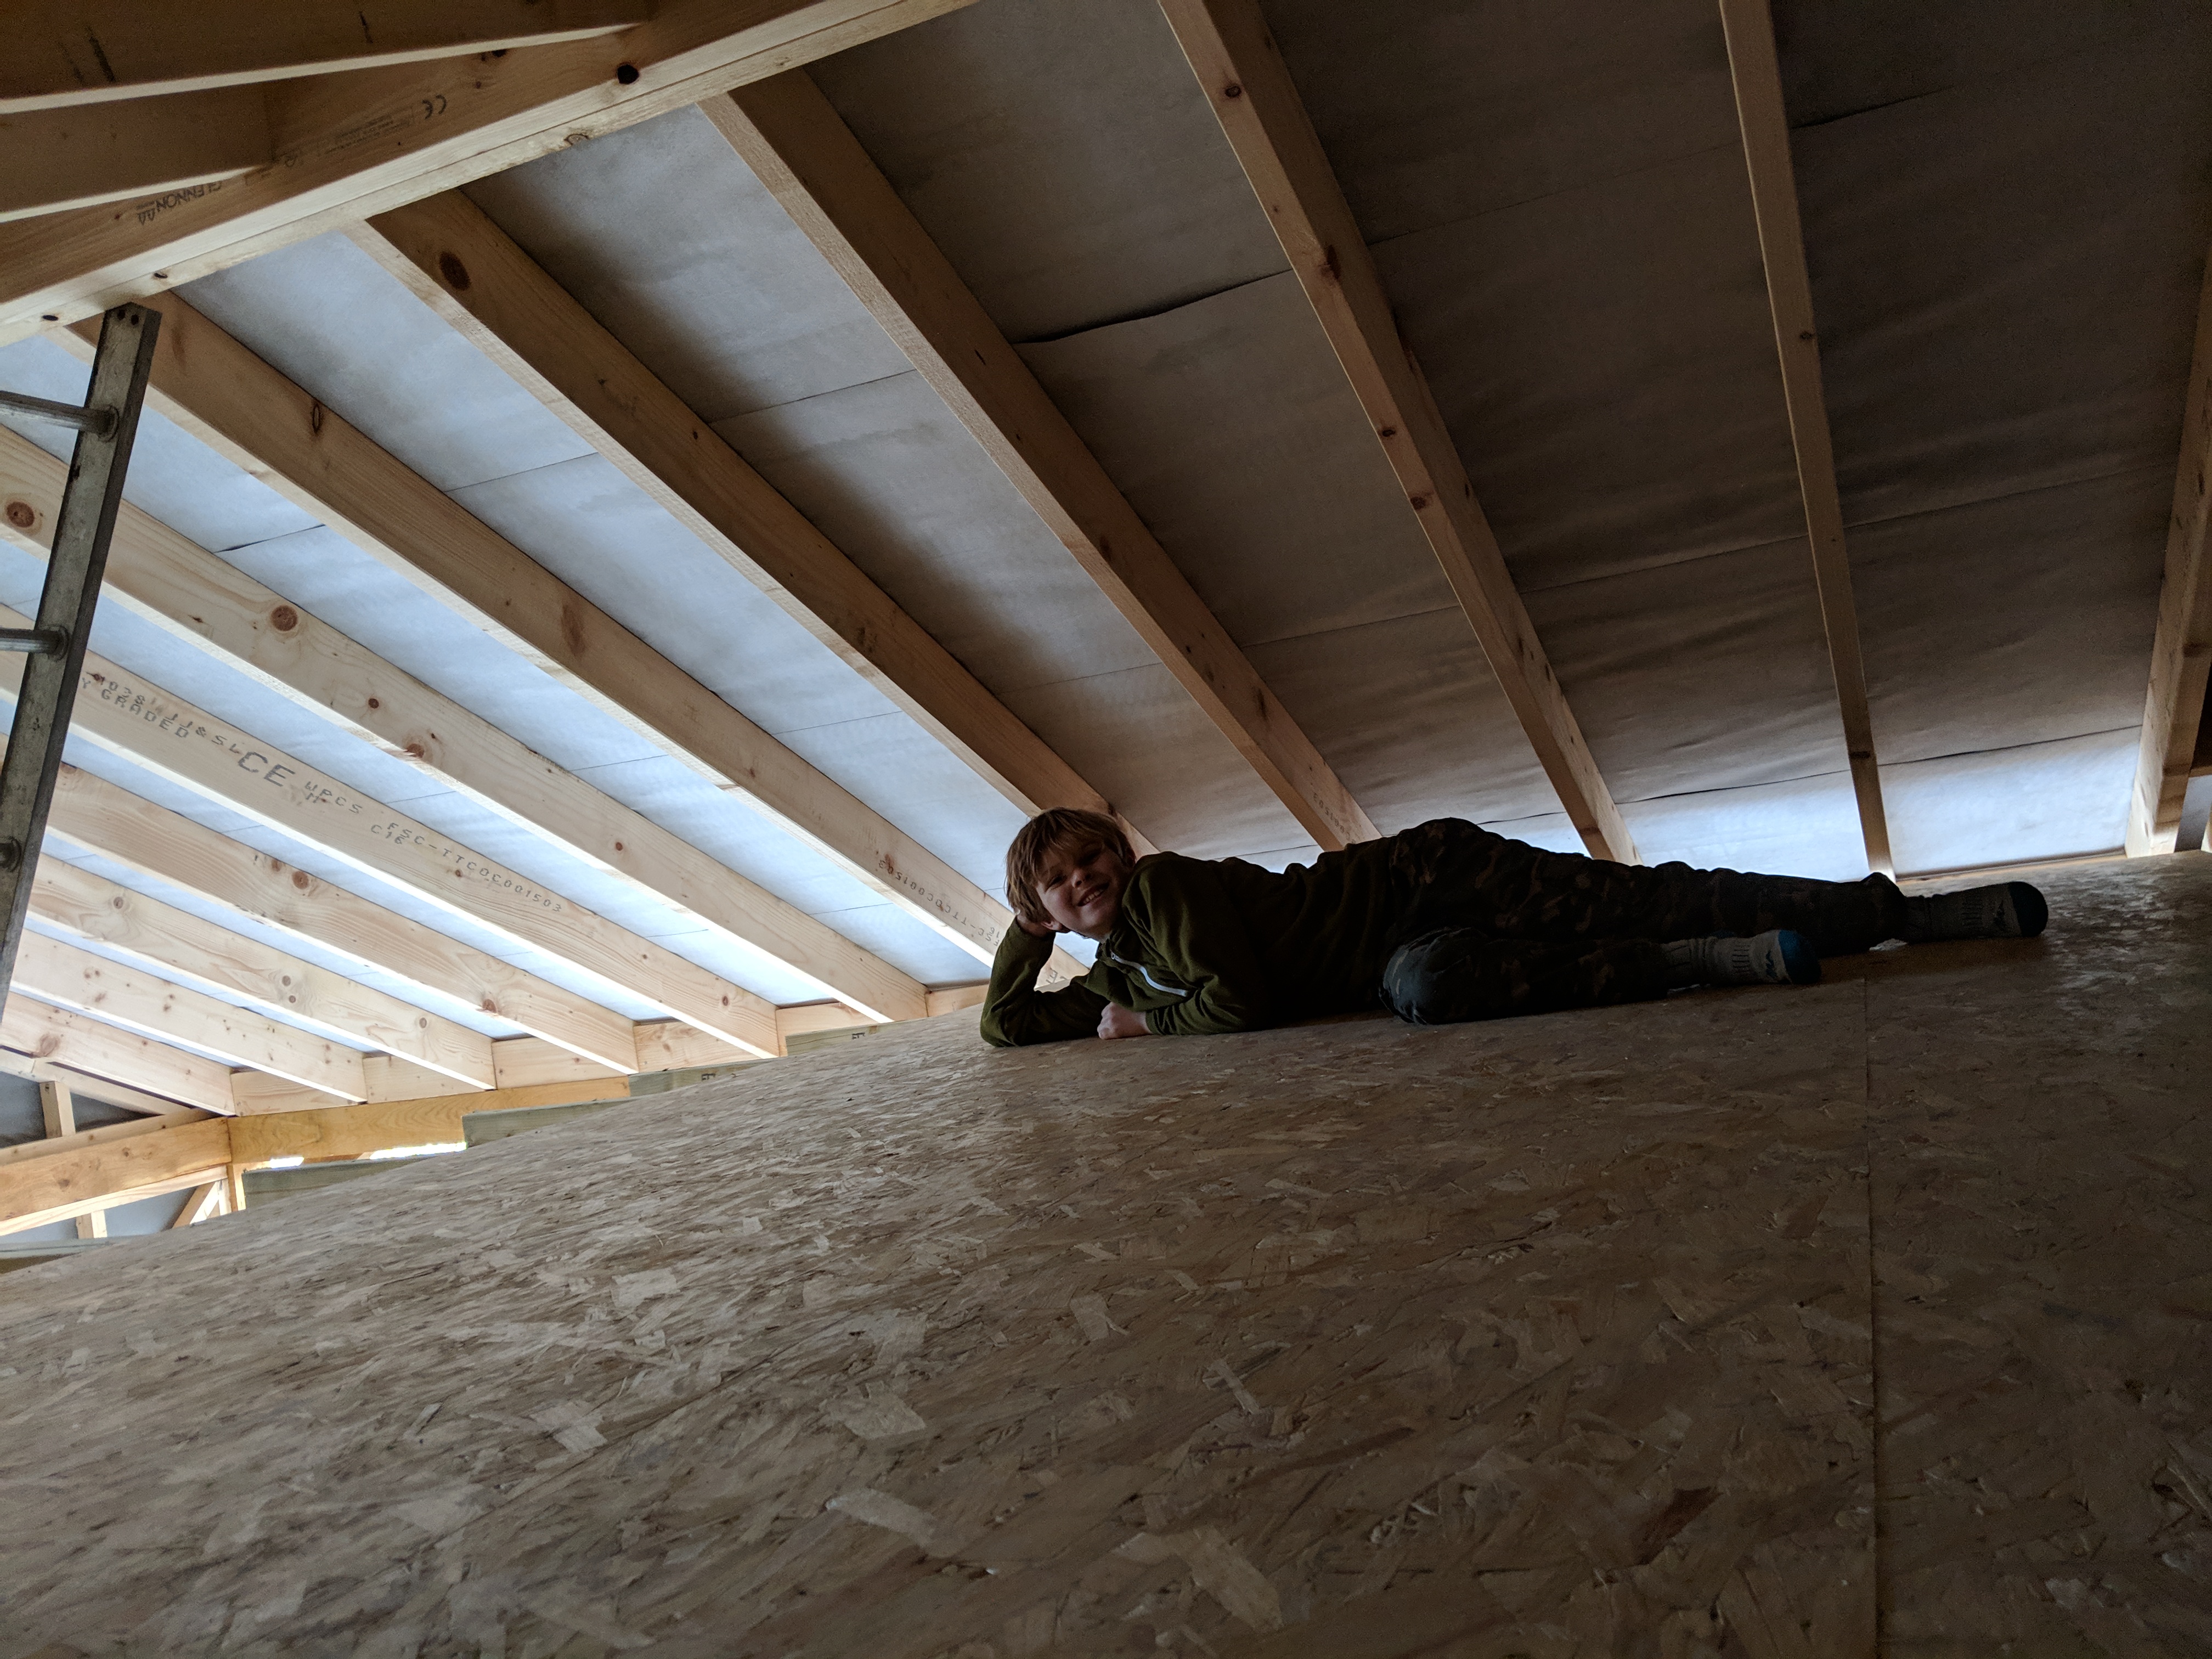
The garage is being built by my friend Alan of lancashireoak.com. It’s an Oak framed garage with larch planking. See that greenhouse…well, that’ll have to go.
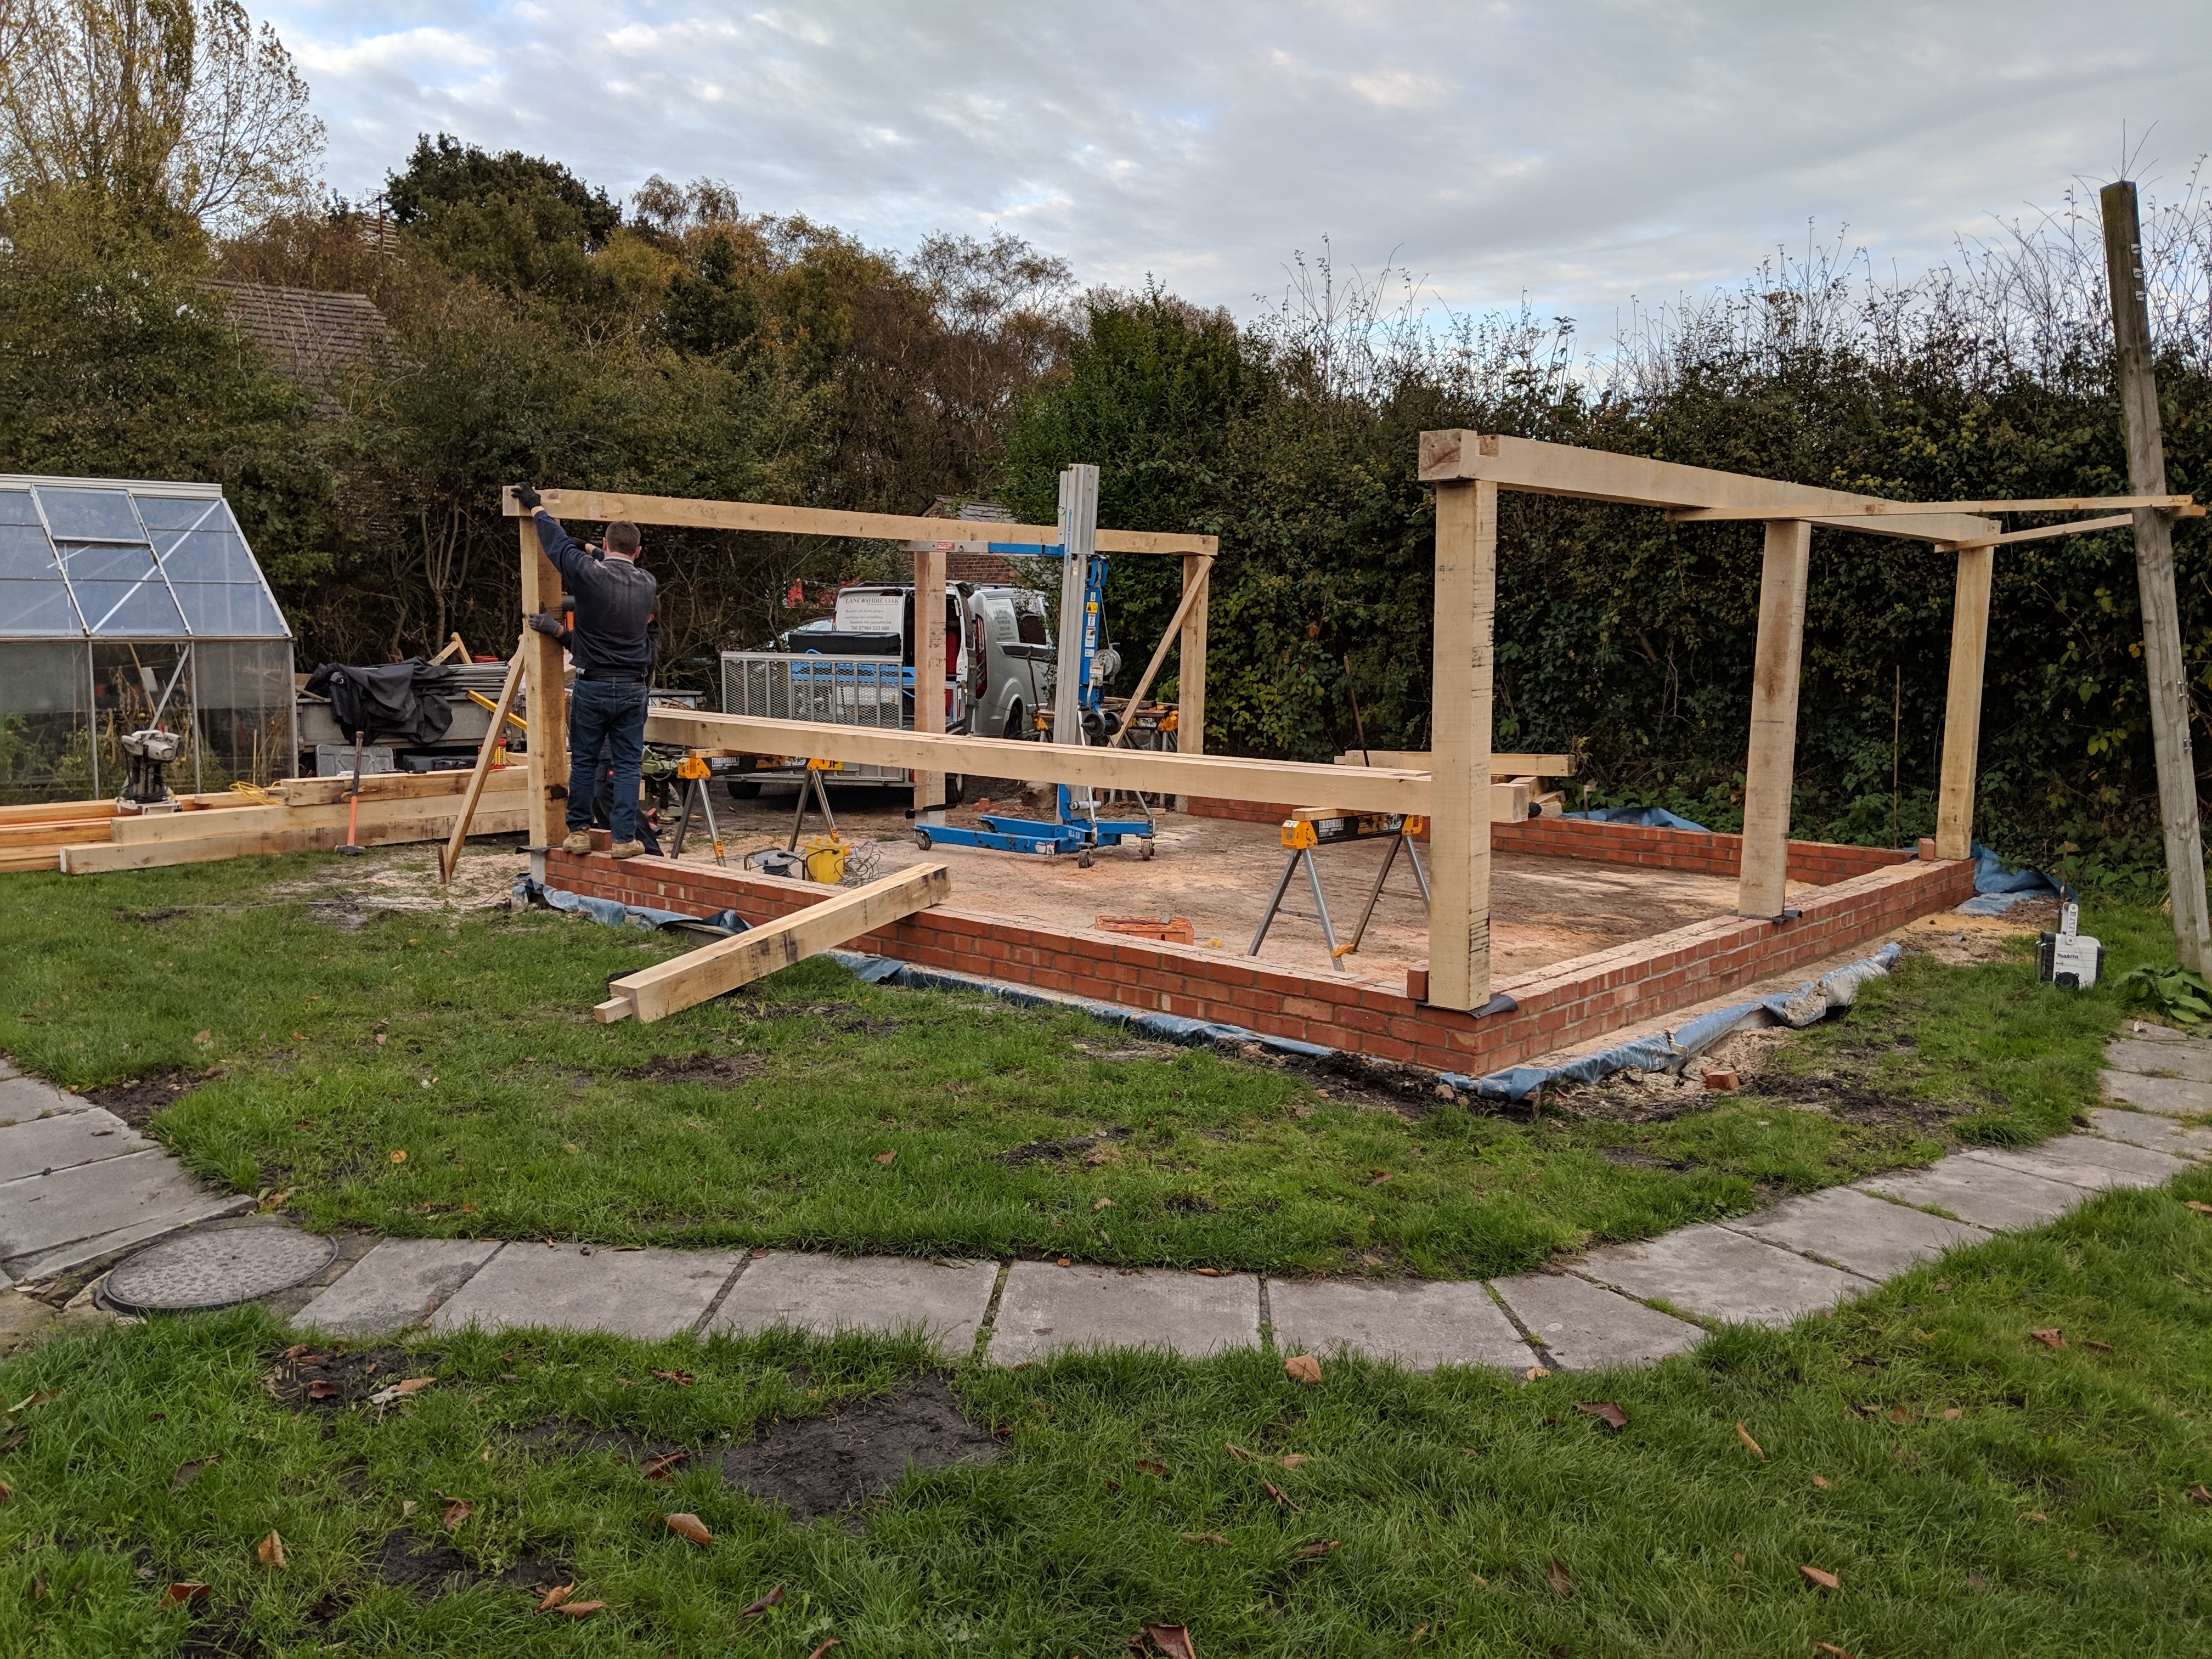
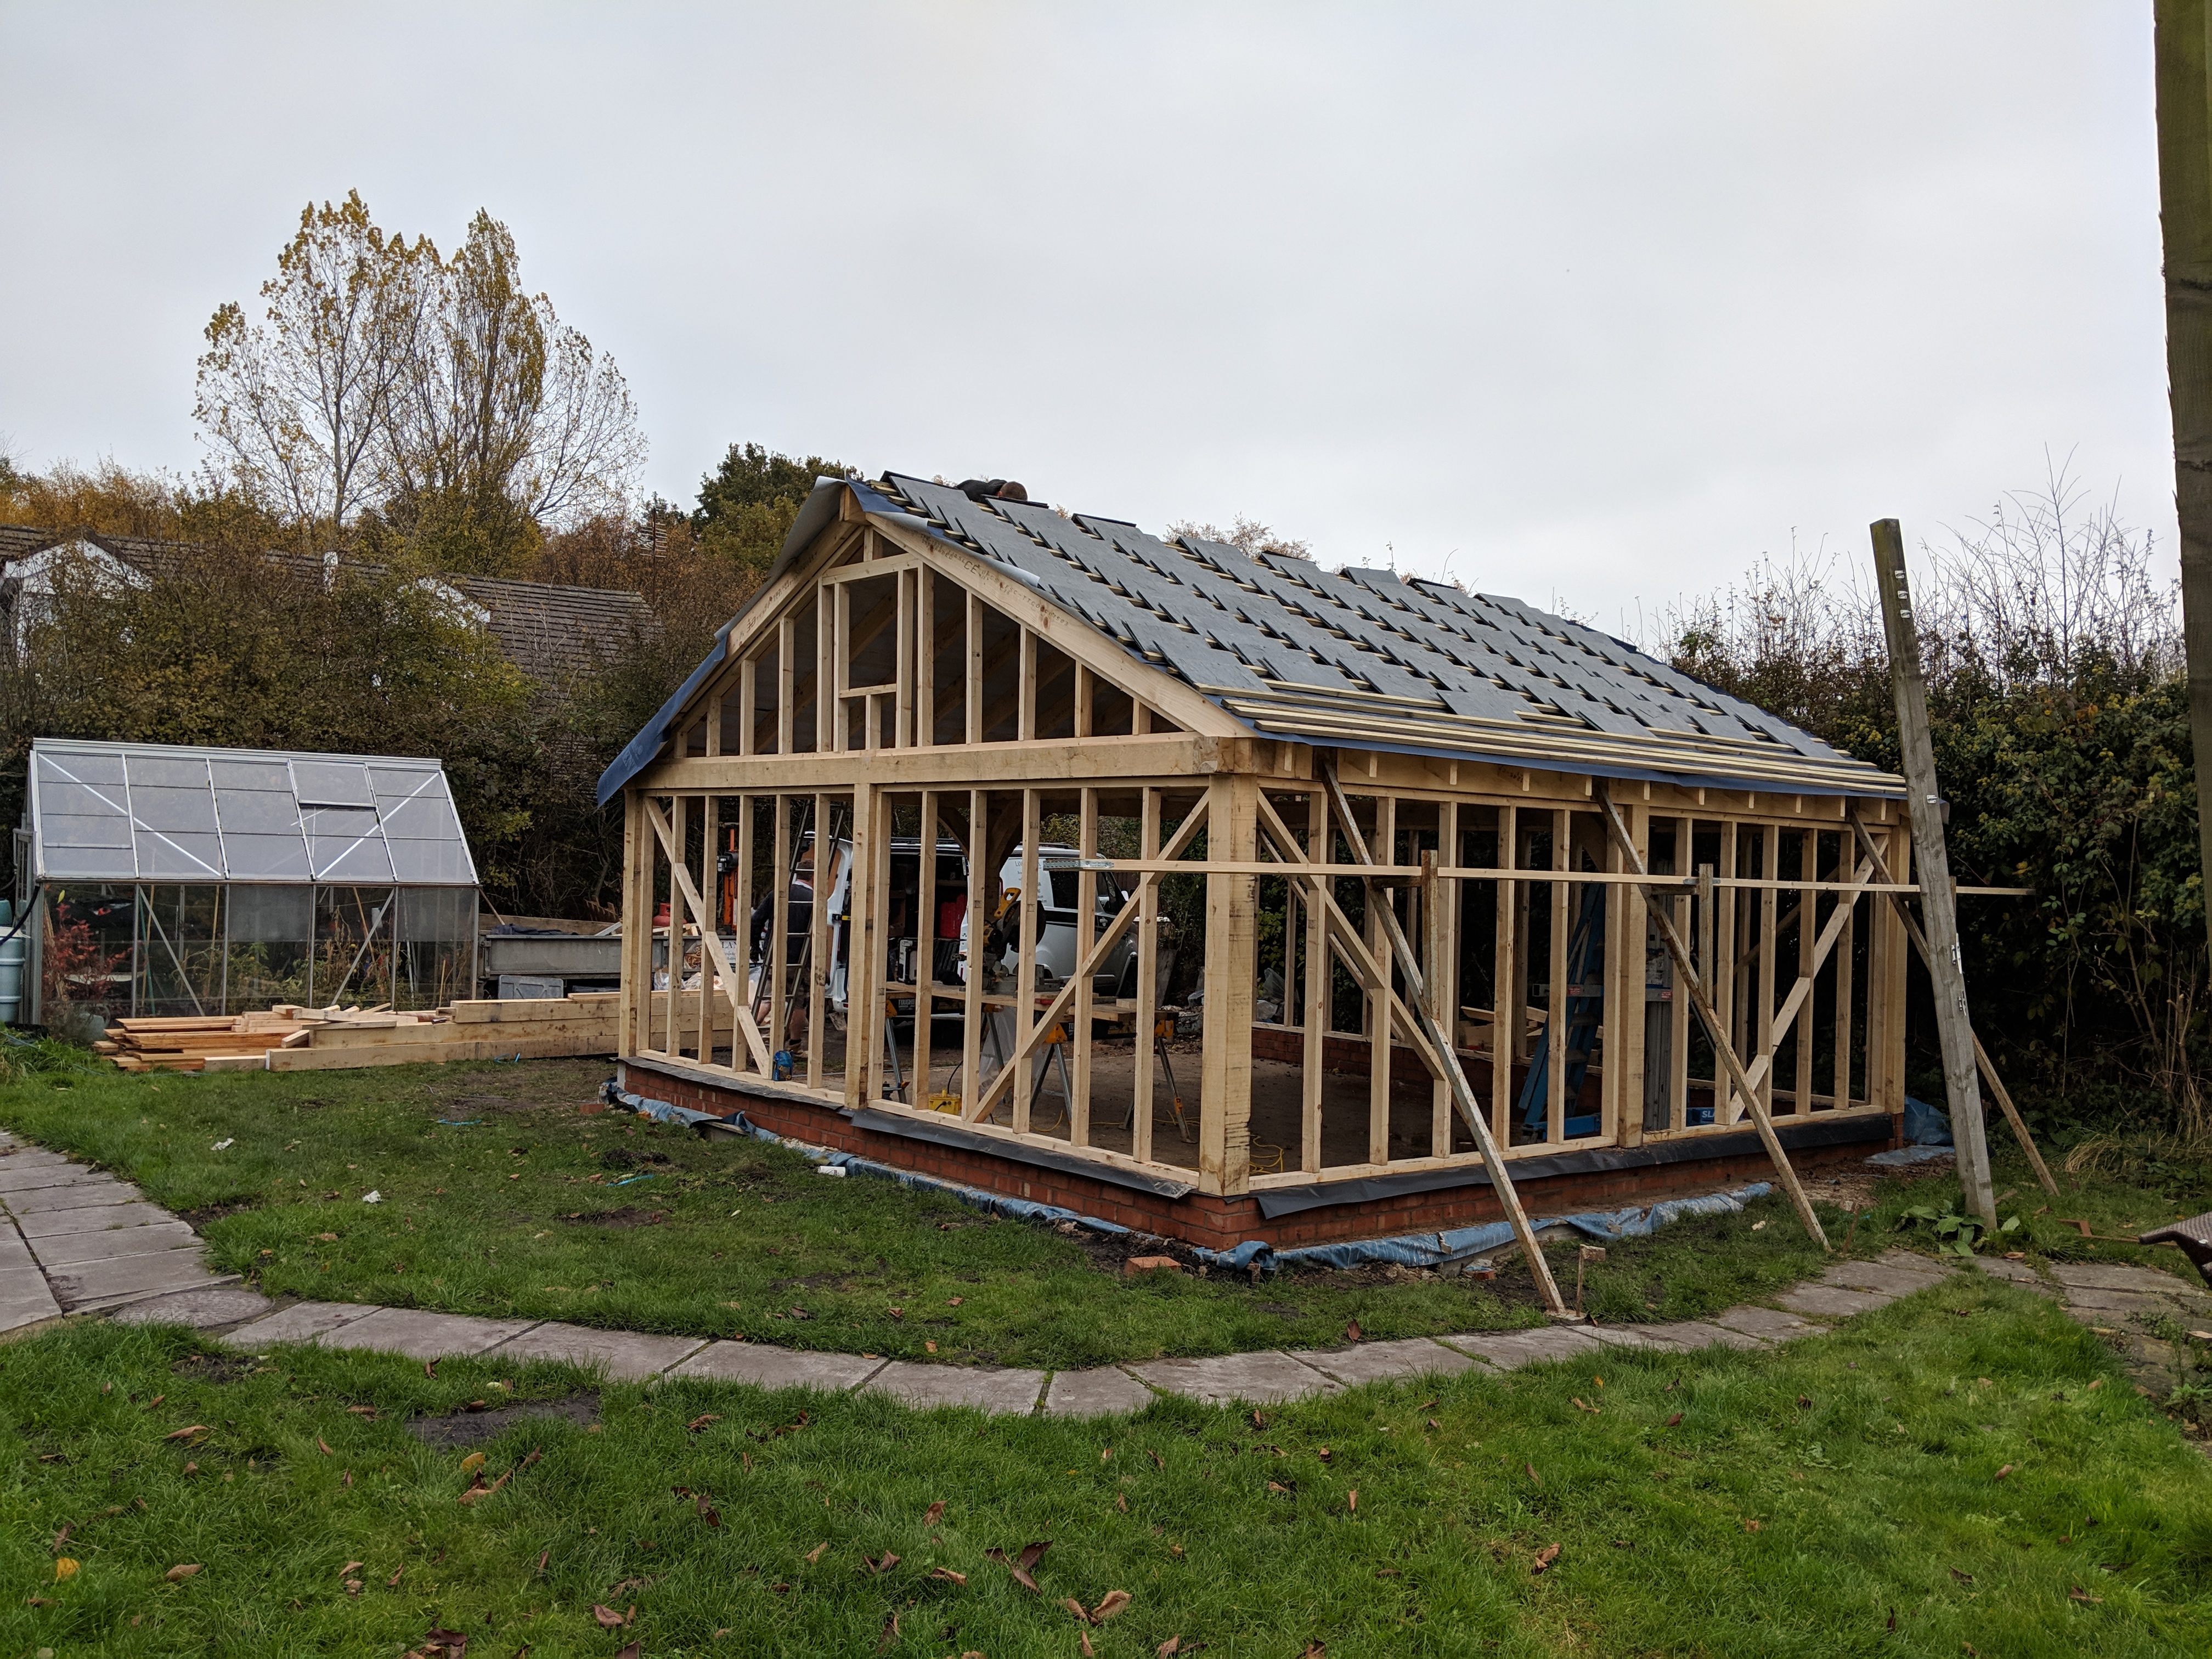
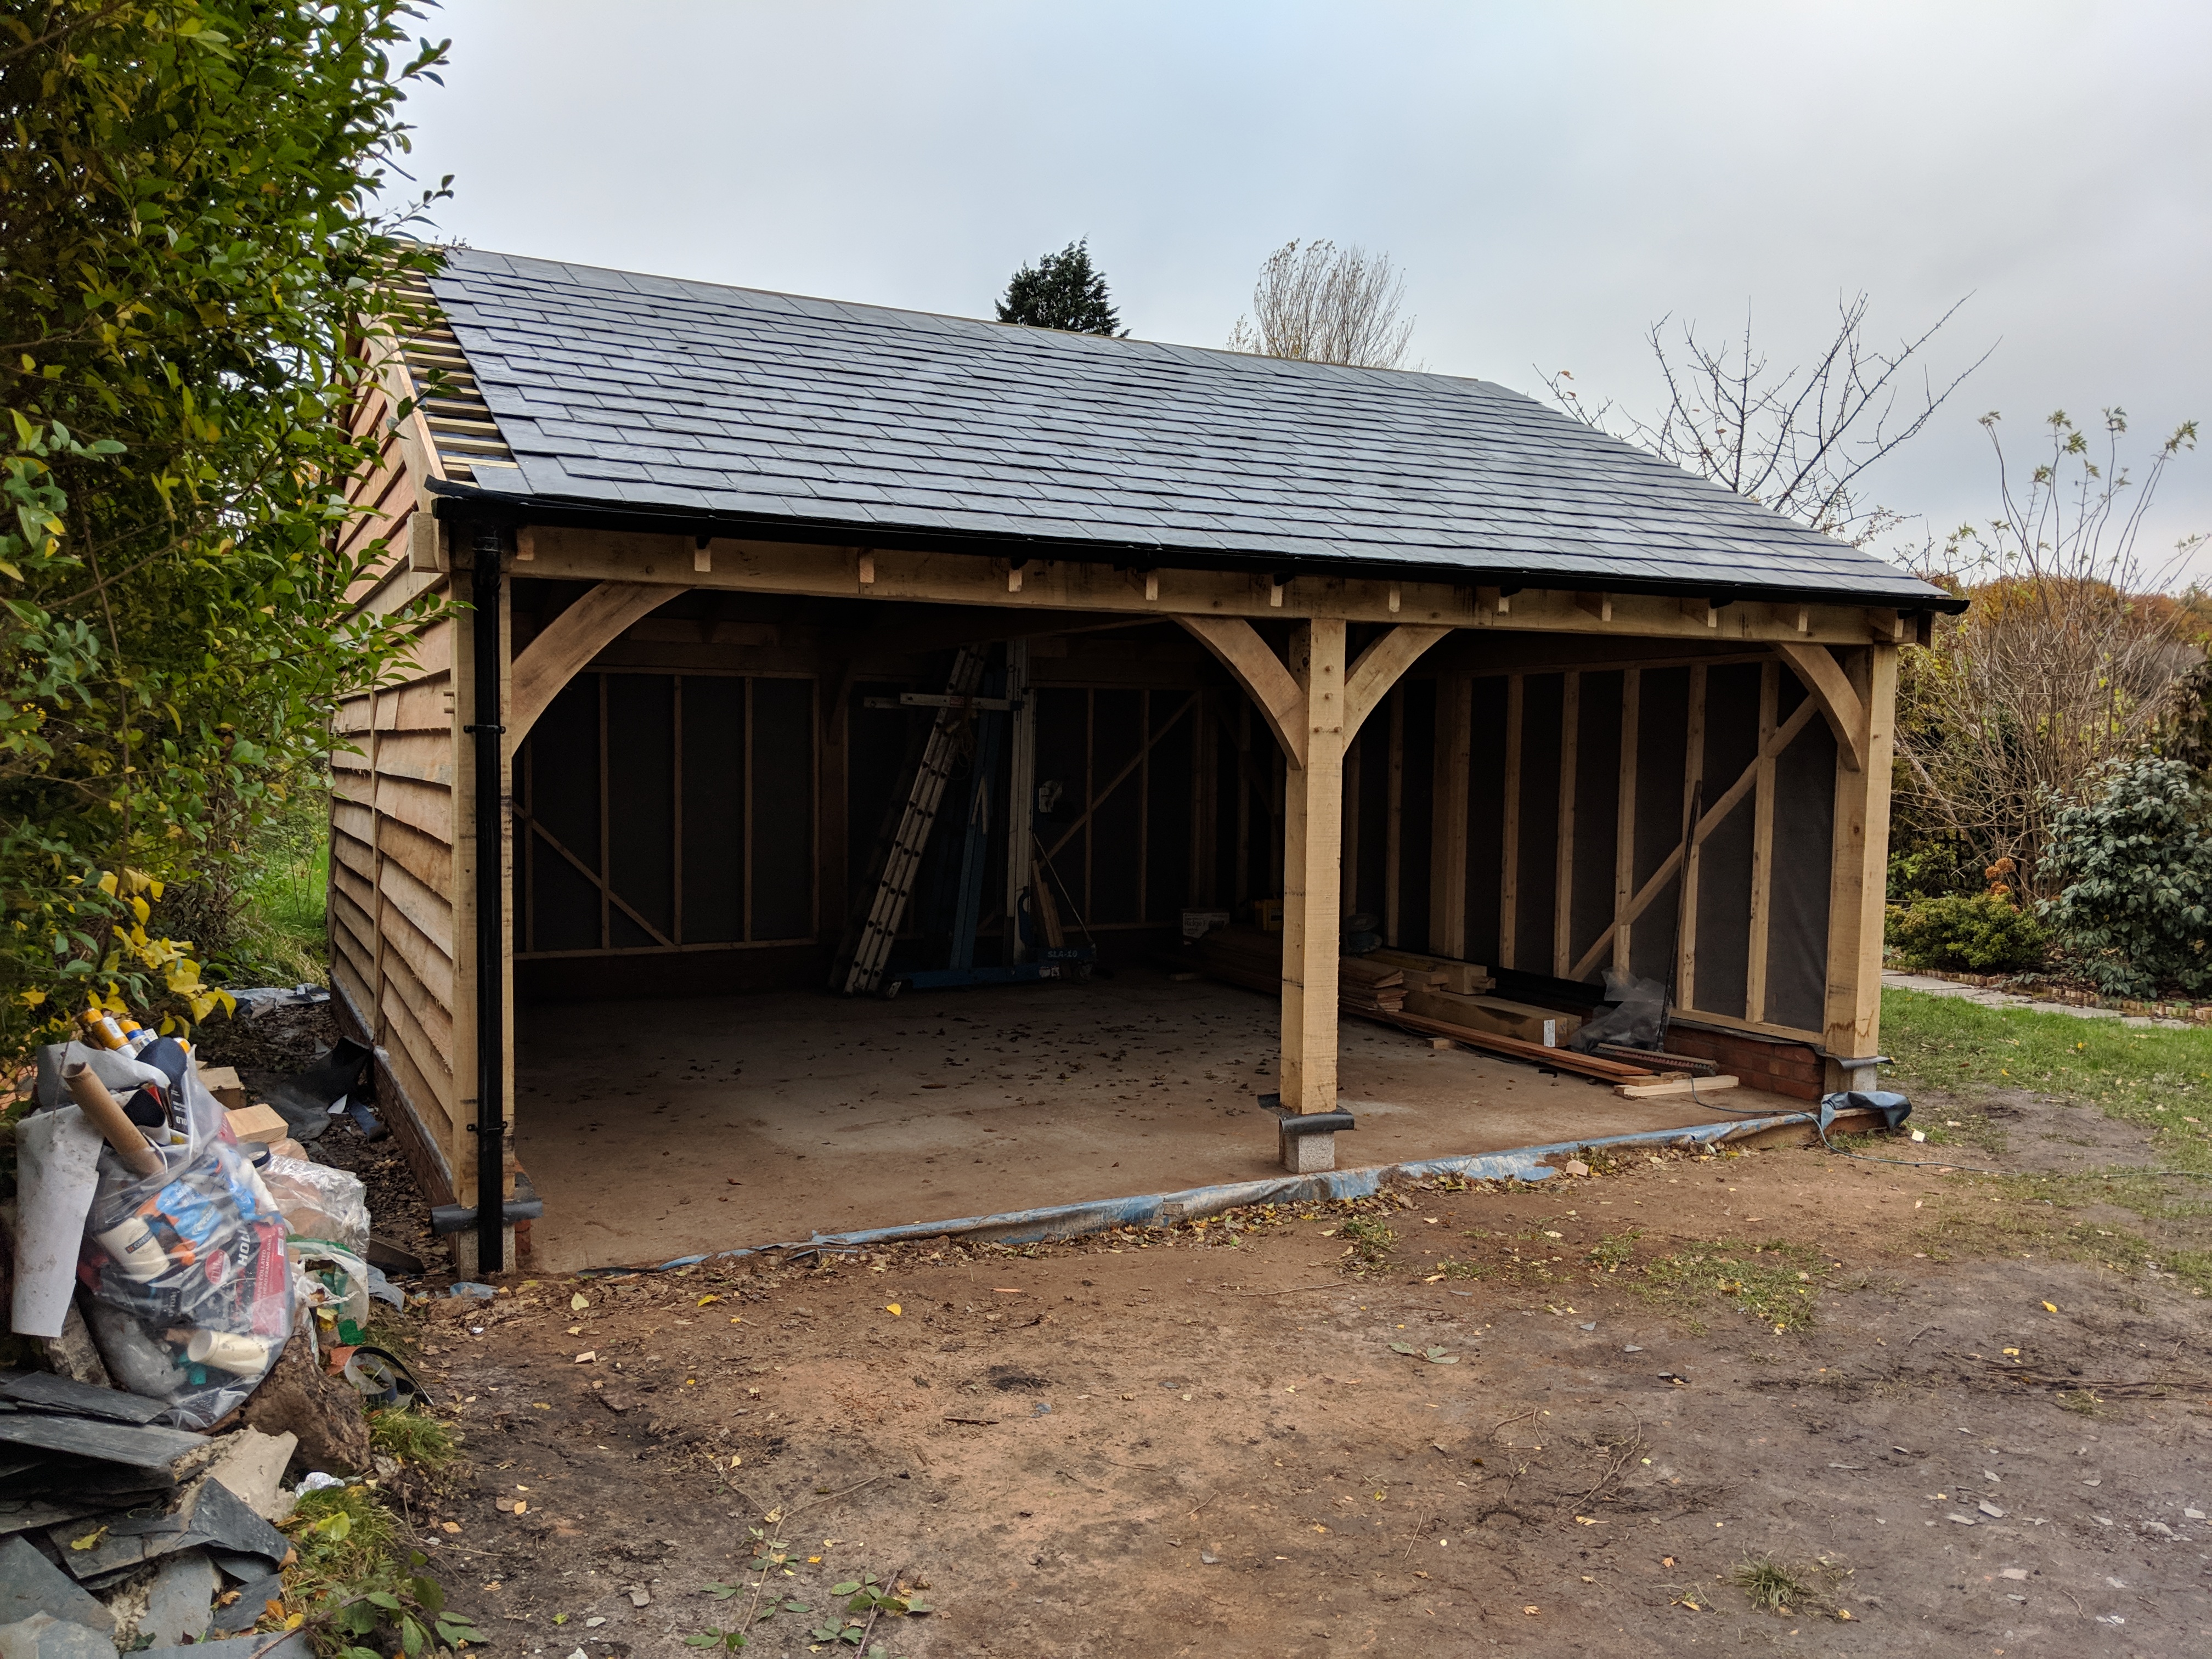
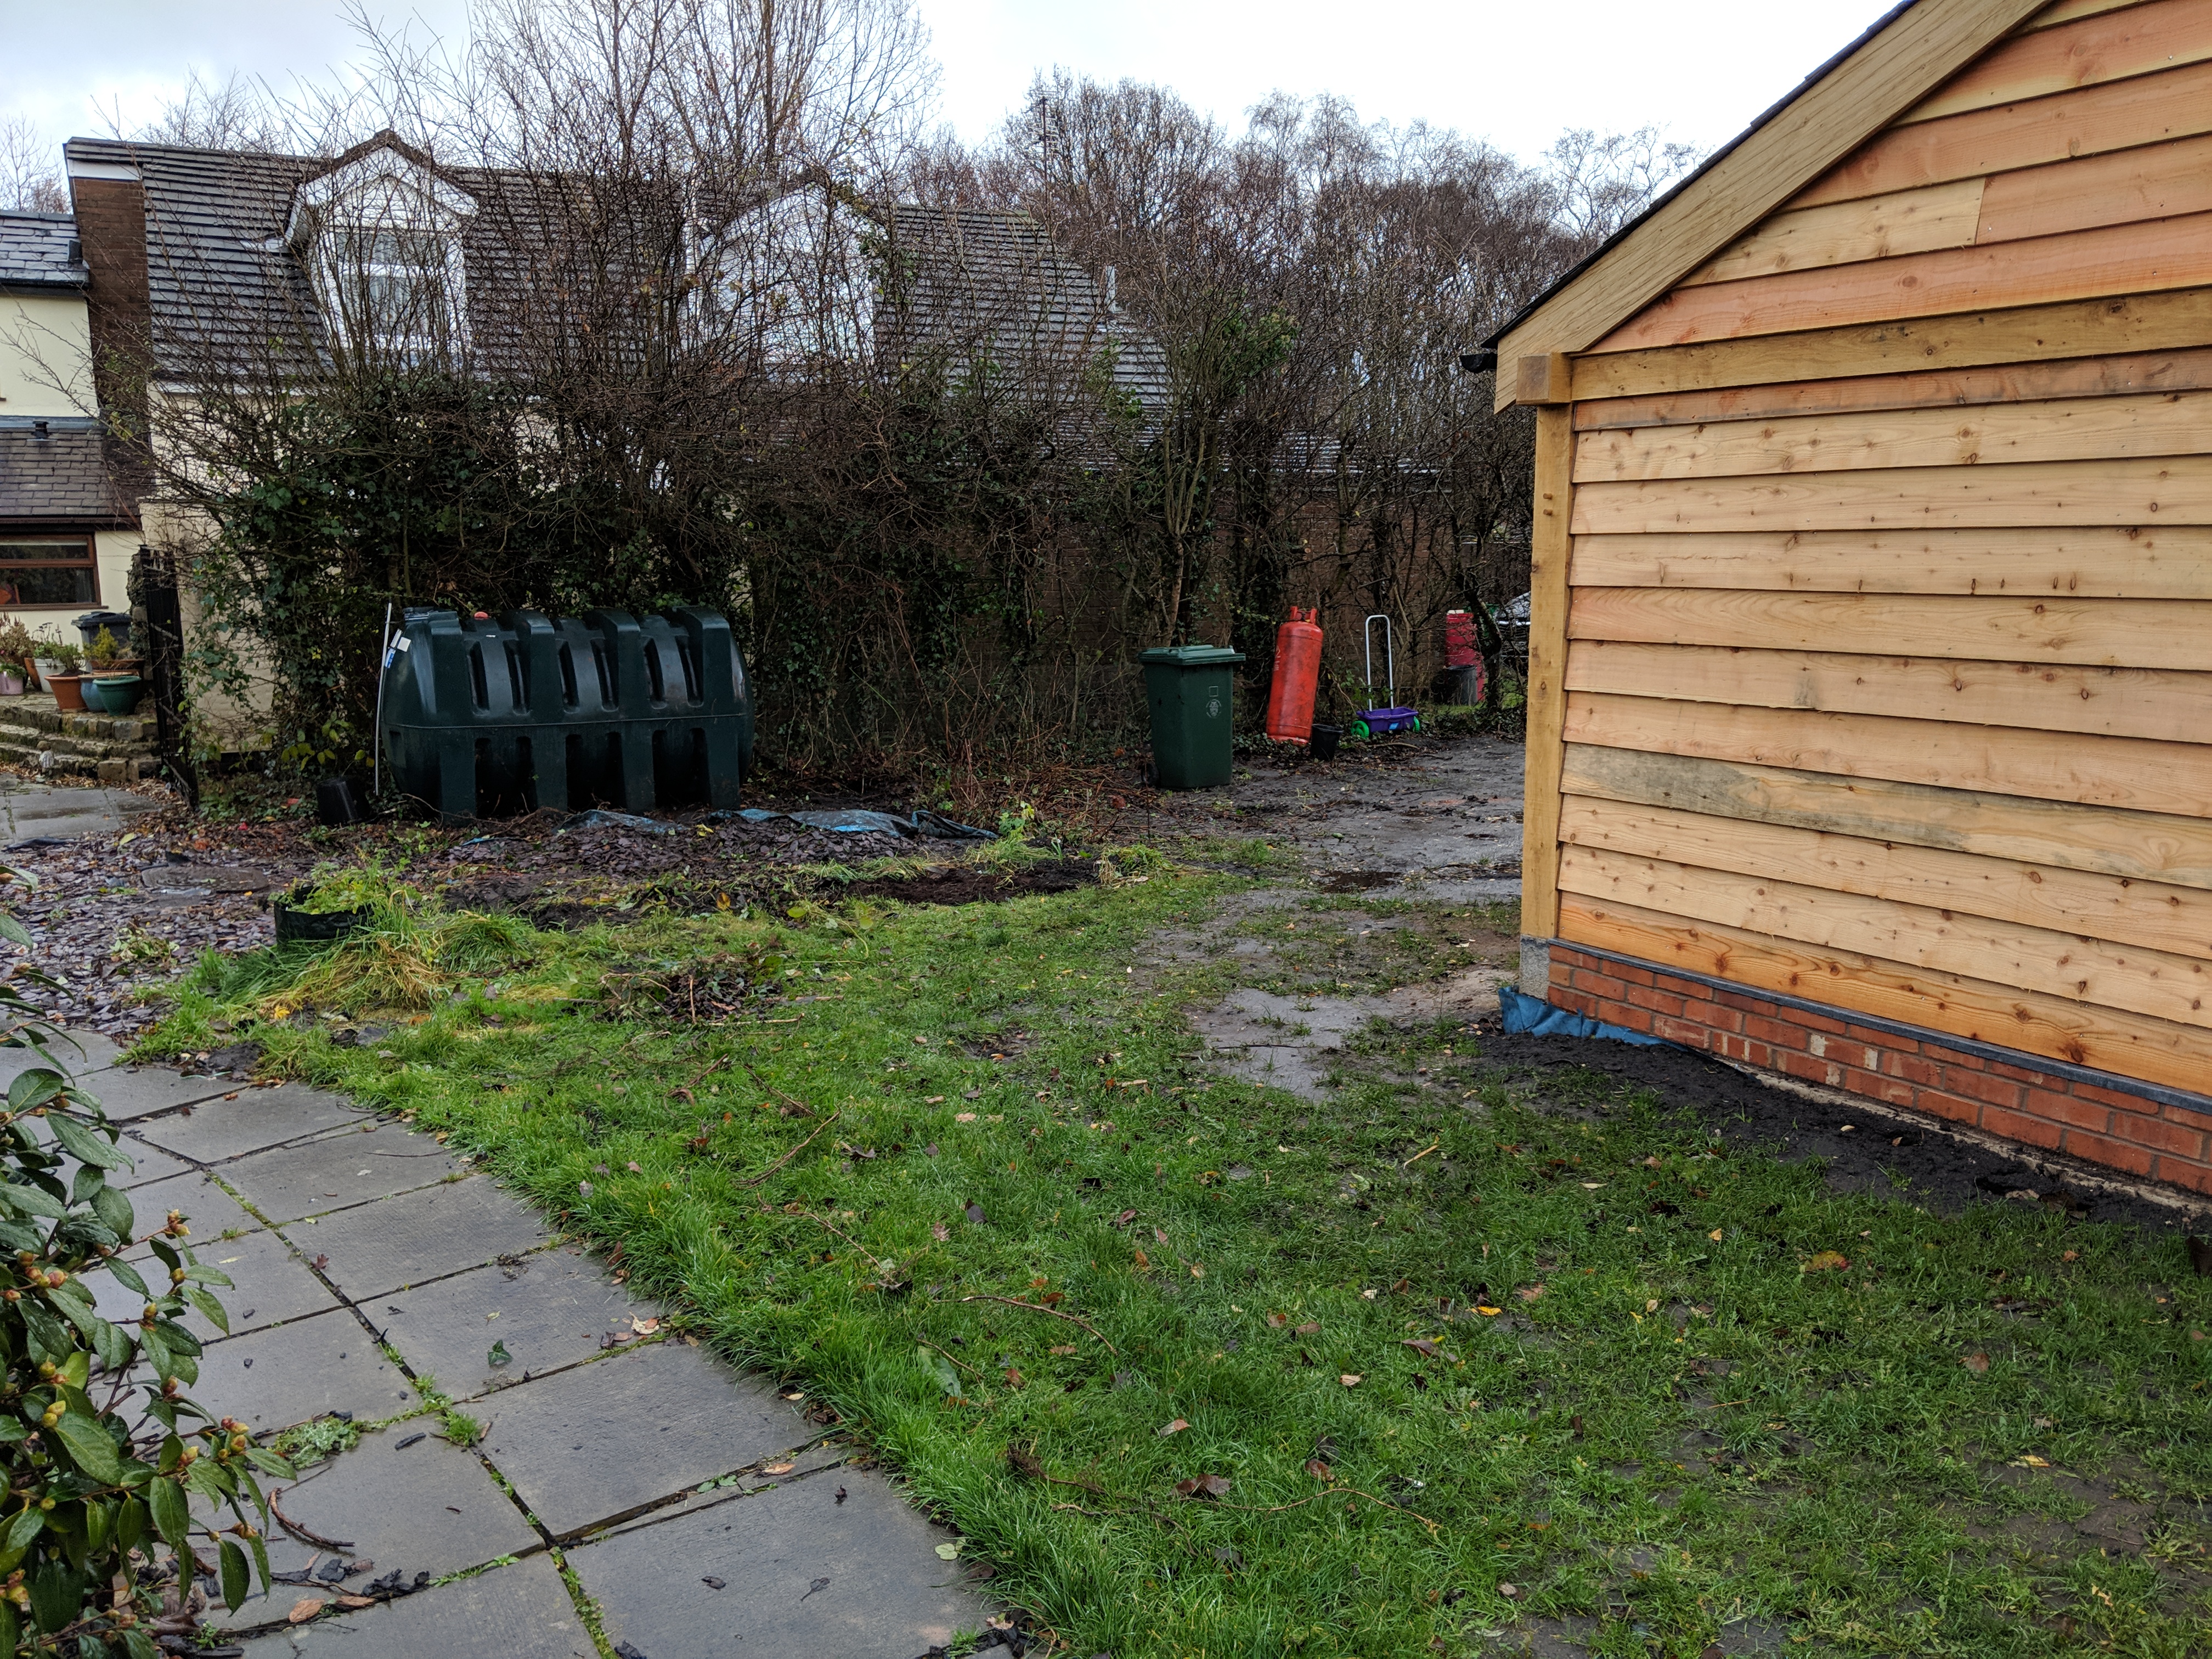
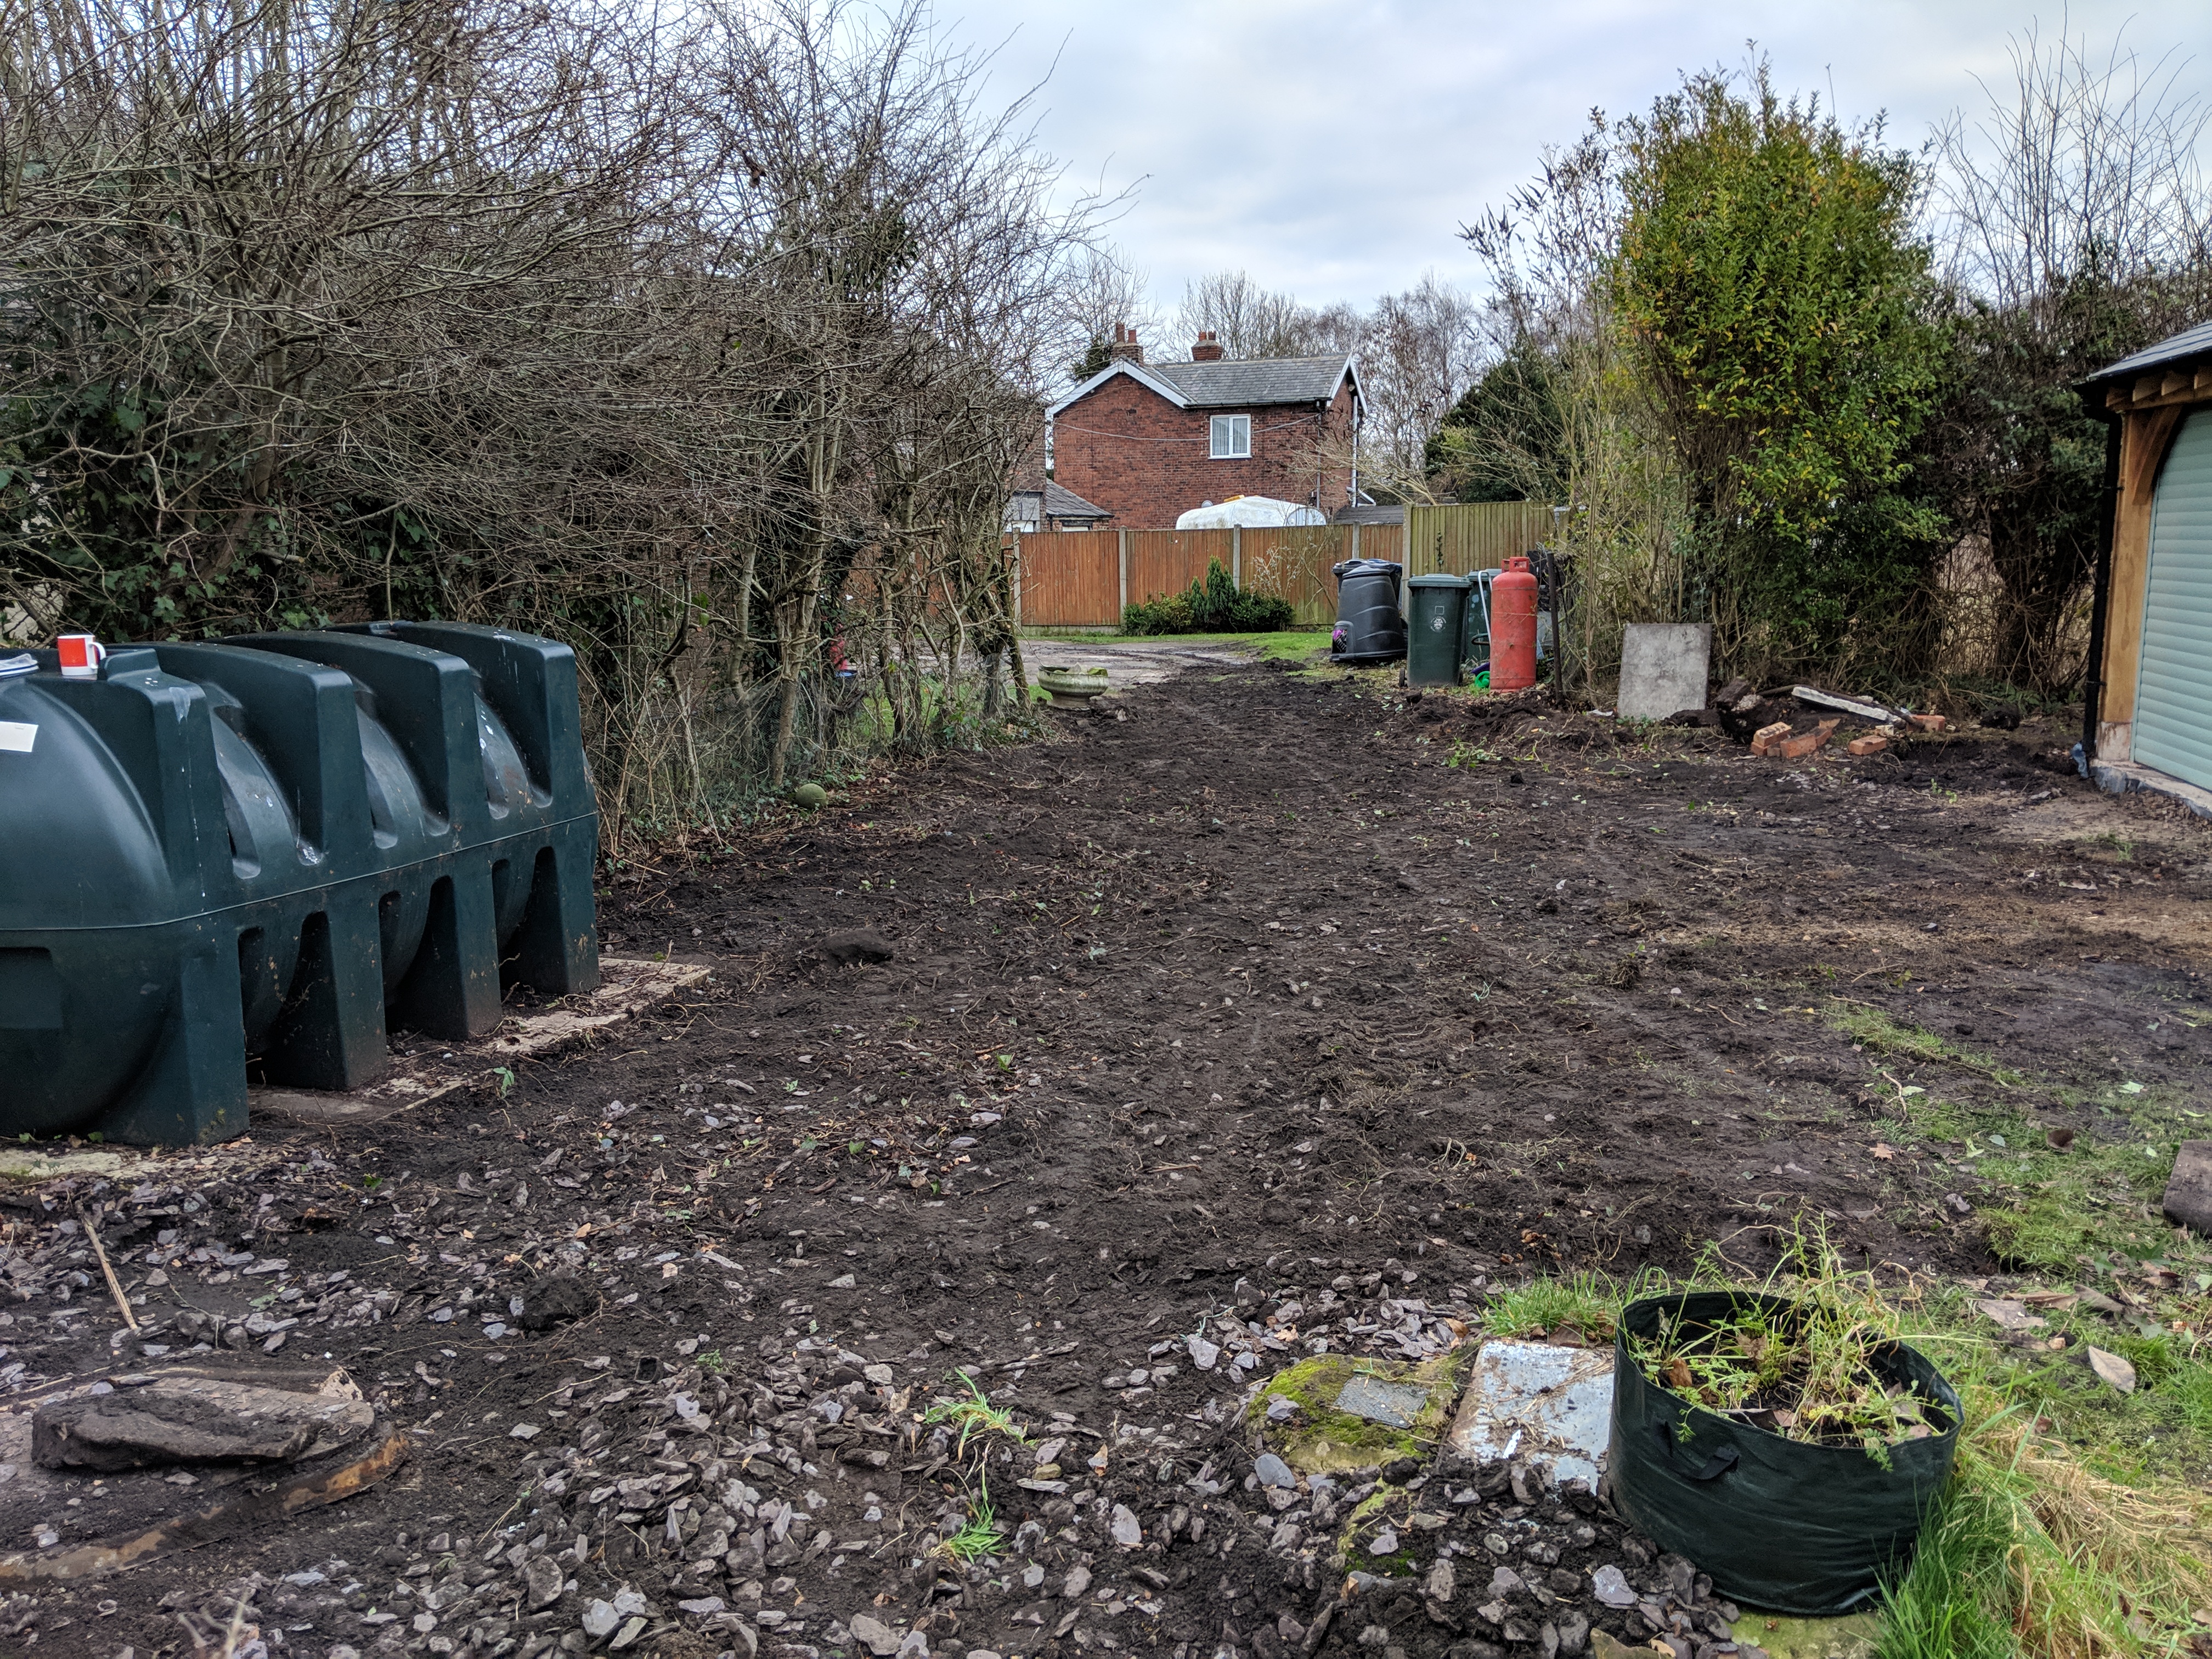
Now that the greenhouse has gone it highlights the ugliness of the Kerosene tank. I’ll have to do something about that
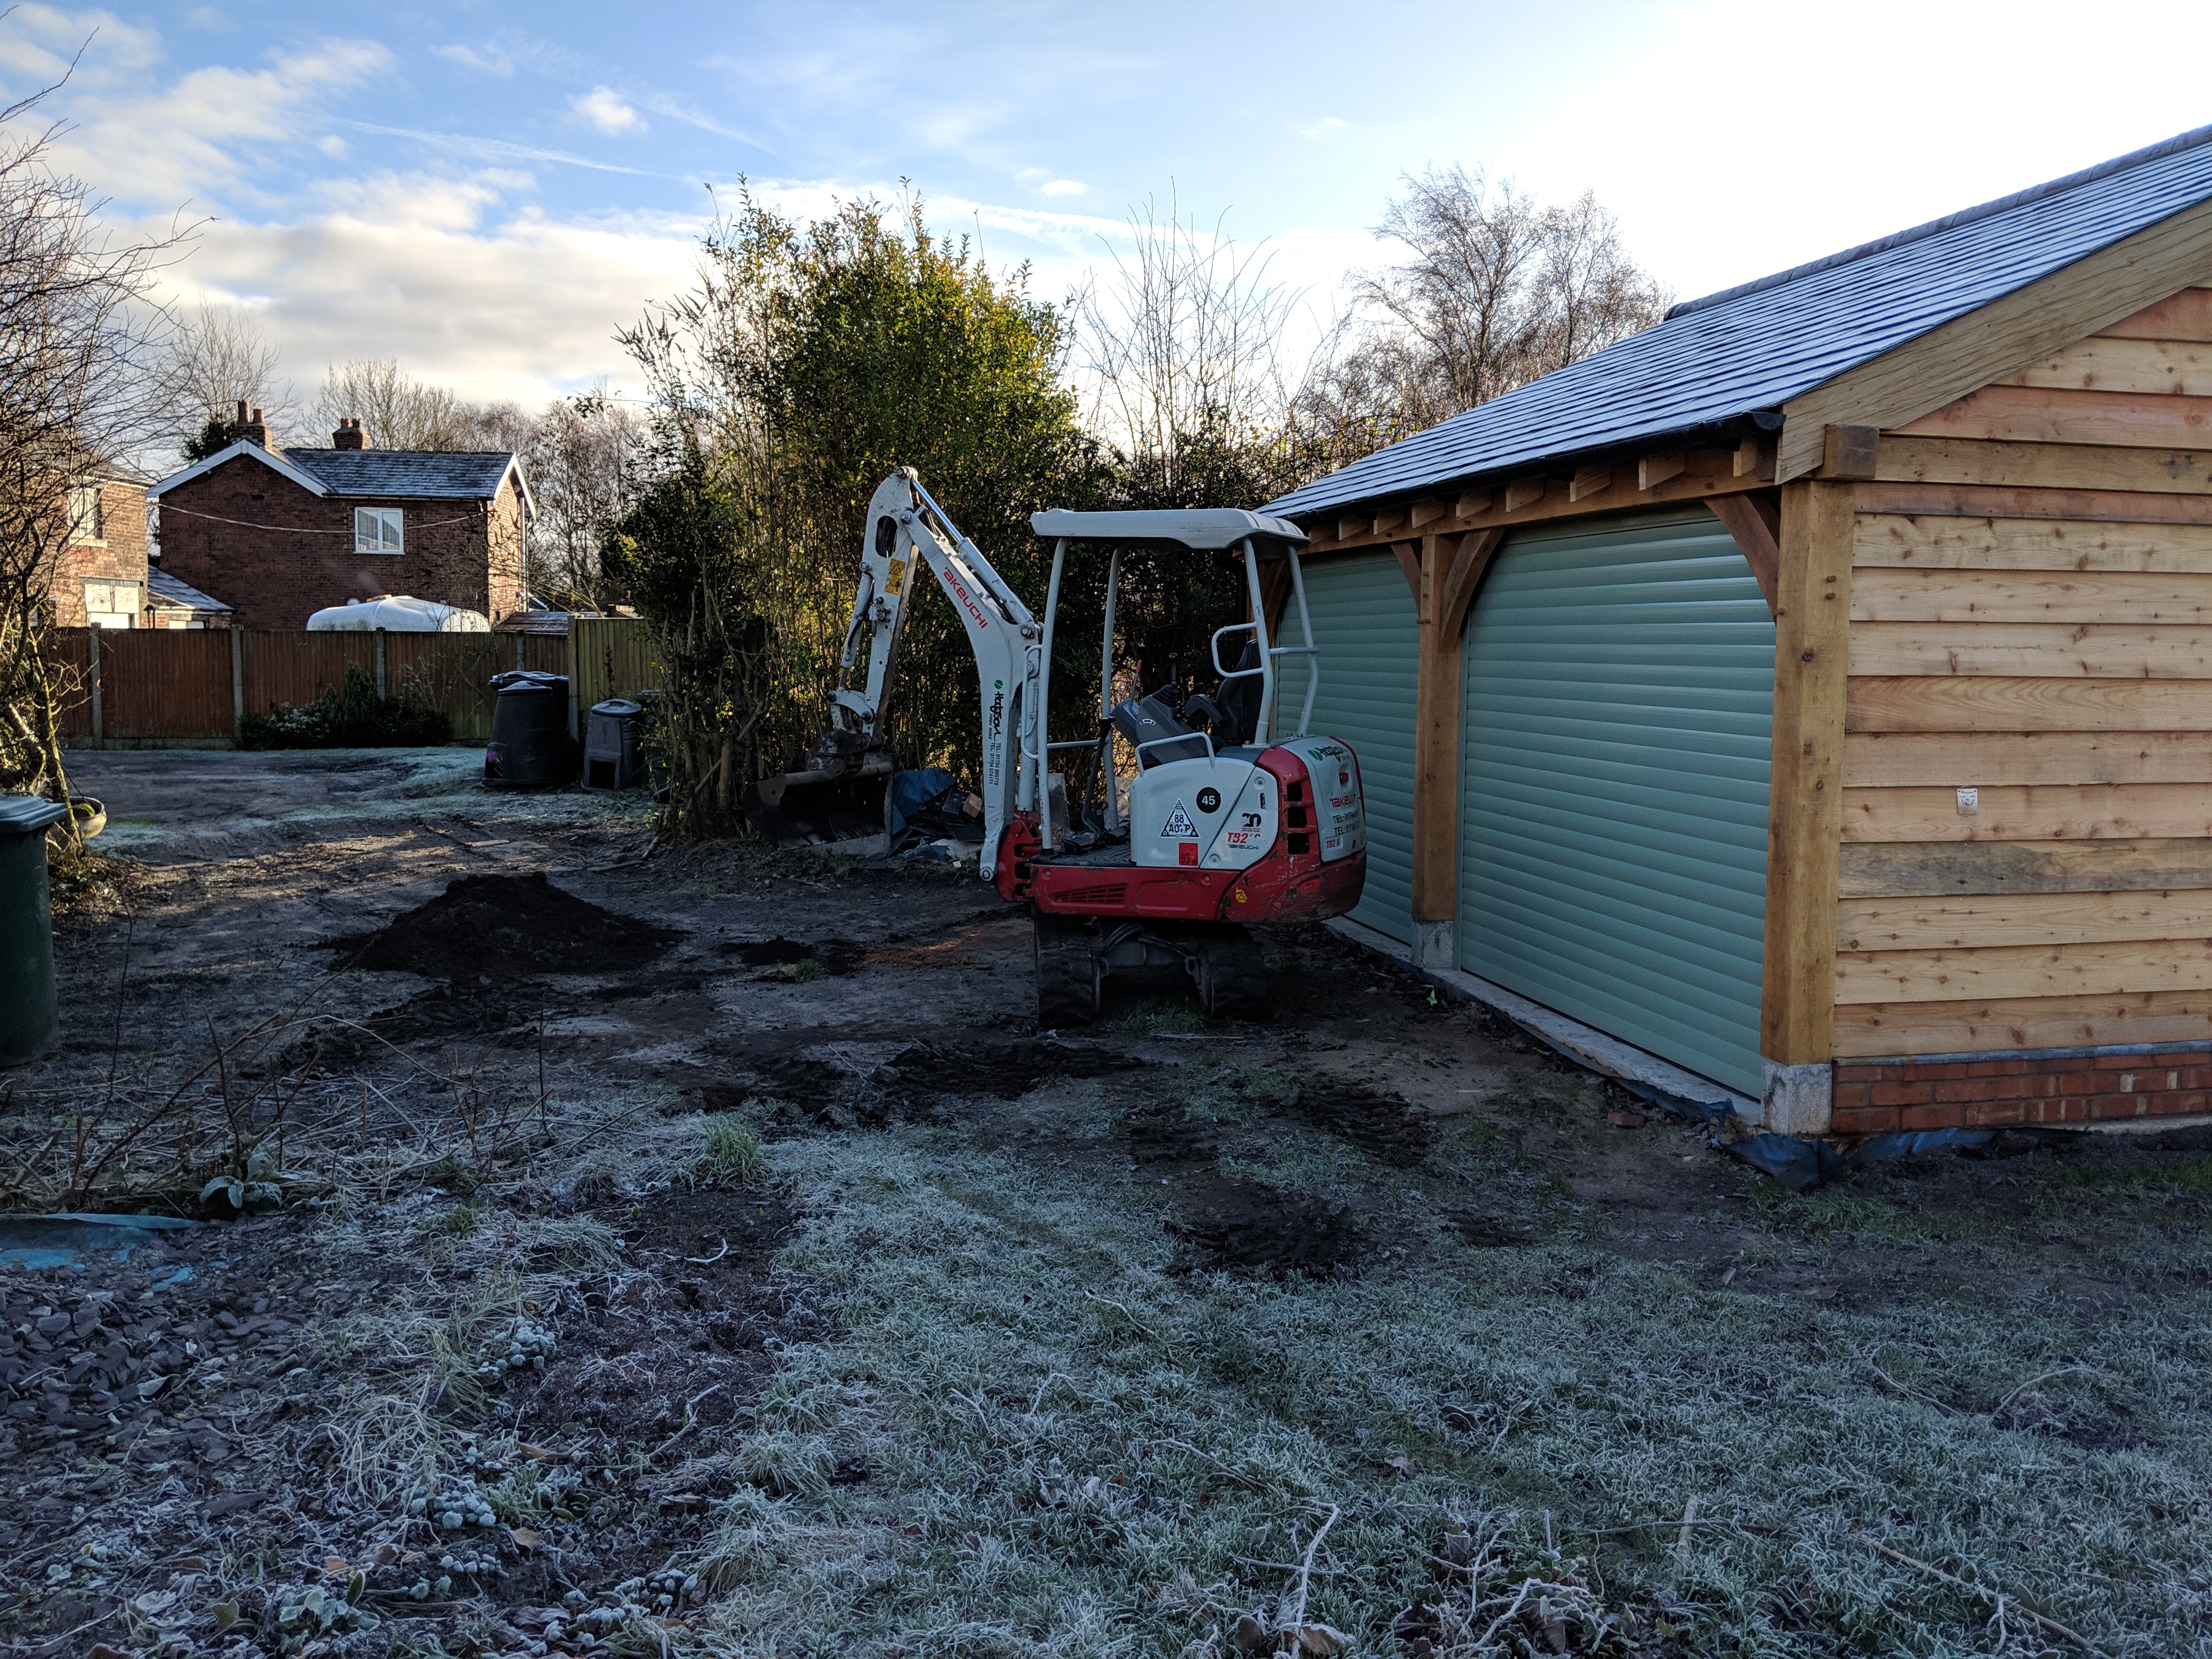
This is the bit where I get involved. The ground outside the garage is all a bit of a mess. So I felt the need to hire a mini digger.
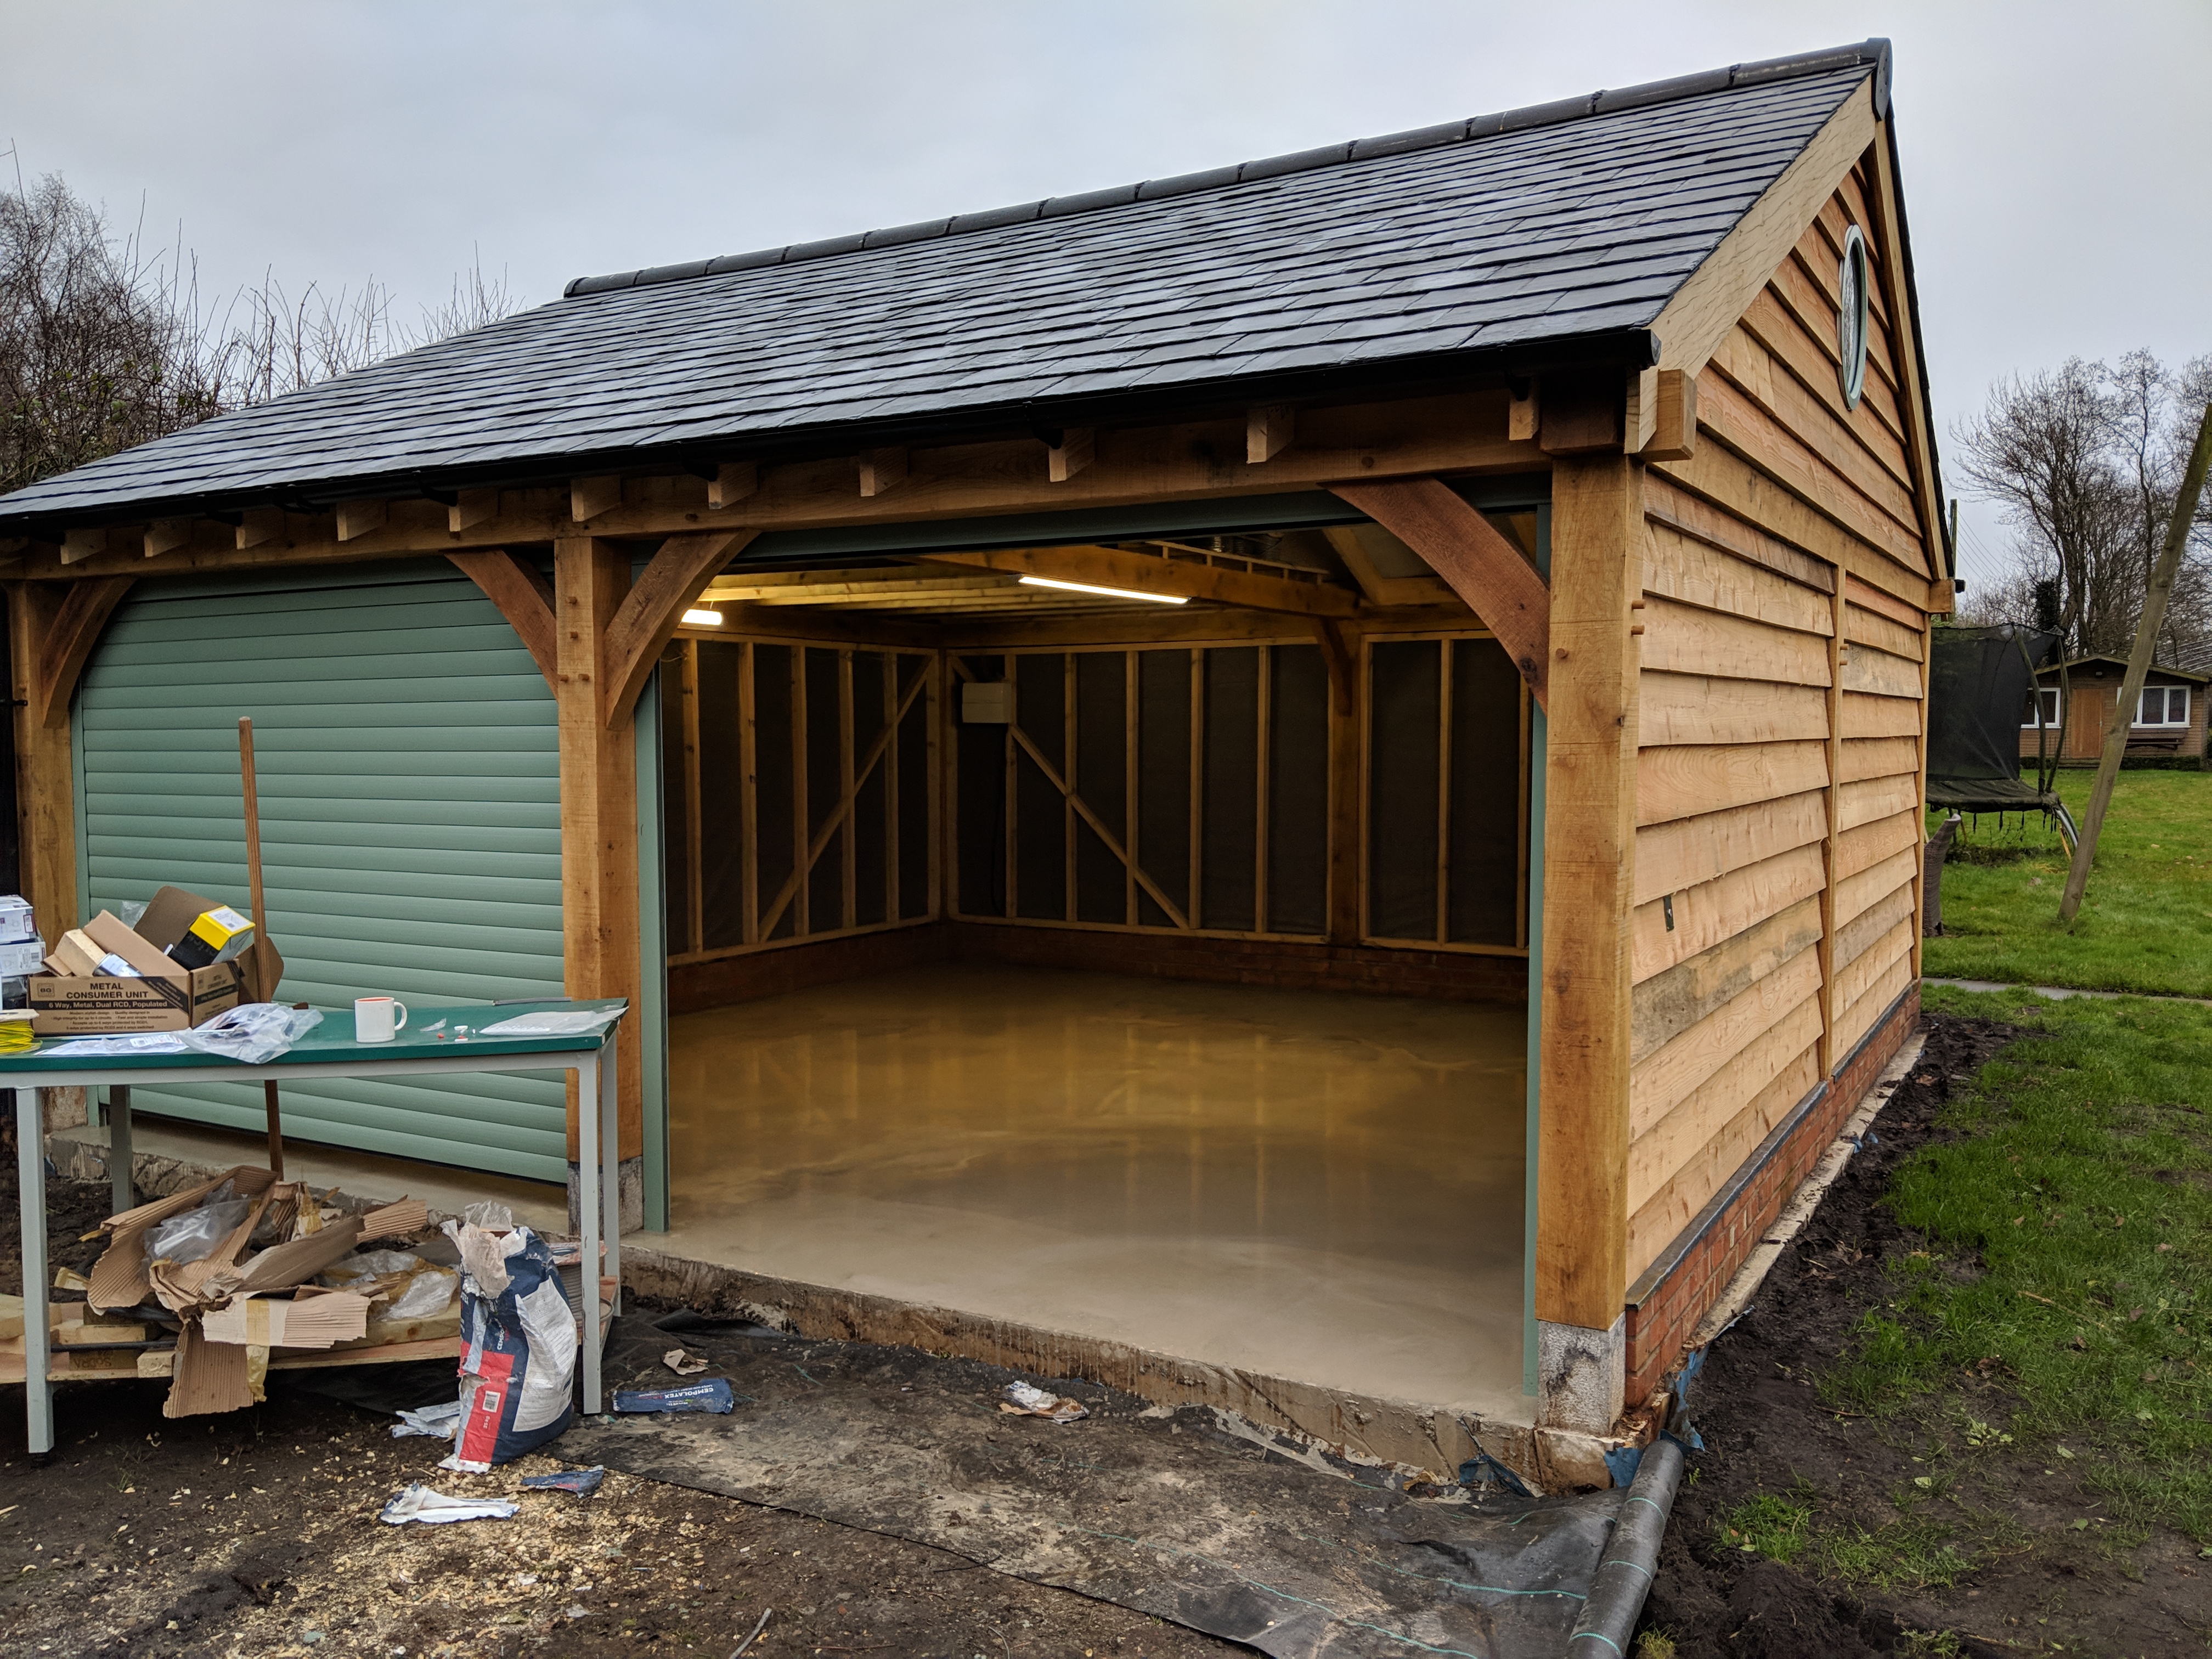
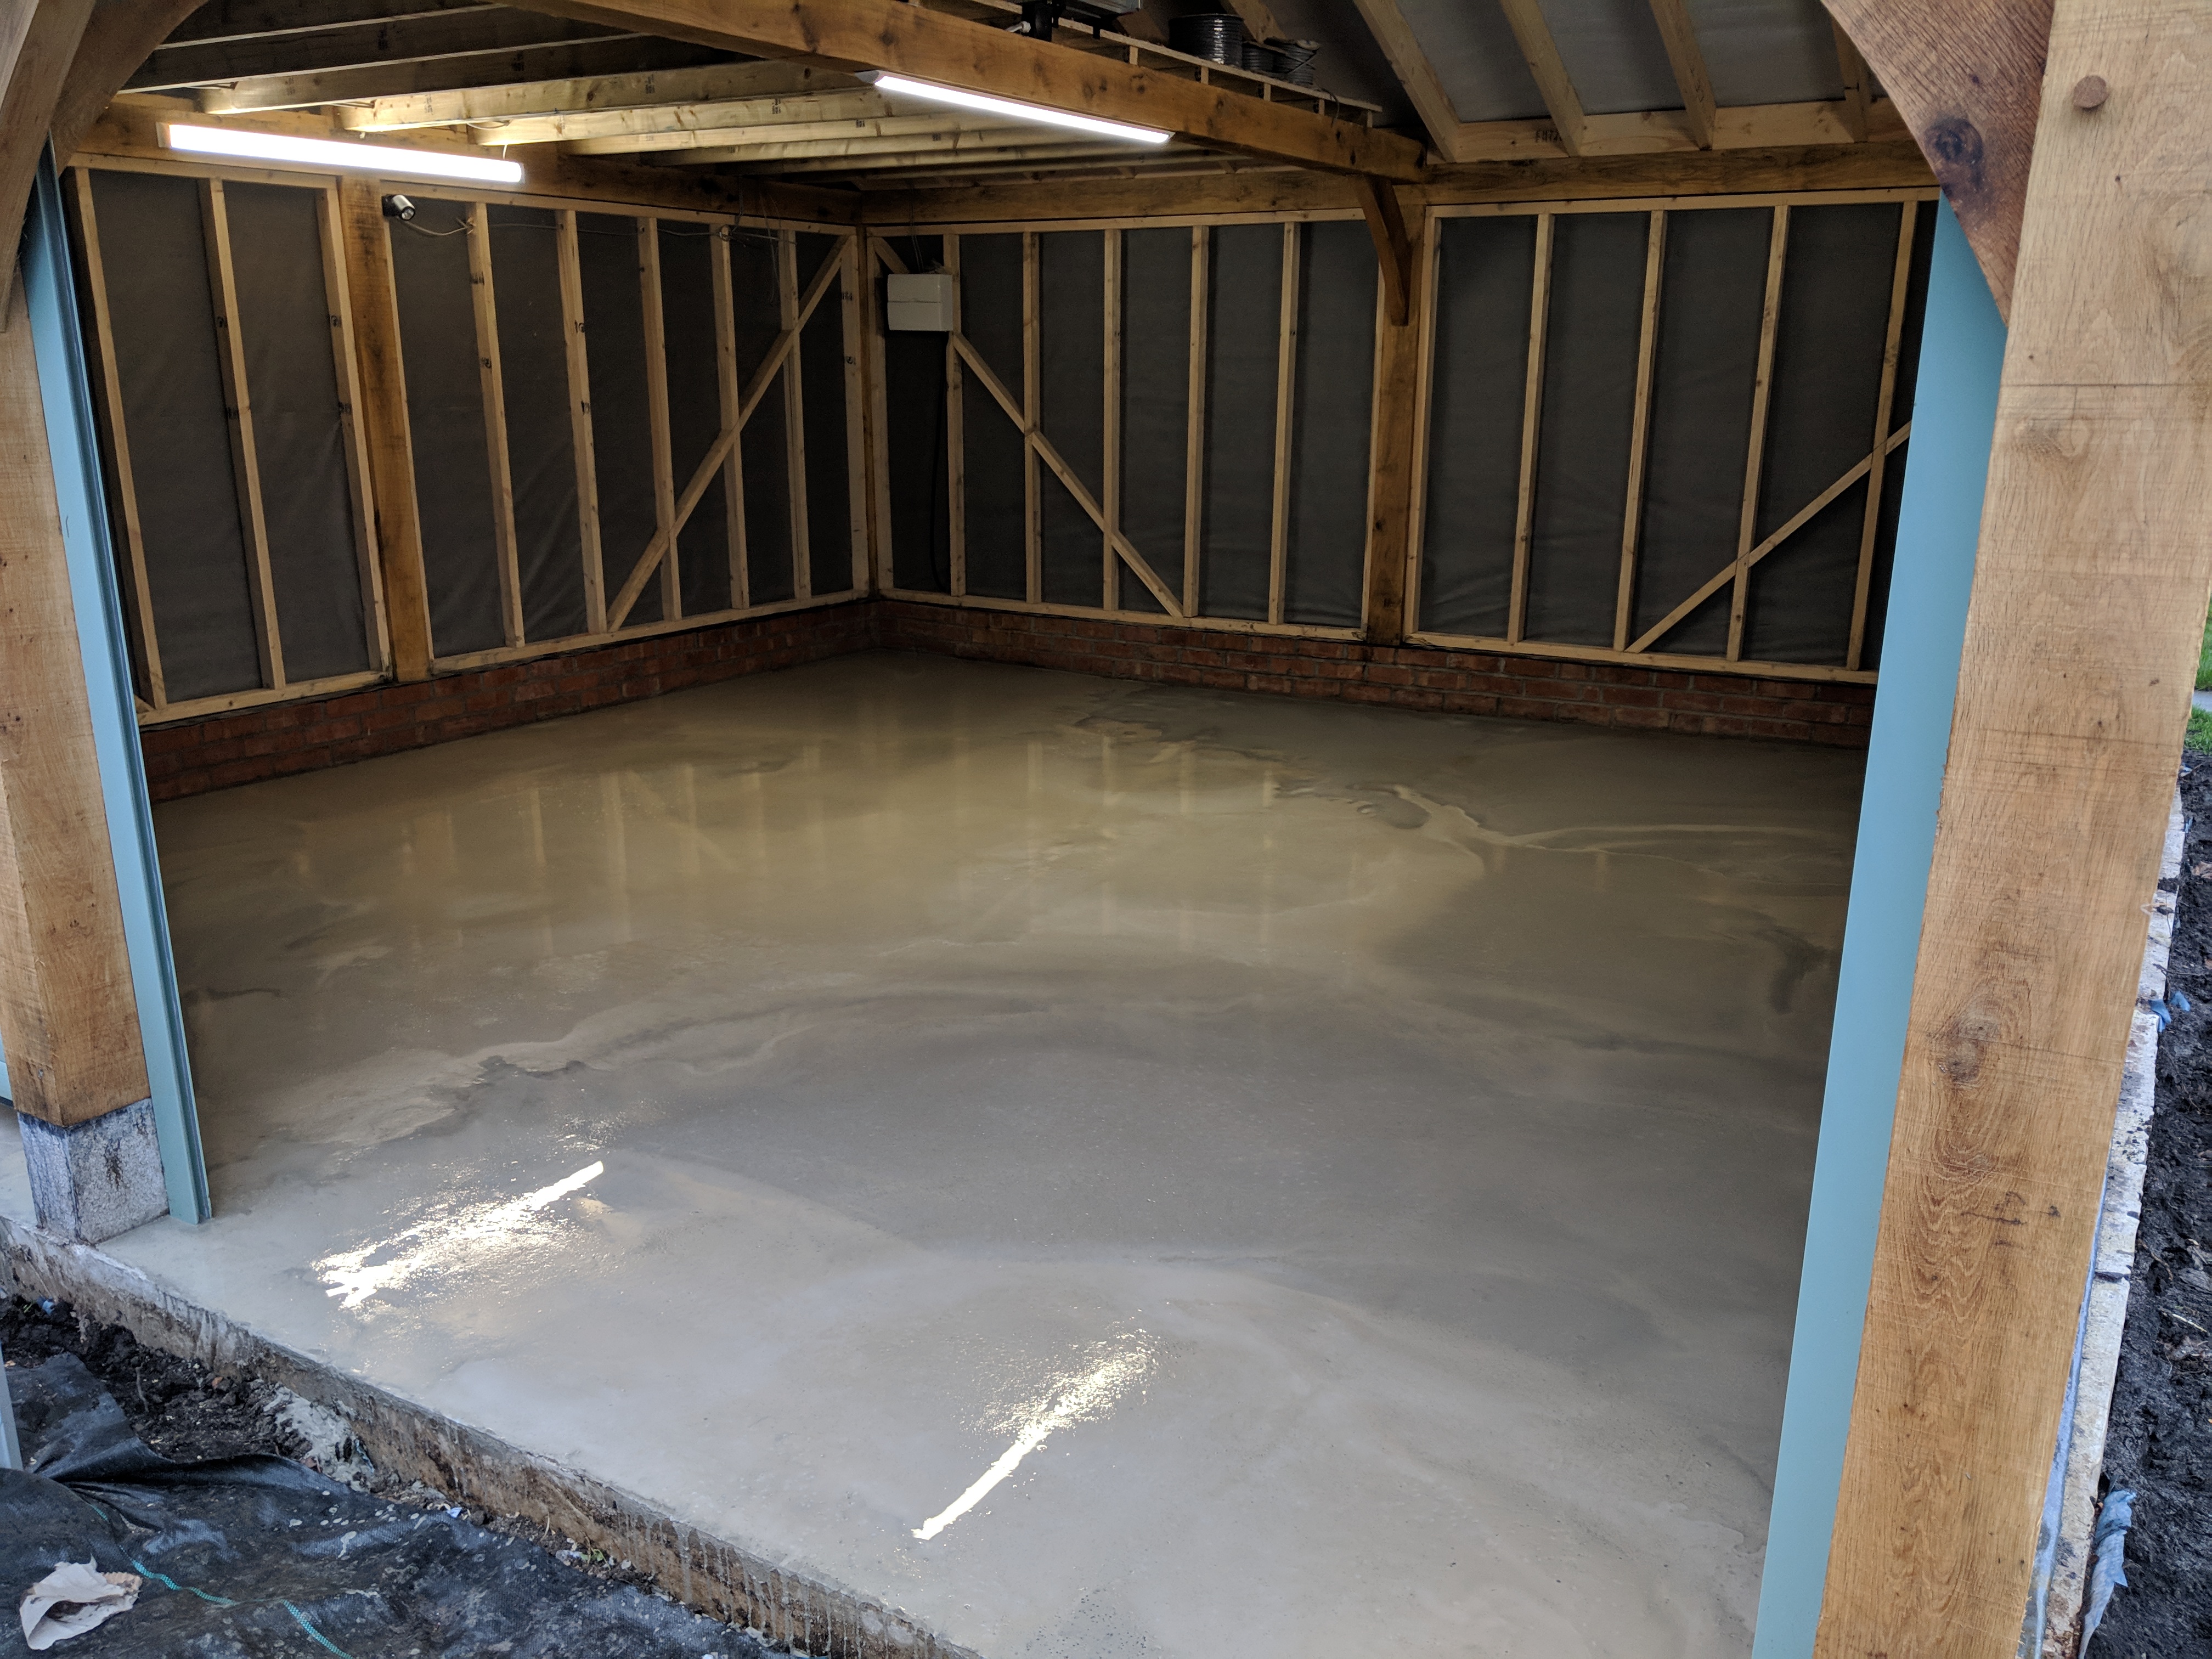
From this photo the floor looks perfectly smooth. Unfortunately it has loads of tiny air bubbles in it. They’re going to come back to bite me soon.
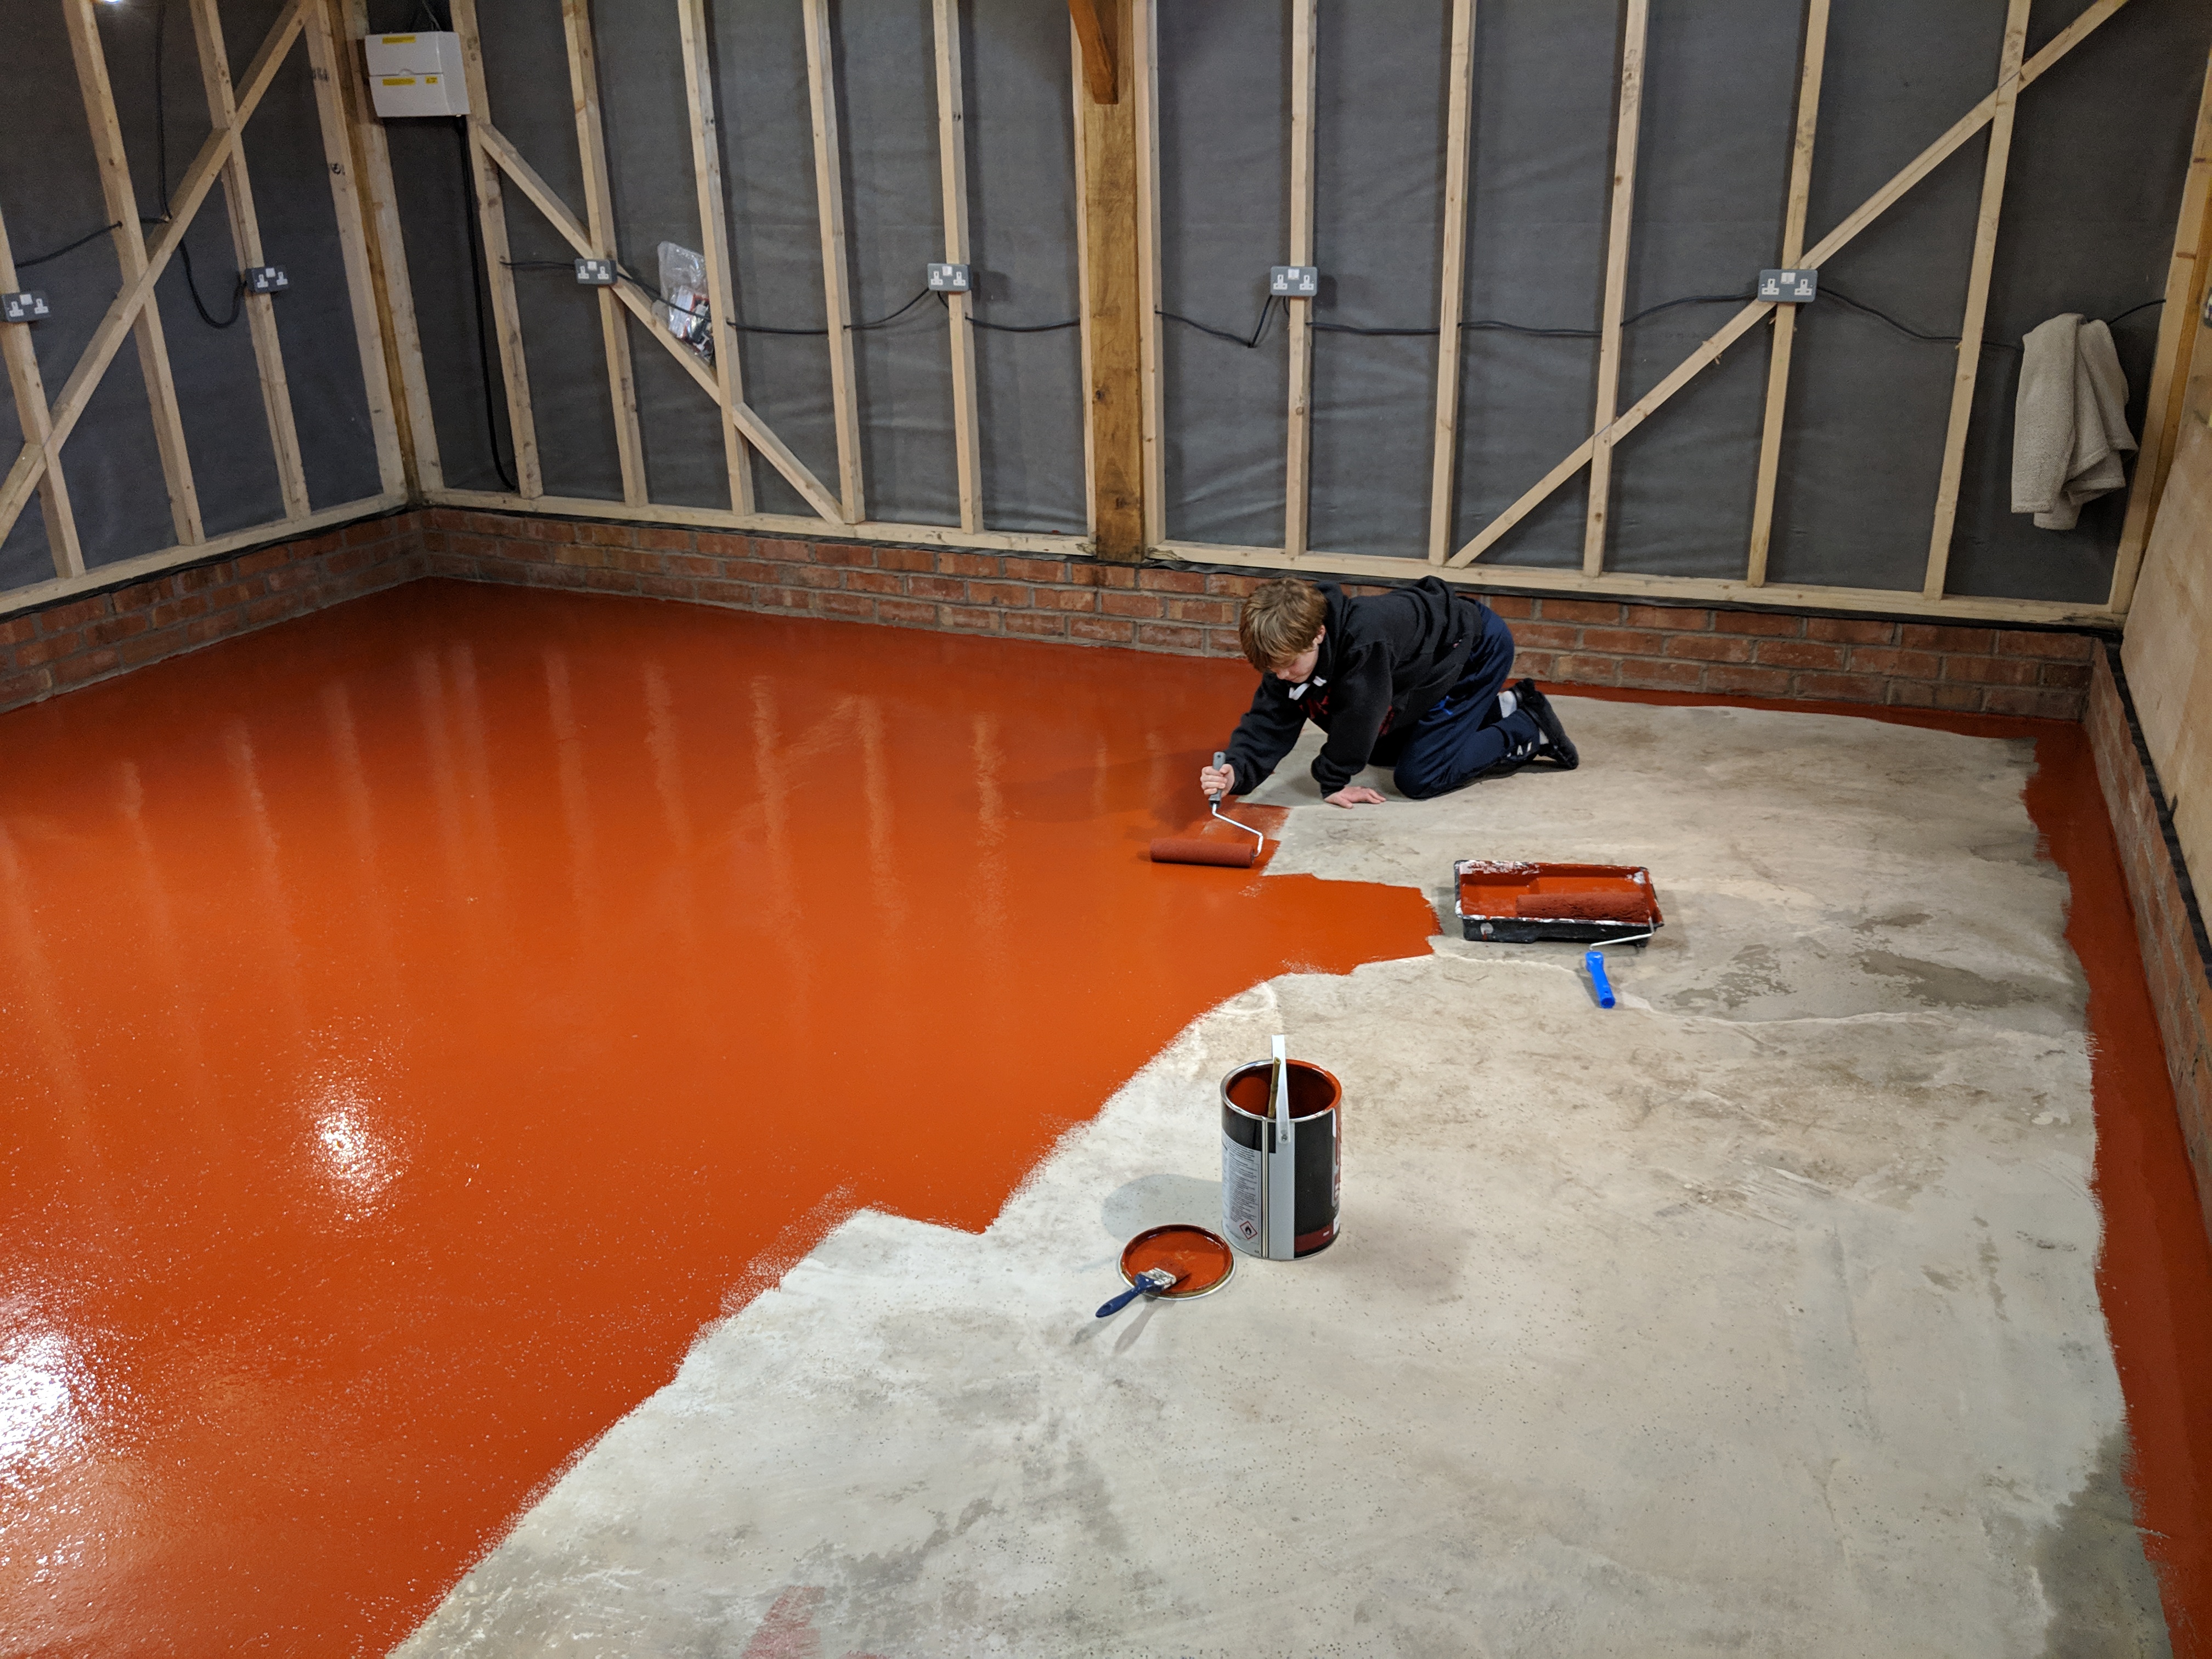
Oli and I got some floor paint and set to work. In the photo above you can see the dimple effect that was caused by the floor screed. For some thoroughly mental reason I decided I wanted a perfectly smooth floor. So after the first coat of paint went on and didn’t fill all the holes in I put a second coat down…which also didn’t fill the holes in. I finally put down a third coat and decided enough was enough. I realised it was just a garage floor and that I was being irrational. However, the damage had been done. It was cold and I didn’t leave enough time between coats so the paint never dried properly. Two weeks after the final coat I was in the garage in my boots when I turned on my heel and ripped a big hole in my soggy paint mess. It would have to go…
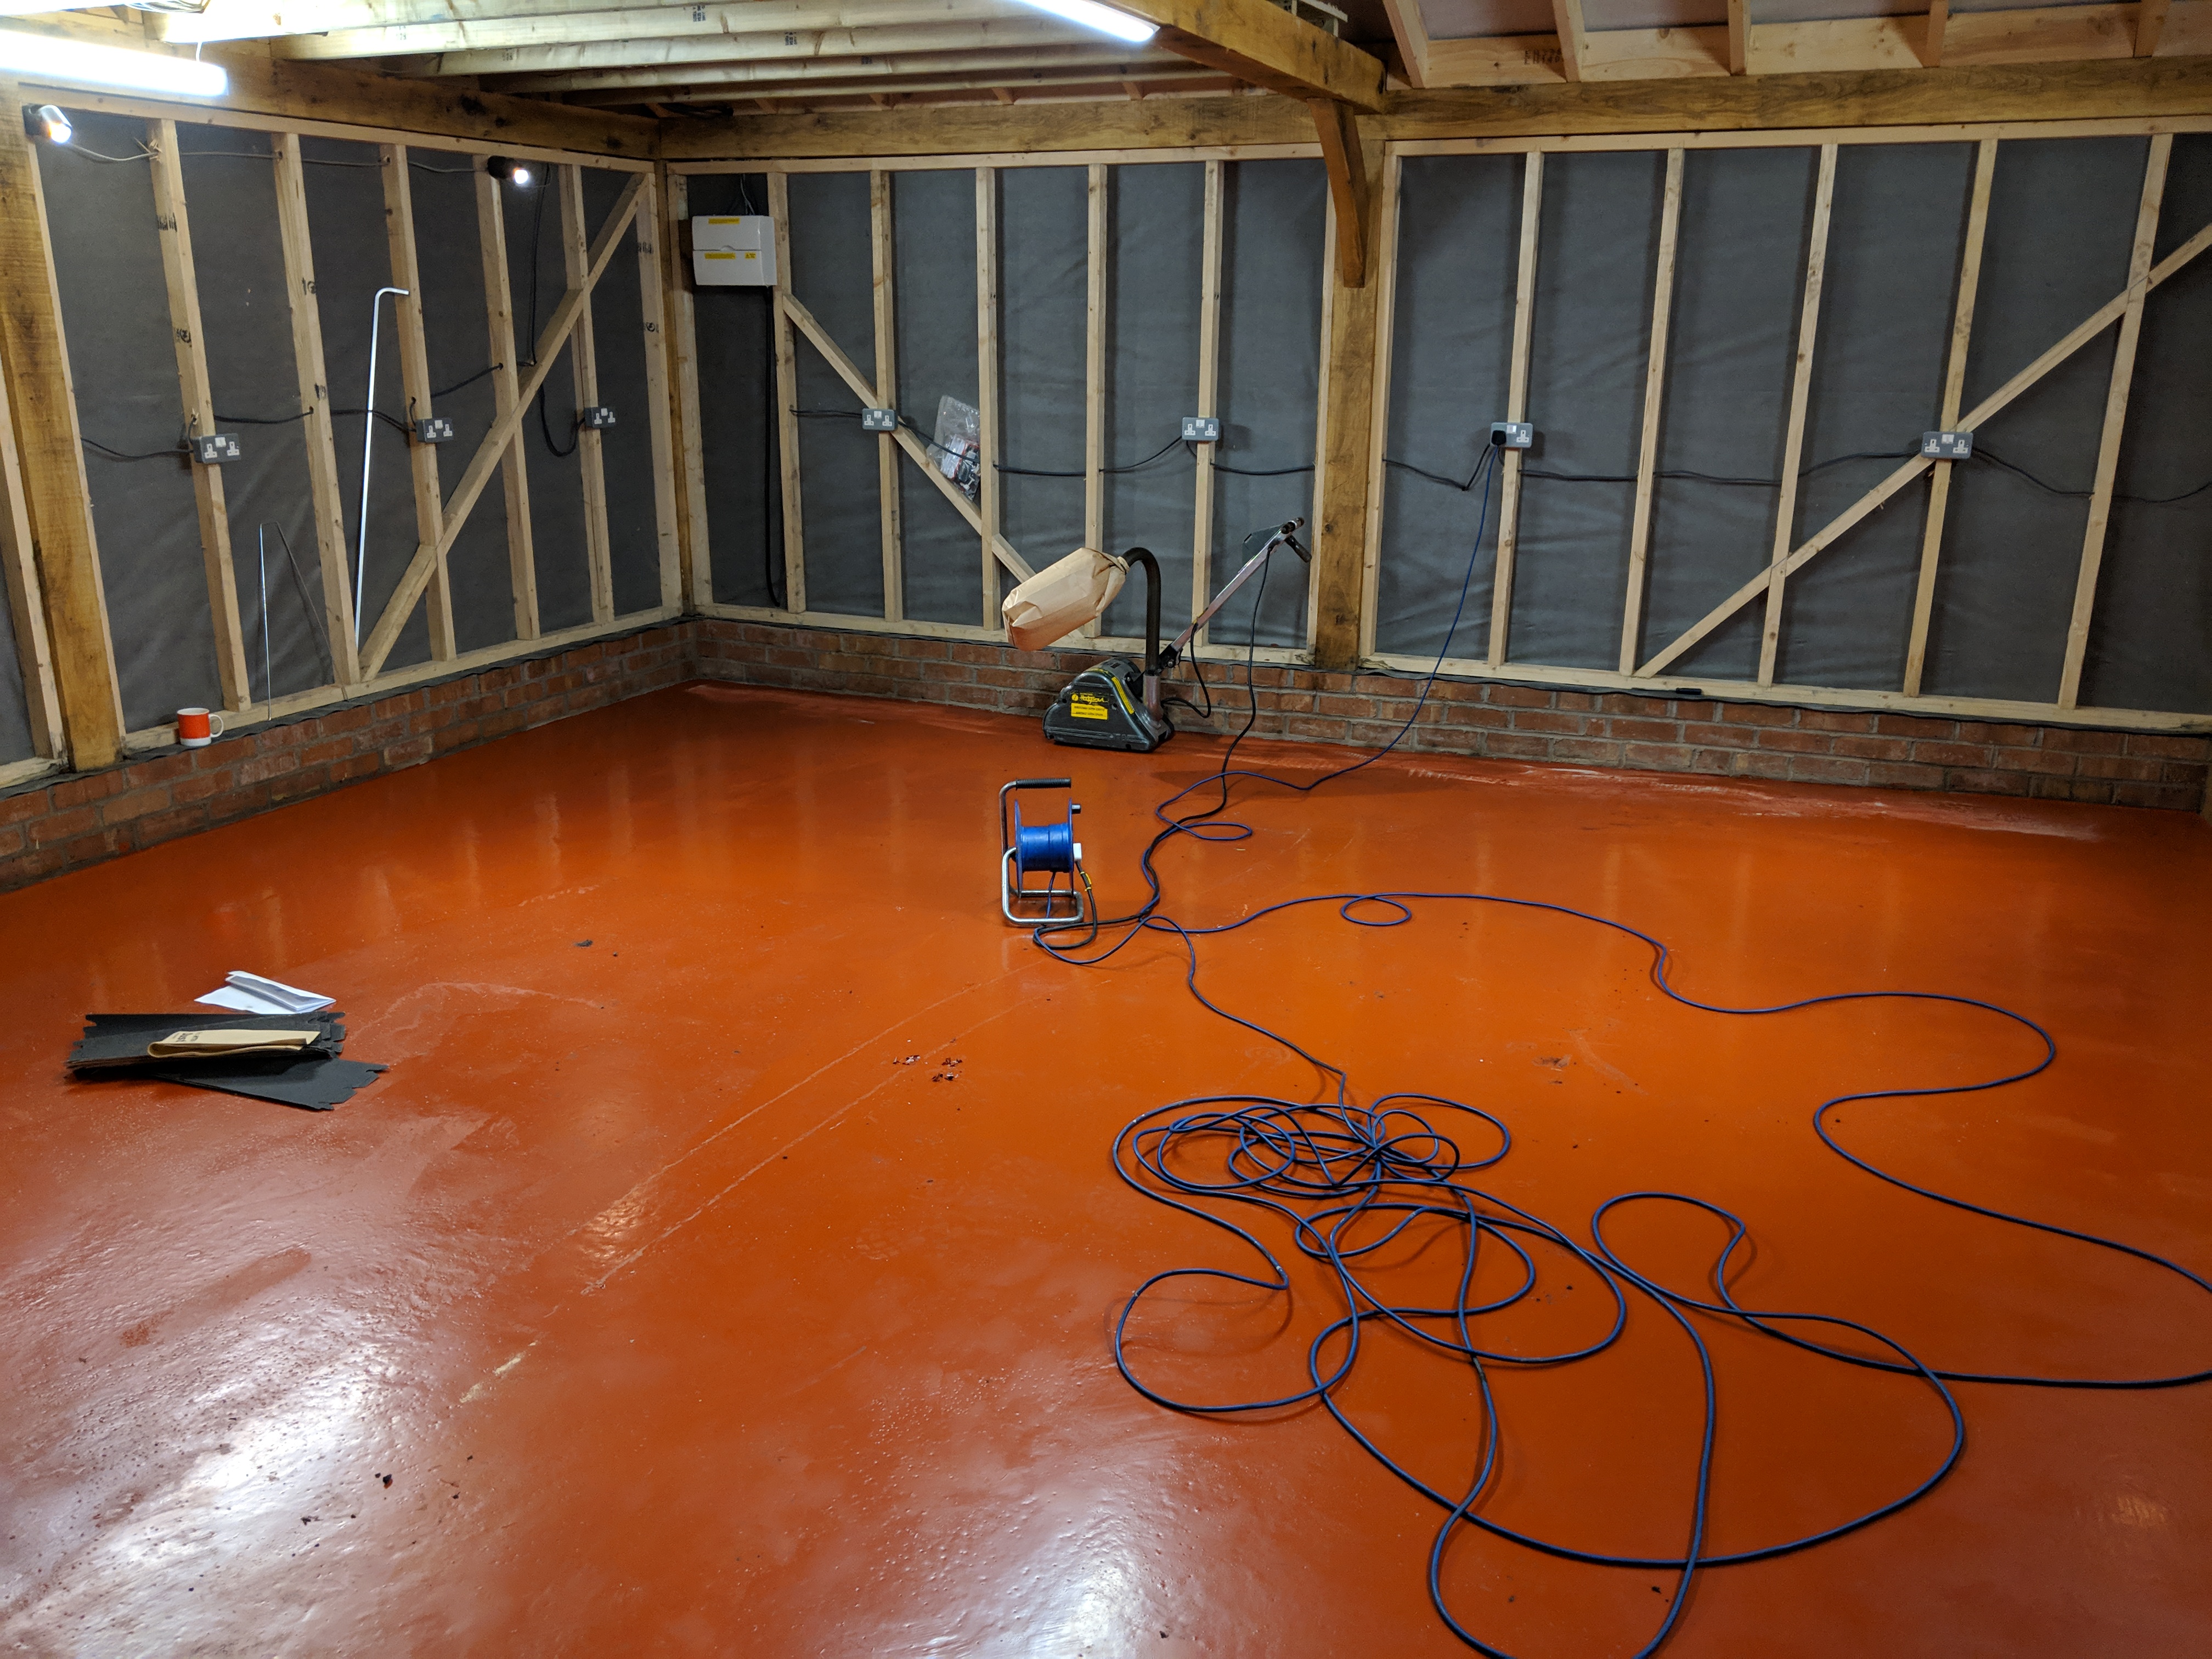
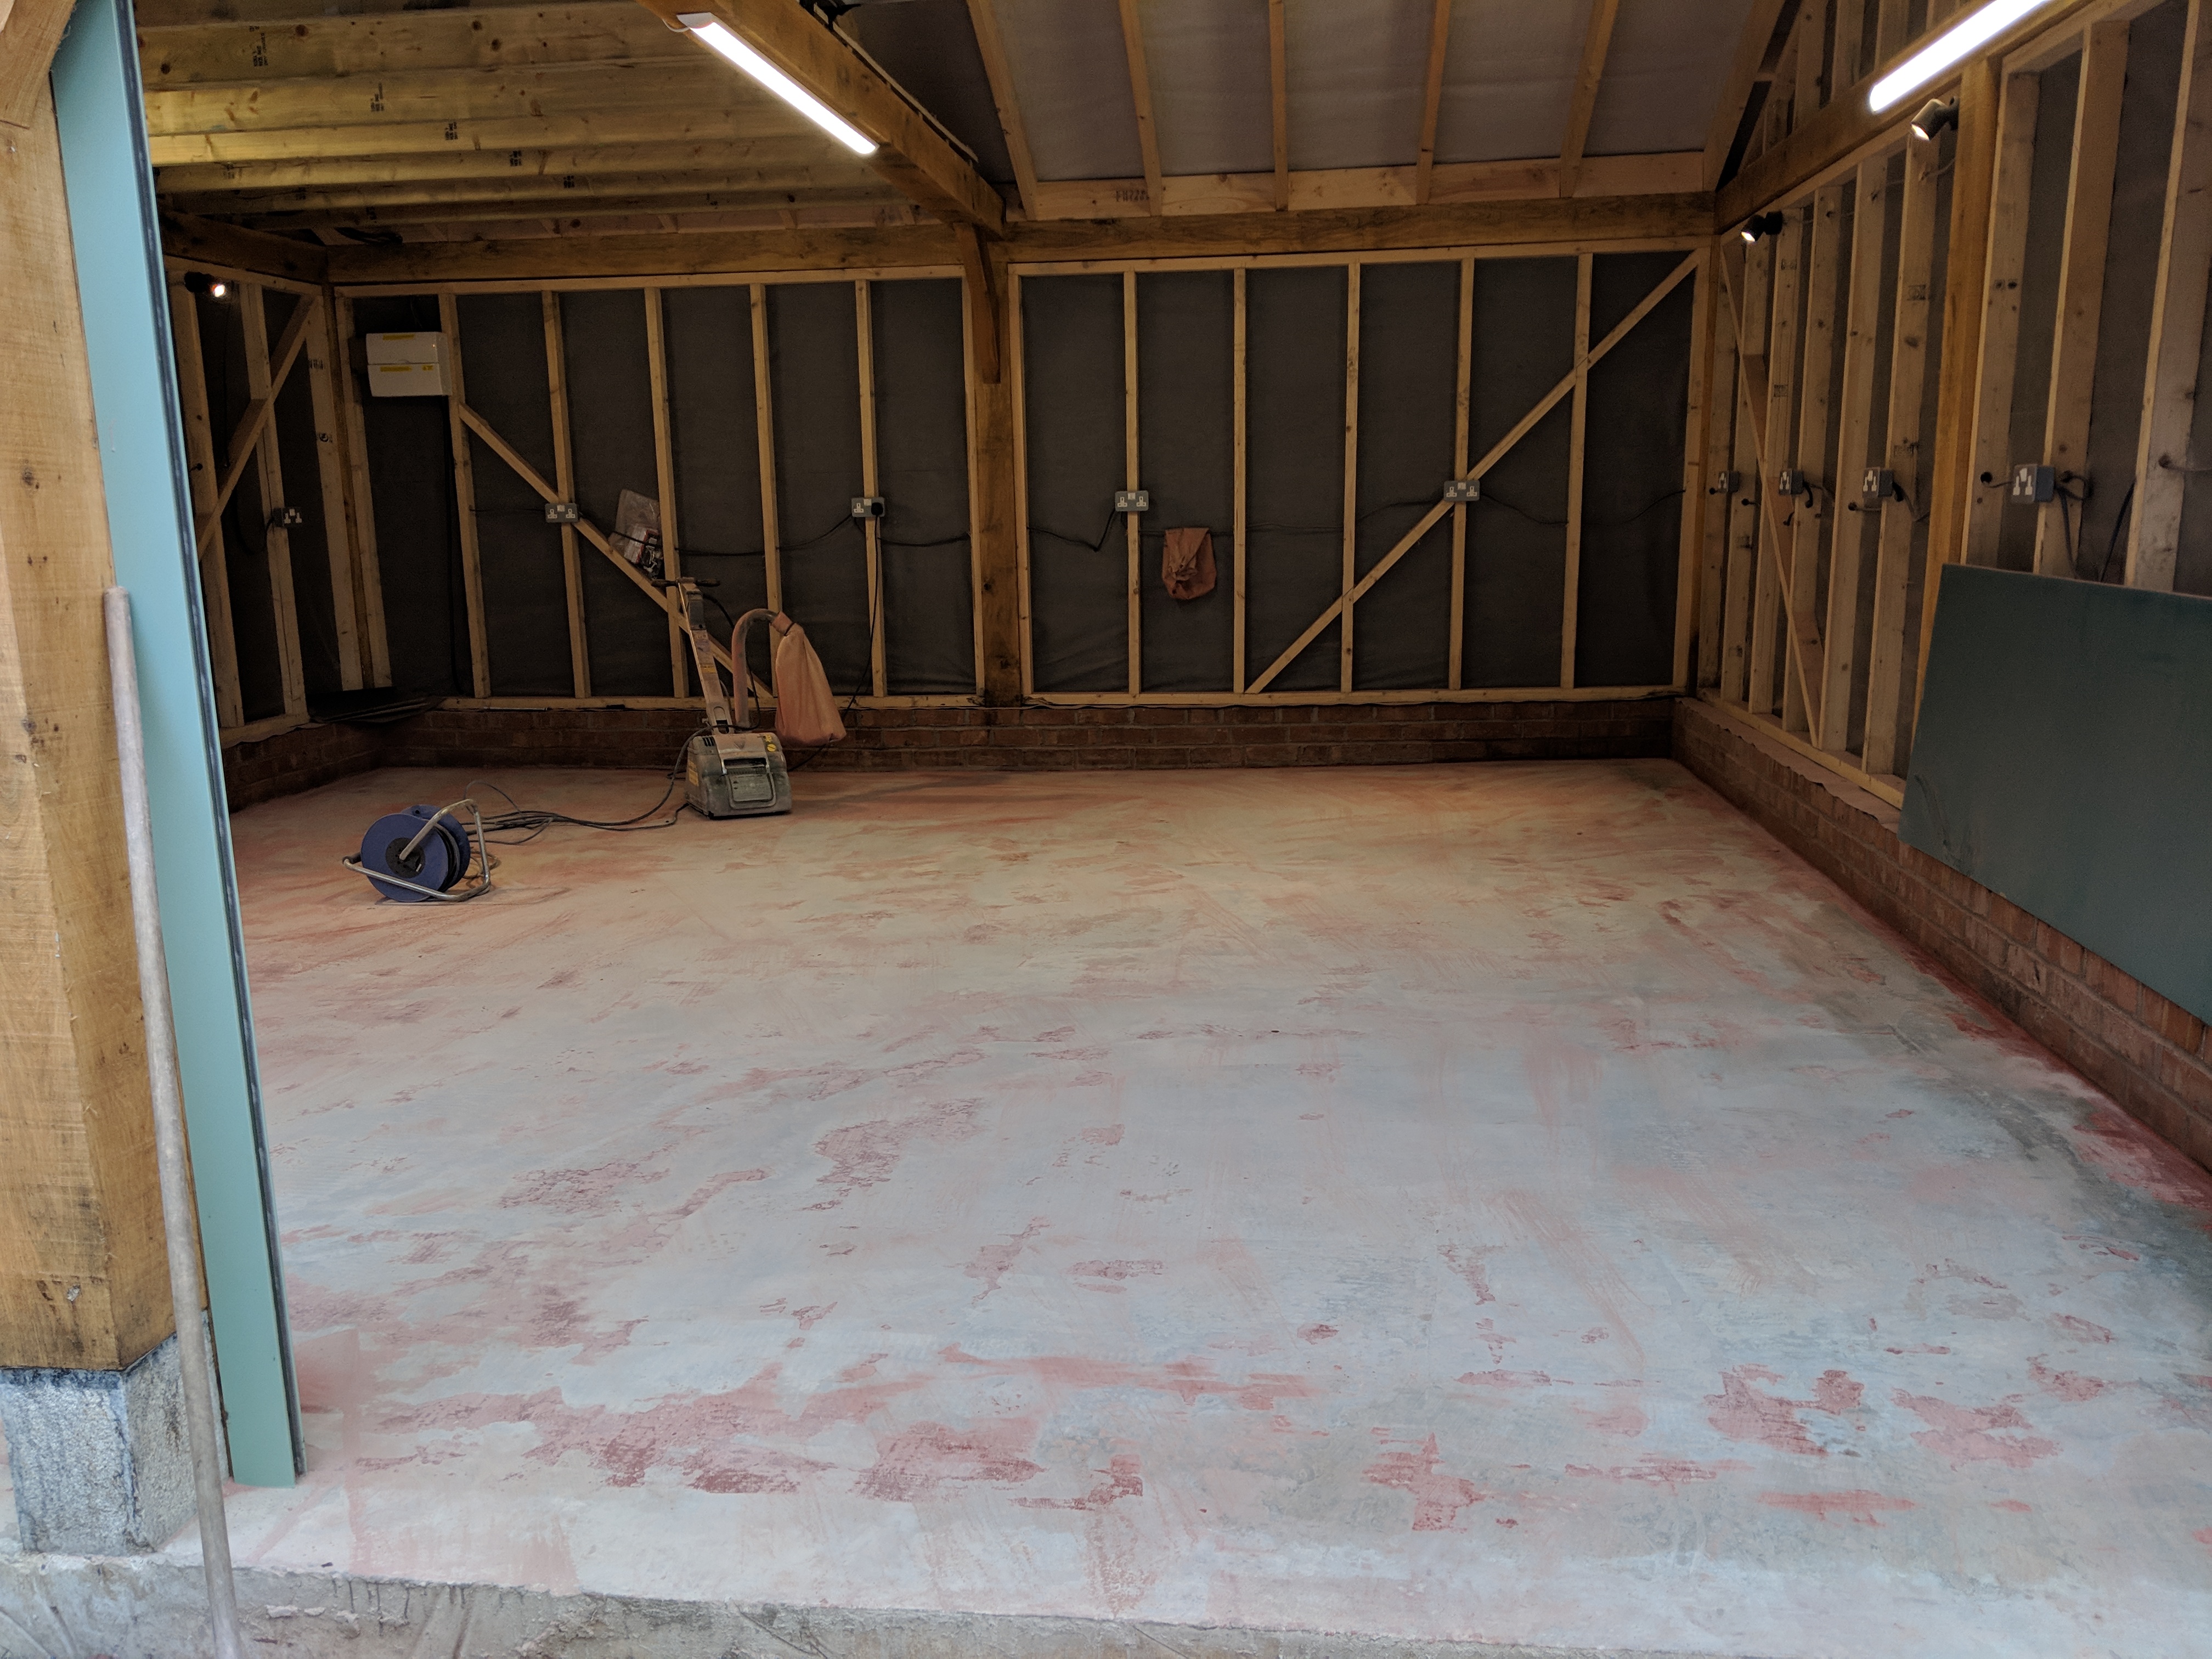
After sanding all the dimples disappeared! So I gave it one last coat and called it a day.
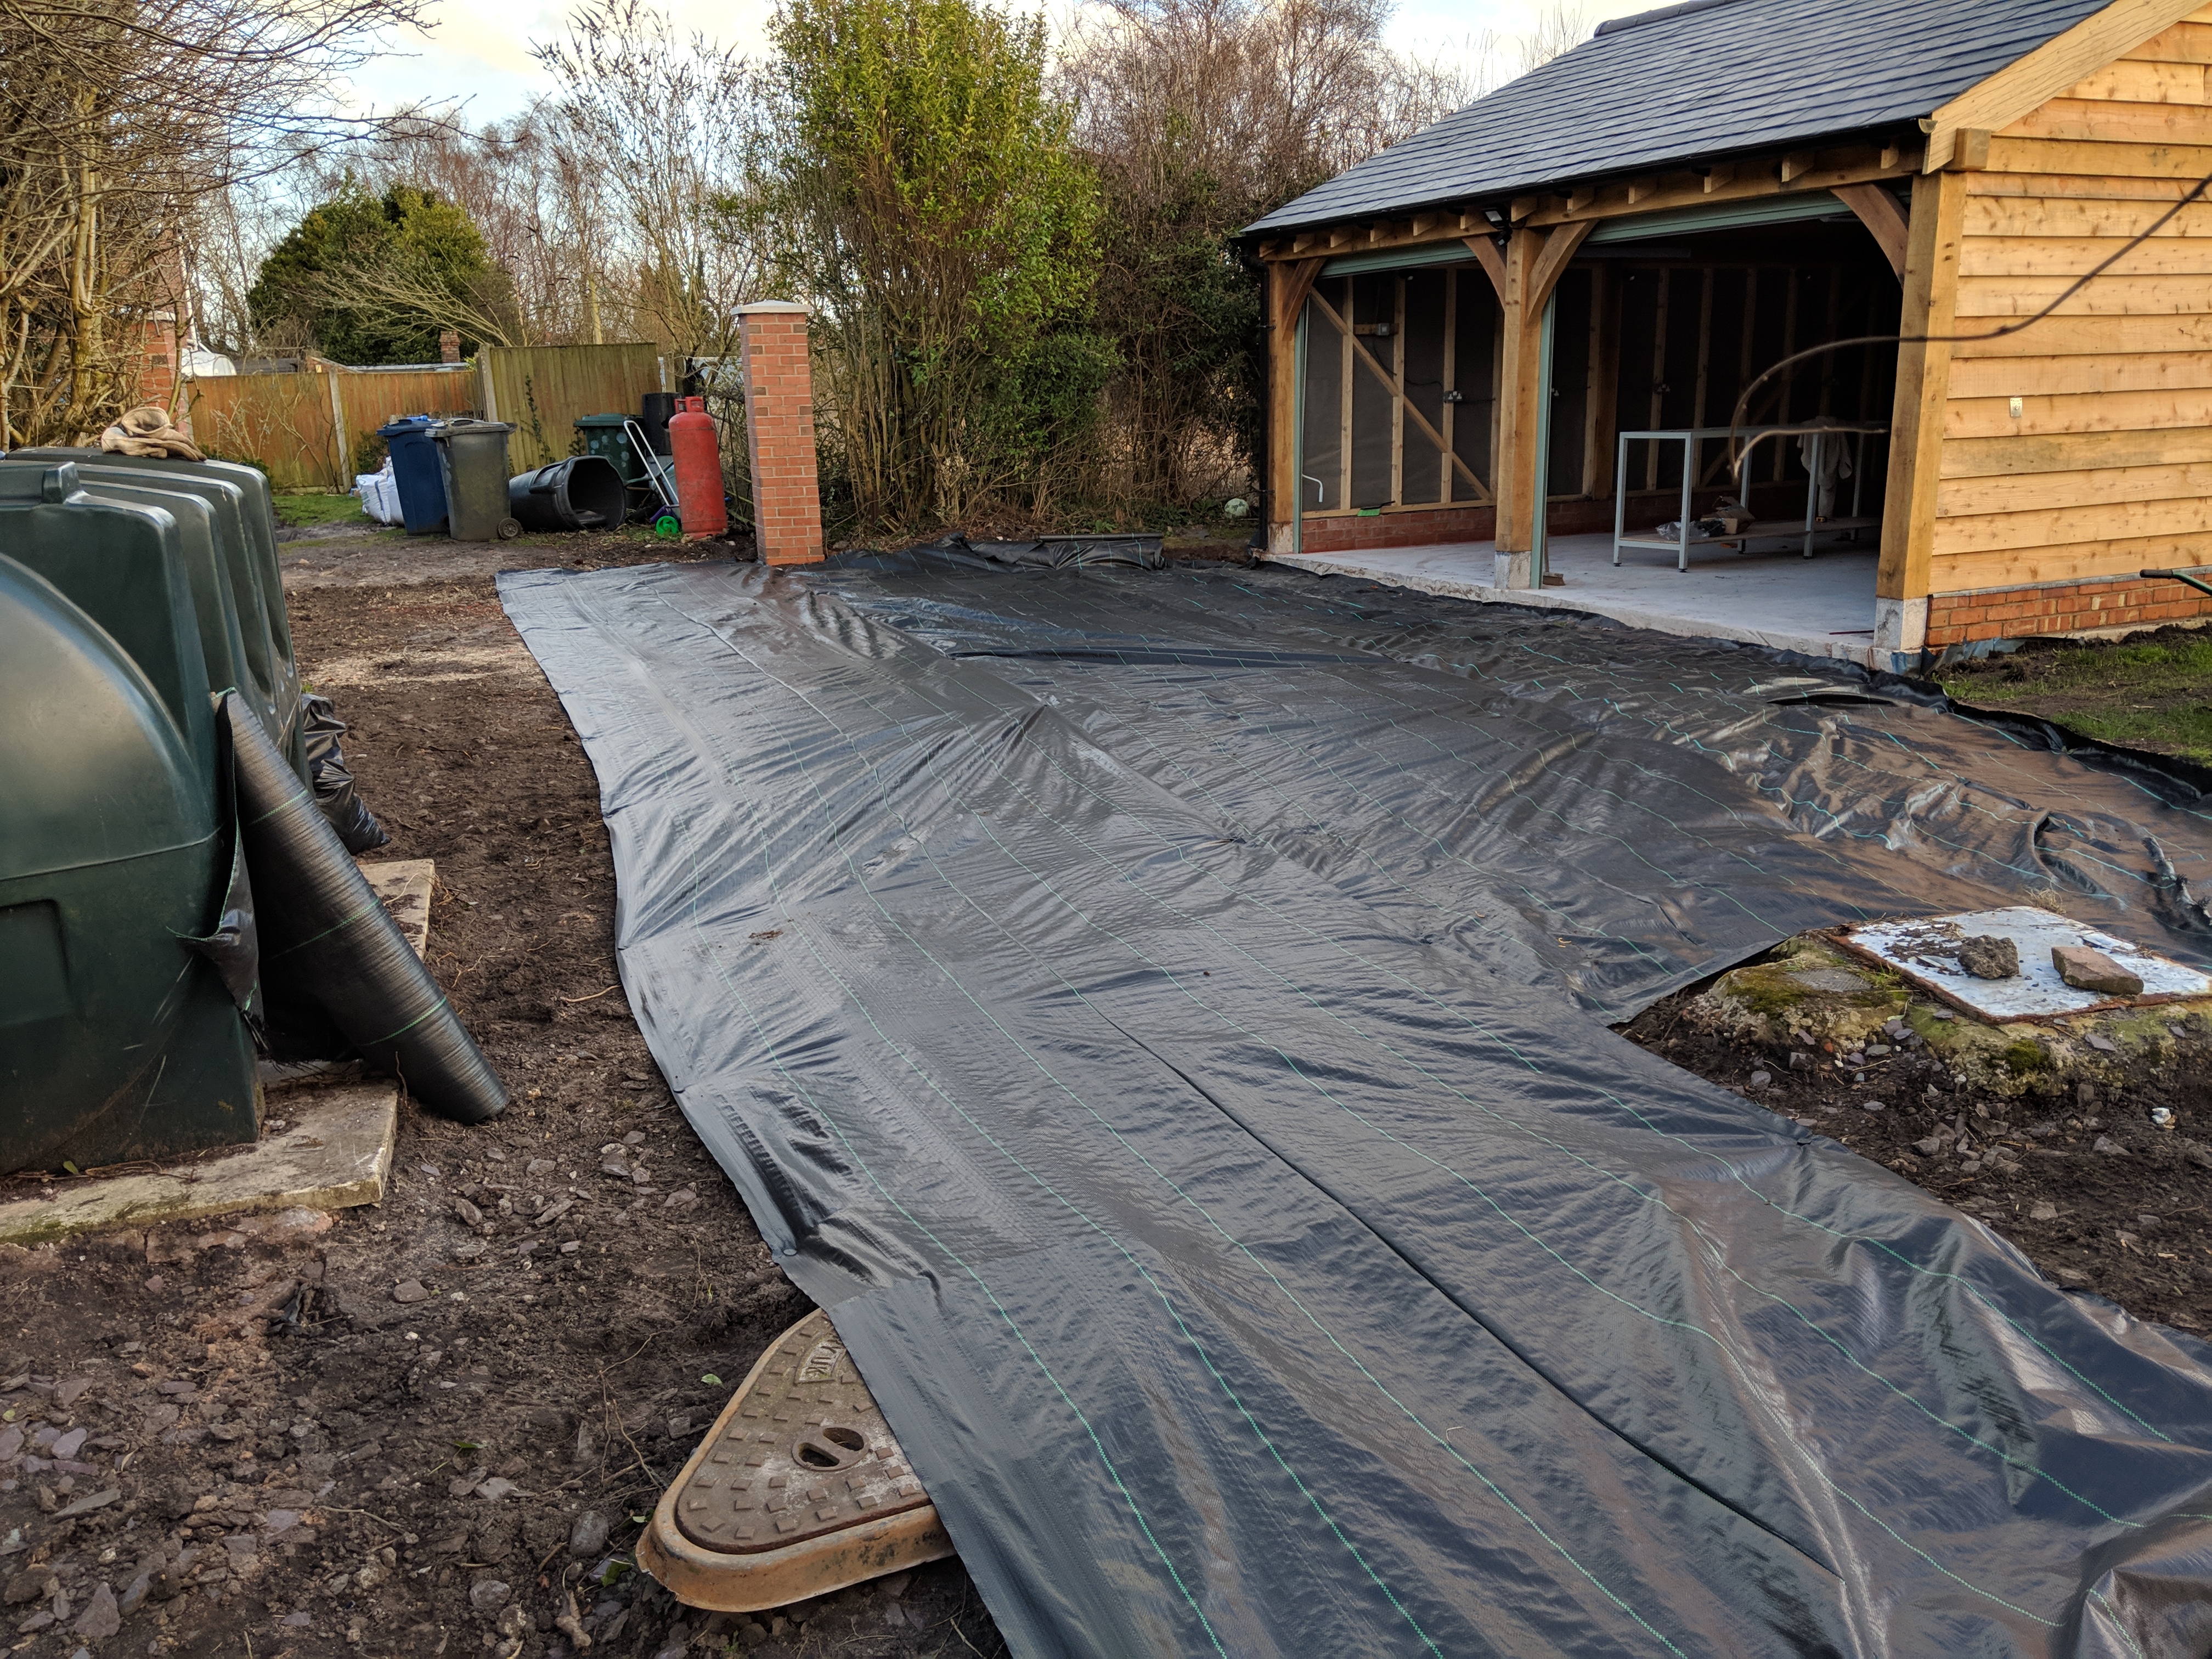
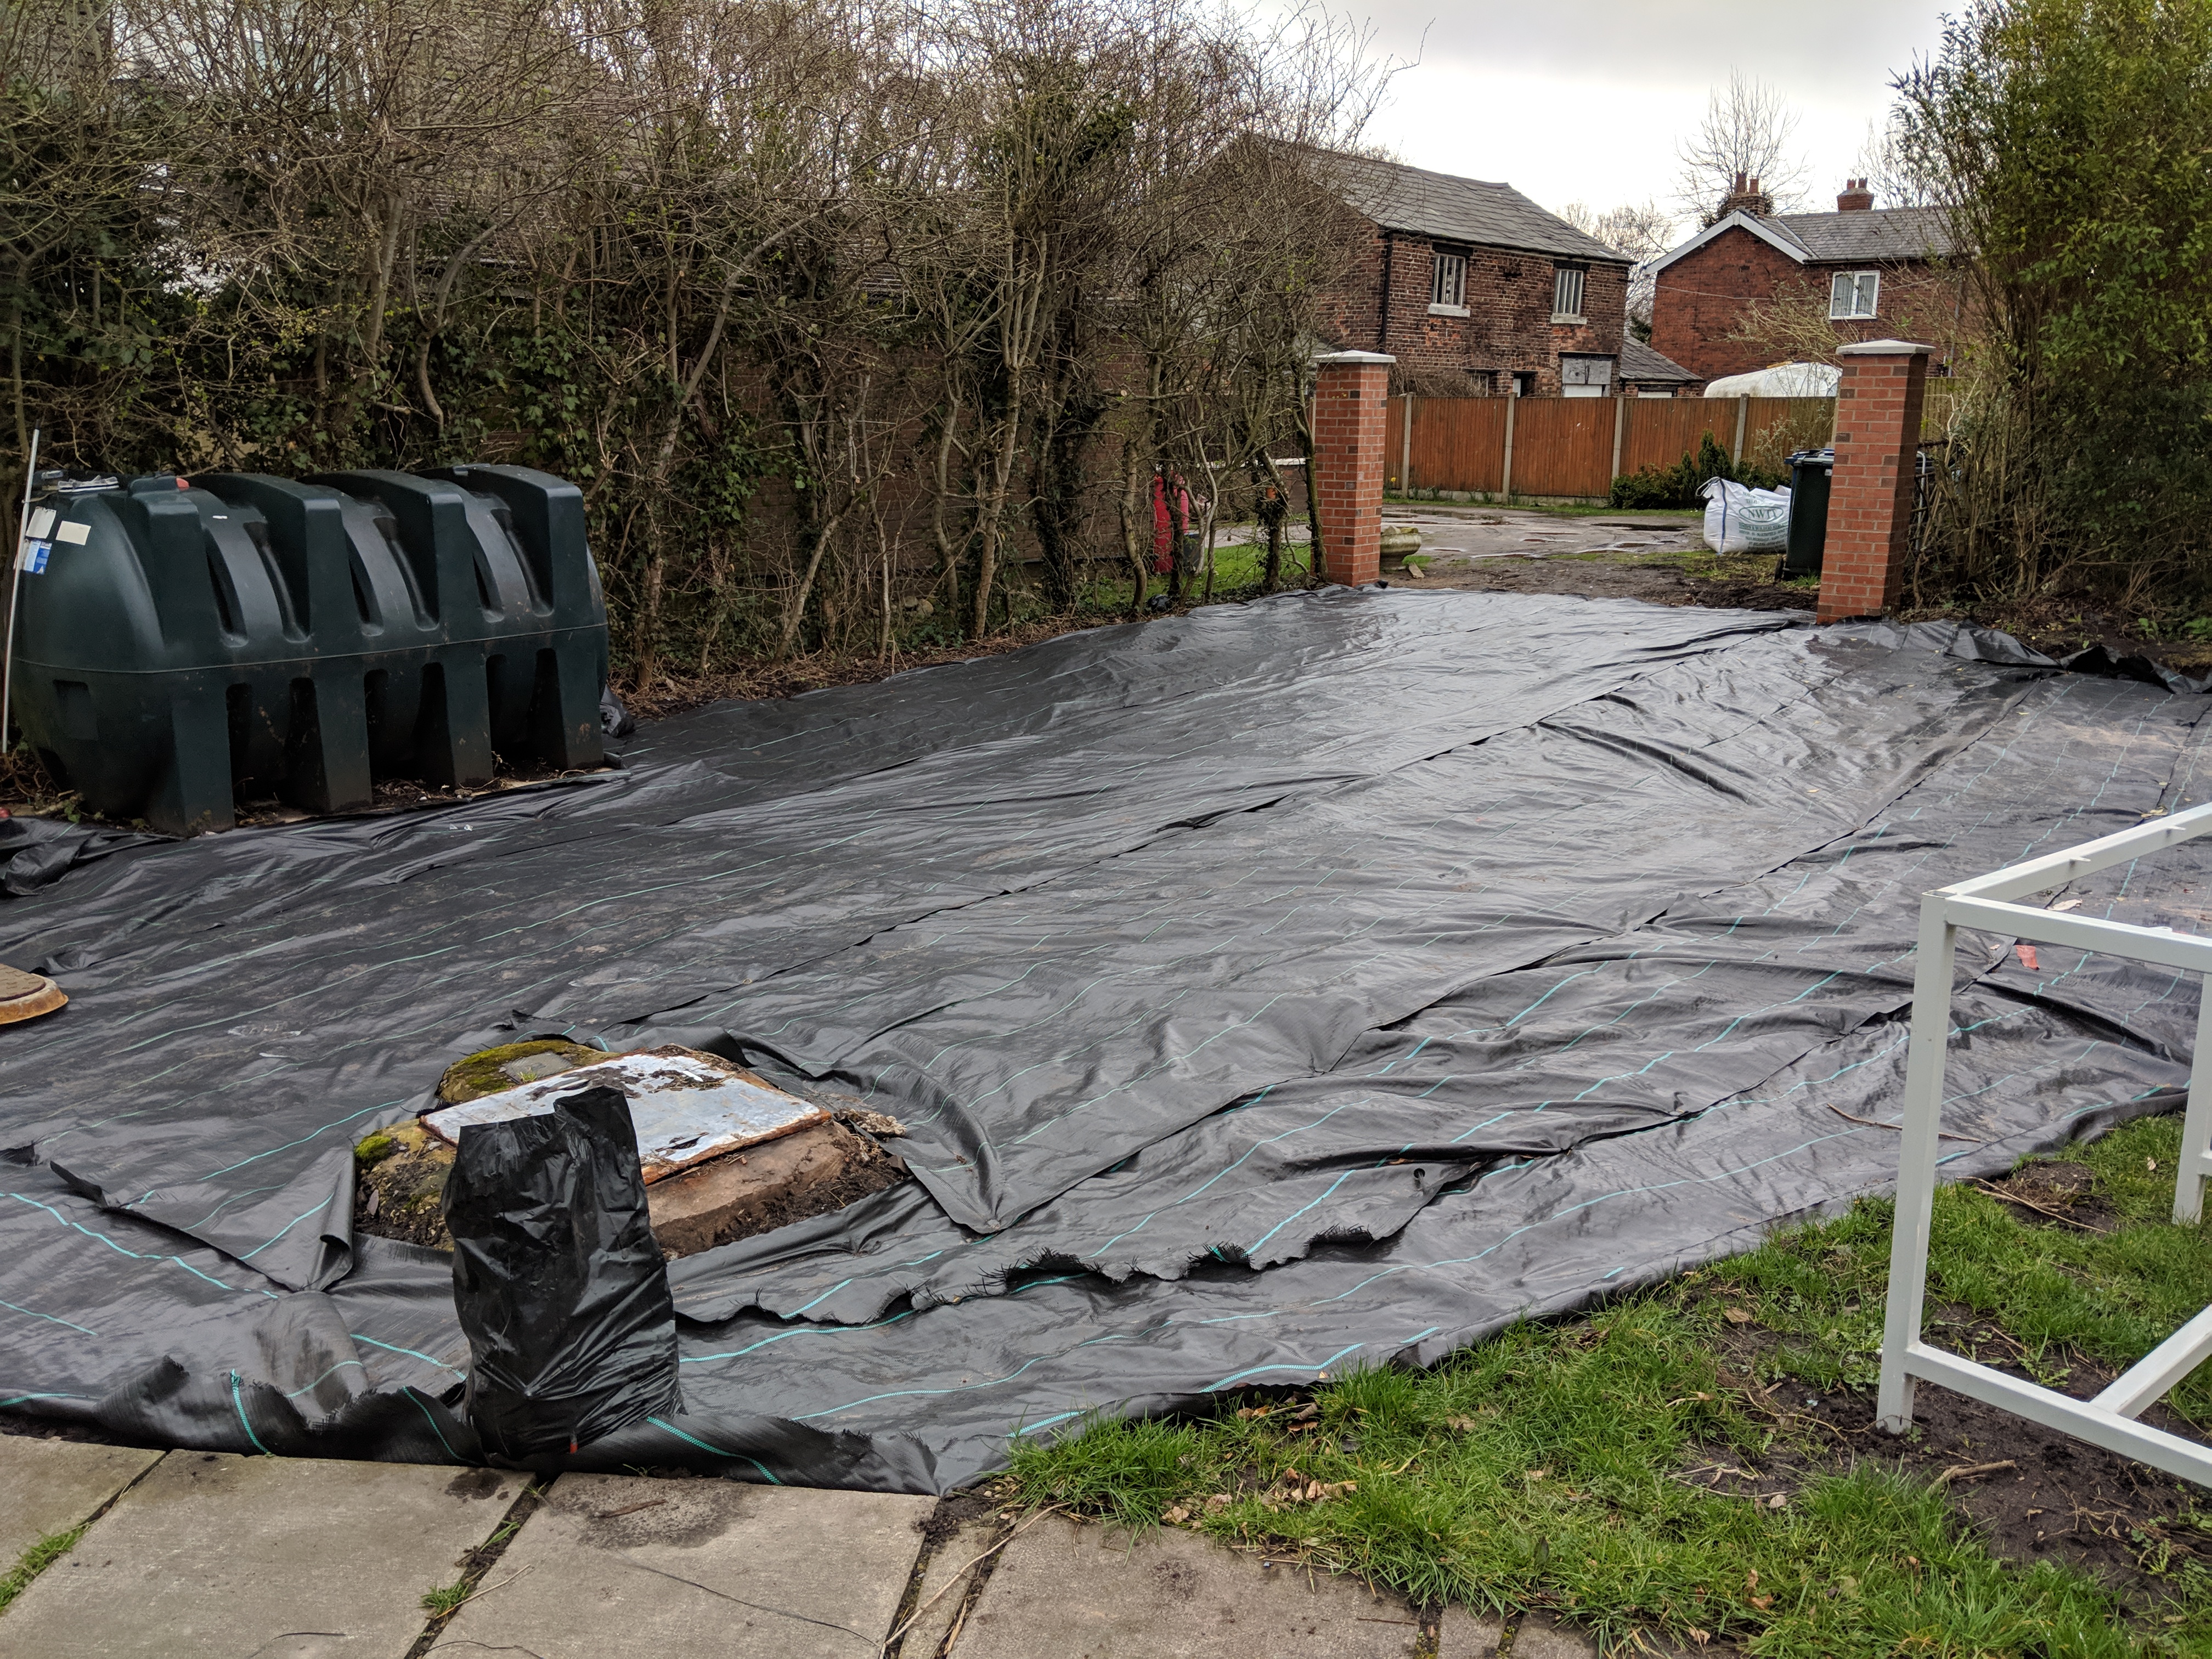
The eagle eyed amongst you will have noticed two brick gate posts in the background. Tony, an old workmate of my fathers, came and built them for me. I did consider building them myself but they wouldn’t have looked nearly so good if I’d done it. As an aside I also considered making the gates myself – but that would just have been foolishness.
Now that all the weed membrane is down it’s time to organise 10 bulk bags of MOT Type 2 hardcore.
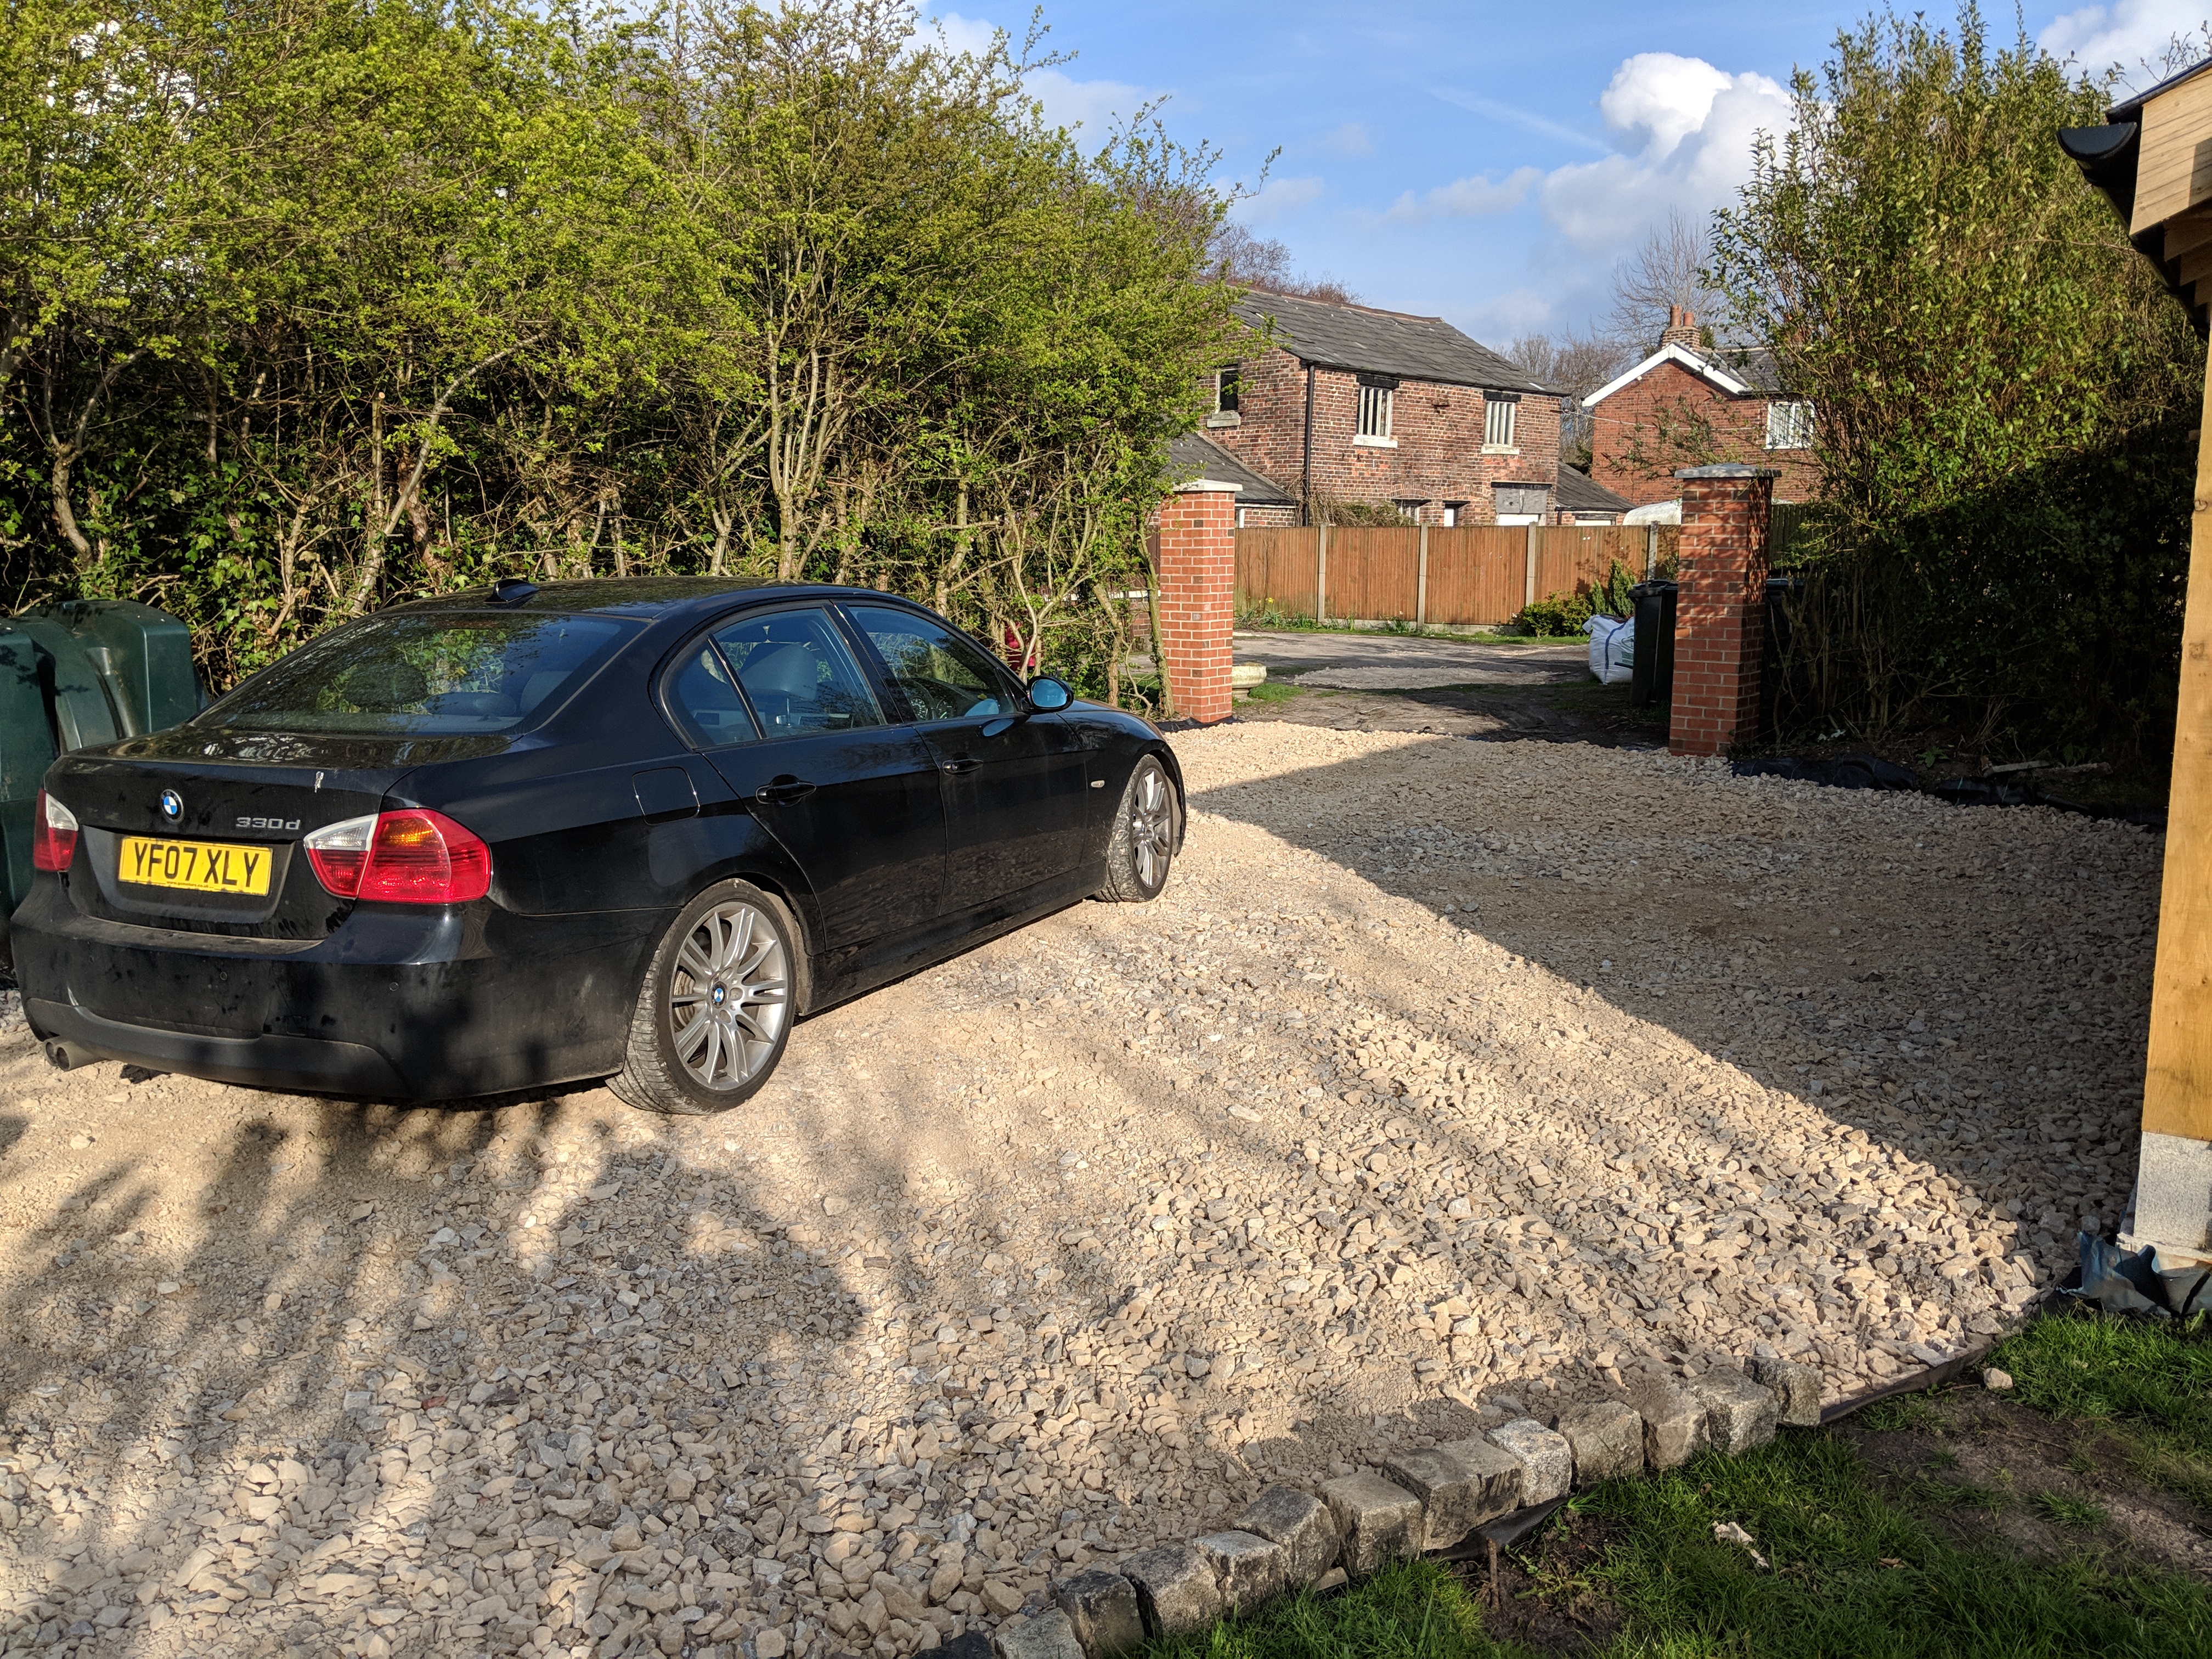
The photo above hides a LOT of work that went into this. It’s really really really hard moving about 10 tonnes of hardcore around so that it’s roughly level. I also took some of the leftover stone and grit-sand from the gateposts and spread it within the hardcore to form a much stronger and stable surface. The cobbles you can see at the edge came from a crazy fella up in Leyland who had a big pile of them for sale. At a pound a cobble it ended up being quite expensive.
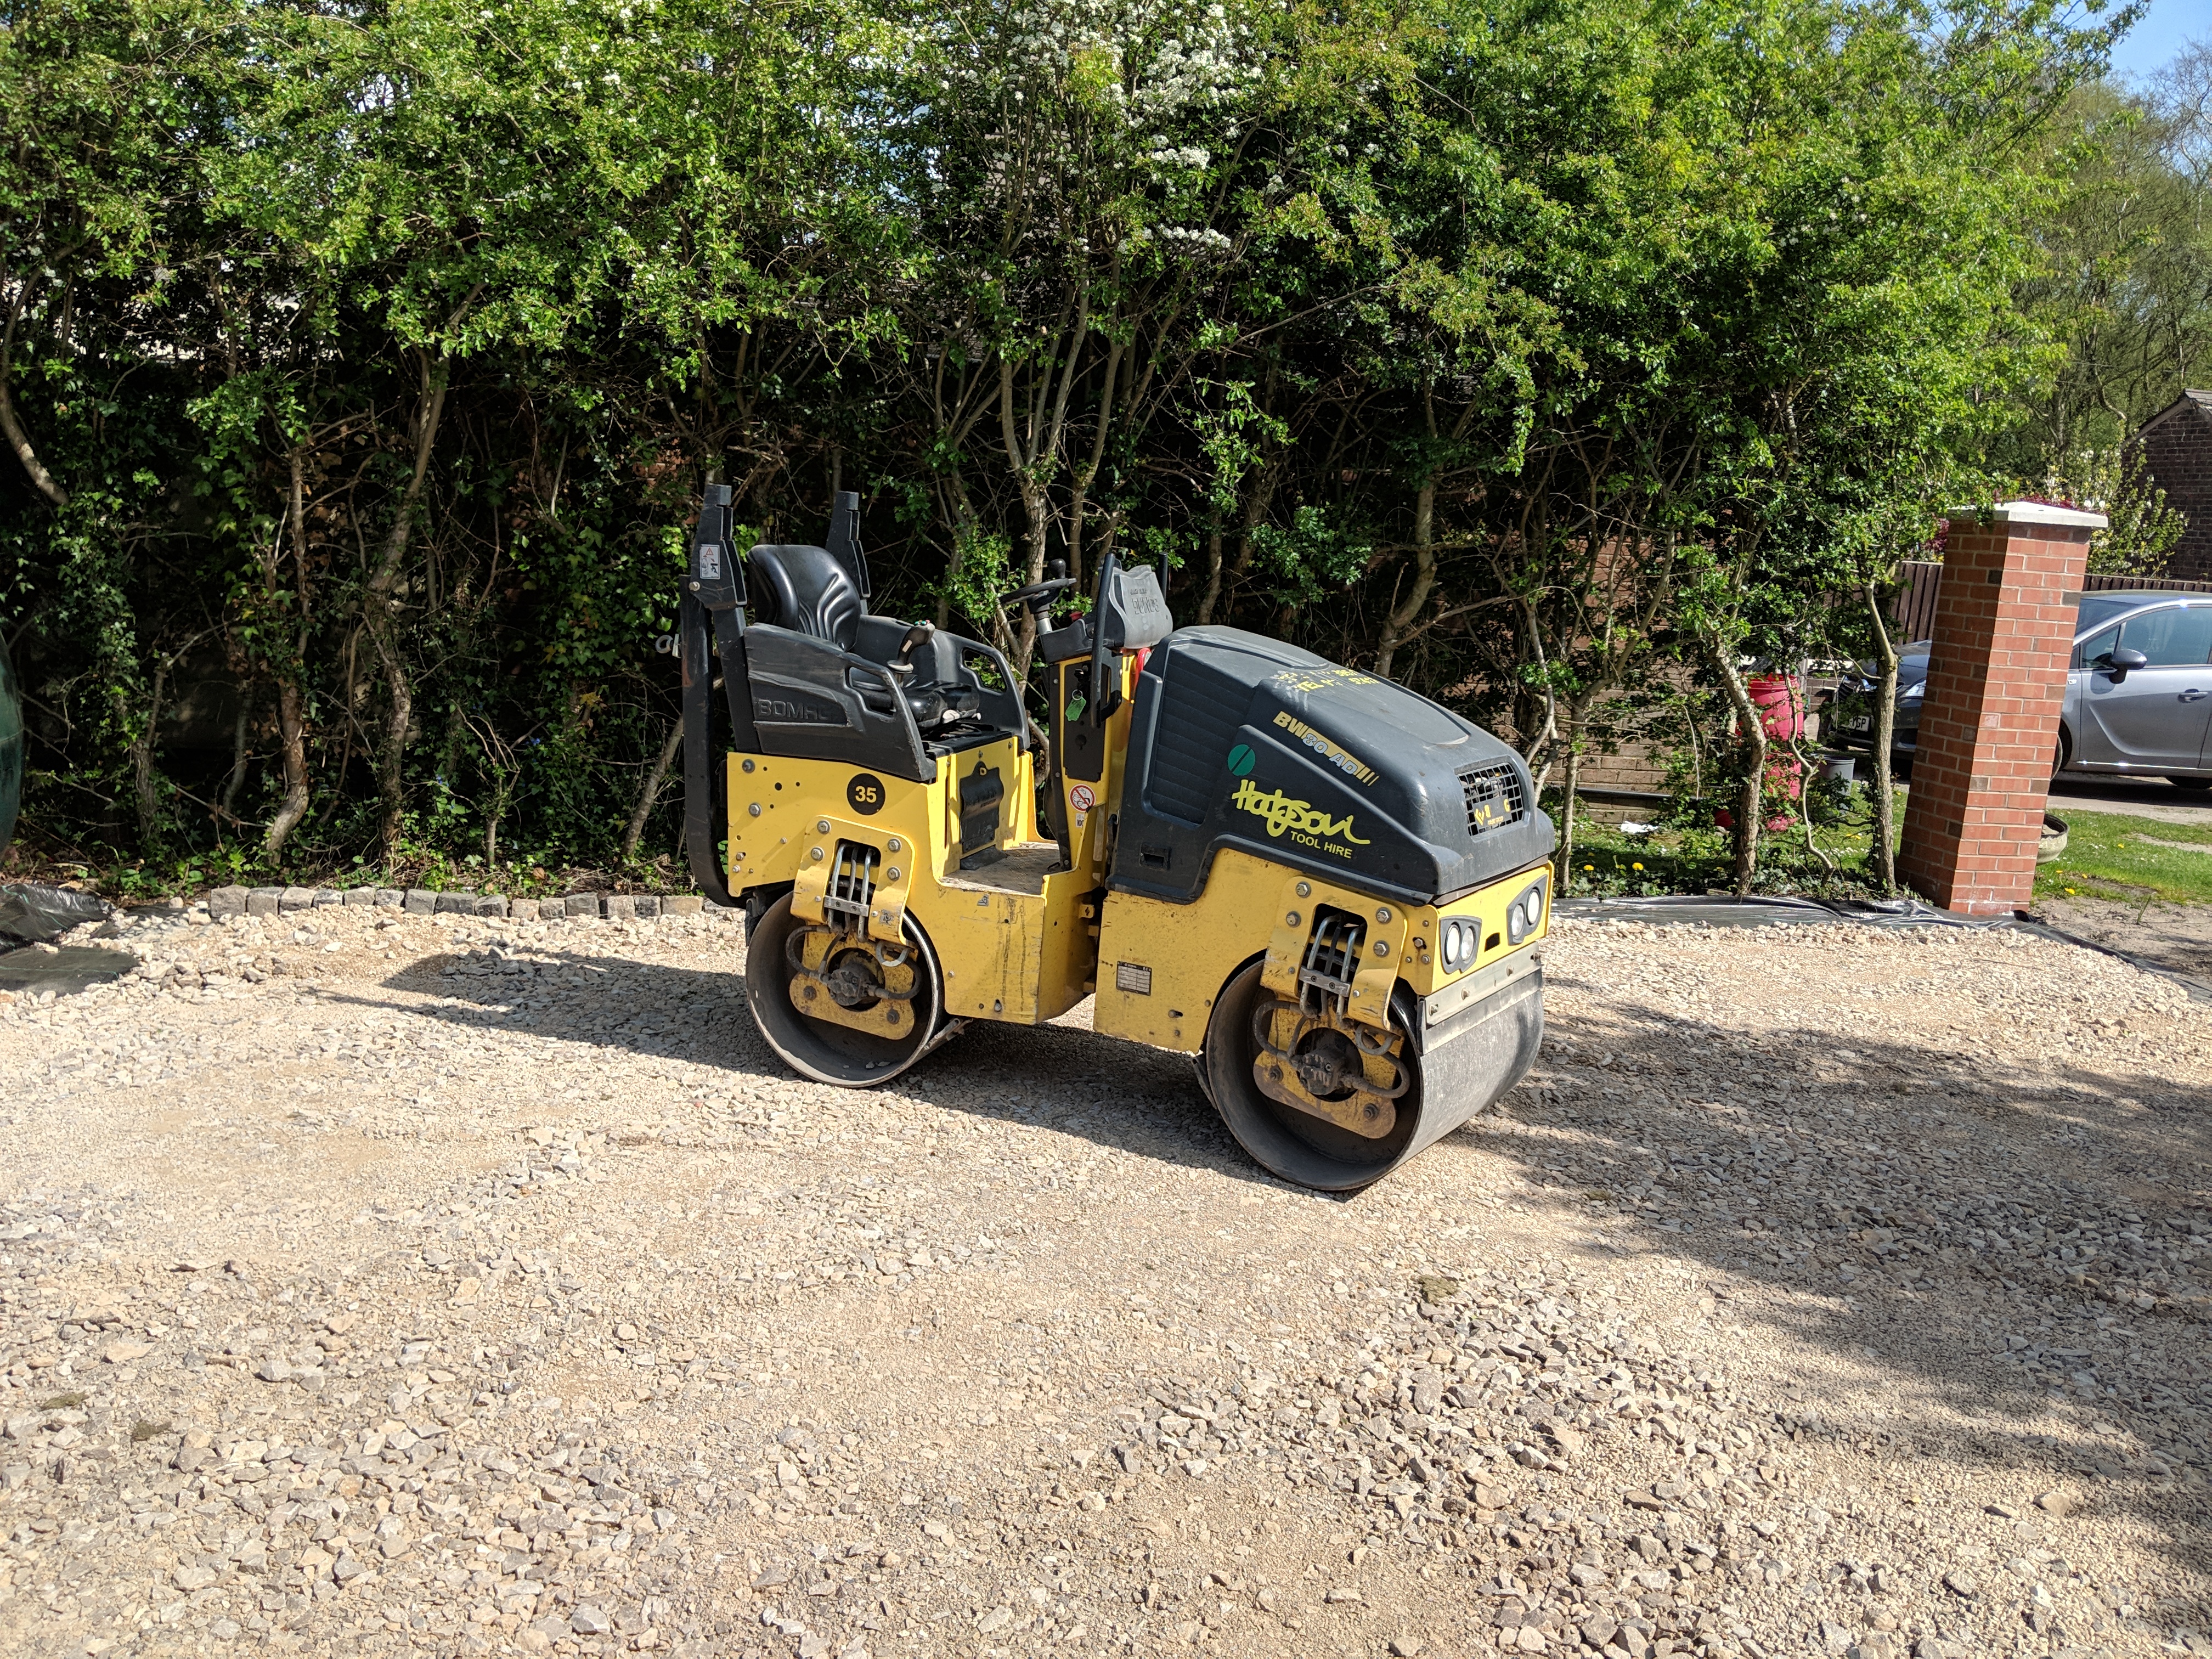
I wanted to get my base layer smooth and compact so I hired one of these for the day. I also took the opportunity of putting six bulk bags of hardcore out at the front of the house to fill in some of the crazy potholes that have appeared there.
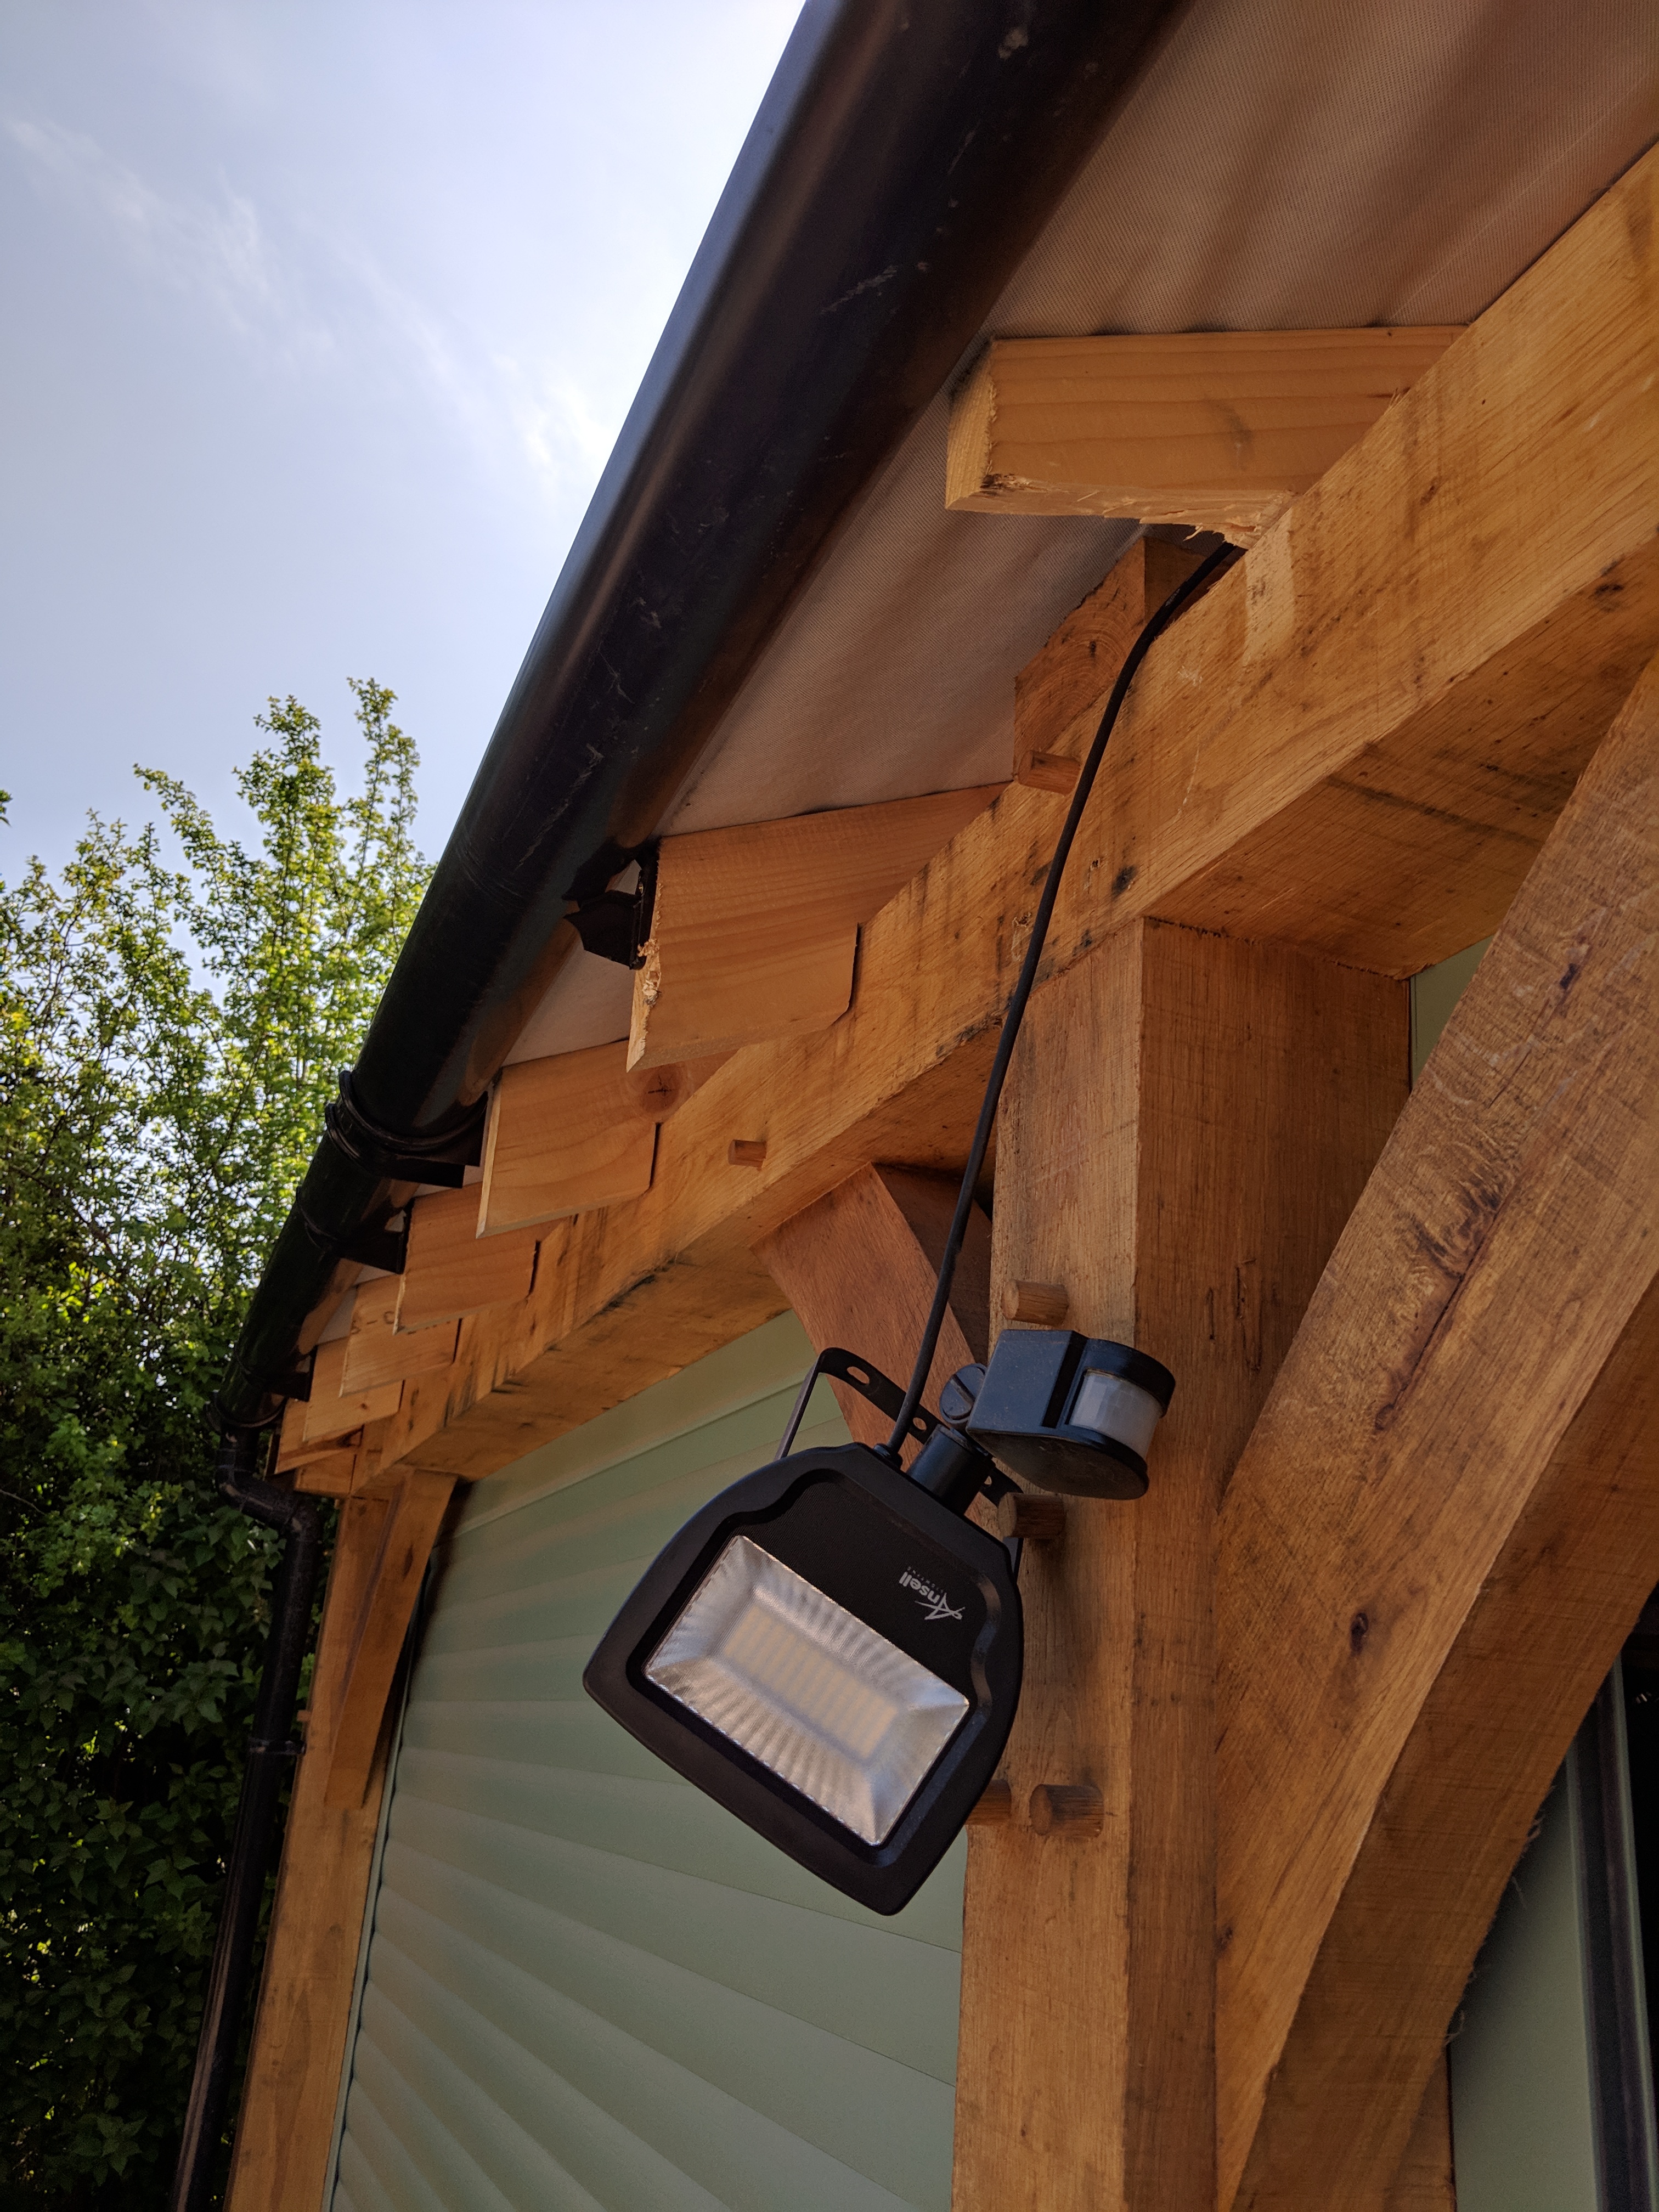
You can’t tell from the picture of the ummm steamroller thing above but it actually had a kind of roll bar that can be up above your head. When I hired it the roll bar was in the up position. I didn’t think anything of it as I was keeping my focus intently on the ground outside the garage making sure I didn’t damage the concrete with the whacker plate. I heard some crunching and scraping noises but couldn’t work out what was happening, until the security light swung down and nearly decapitated me. The crunching noise was the upright snapping a big chunk of the ummmm roof rafter/beam whatever. I’d managed to break my garage before even putting a car in there.
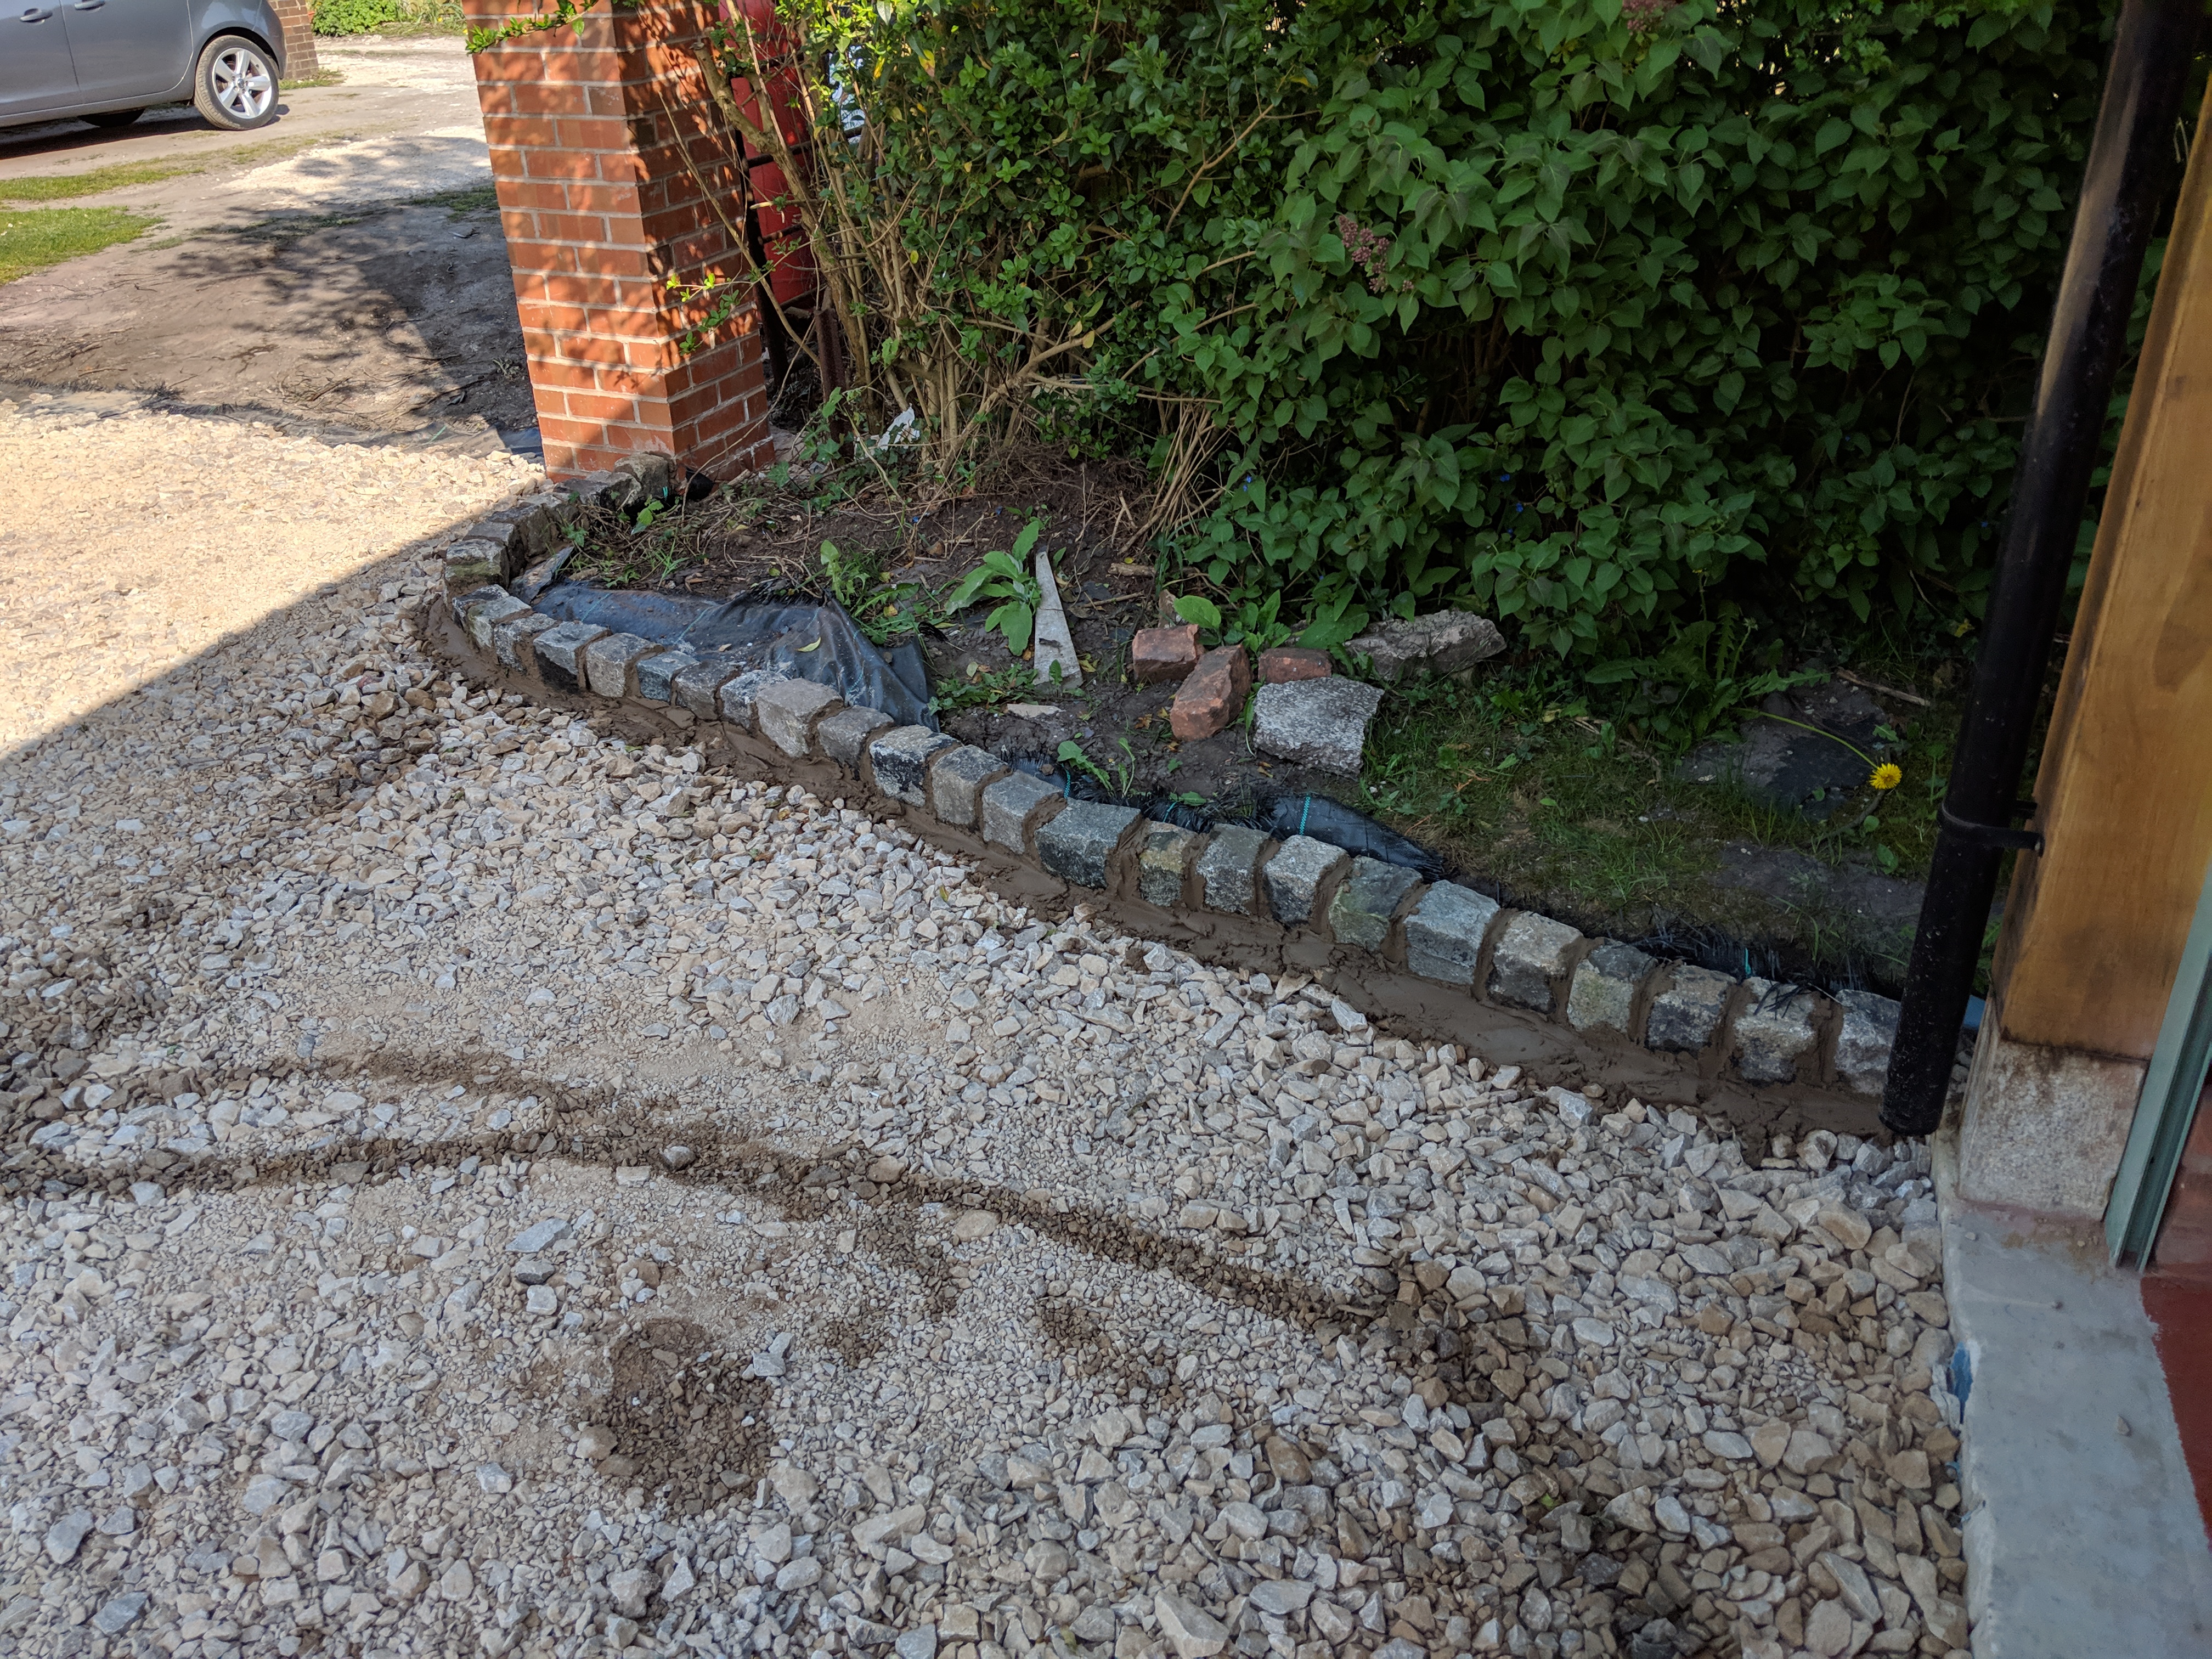
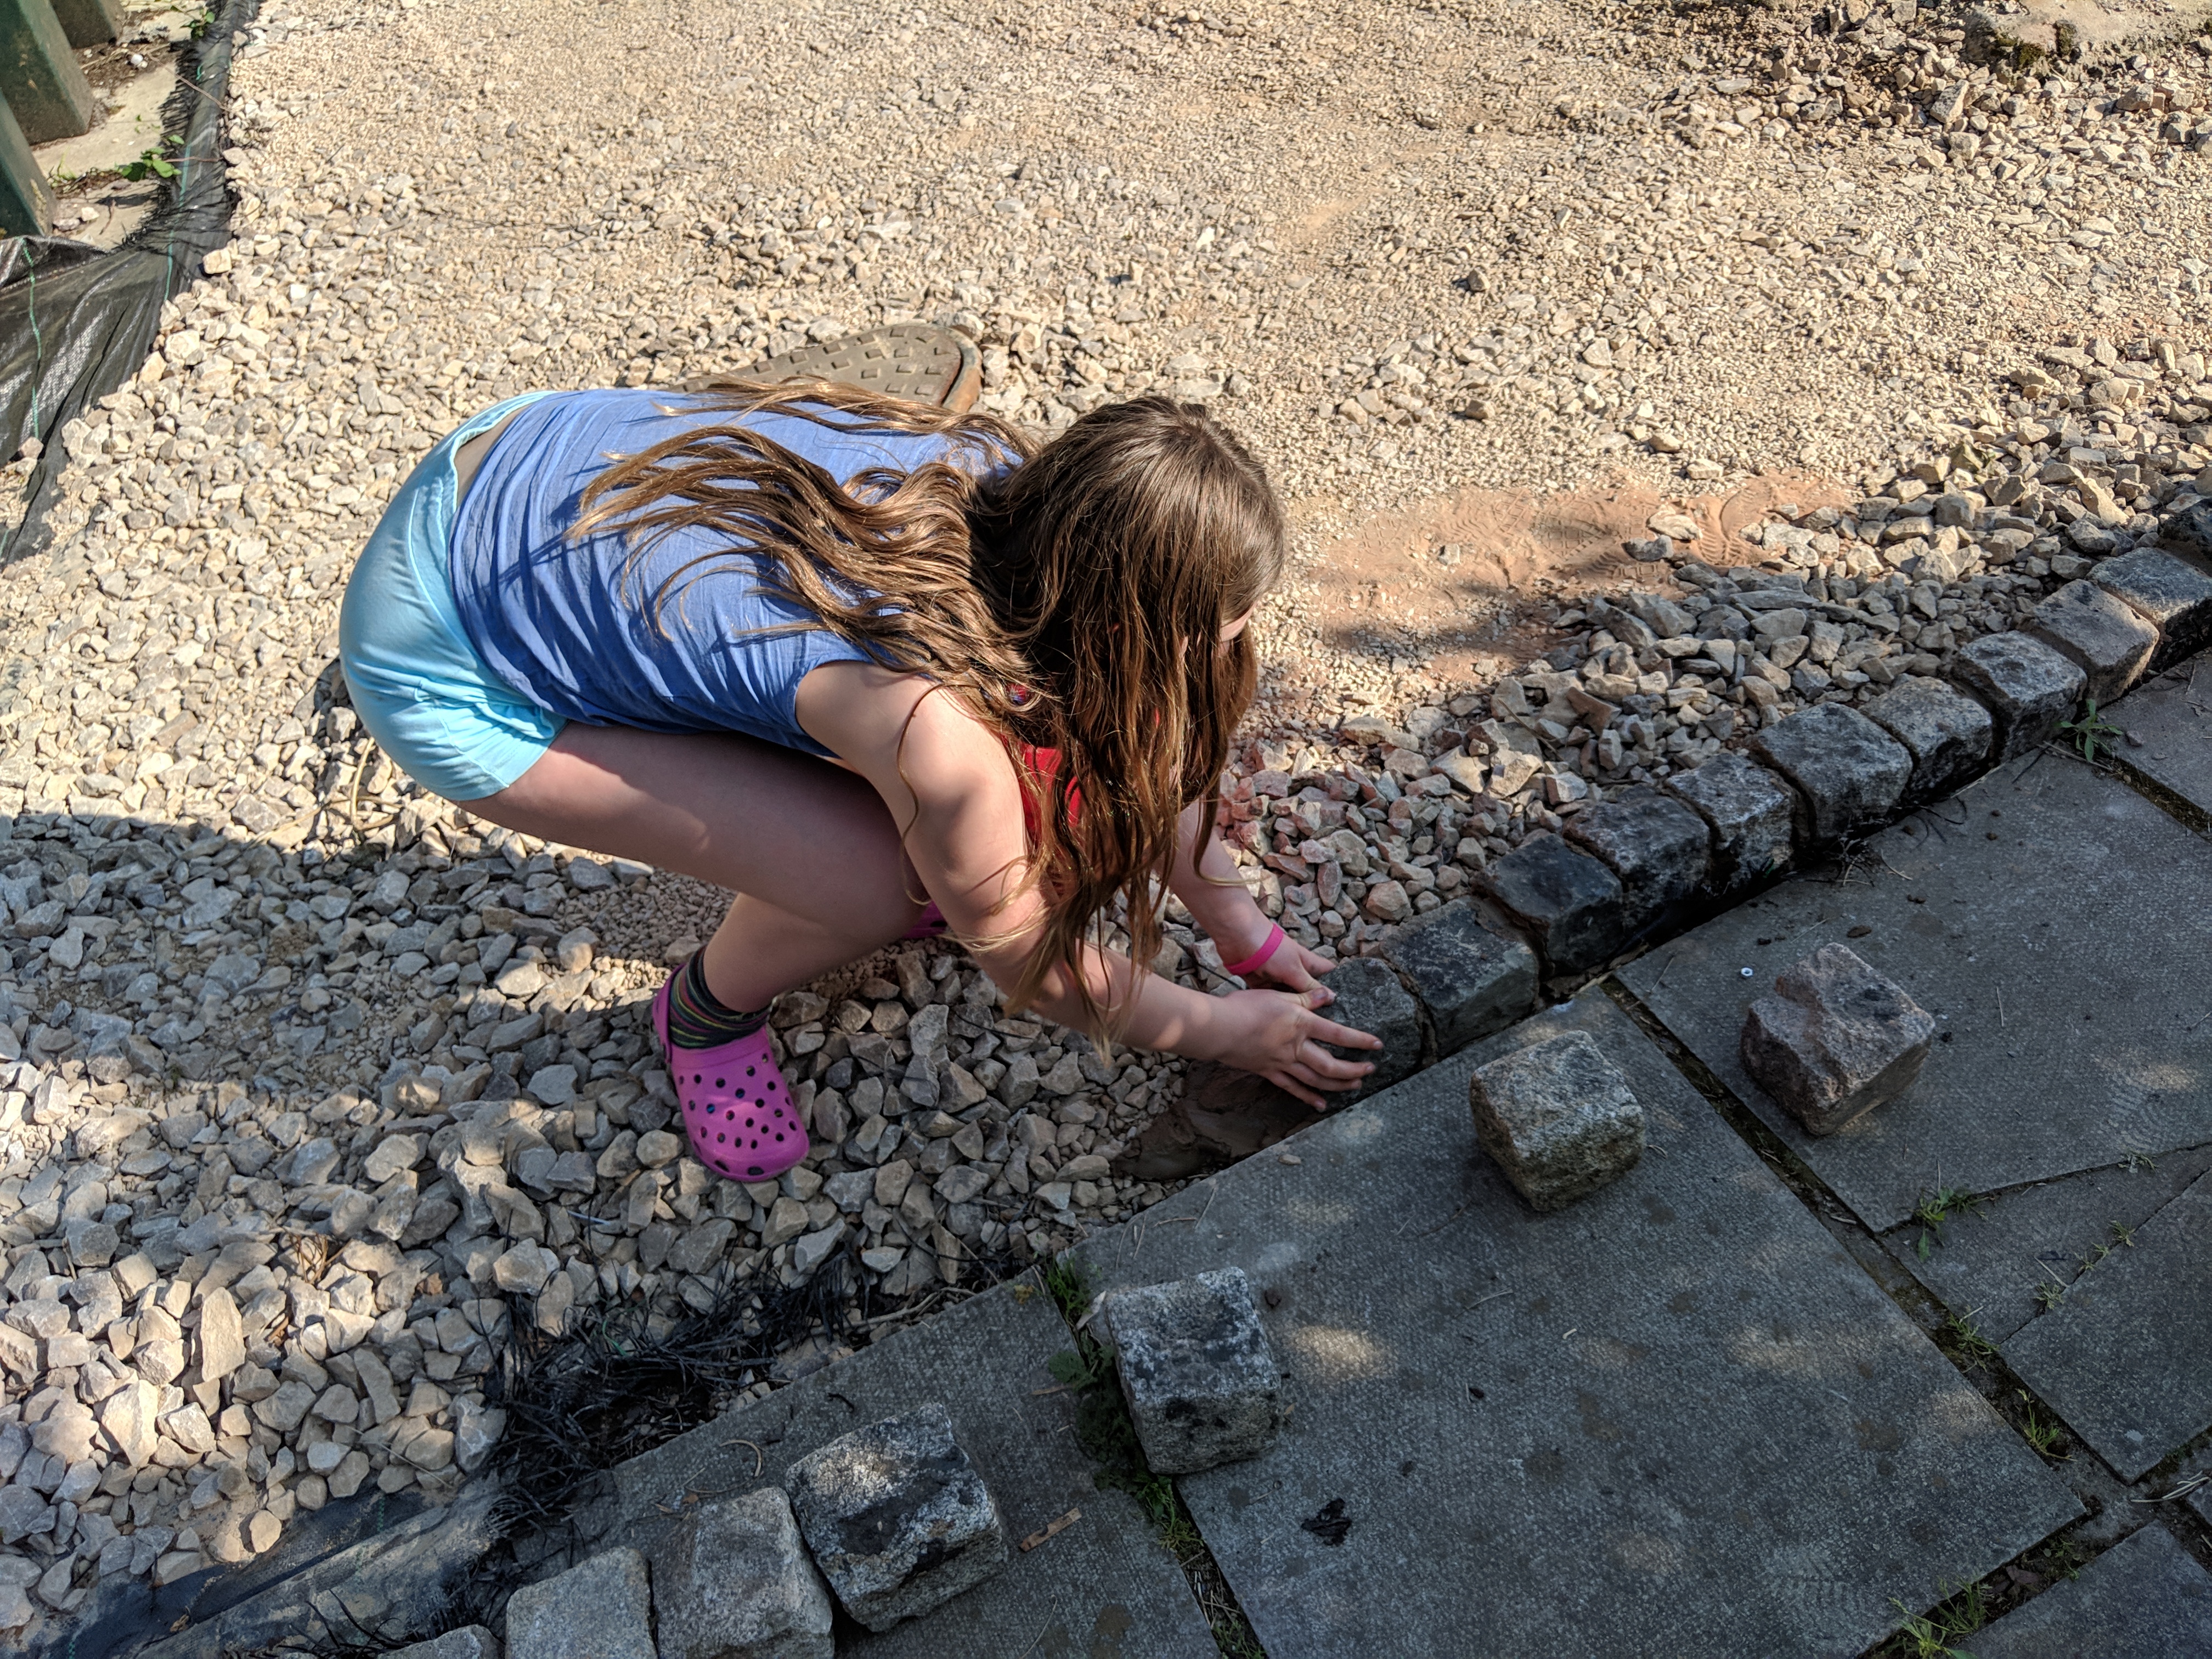
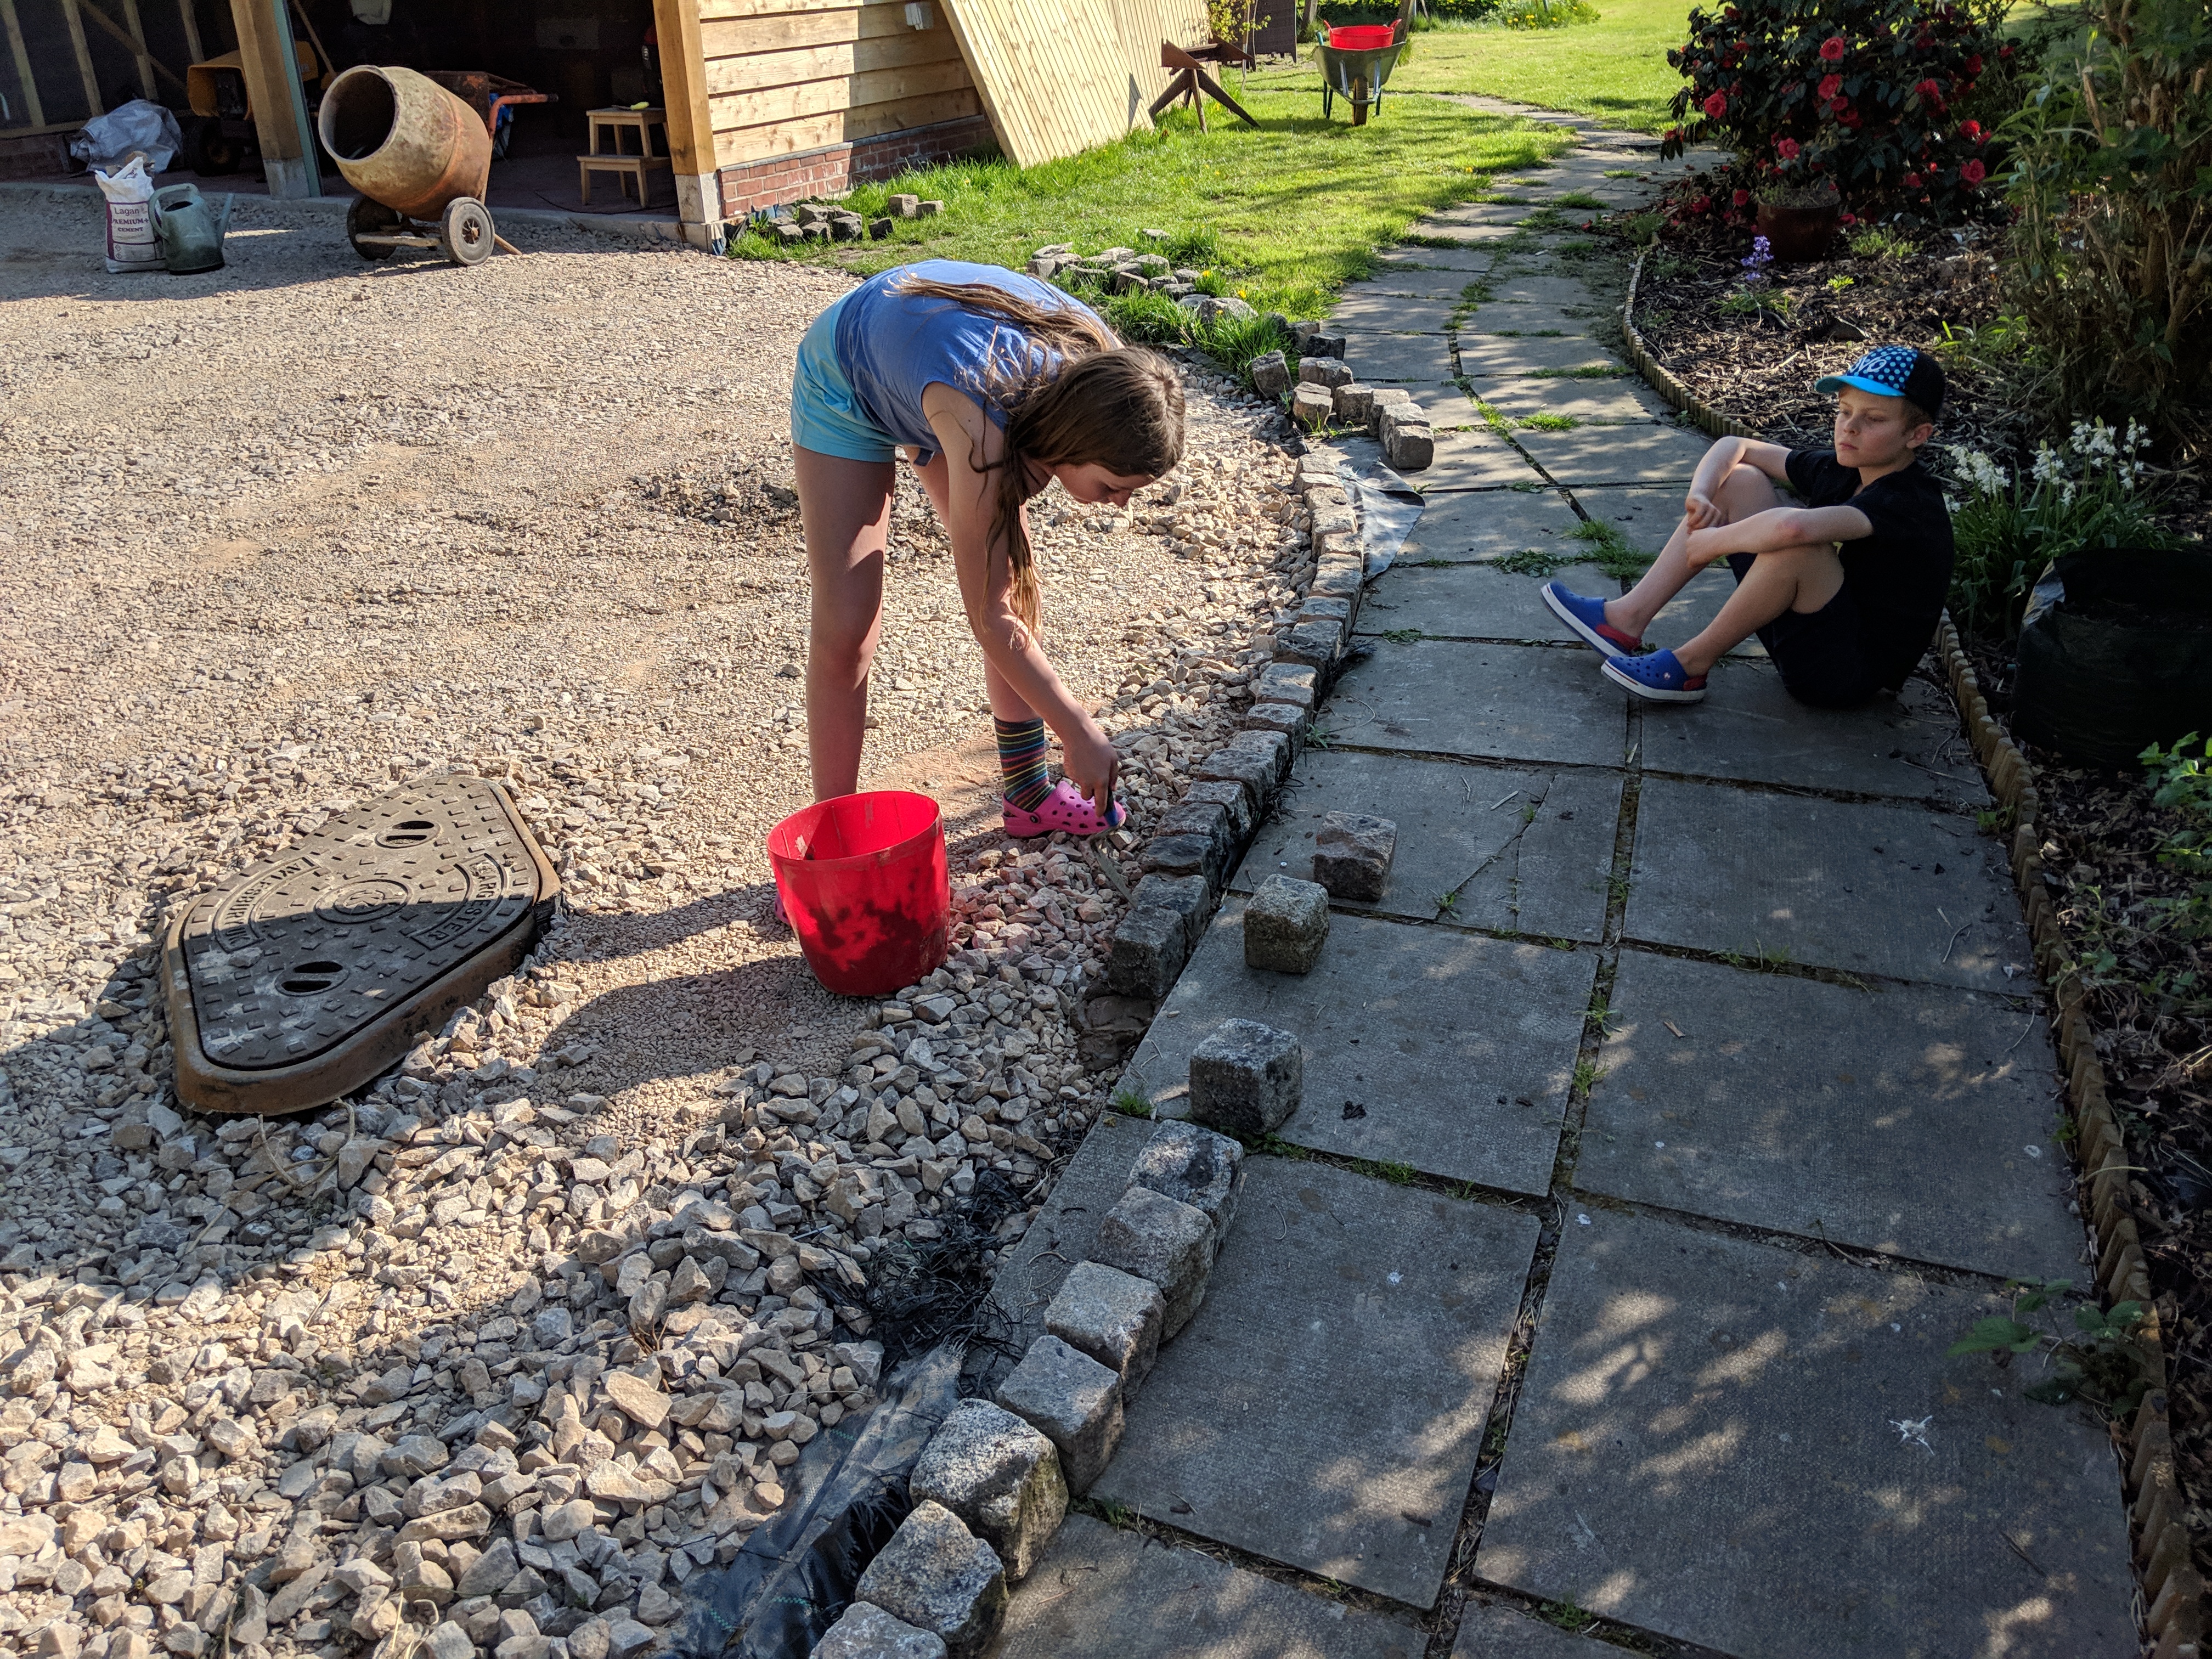
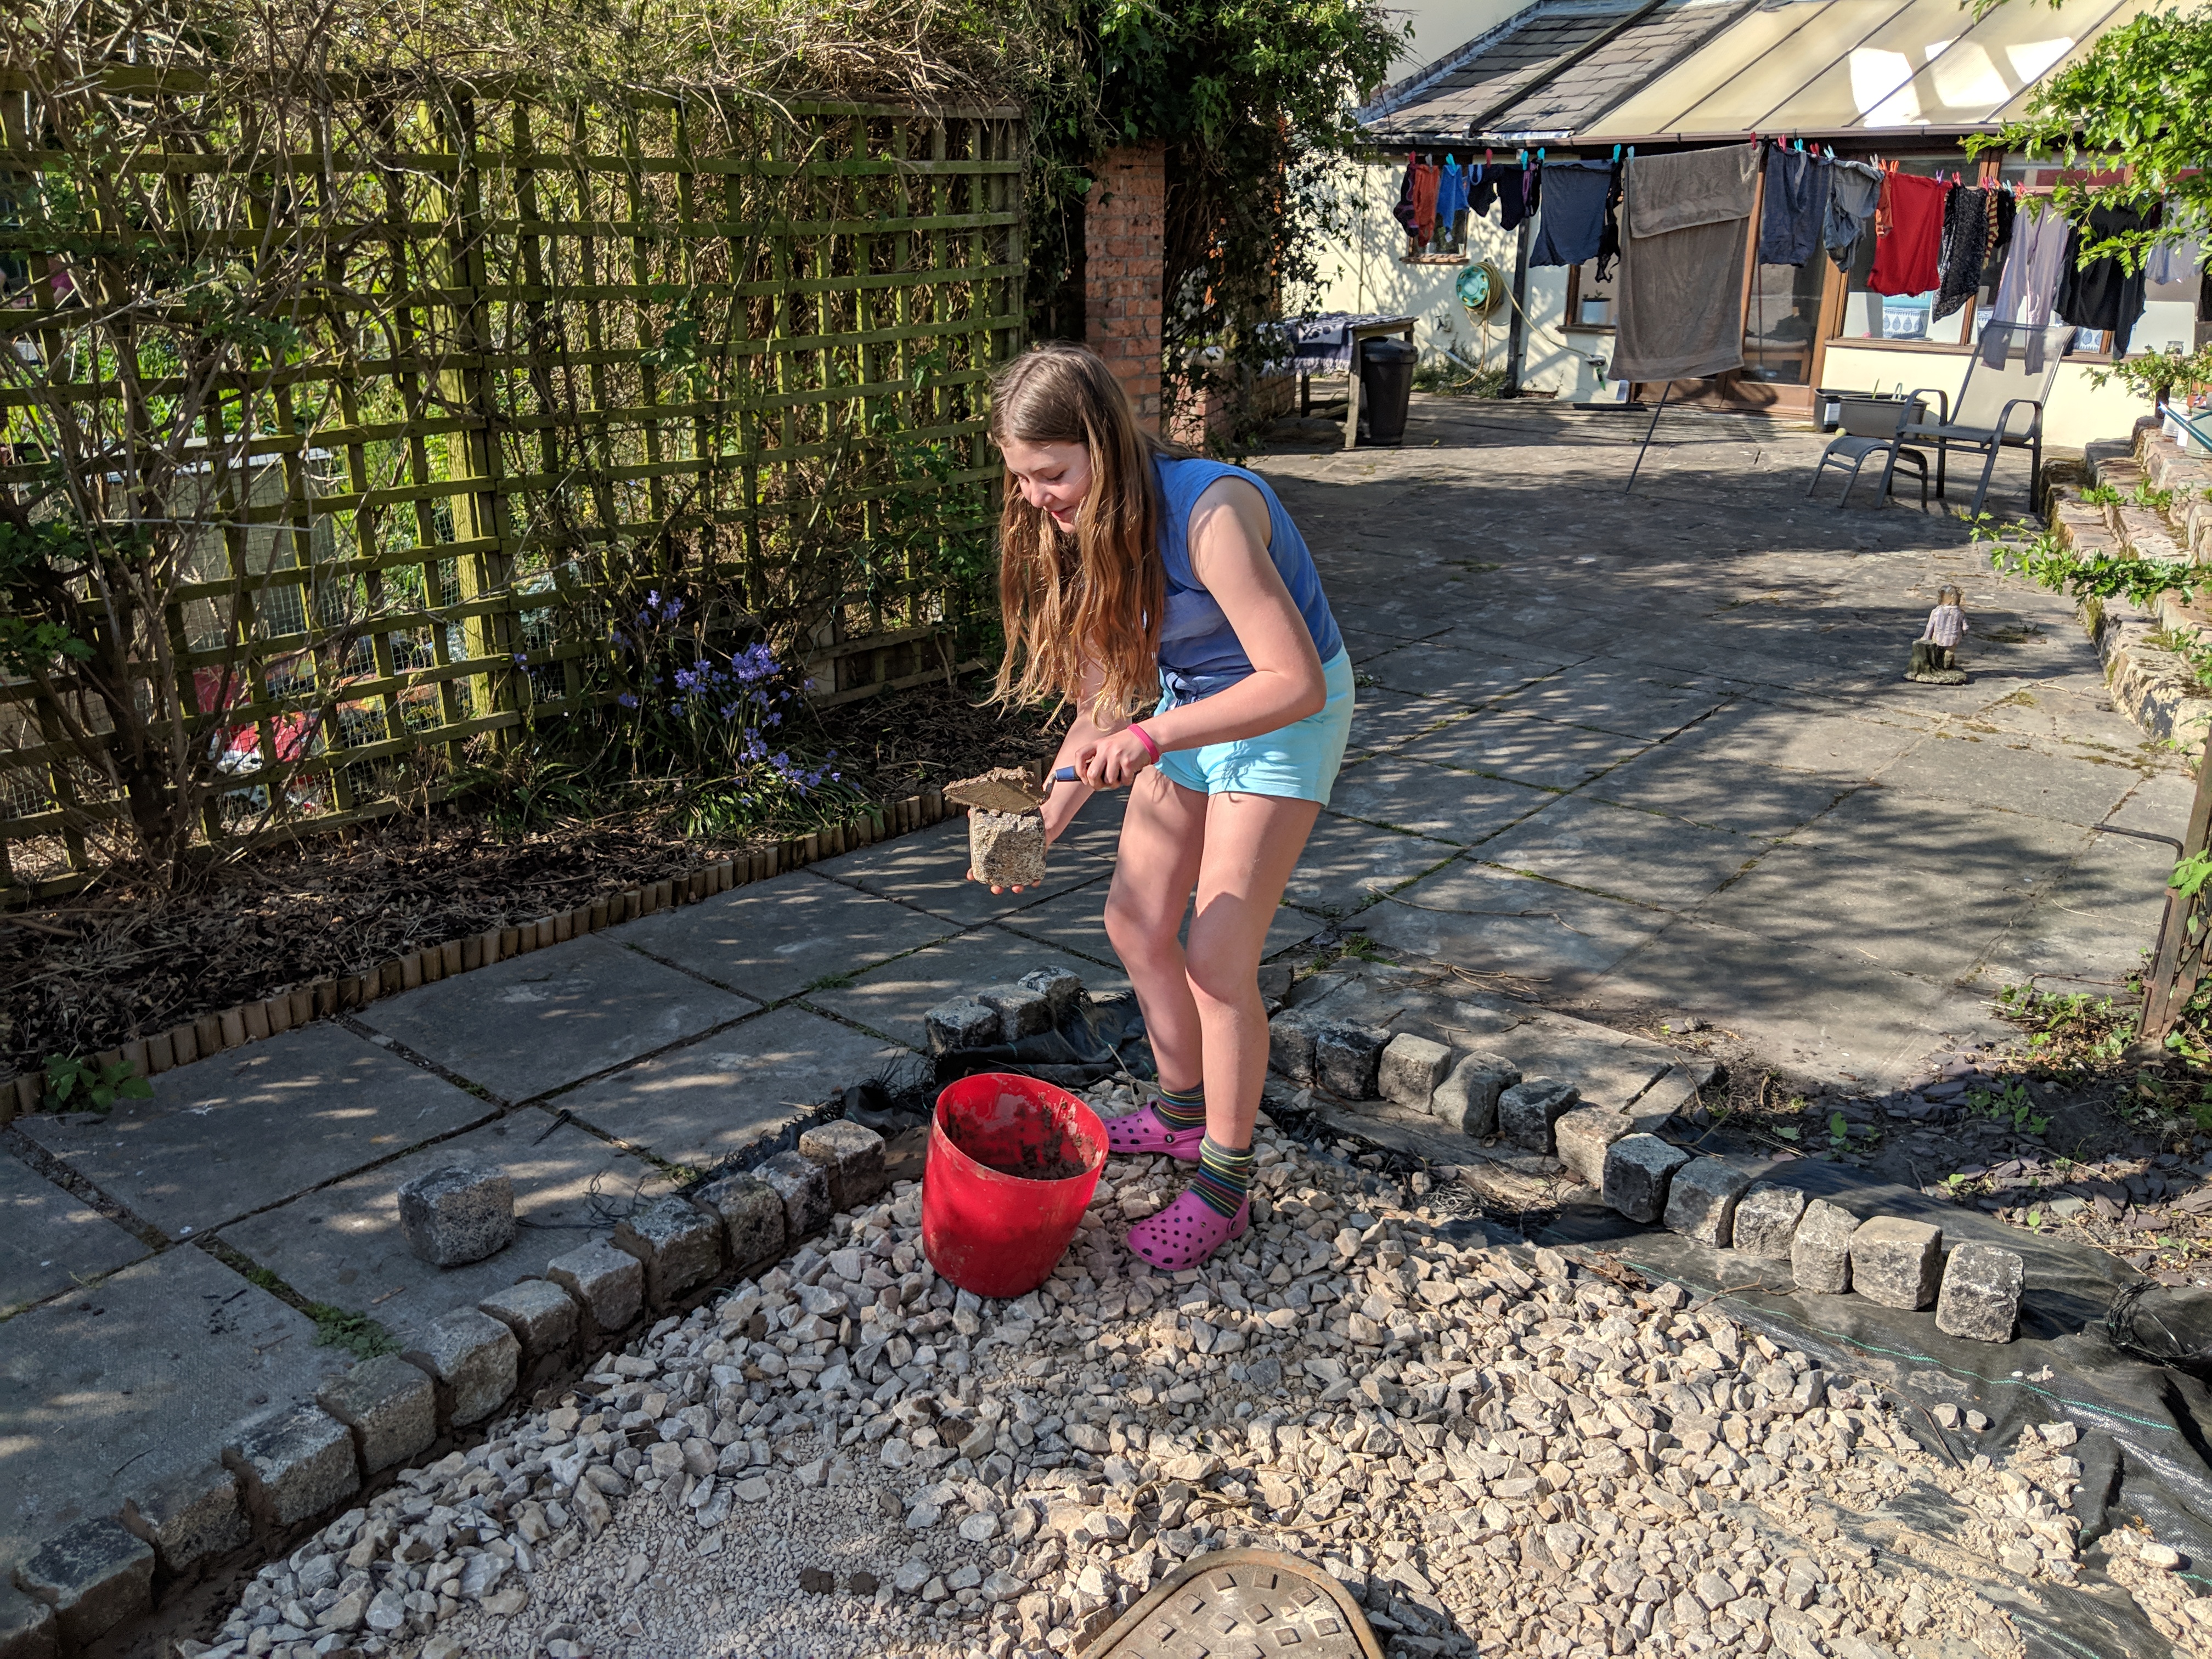
Fortunately our neighbour Dan owns a cement mixer which we borrowed. This turned out incredibly useful. I was going to mix the mortar by hand but given how much we ultimately used I’m so glad we didn’t go down that path. Anyway, back to the cobbles, they may not be level, they may not be straight, they may not even be pointing in the same direction….but I laid them.
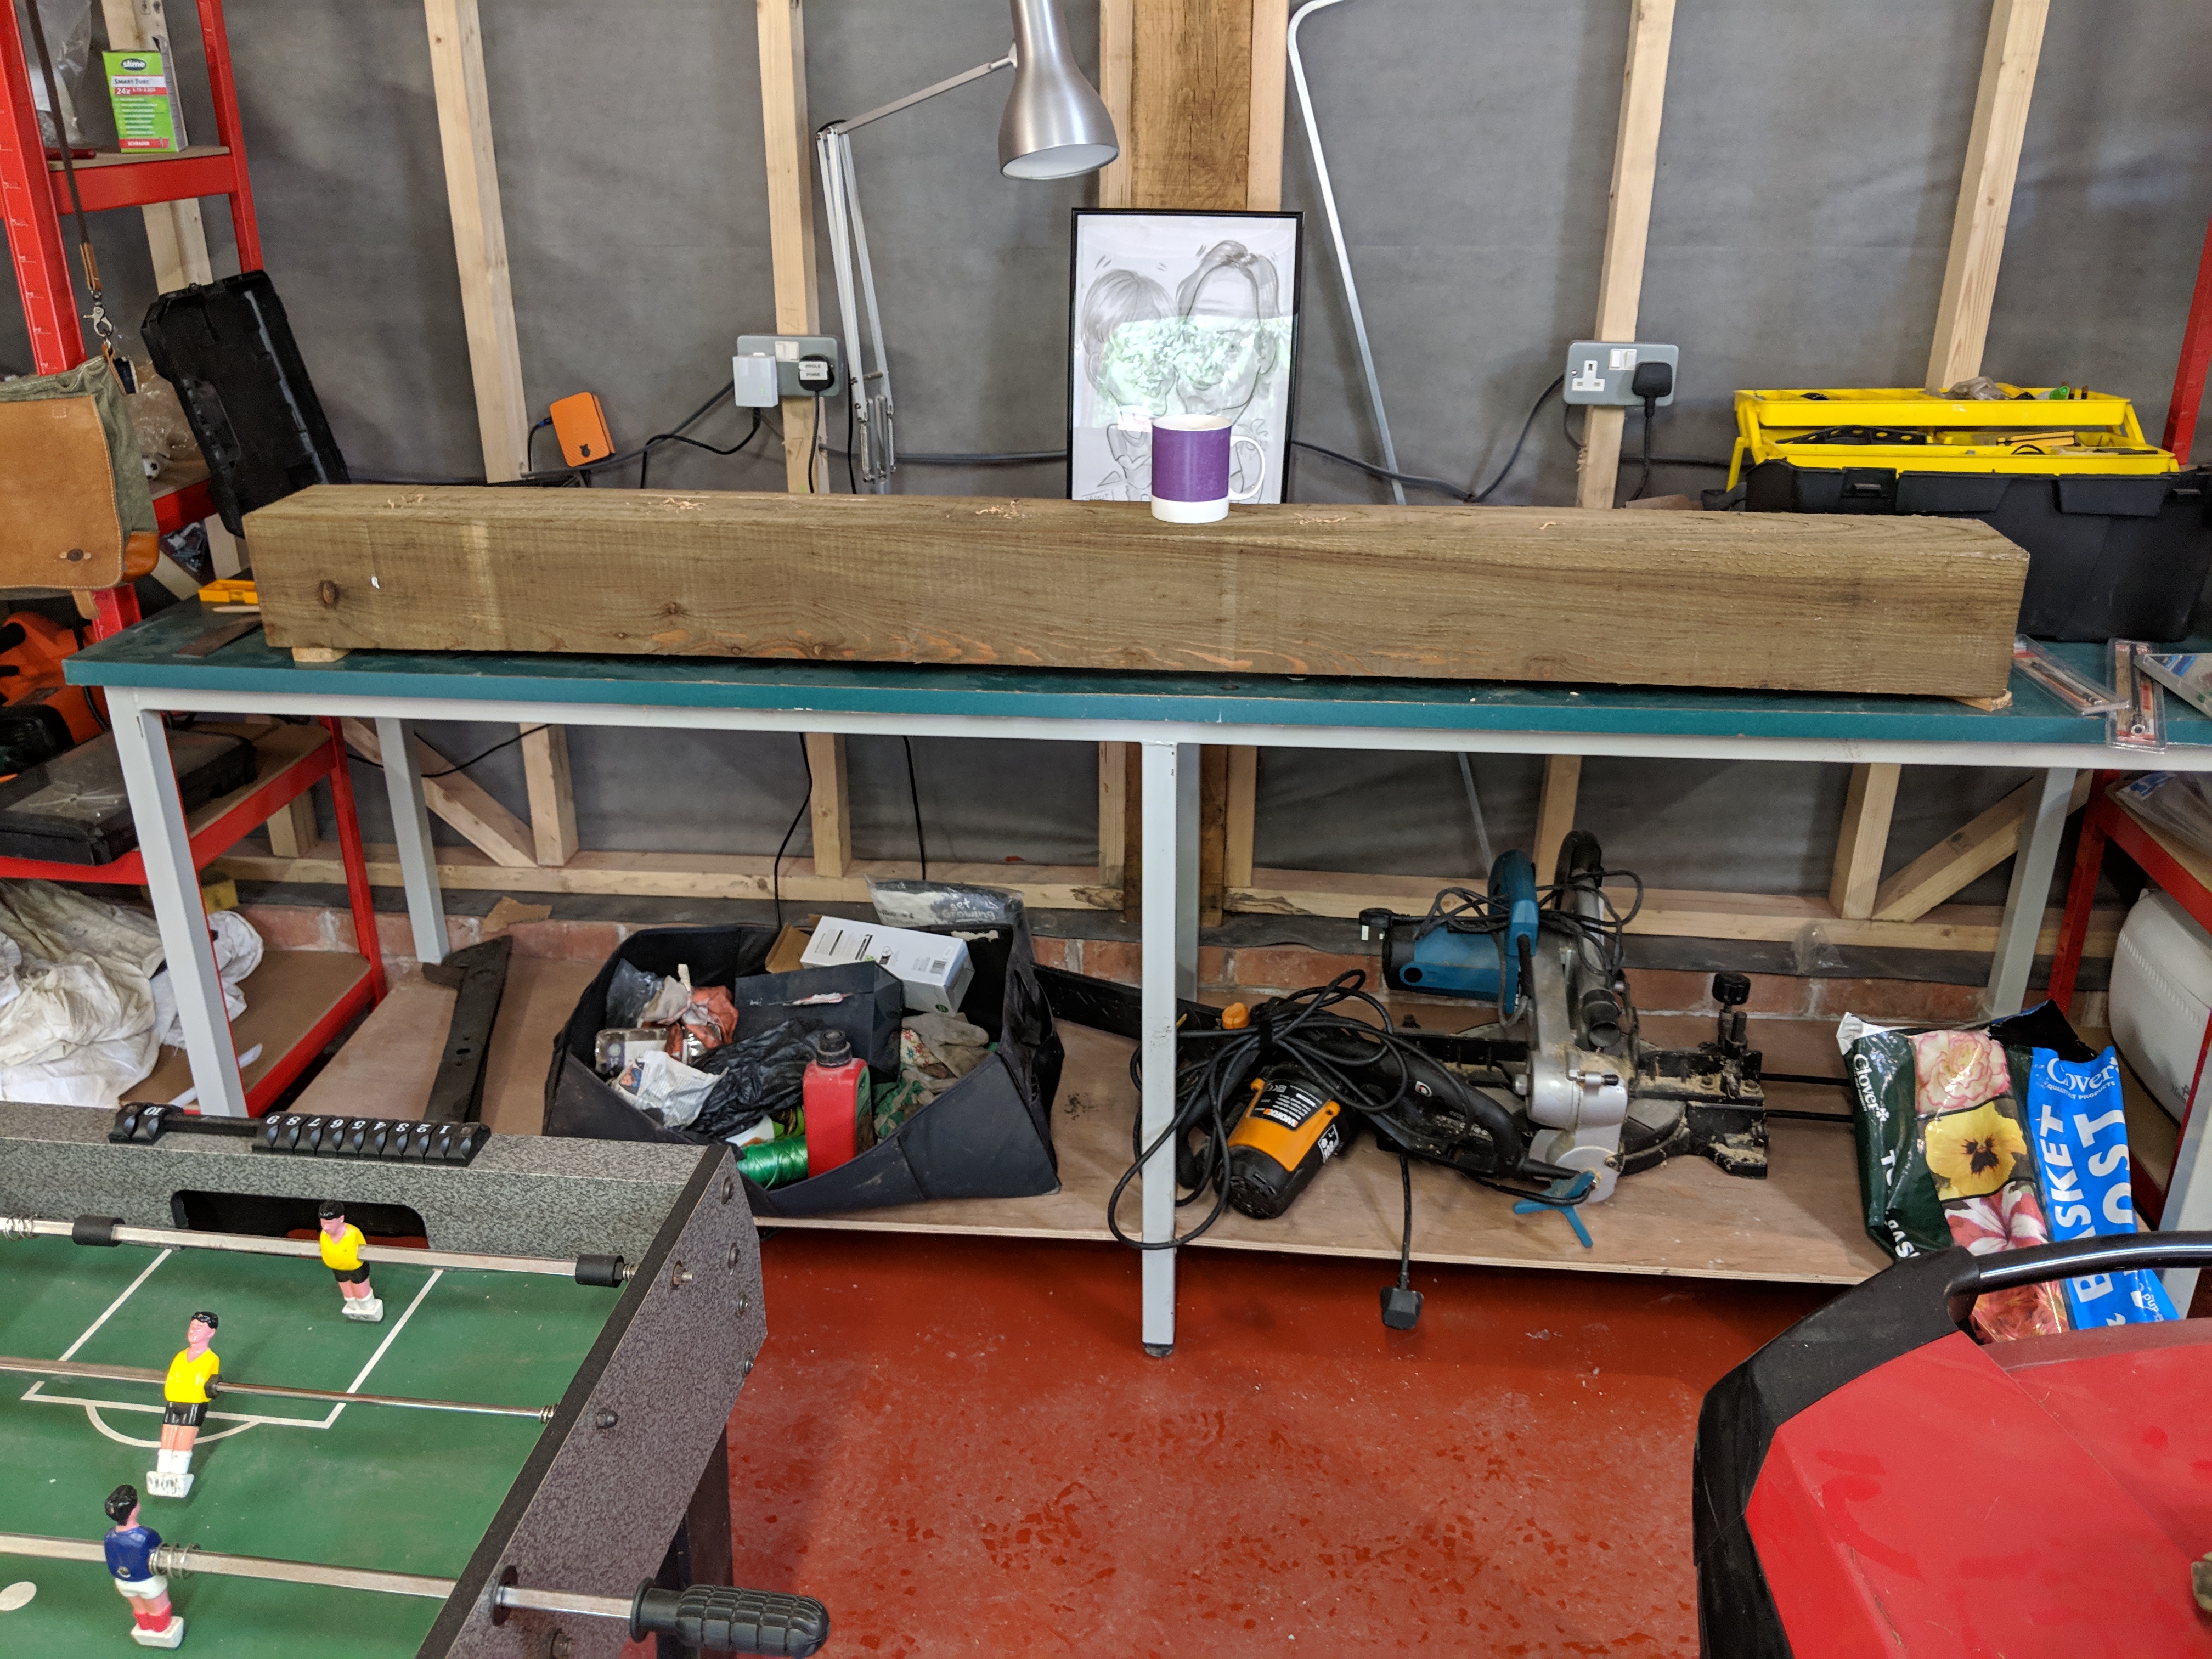
My friend Tony donated the workbench above, it’s a great piece of kit. The caricature is Oli and me when we were over in Thailand a couple of years ago. But the important part of this picture is the block of wood on the workbench. That’s a wooden gatepost that attaches to the brick gatepost and has the gates mounted on it. So I’m drilling holes in it. Big holes, with a new drill bit that I had to buy.
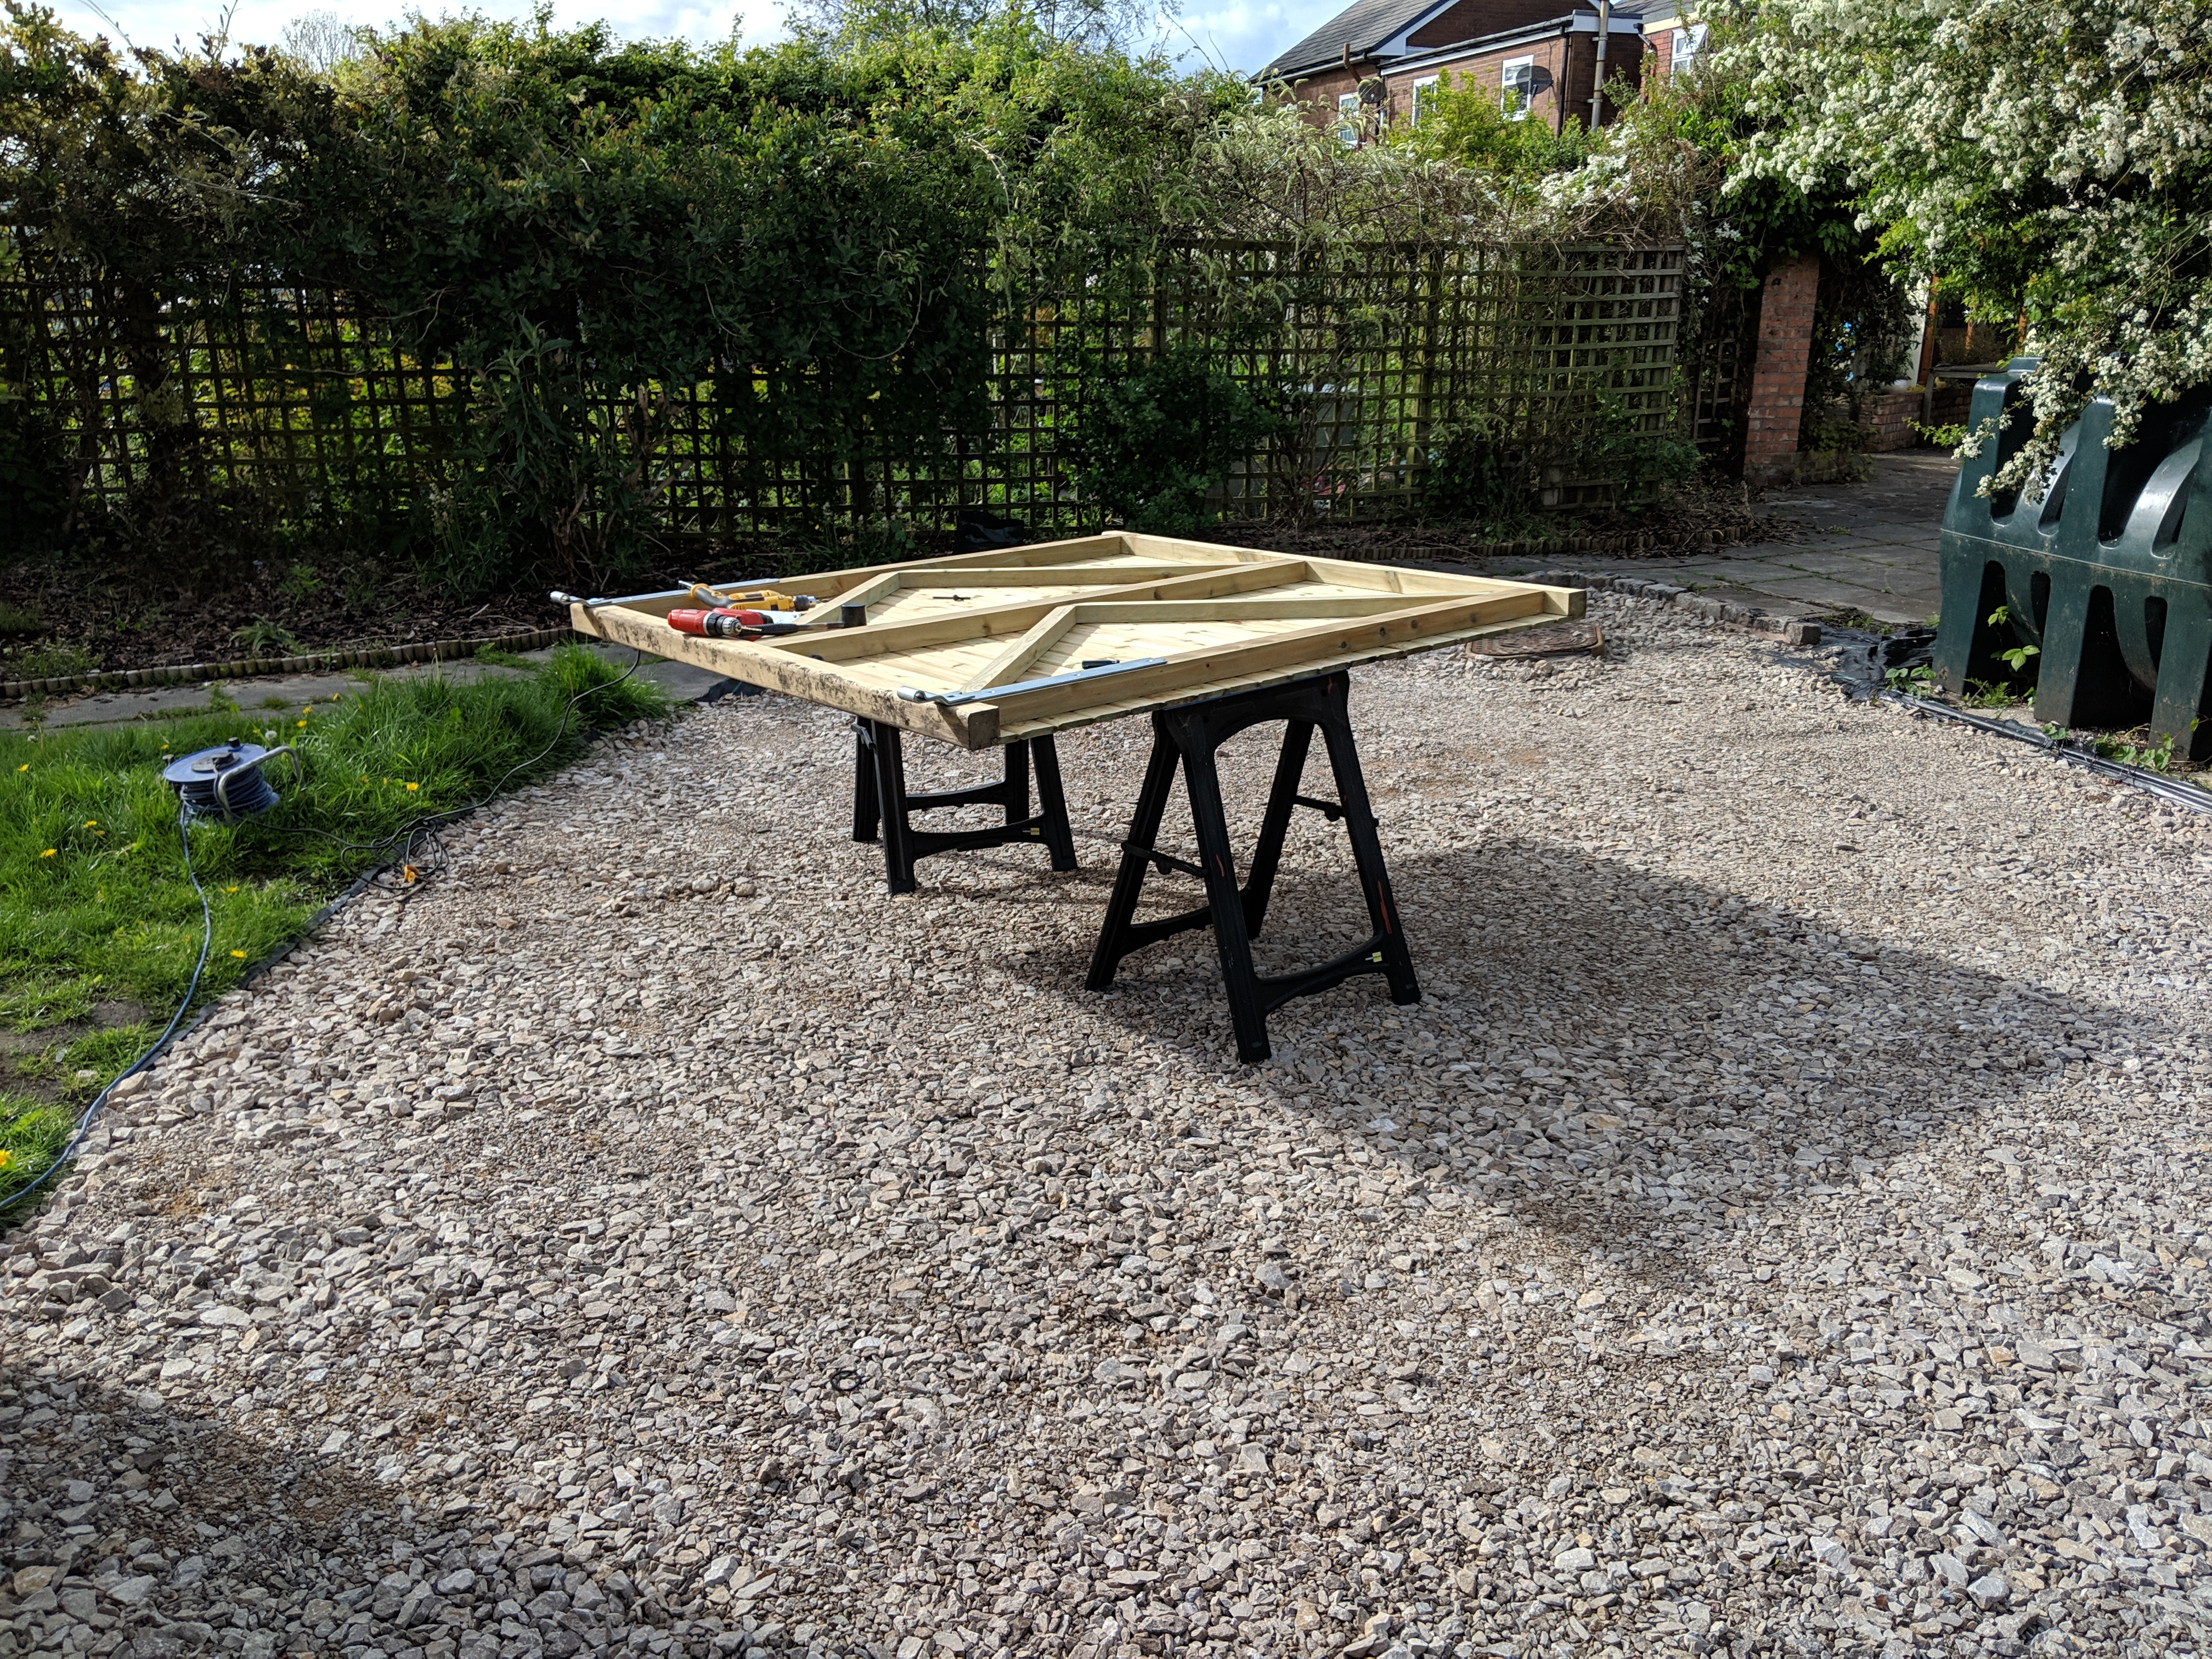
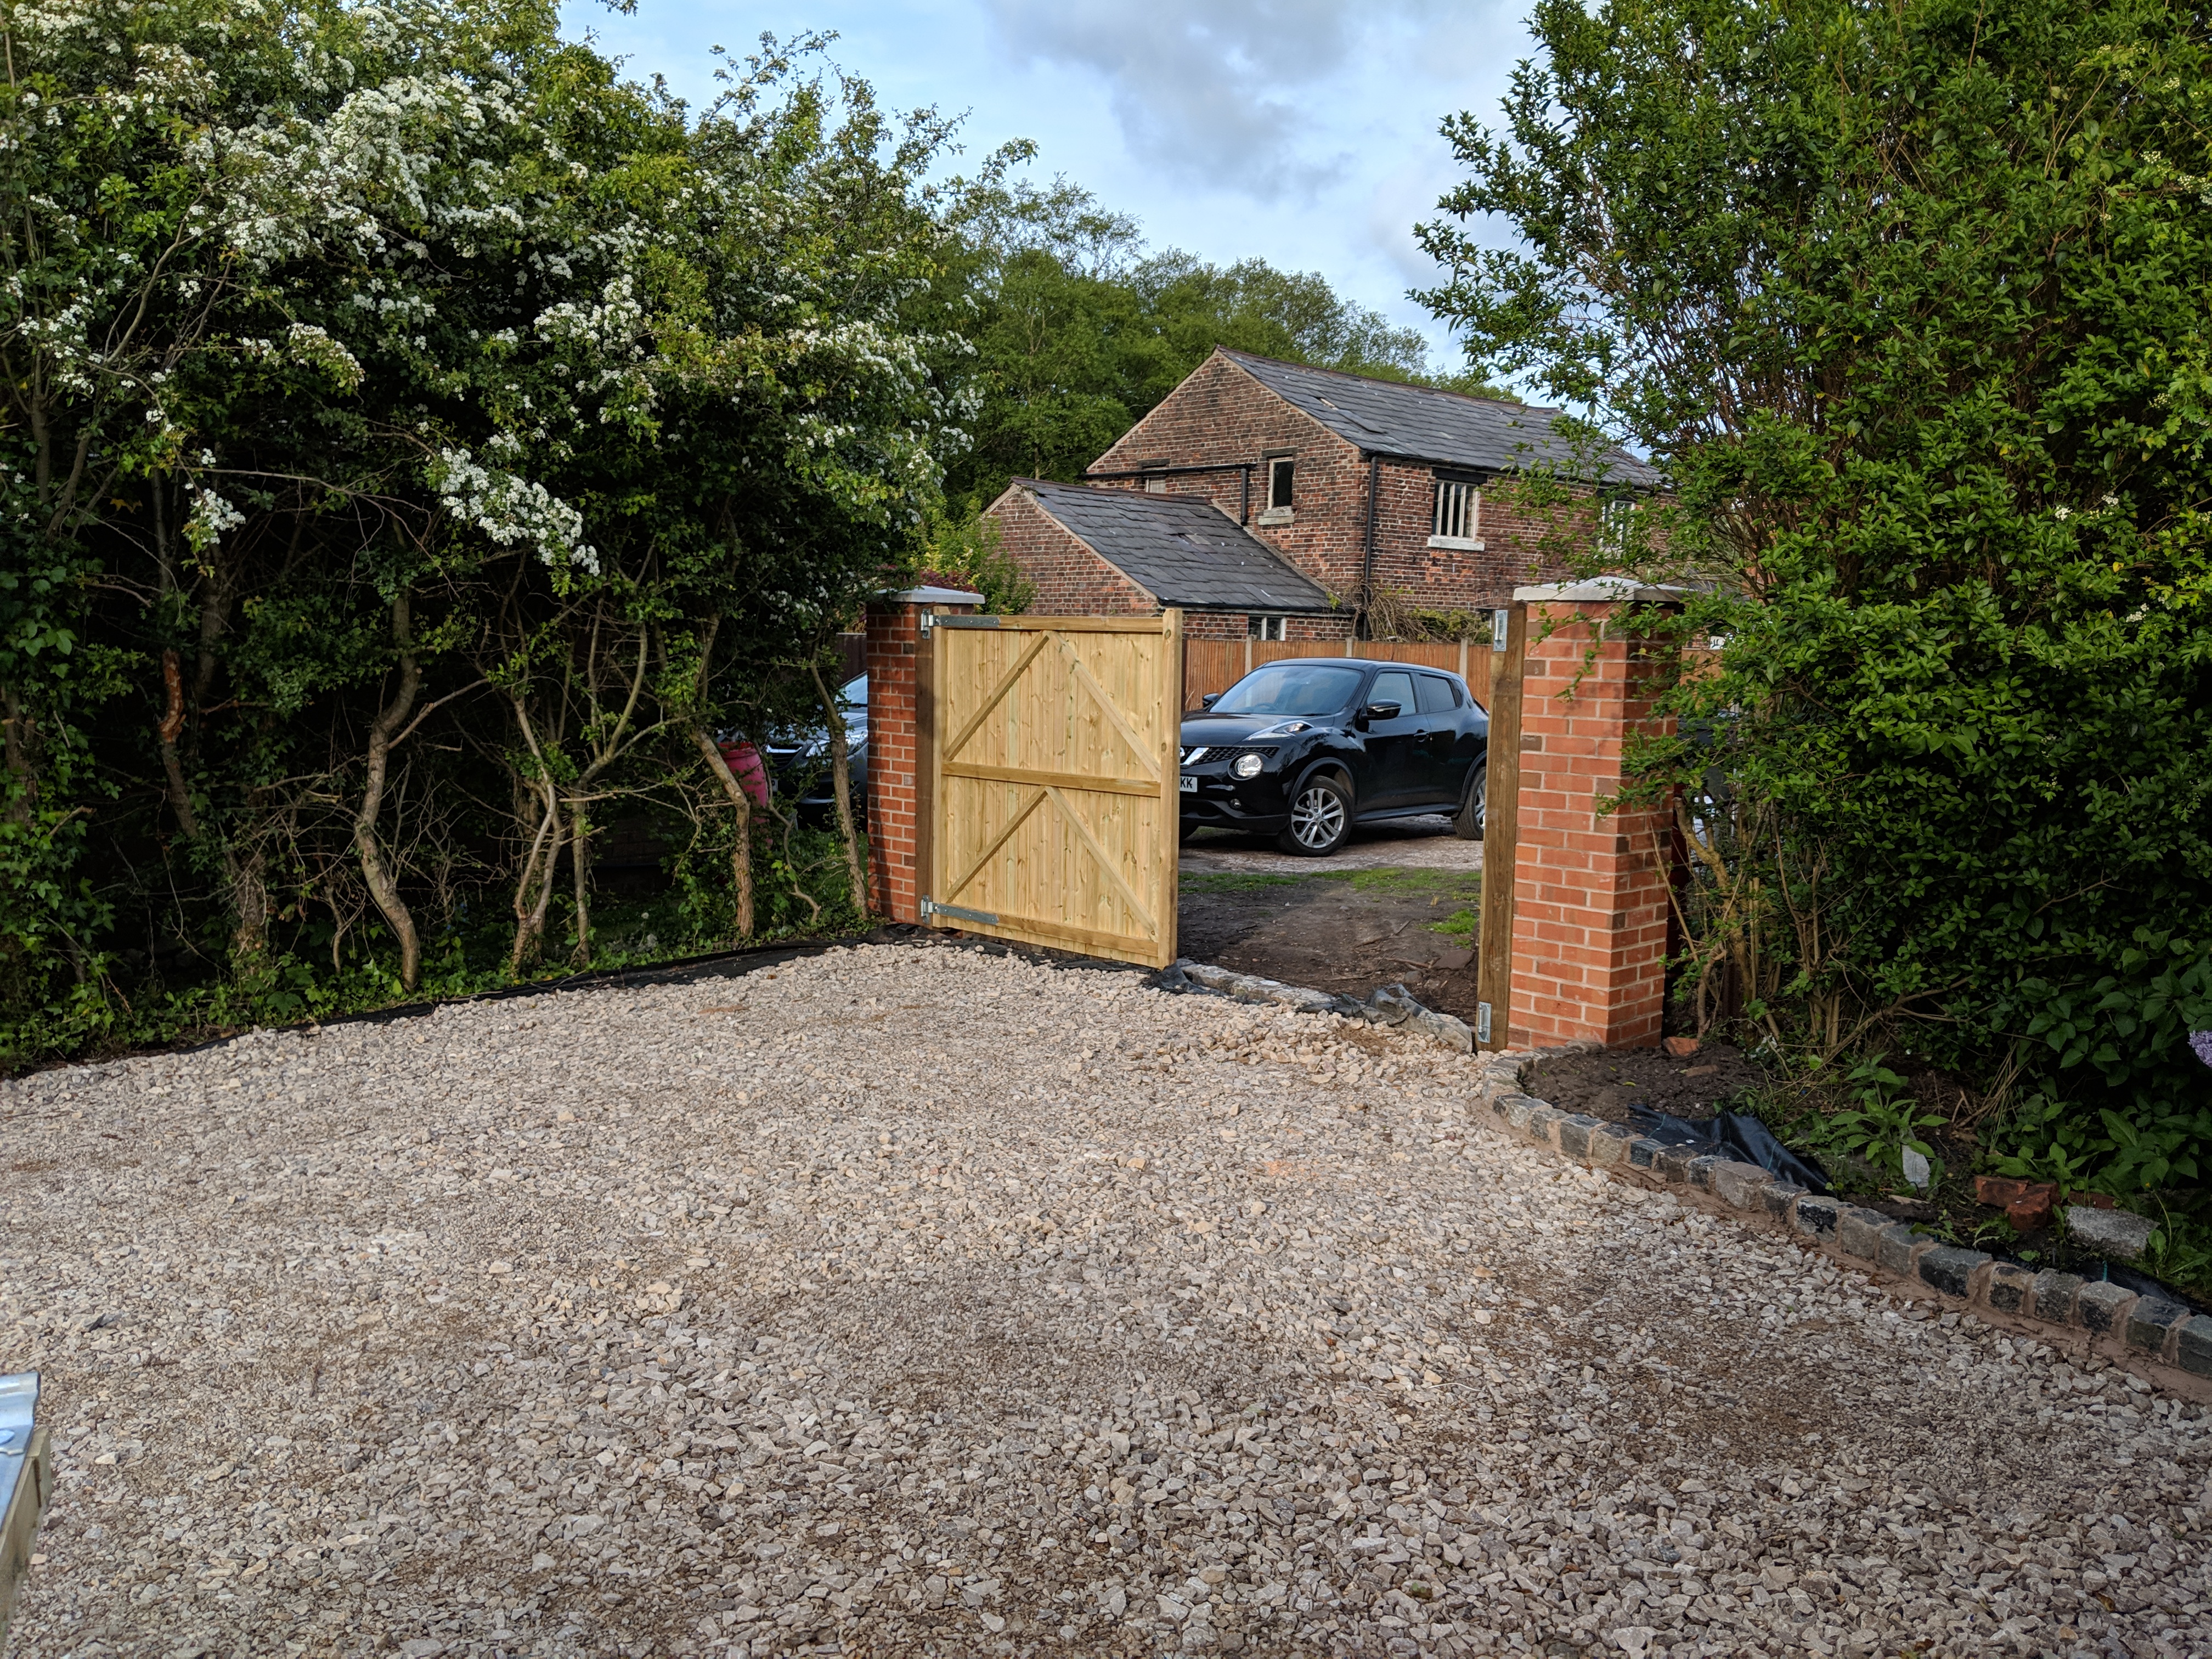
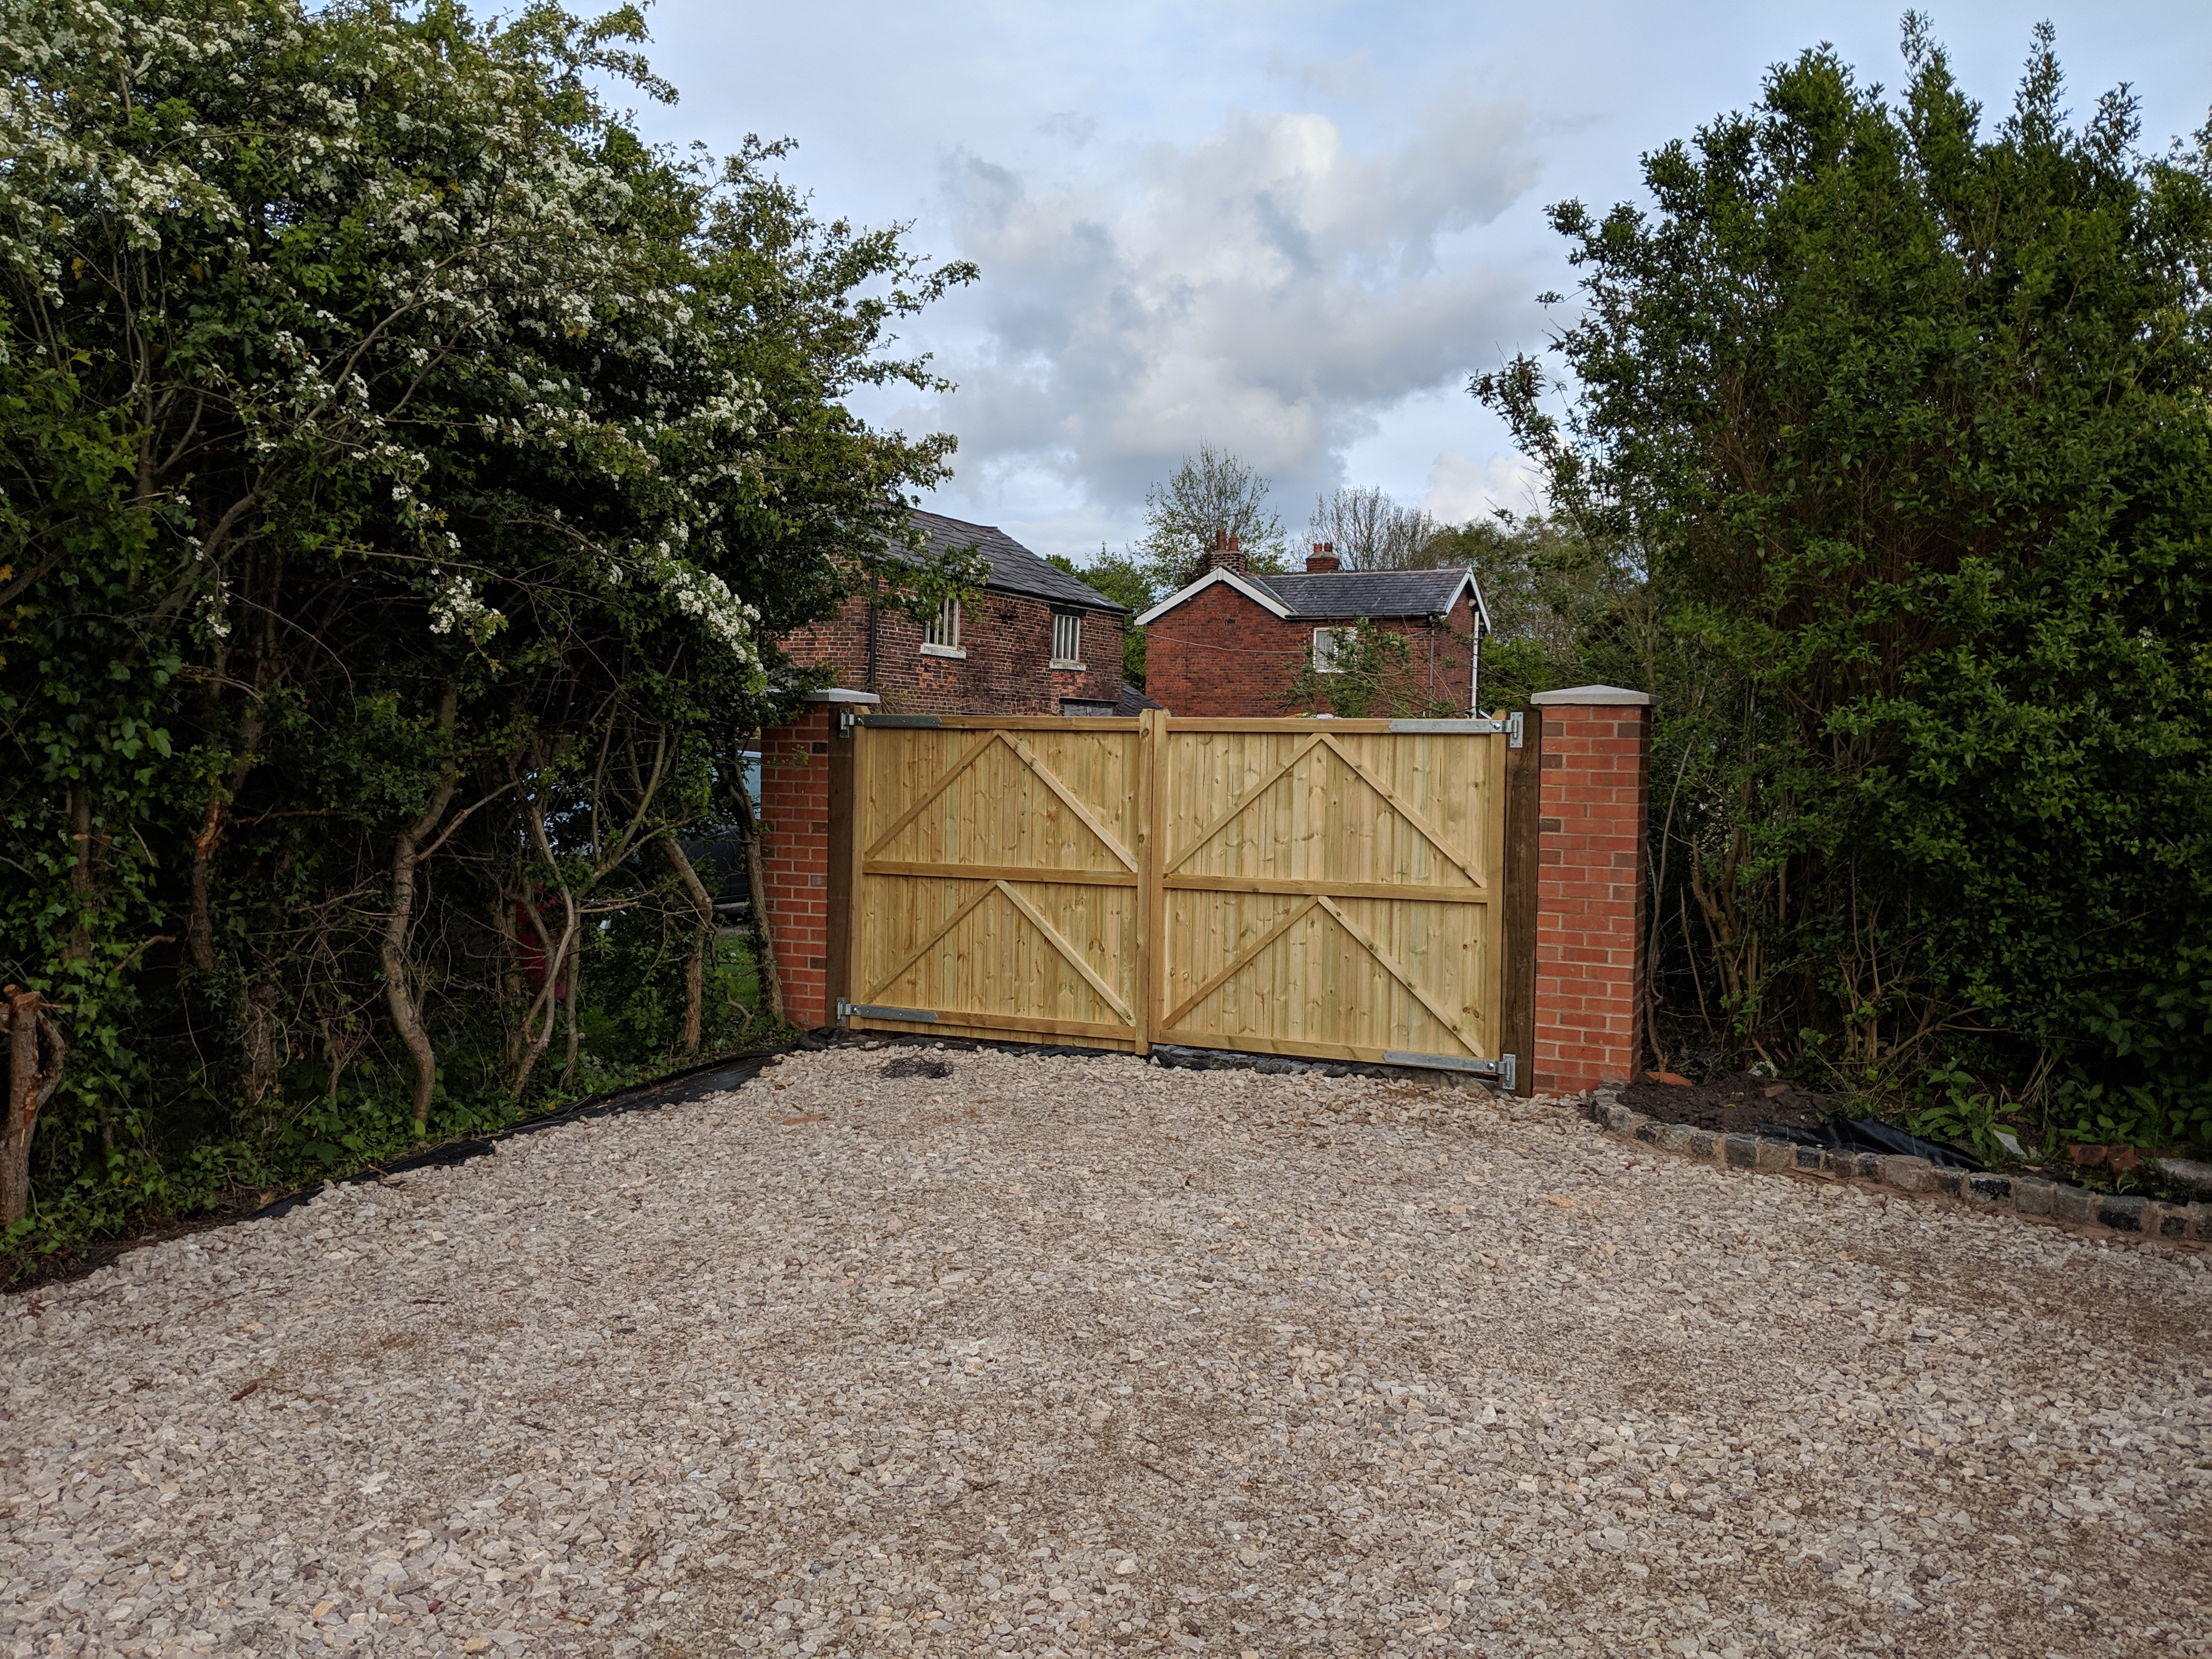
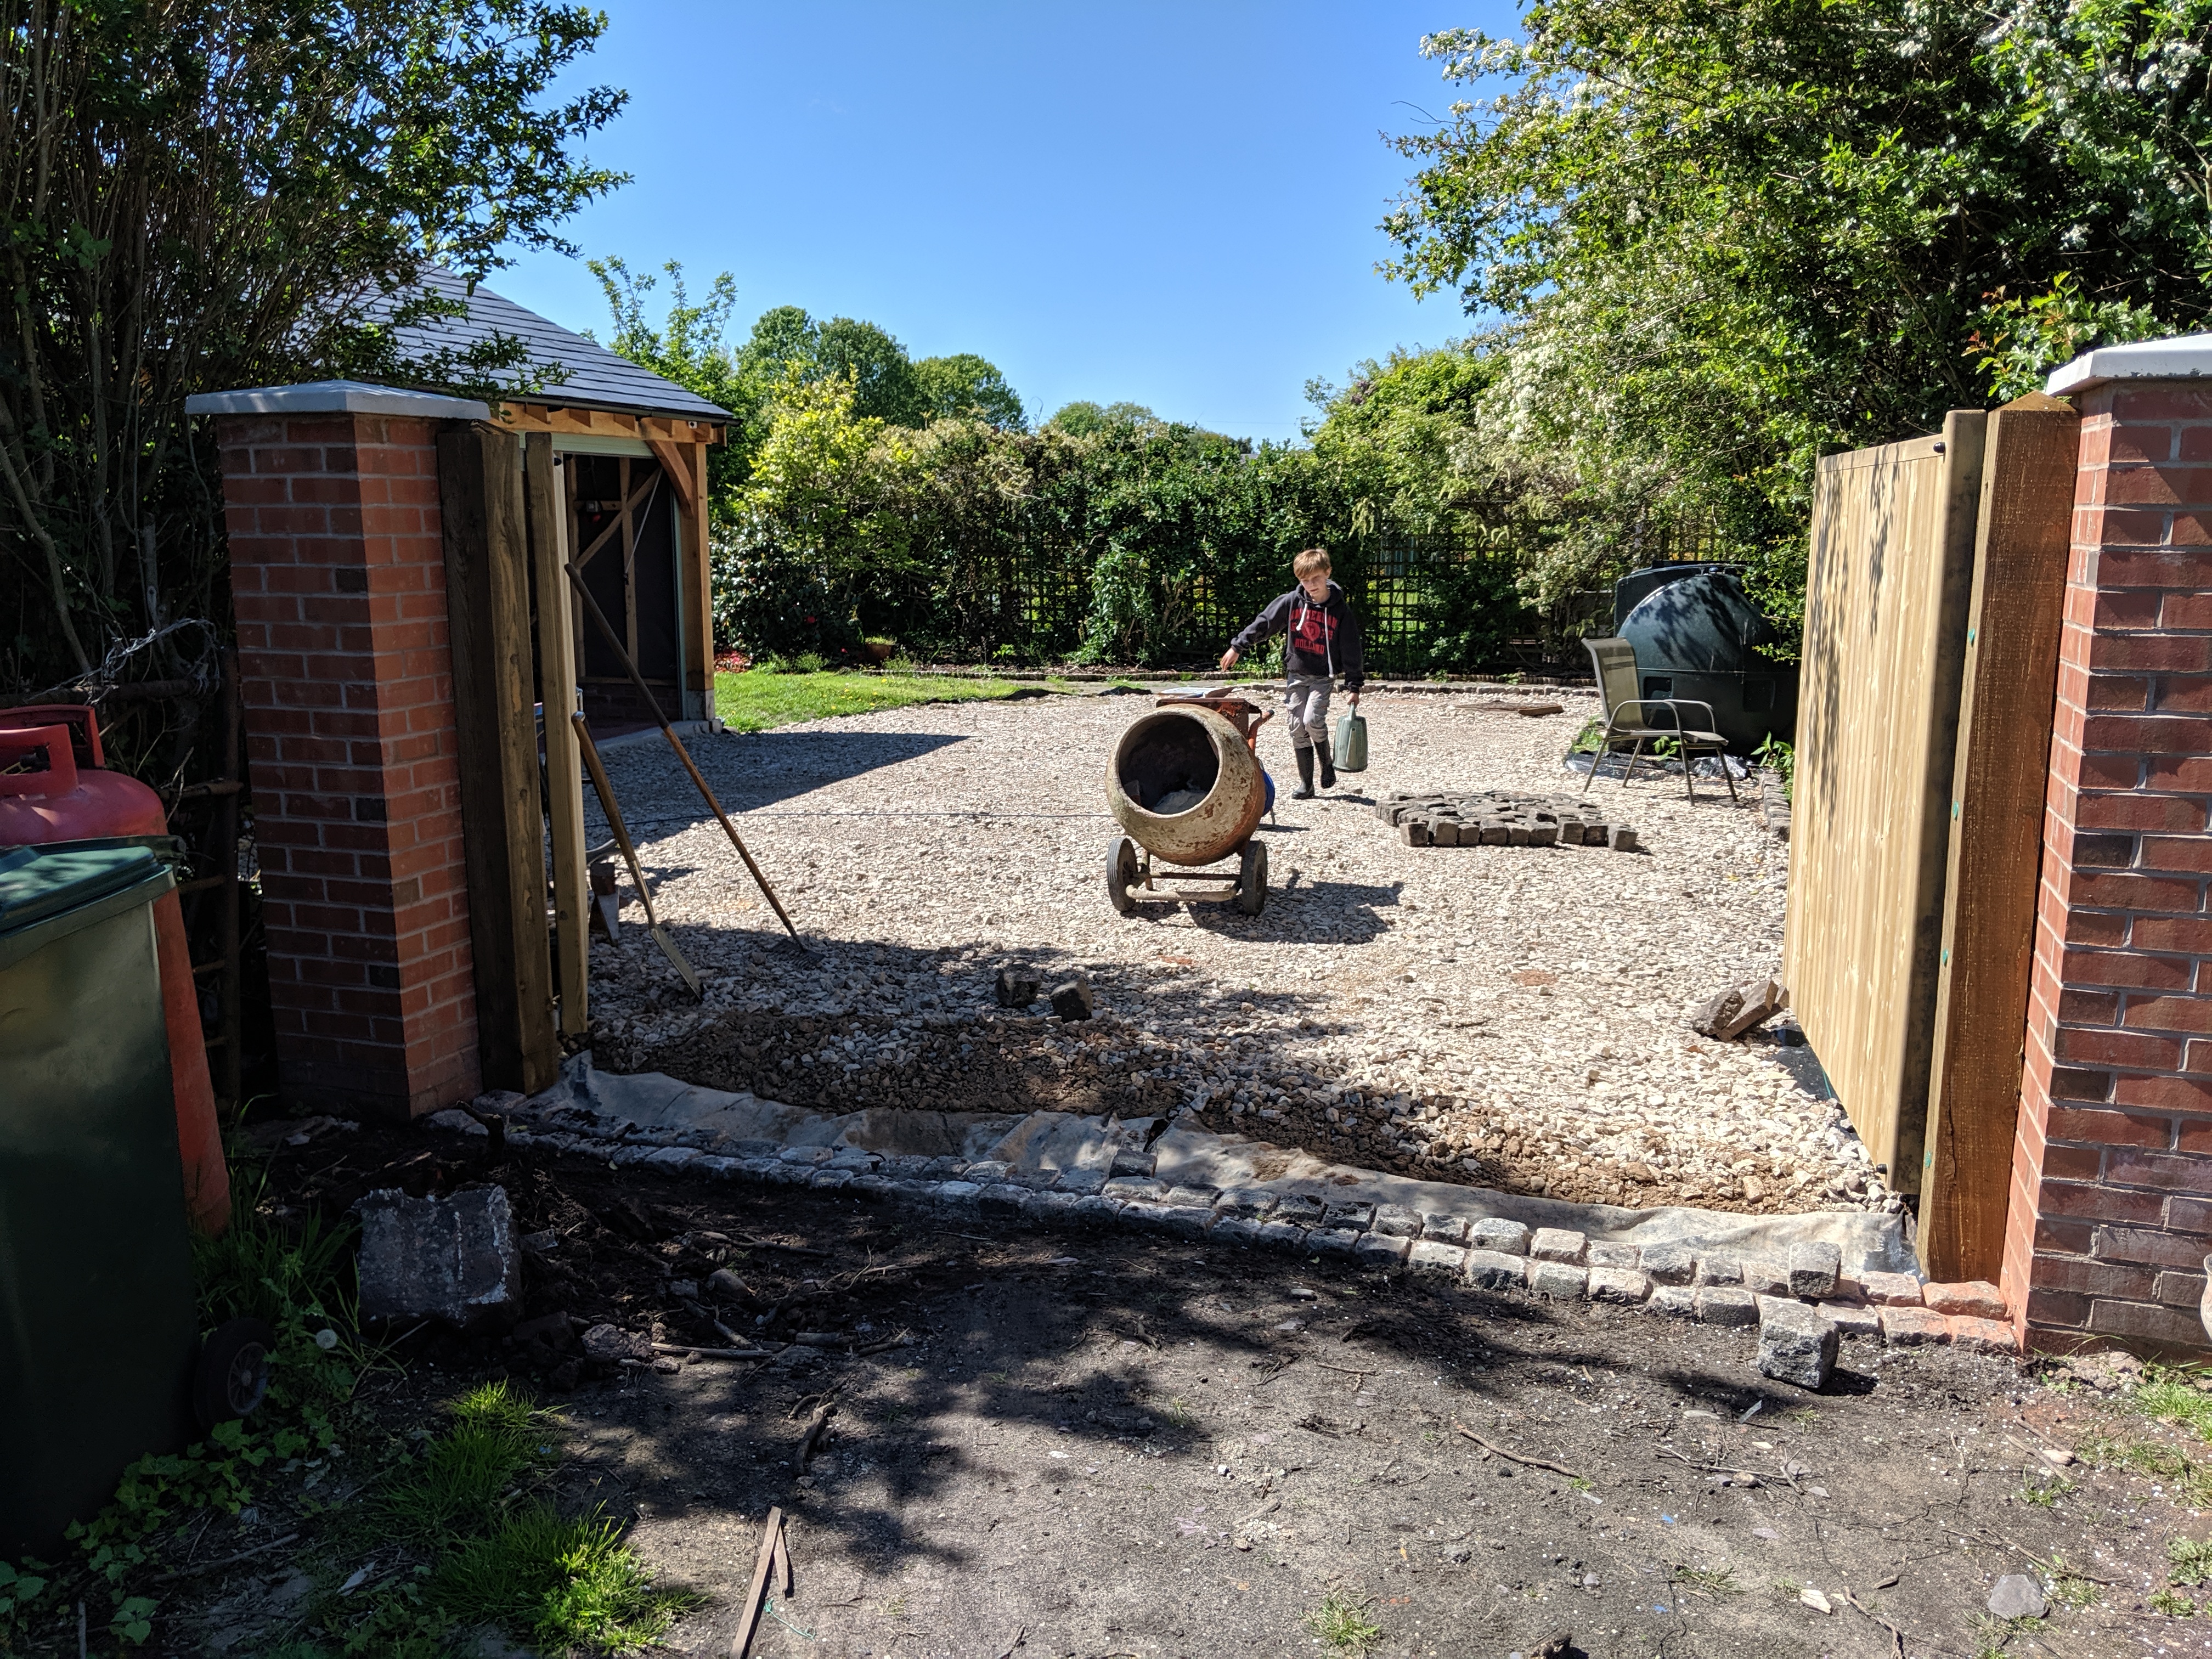
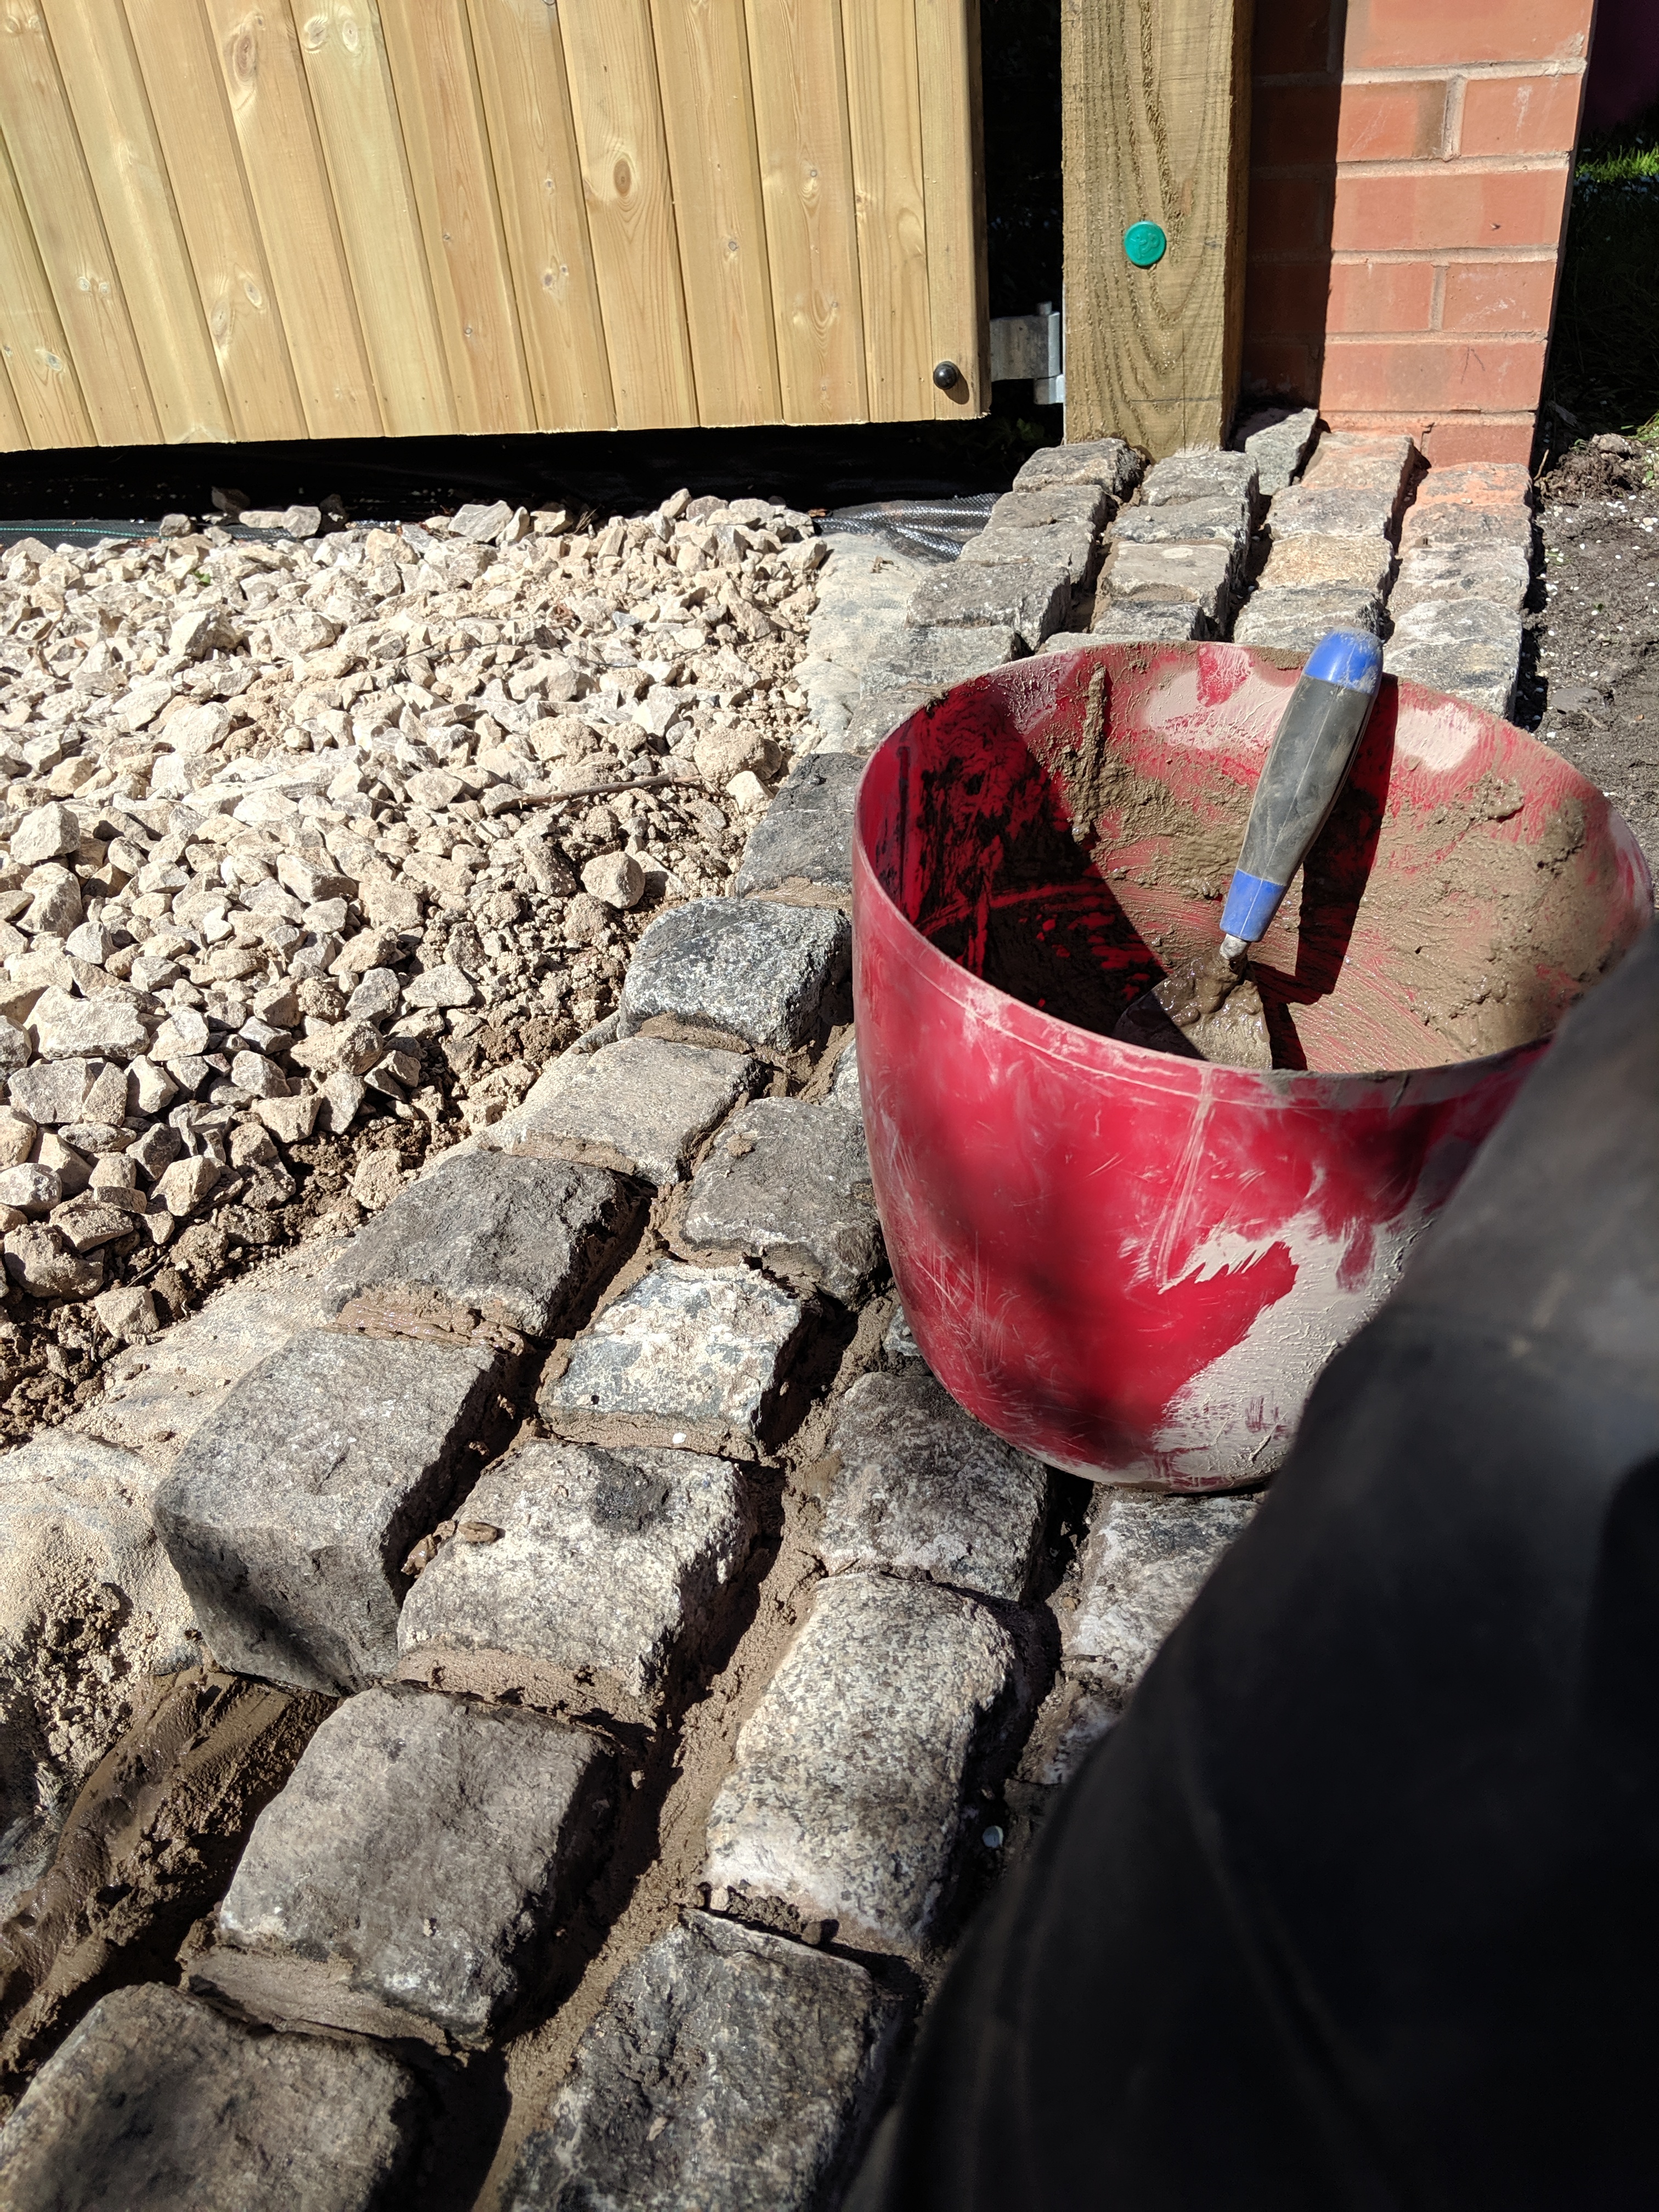
We decided that since we’d laid a few cobbles we were now experts! So it was time to lay a whole bunch of cobbles across the gates. They had to go up slightly to form a ramp so that we could take into account the hardcore and gravel on the other side. It turned out pretty well but I wish I’d taken the time to put a guide line in to try and make them level across the gates. Oli was my labourer on the cement mixer whilst I was laying cobbles.
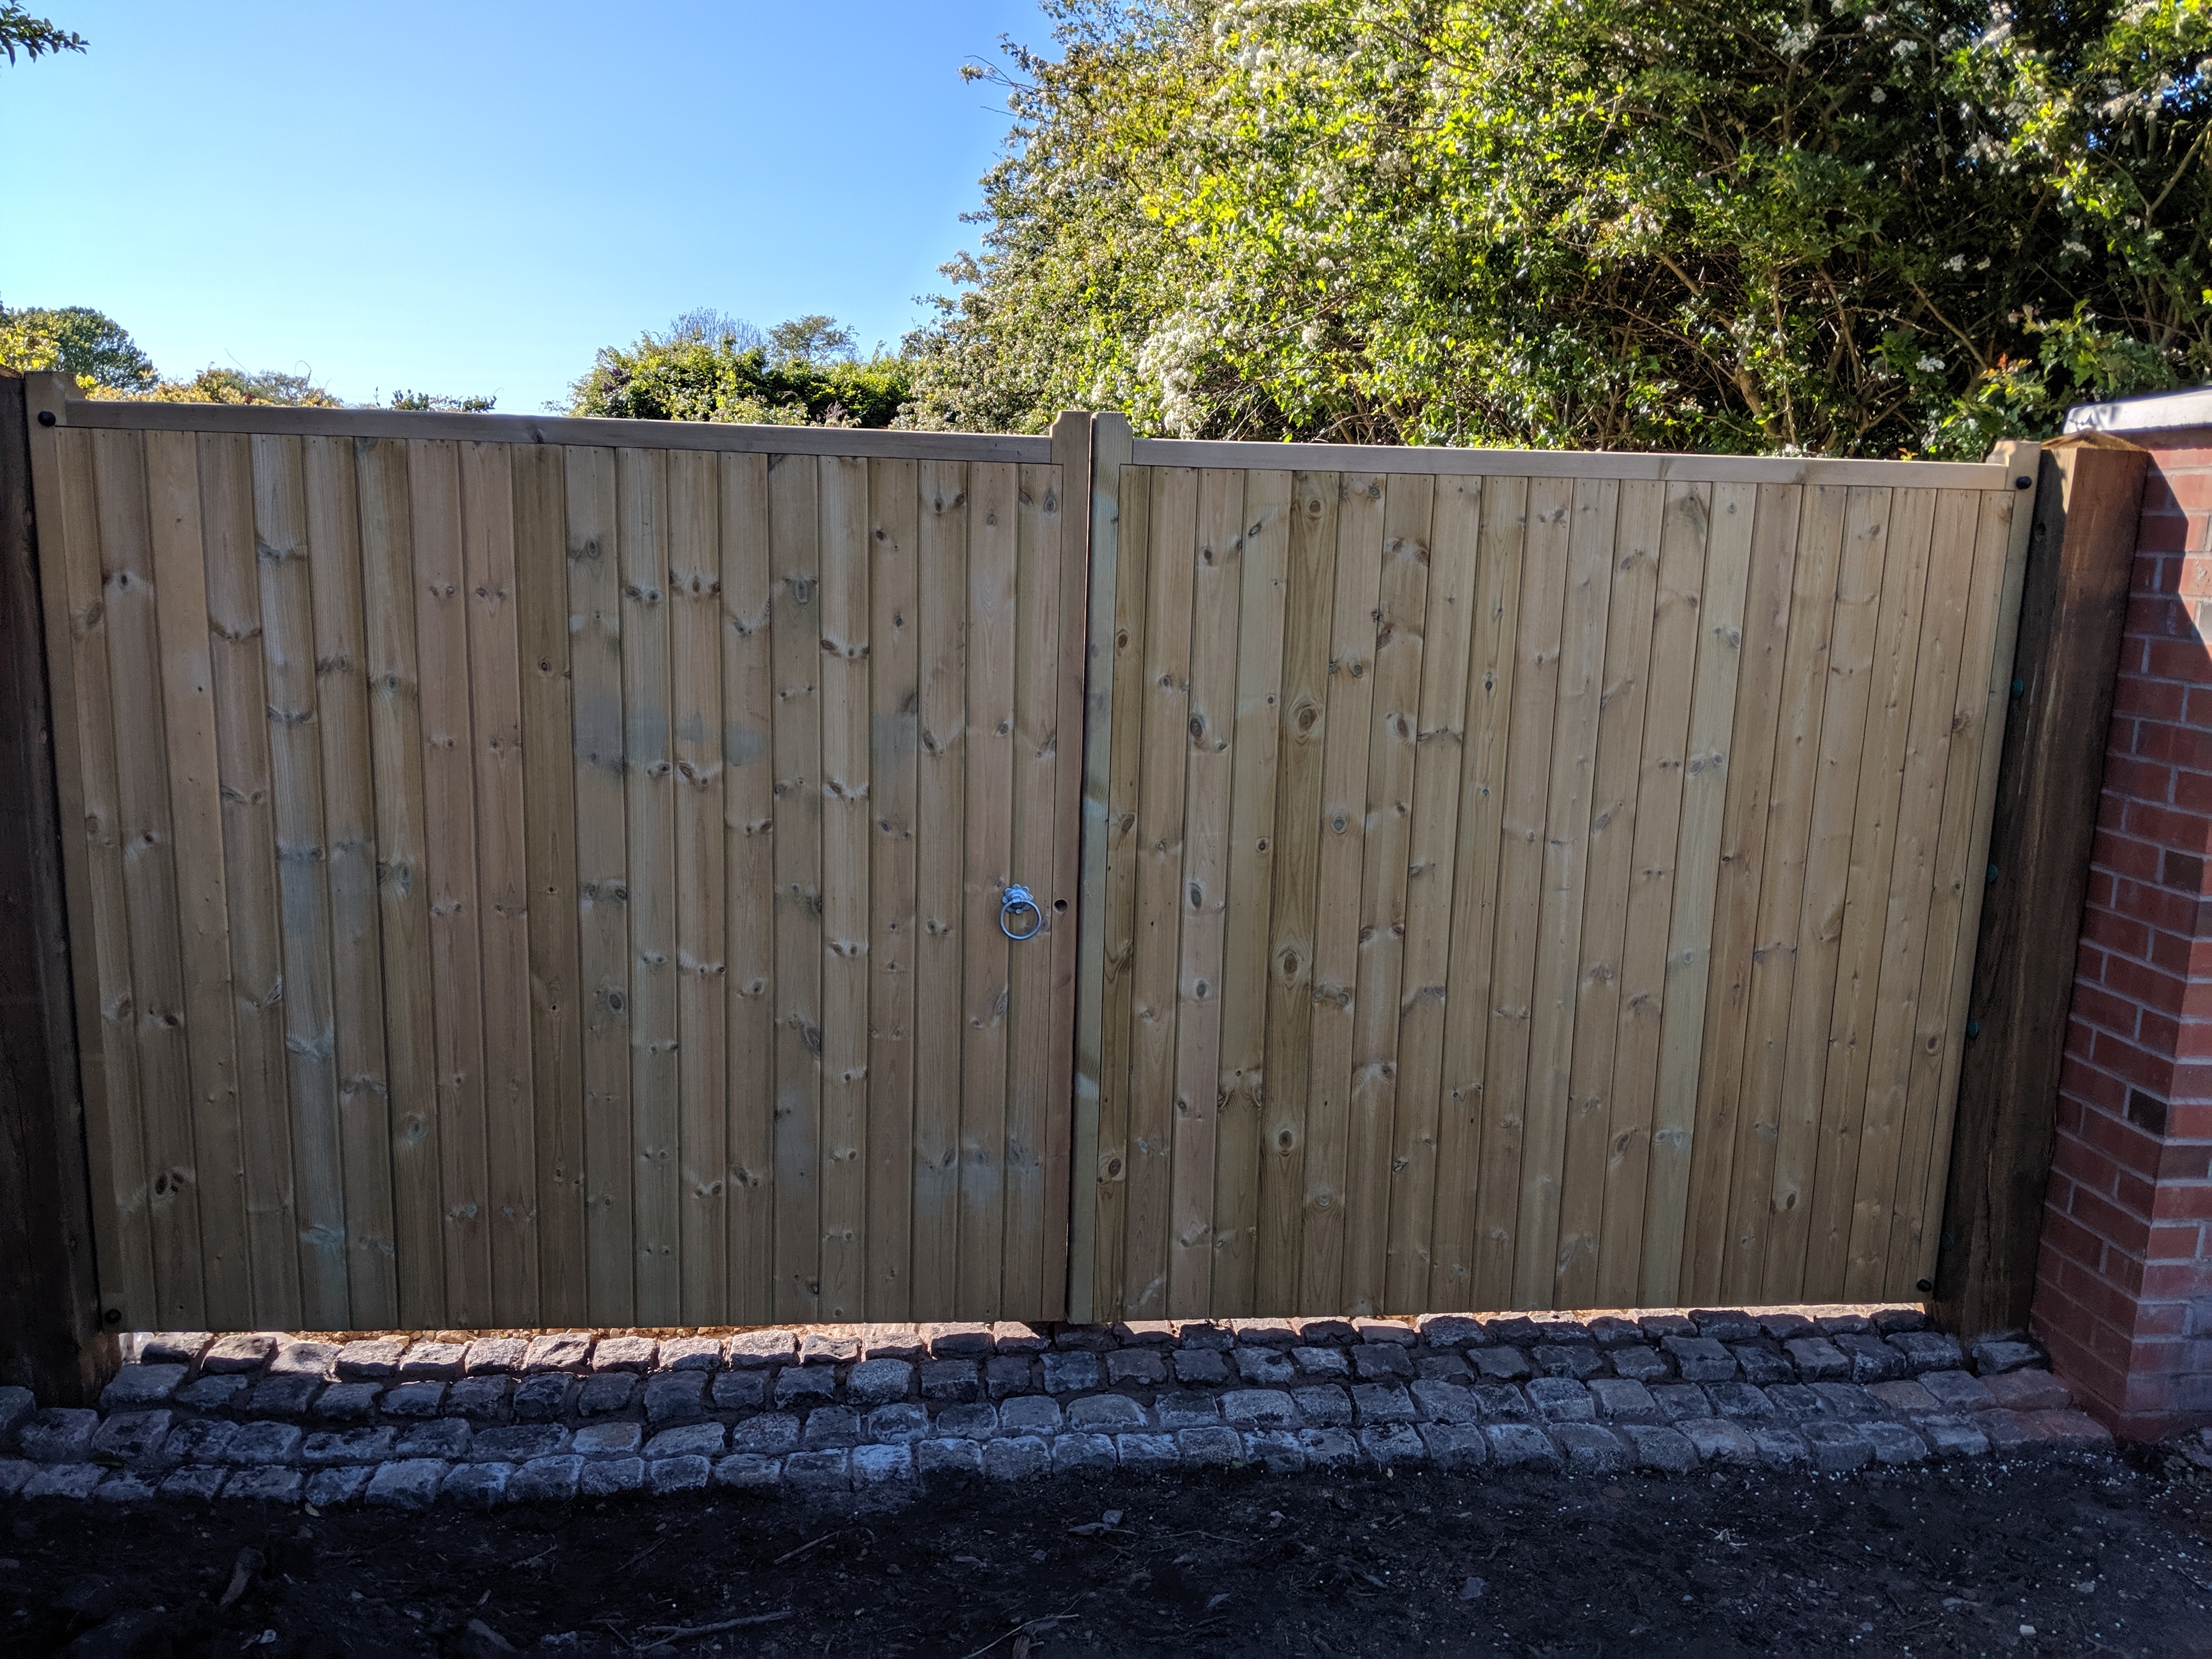
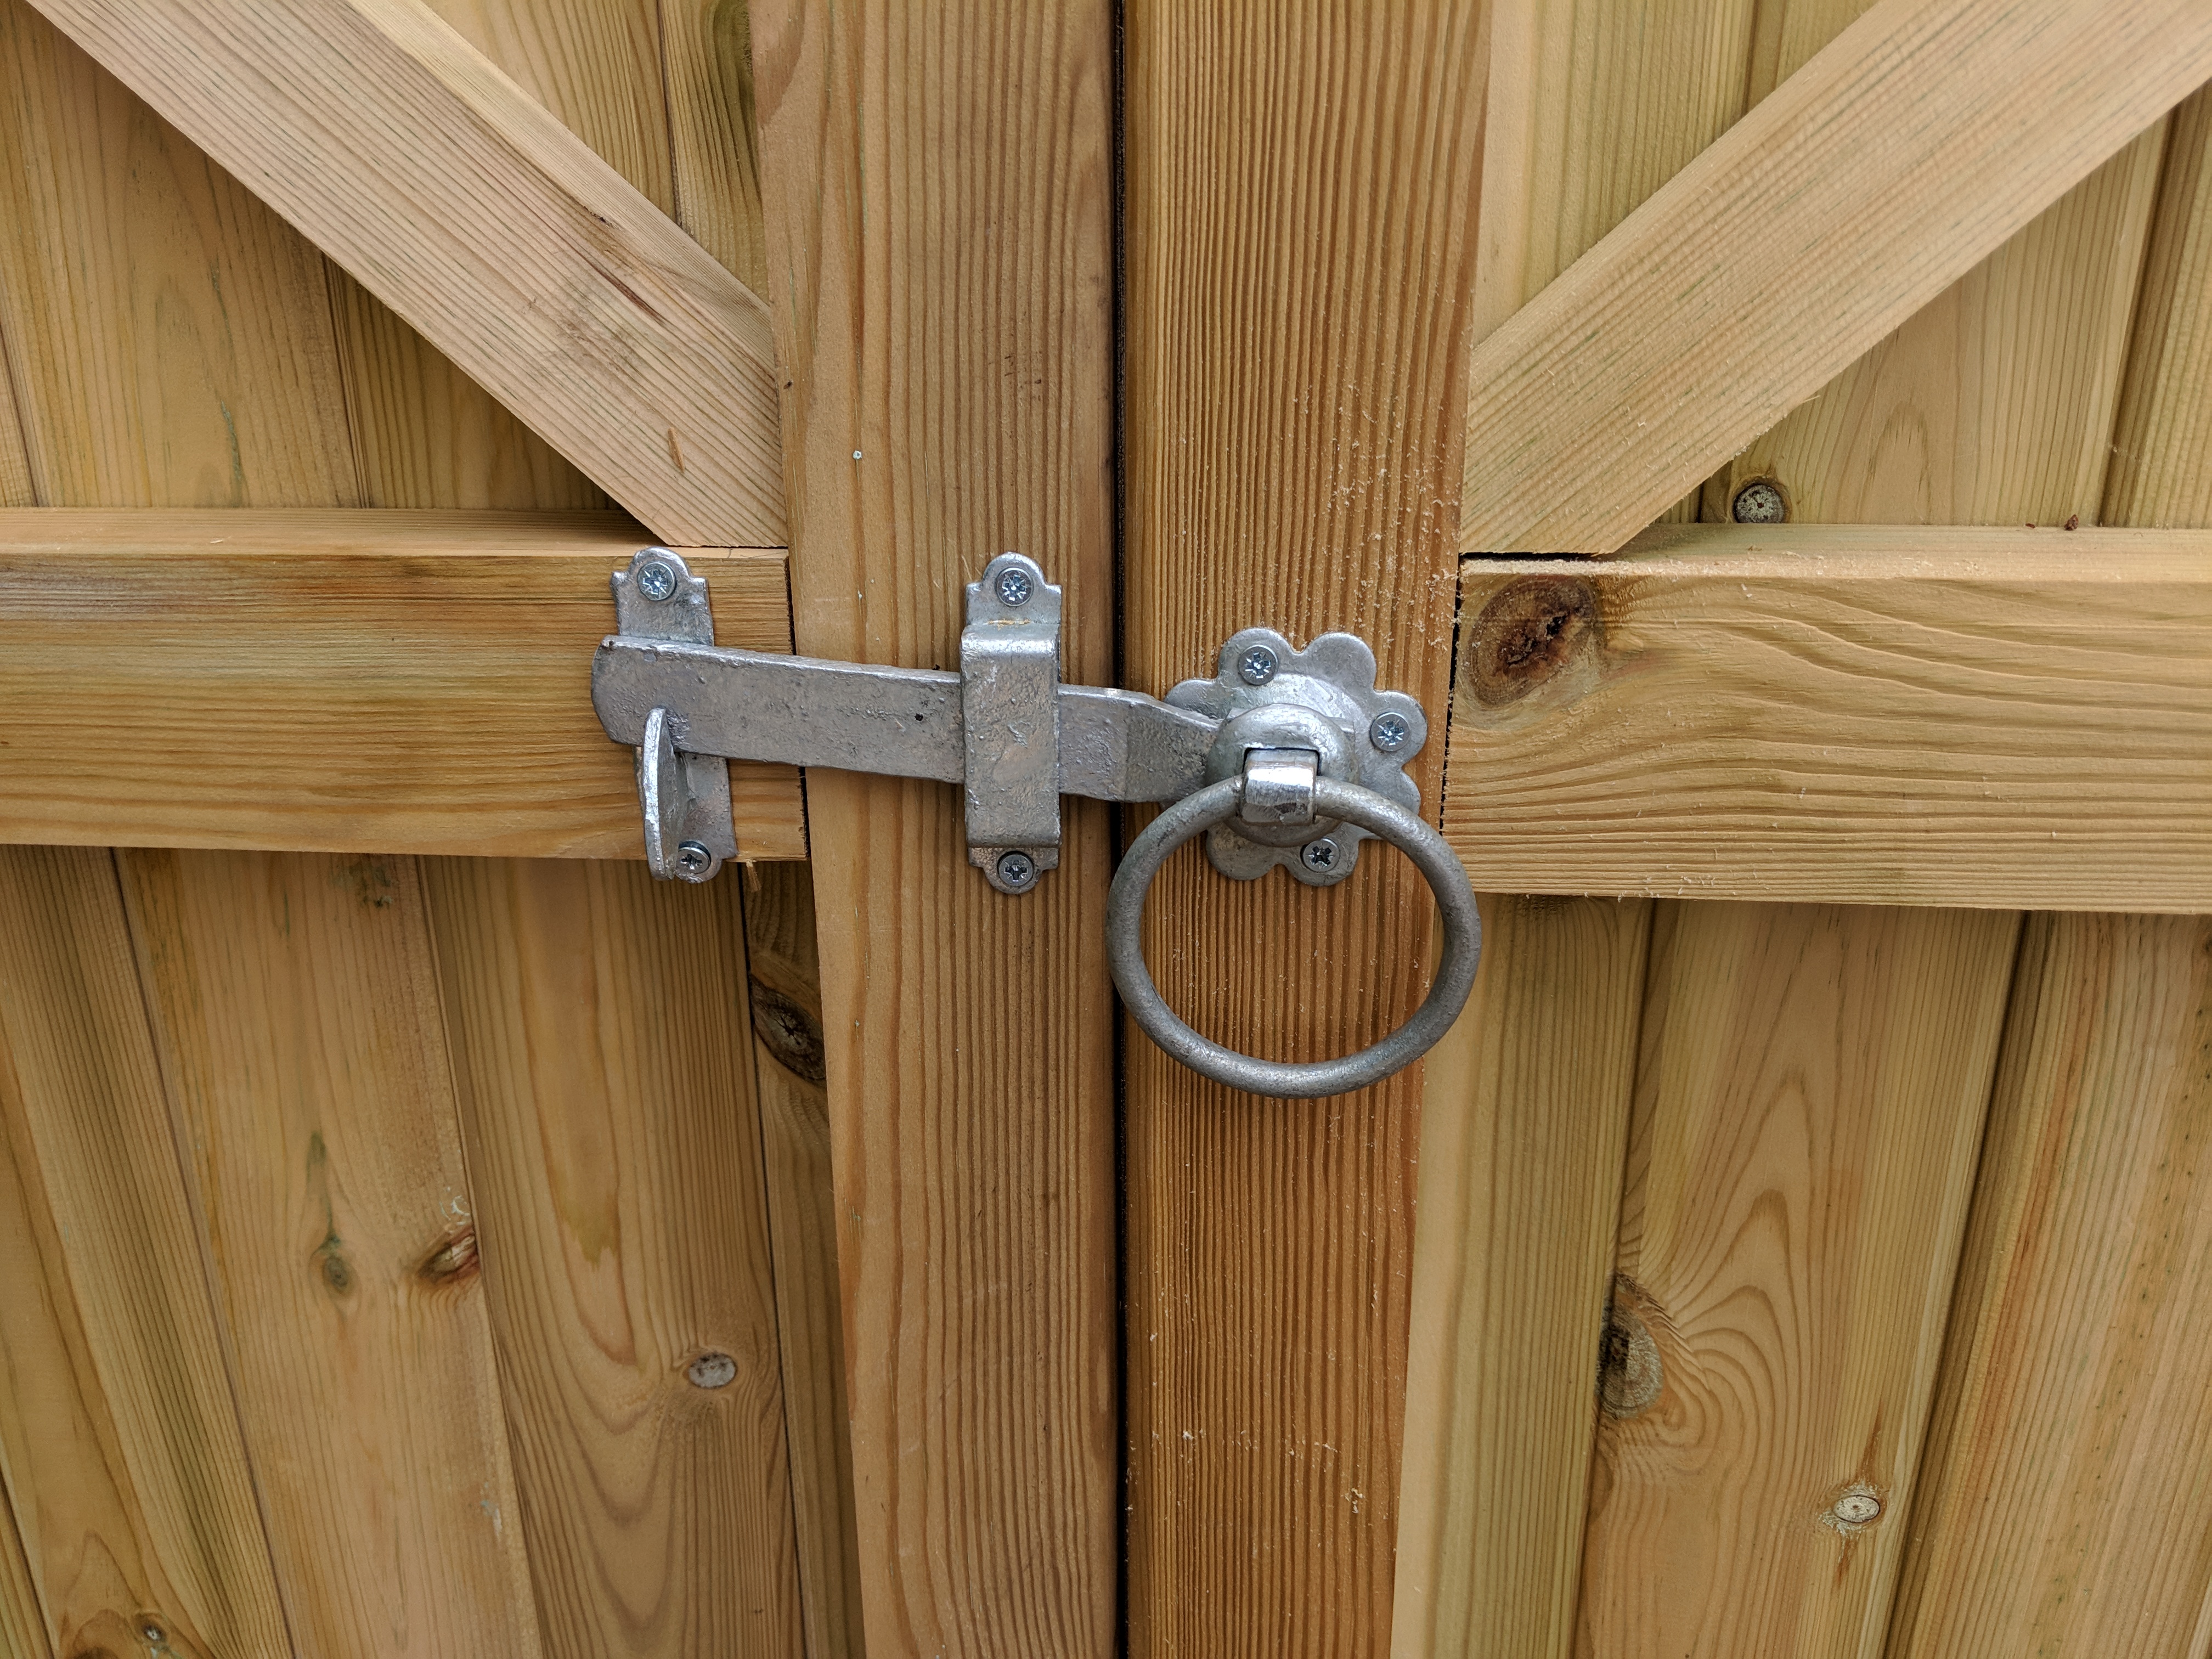
You see the black mark to the right of the gate handle. That was my earlier disastrous gate furniture attempt when I essentially bolted the gates closed.
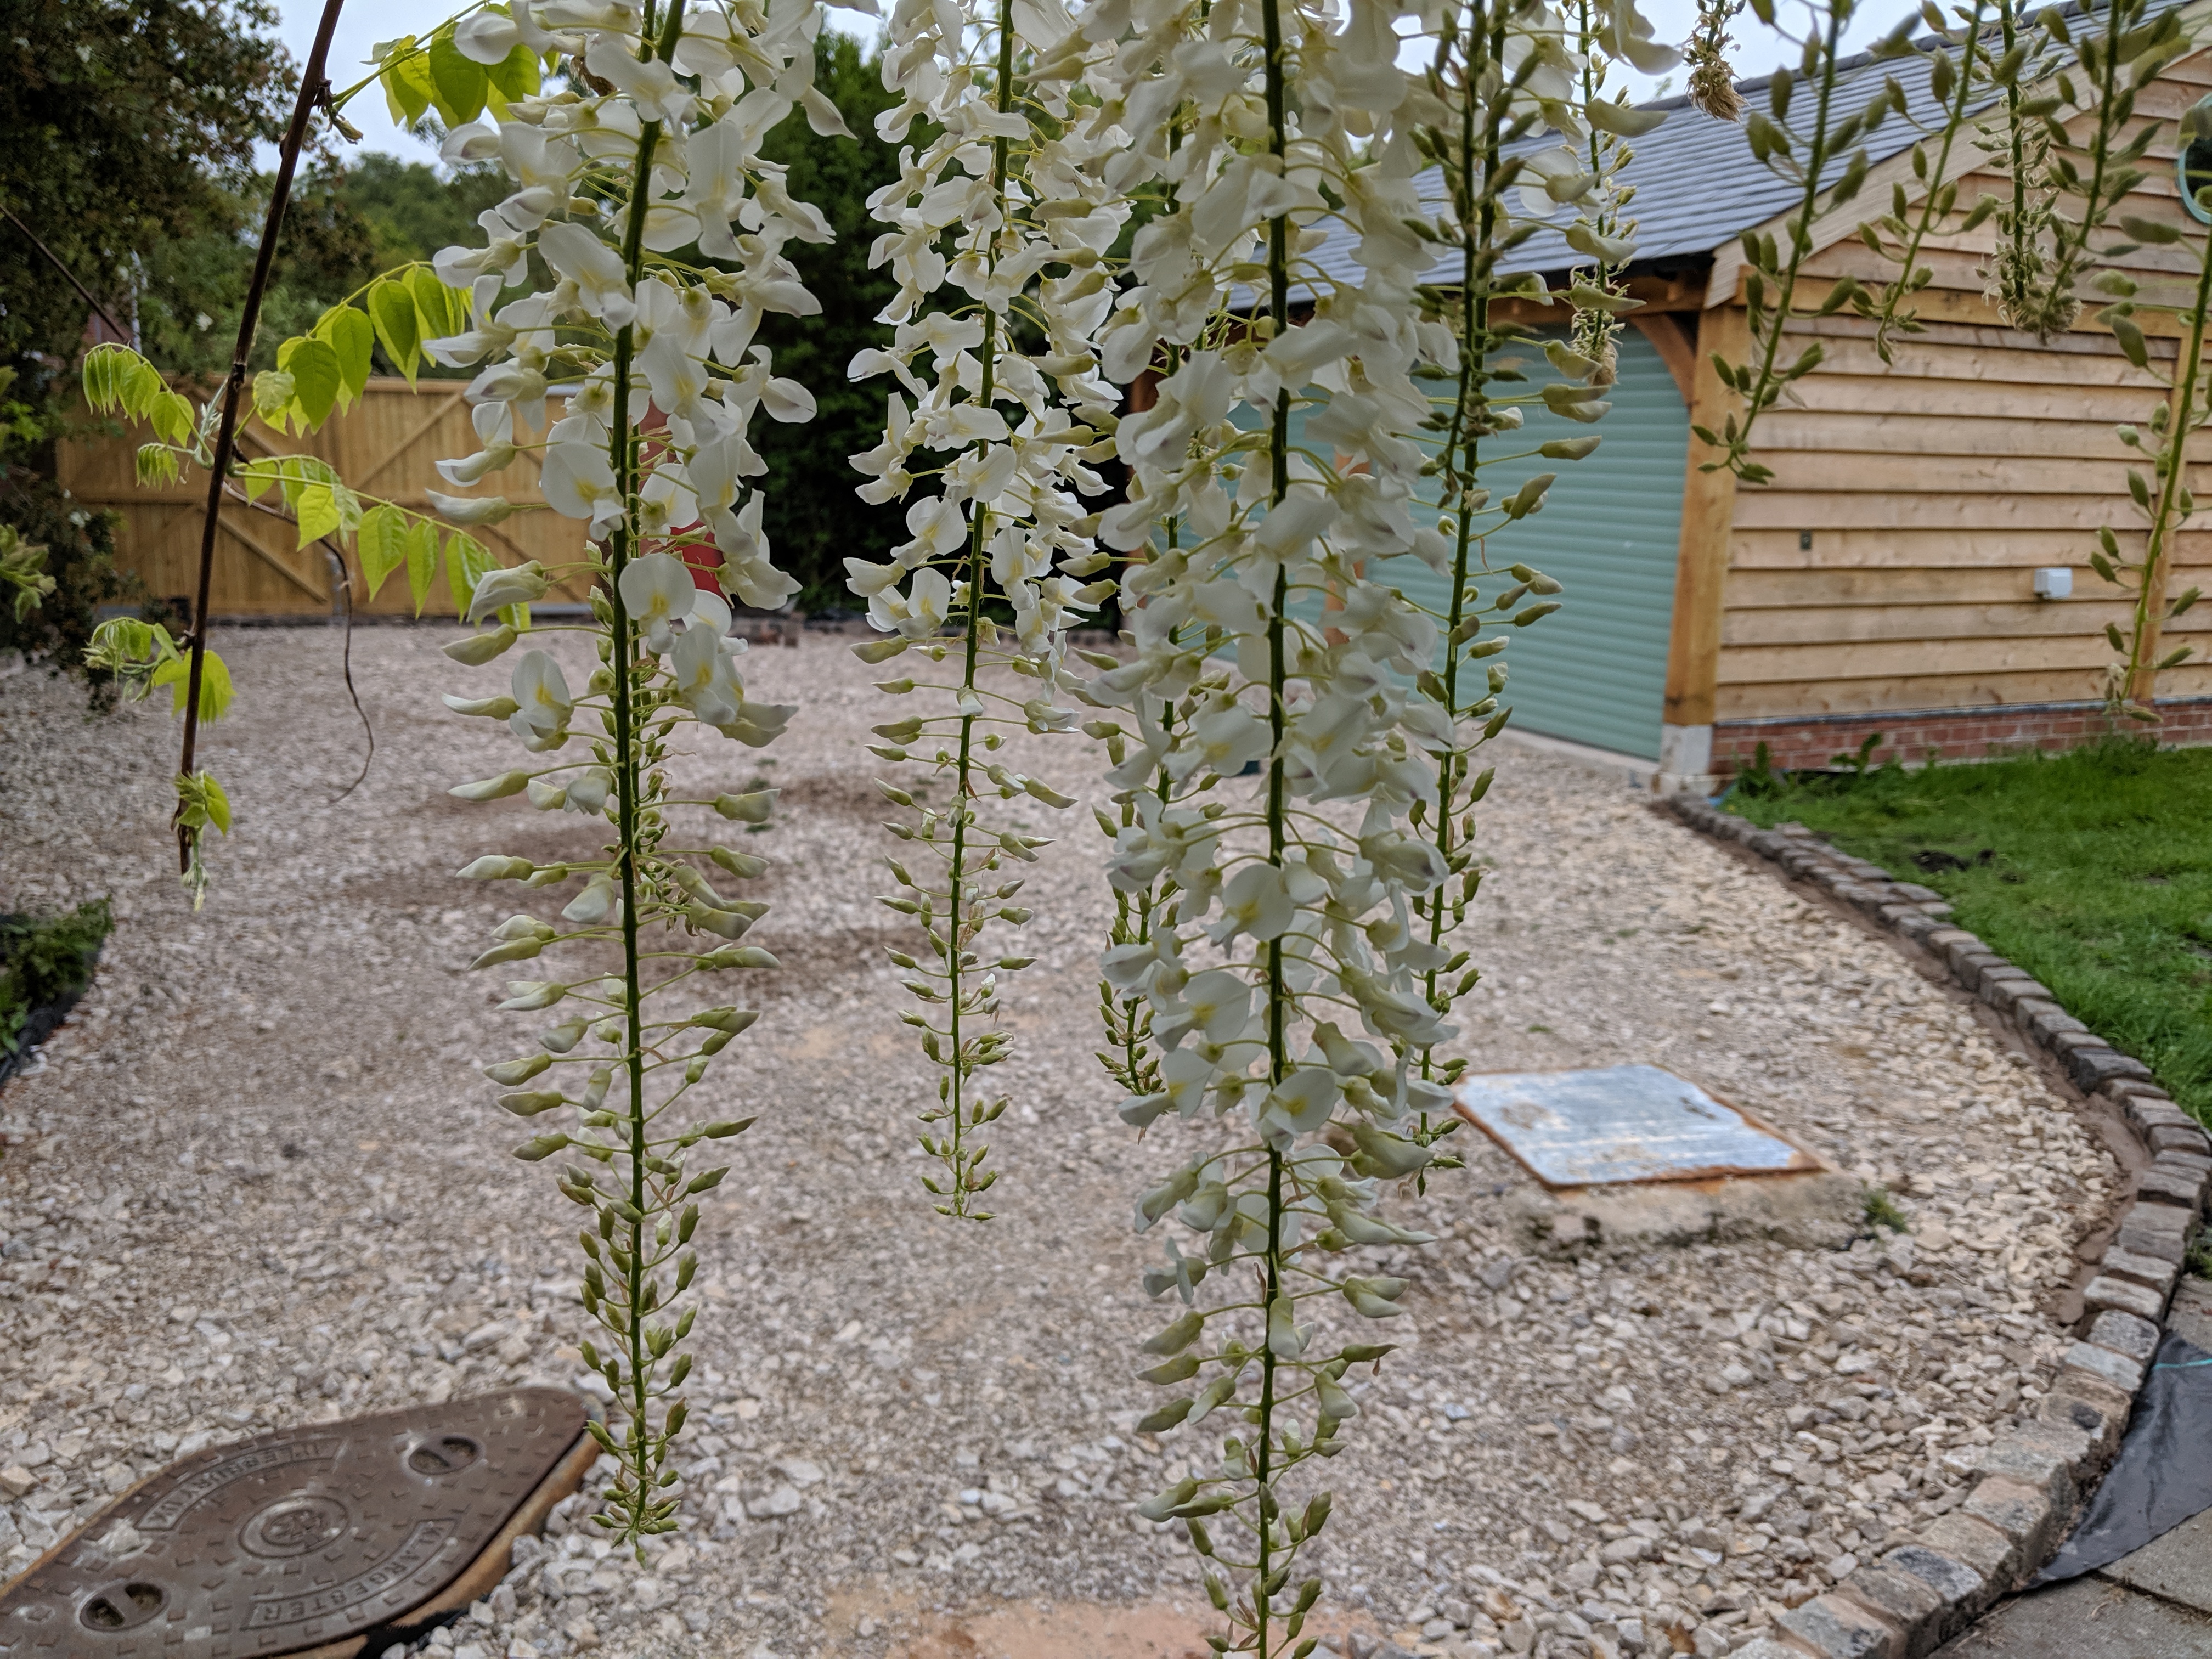
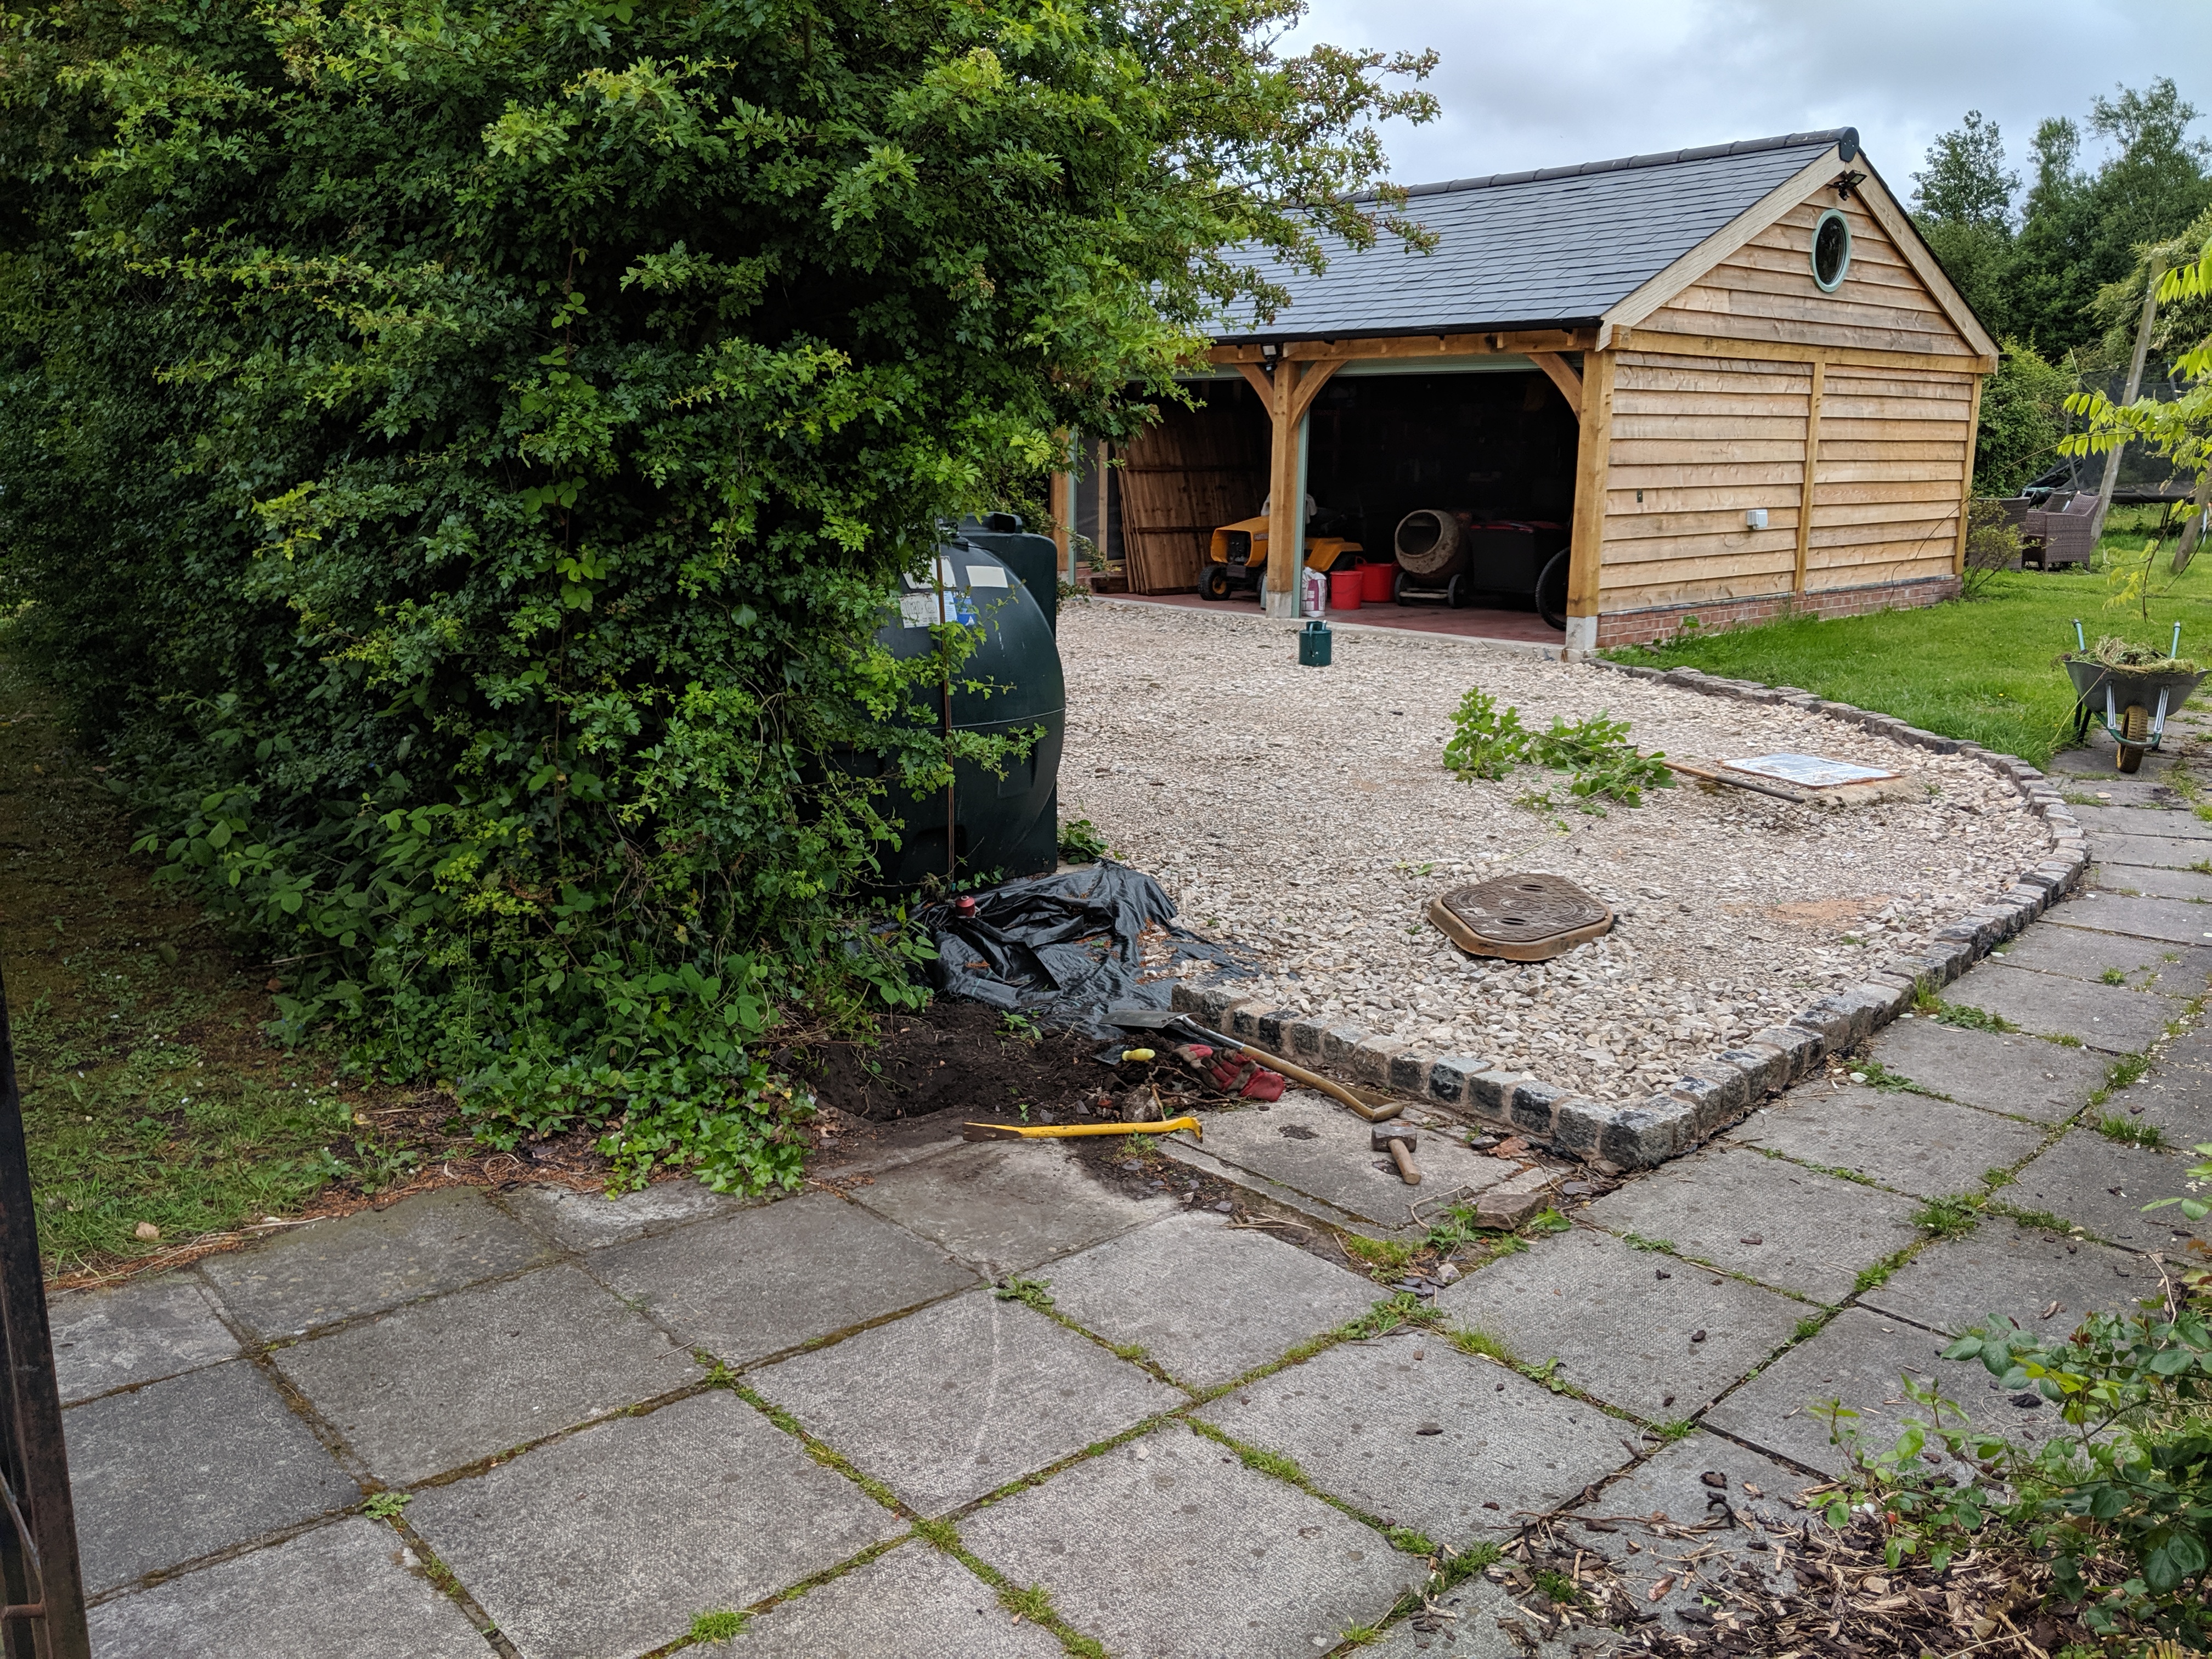
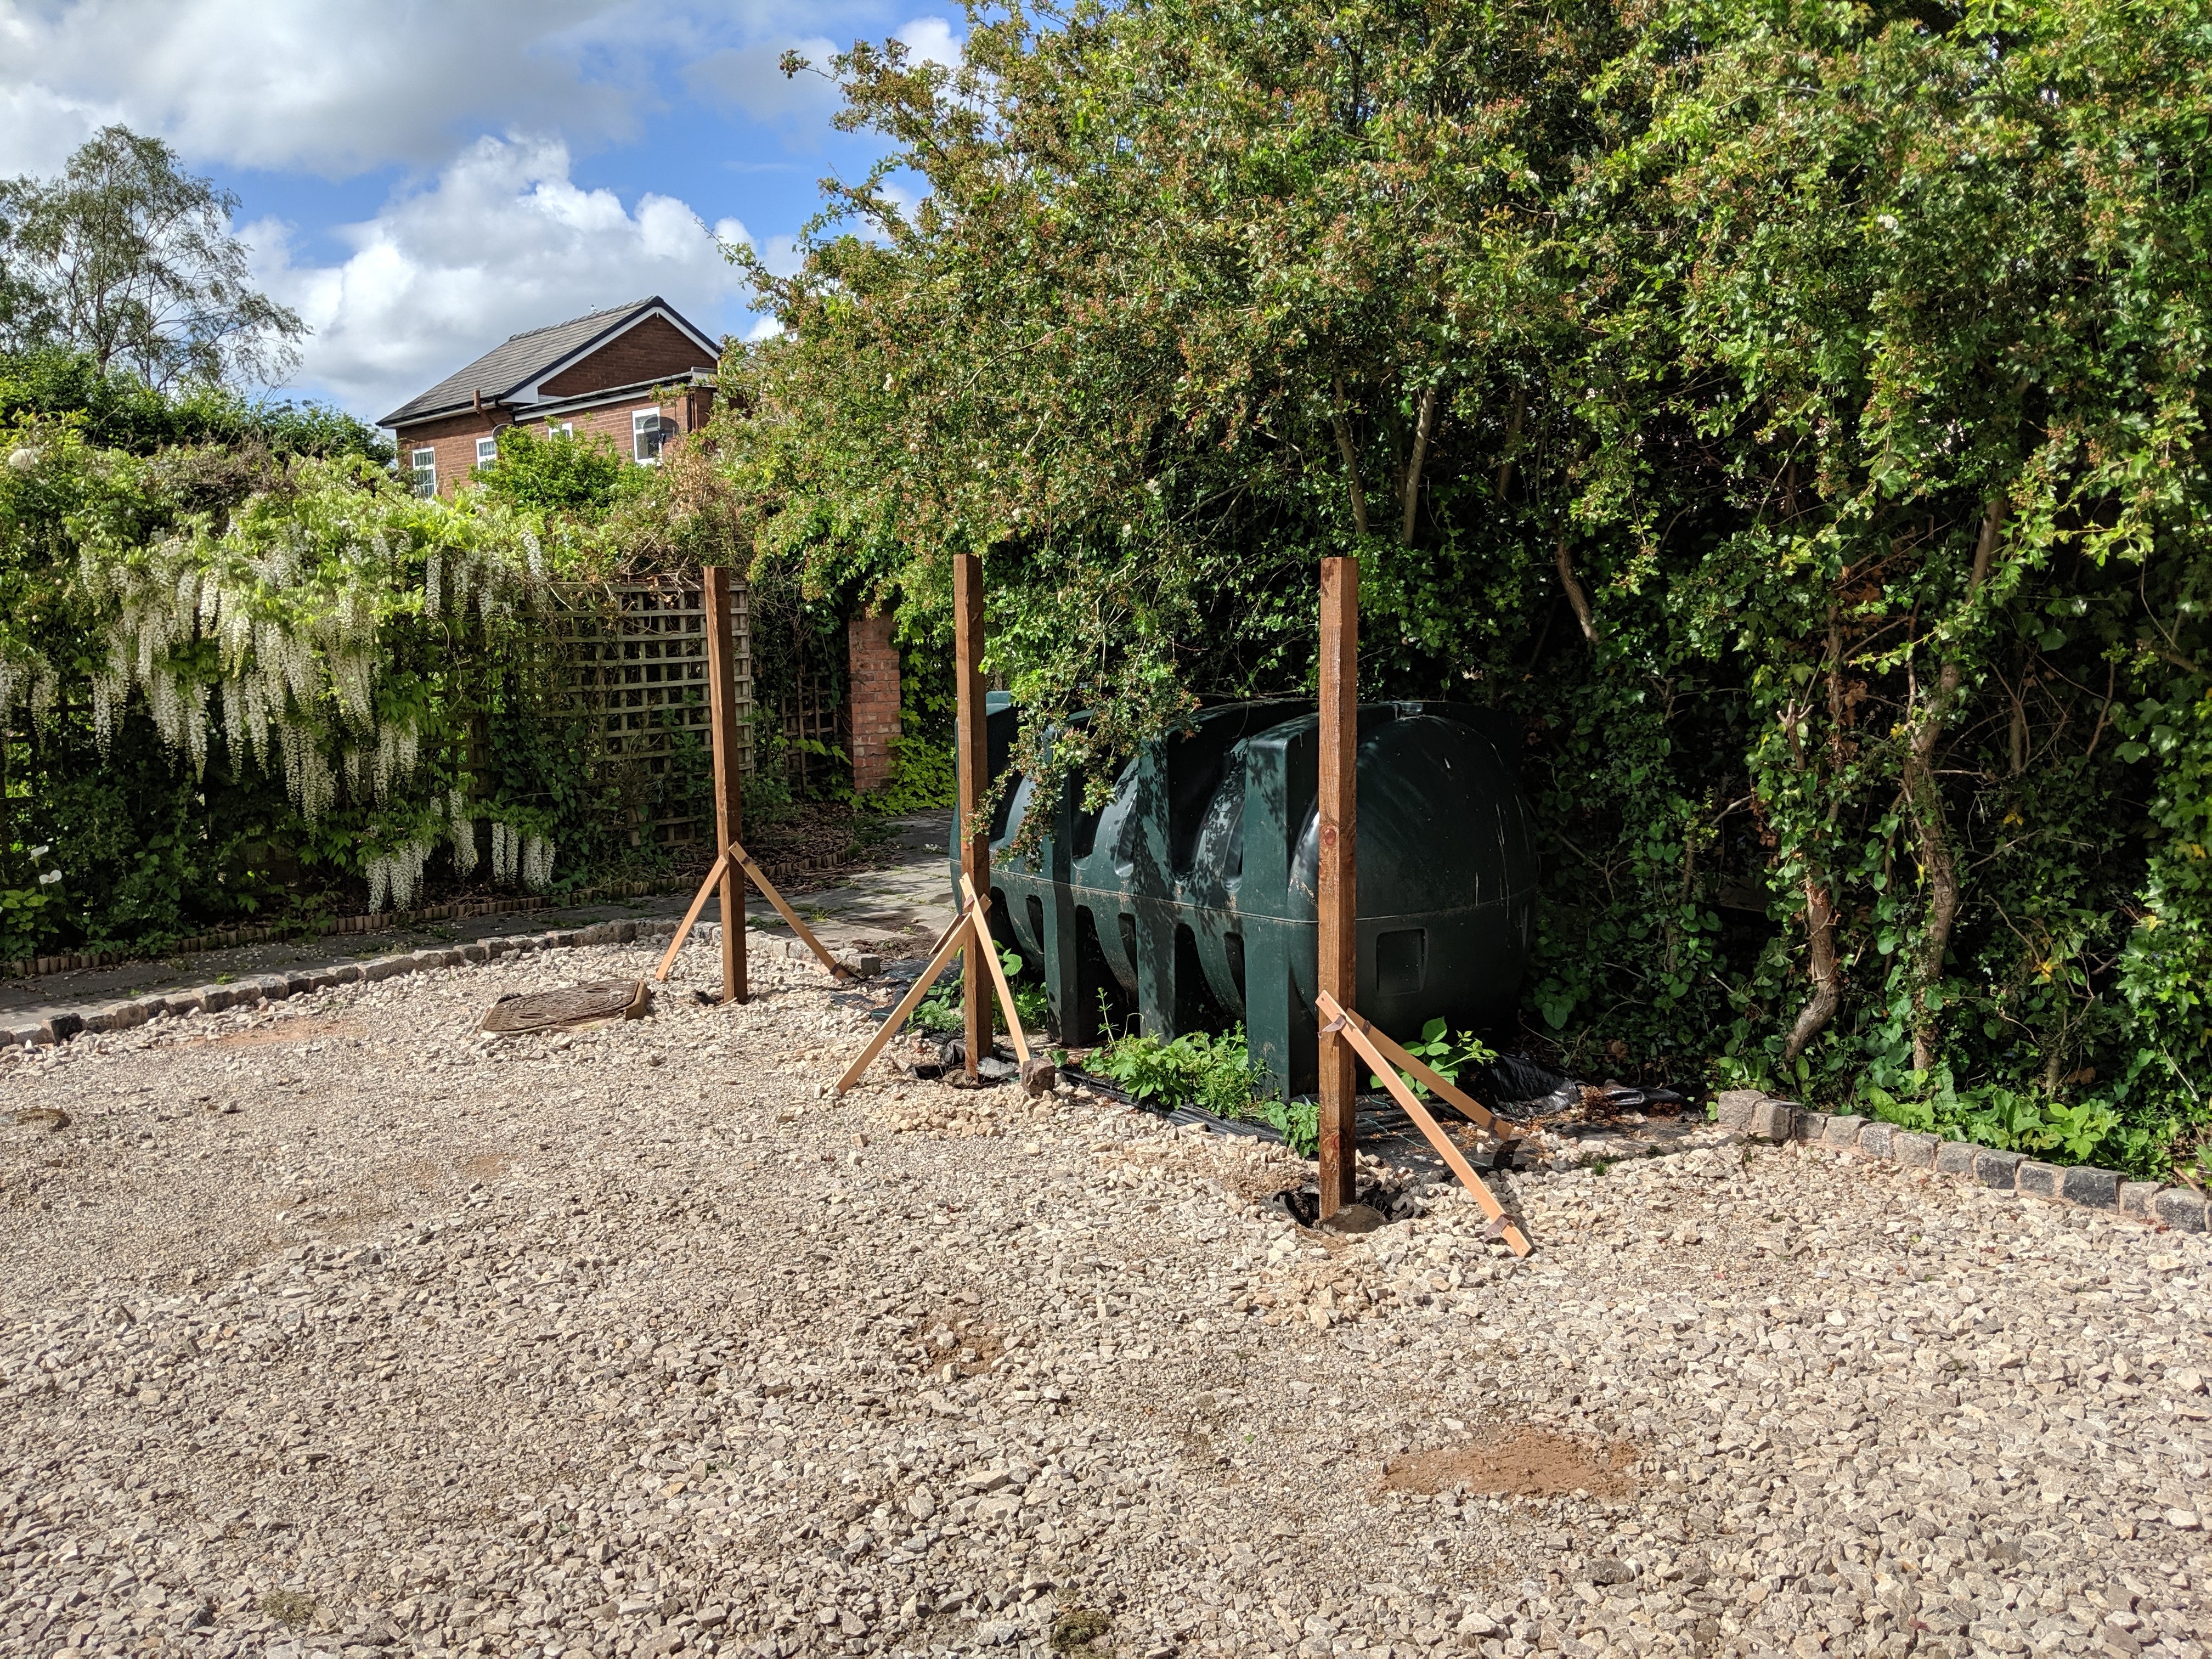
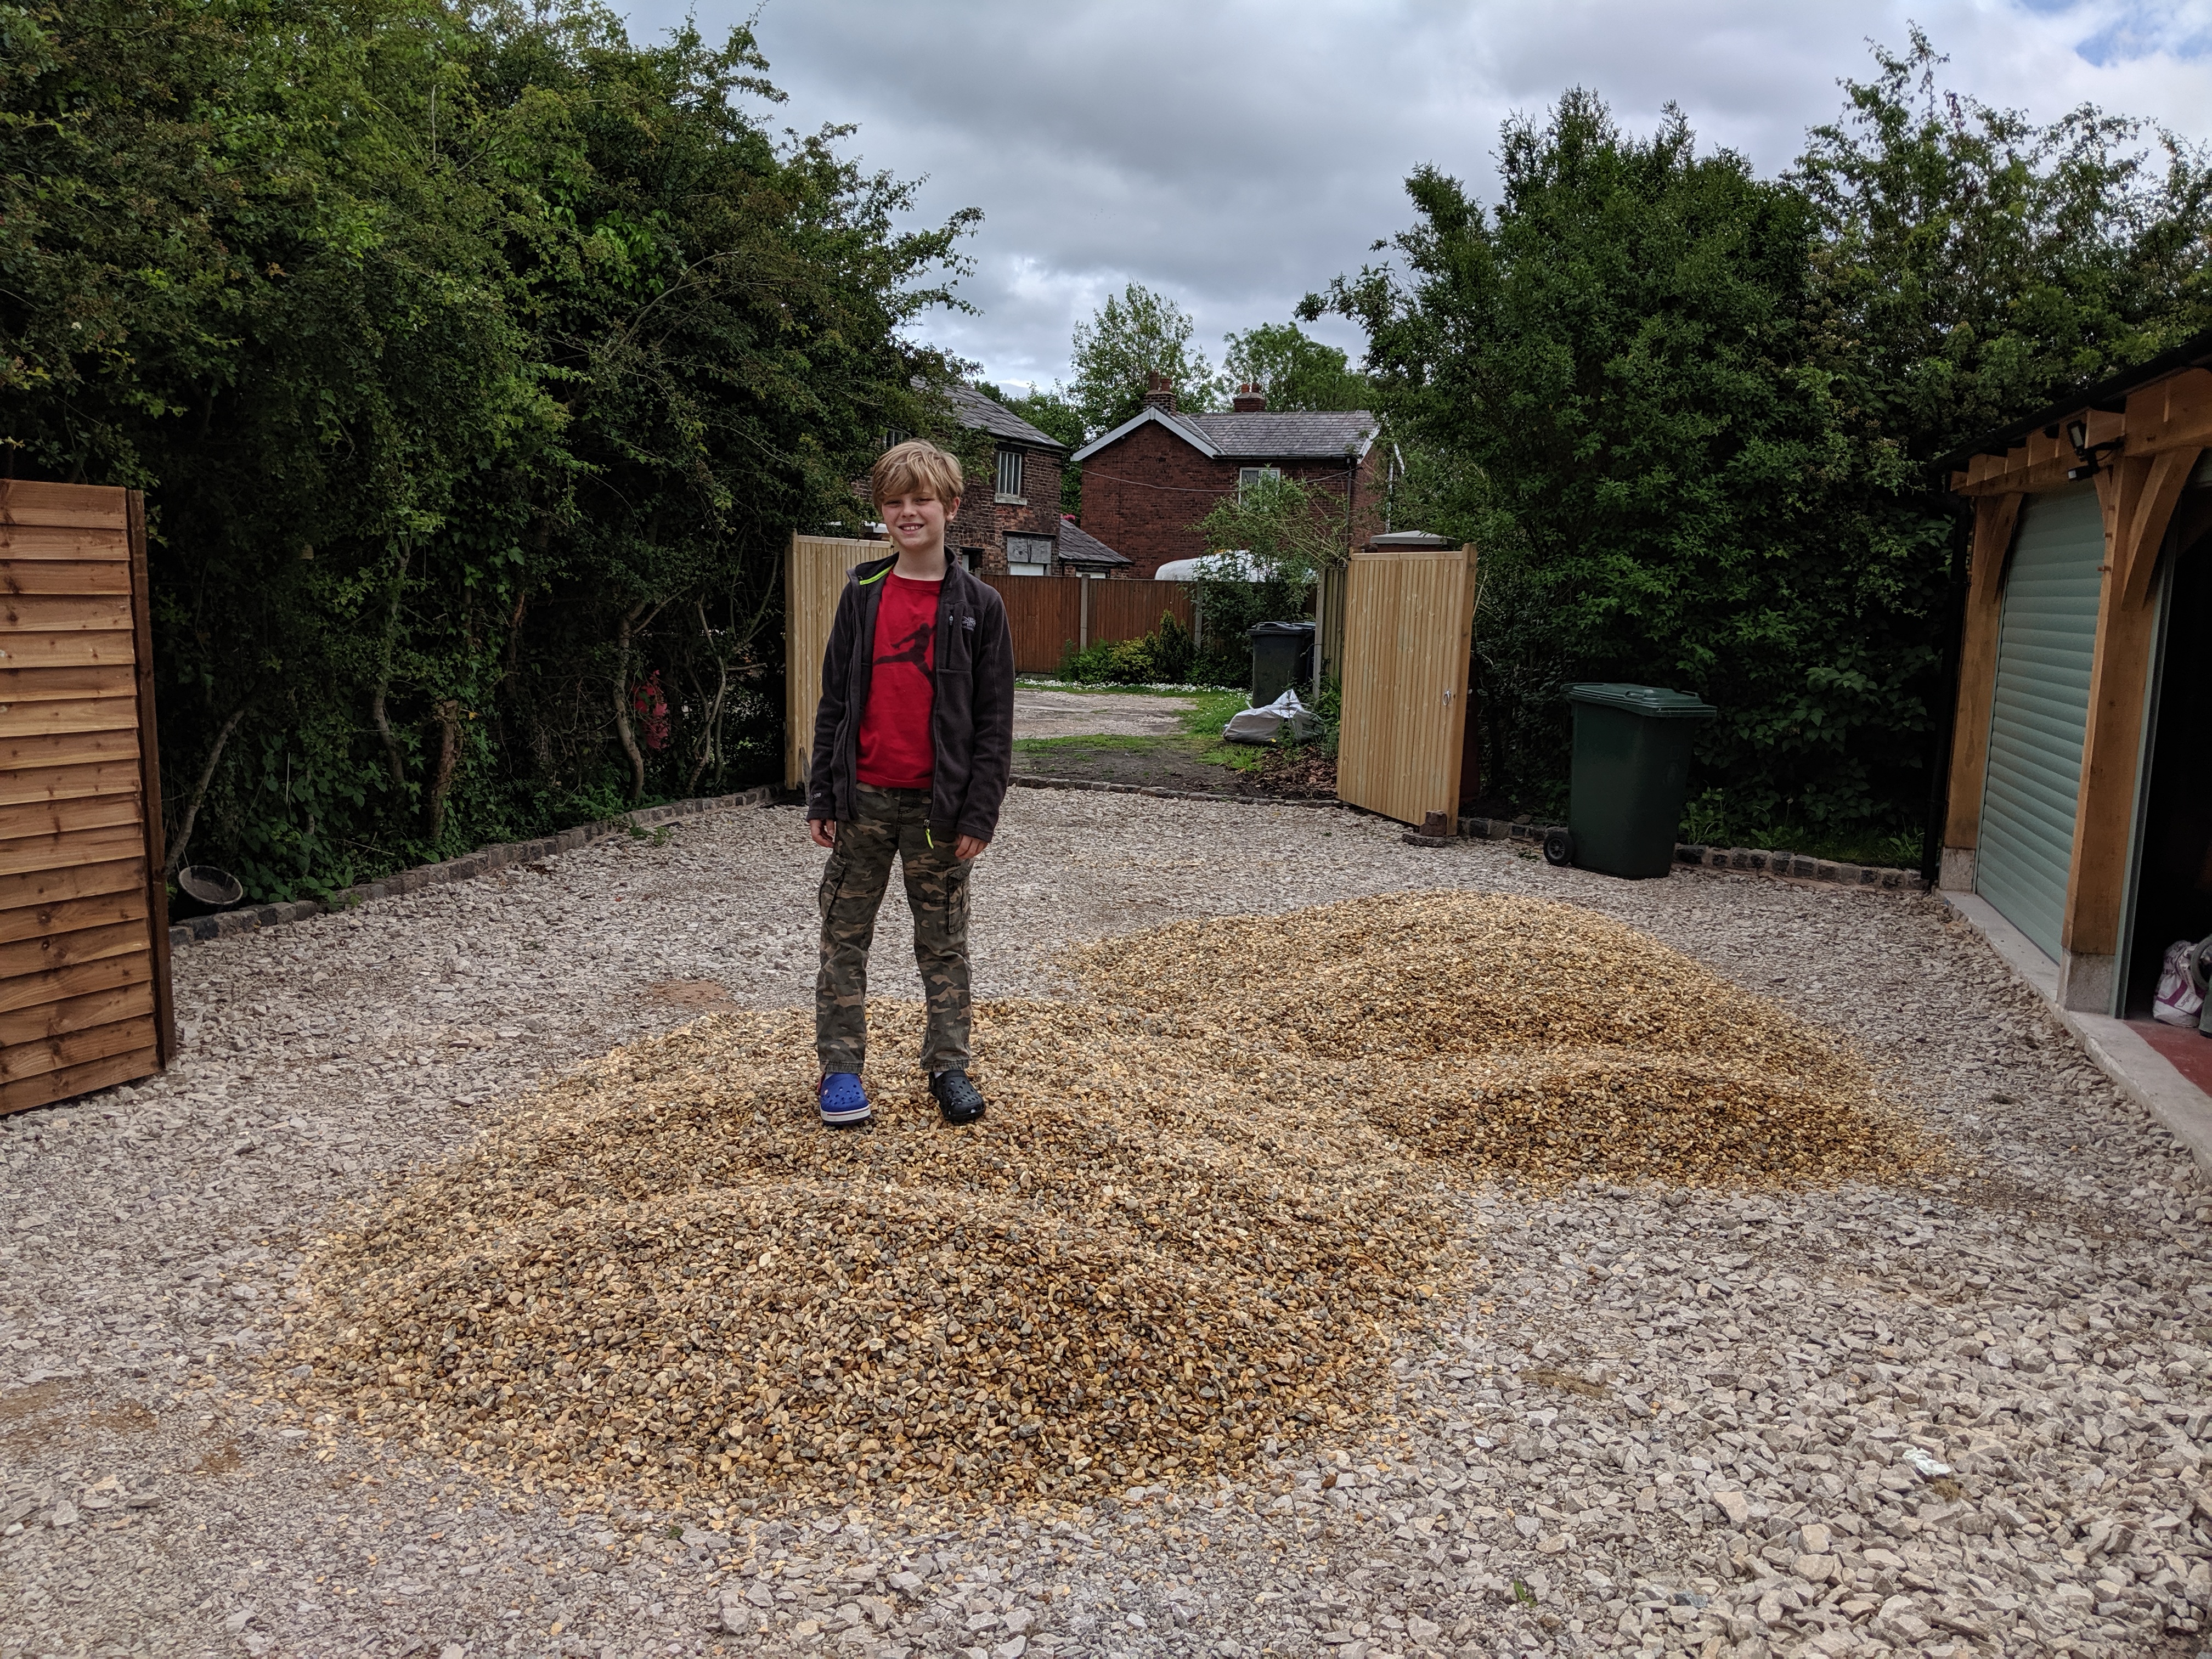
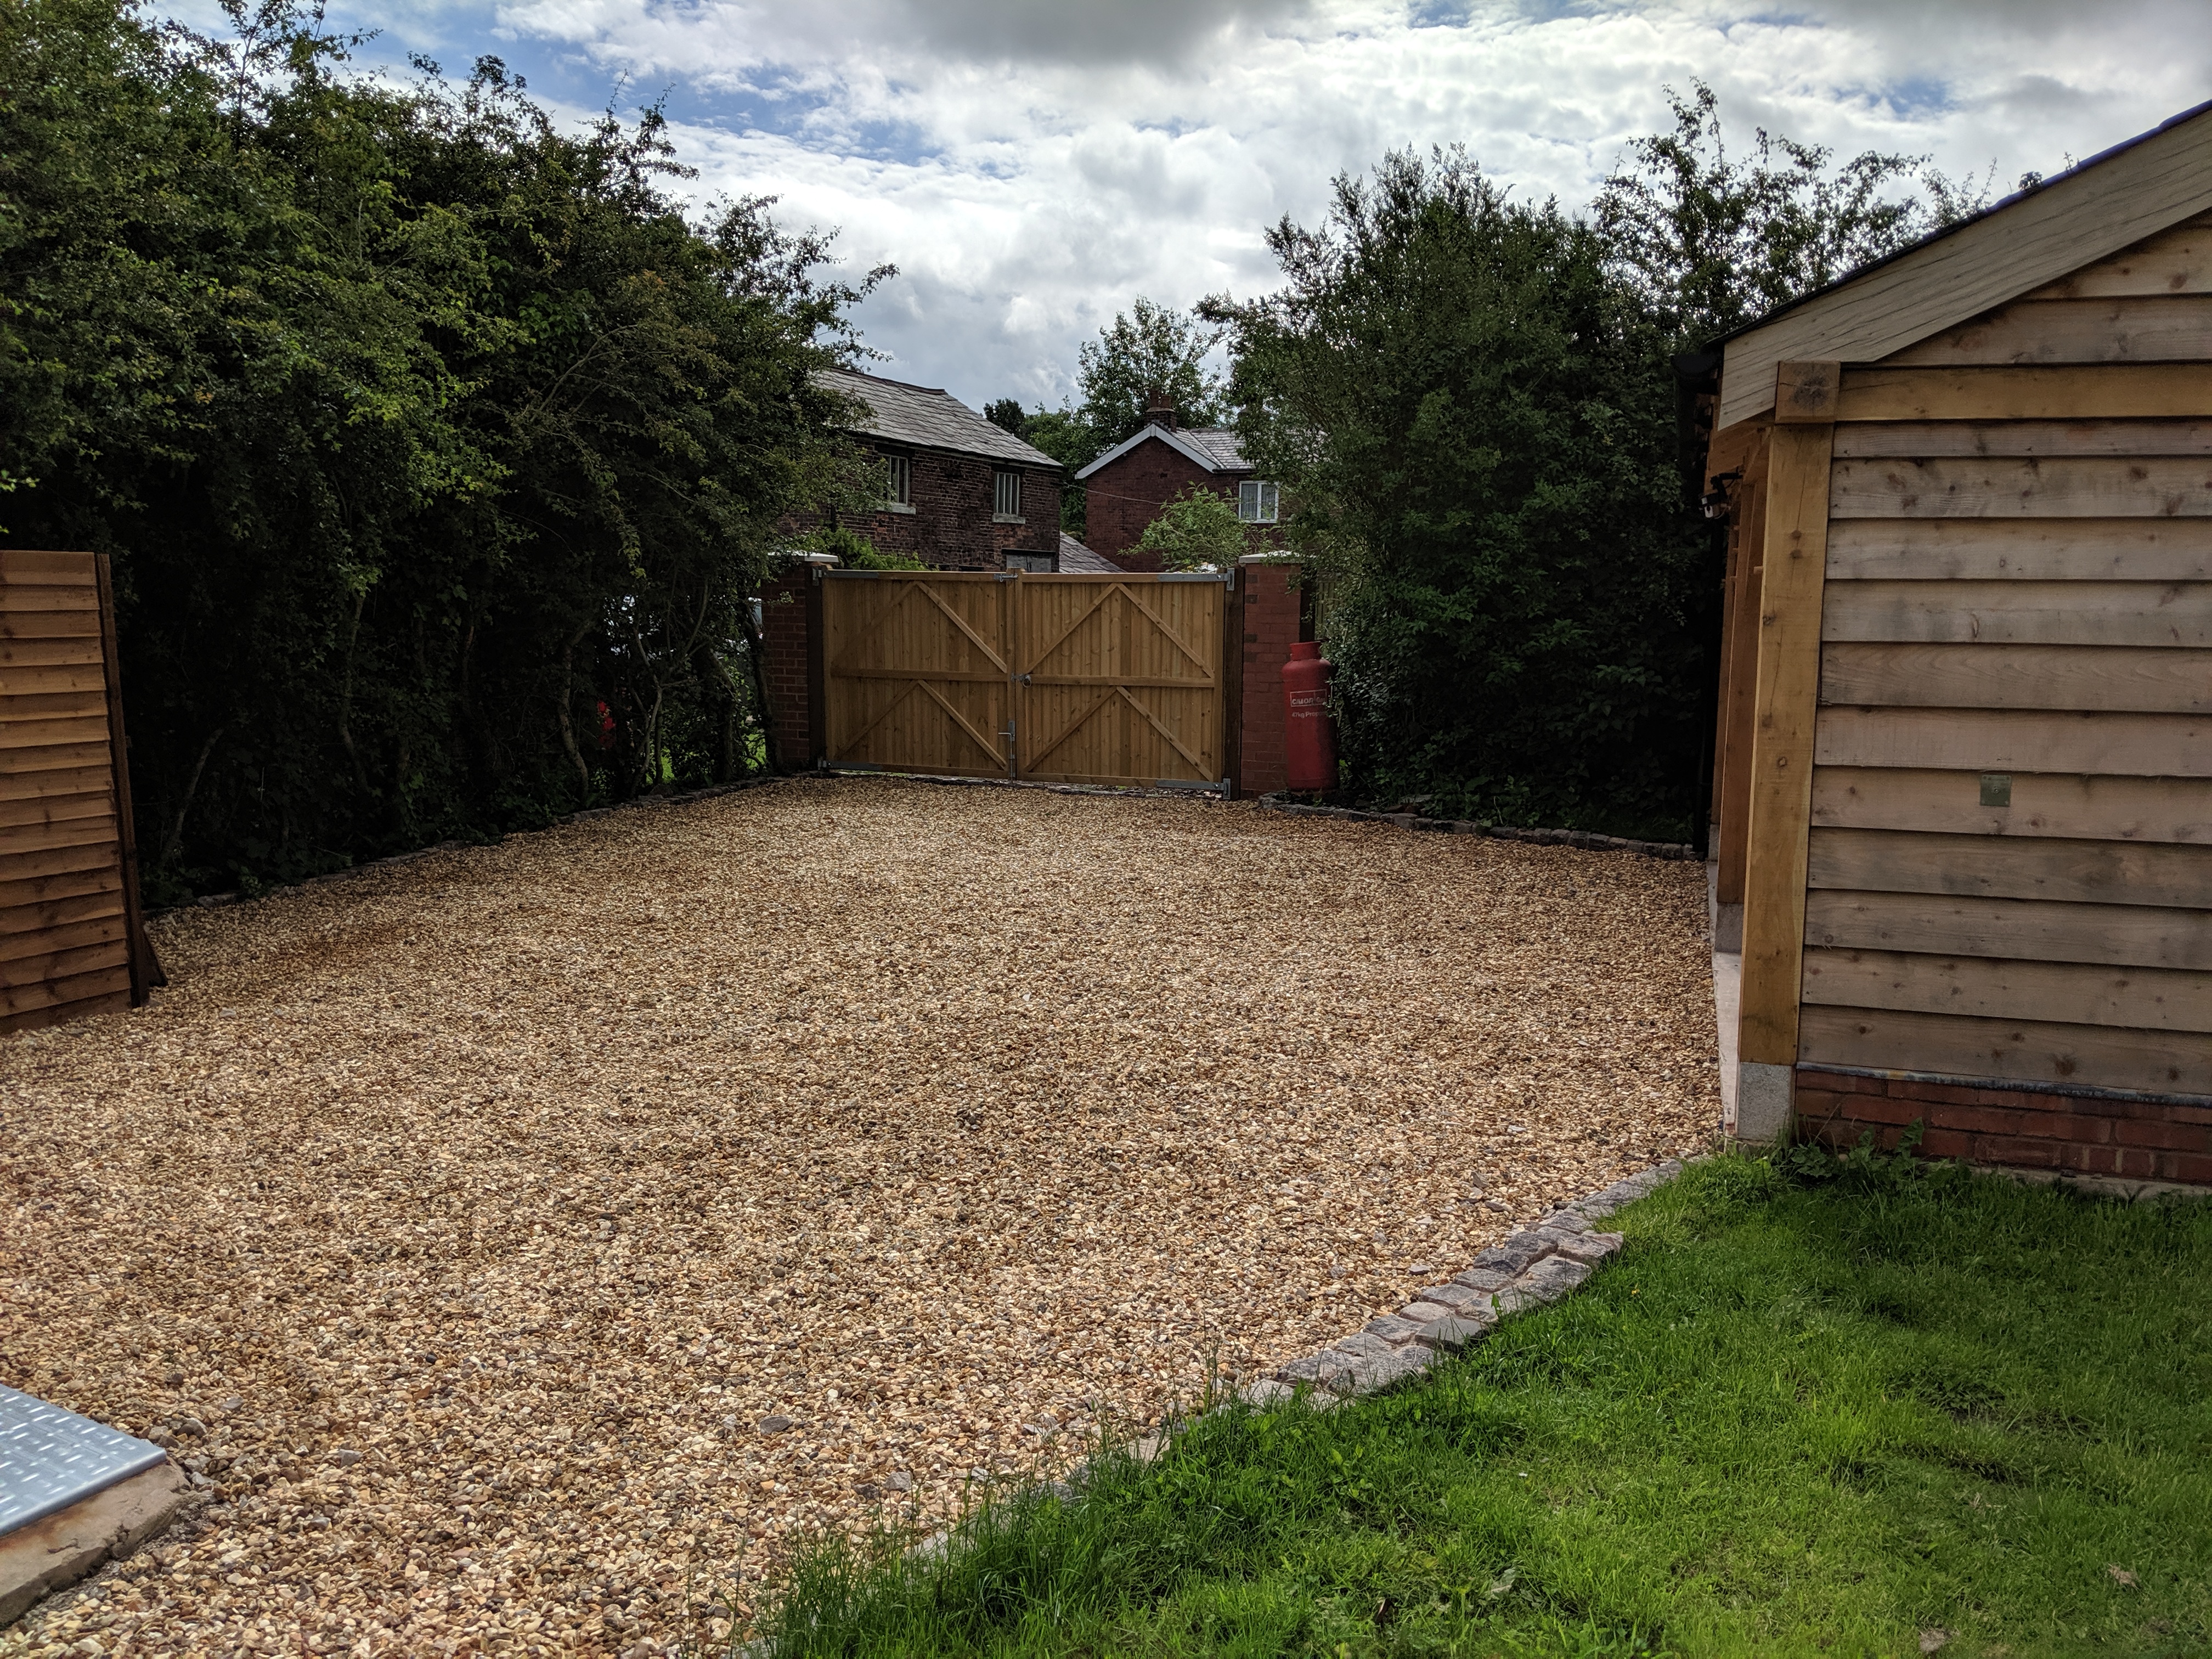
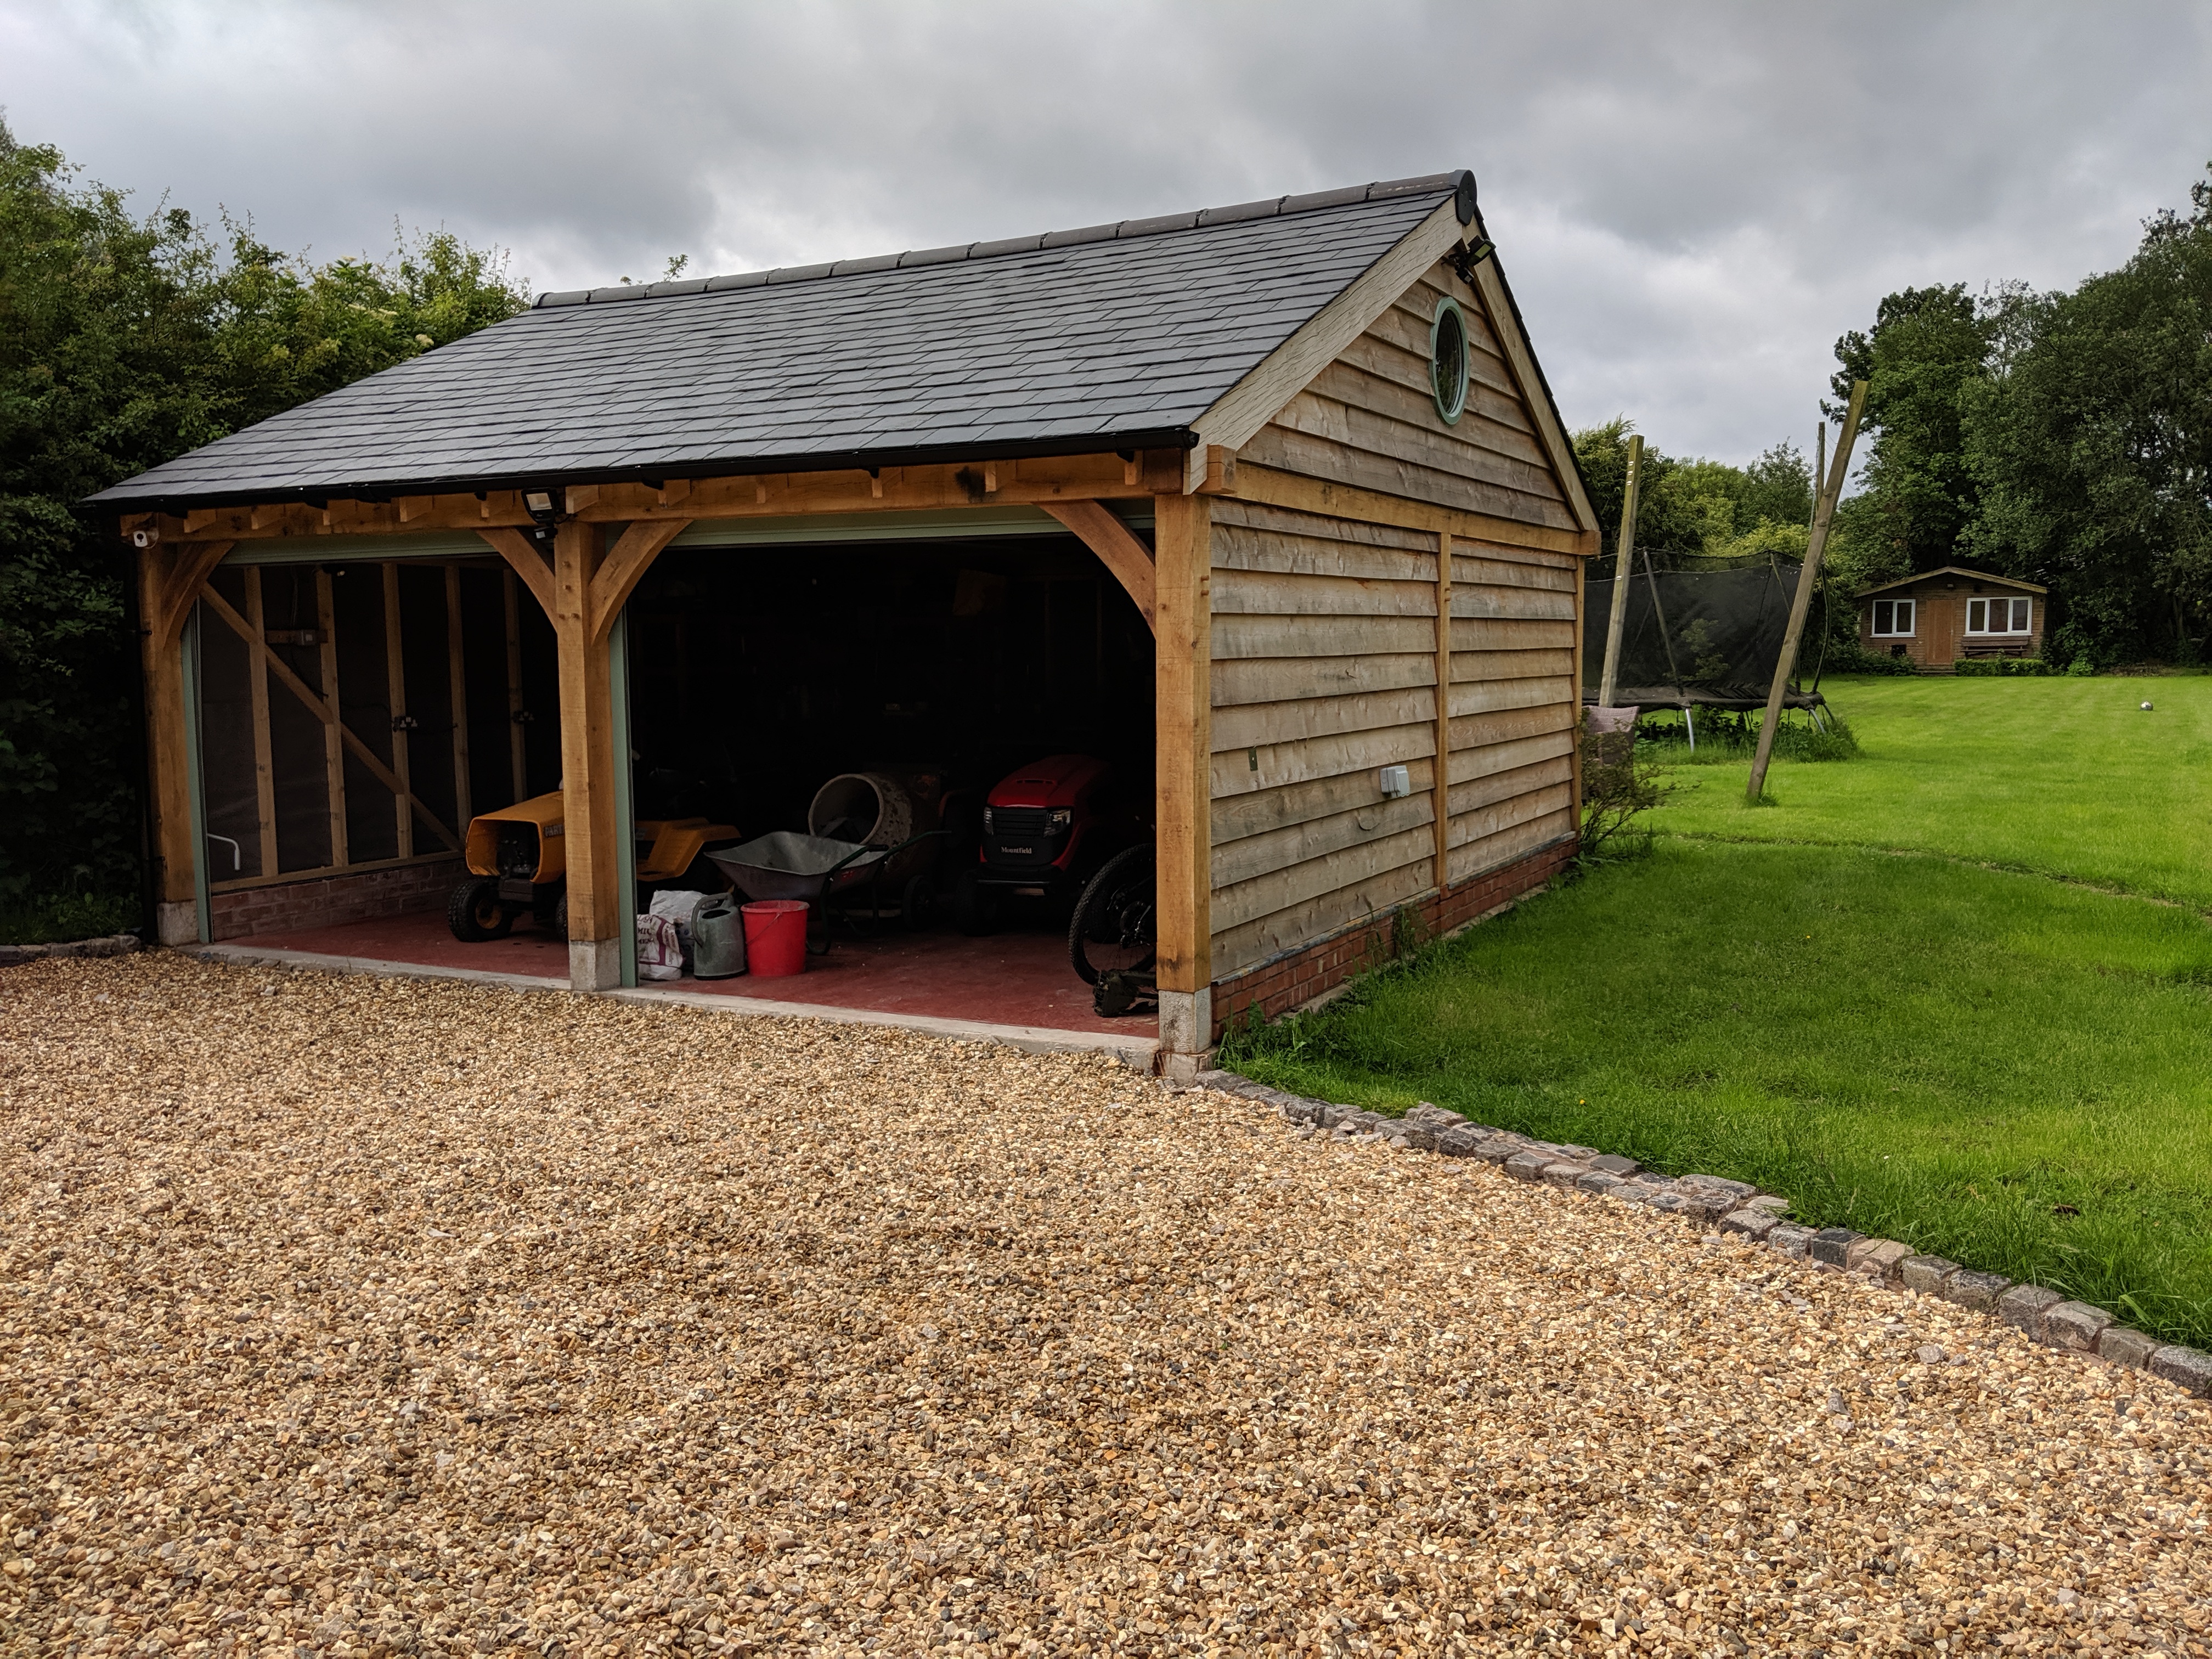
Prior to ordering the gravel for the driveway we had to put a fence around the oil tank and then we could put the gravel up against the edge of the fencing for a beautiful finish.
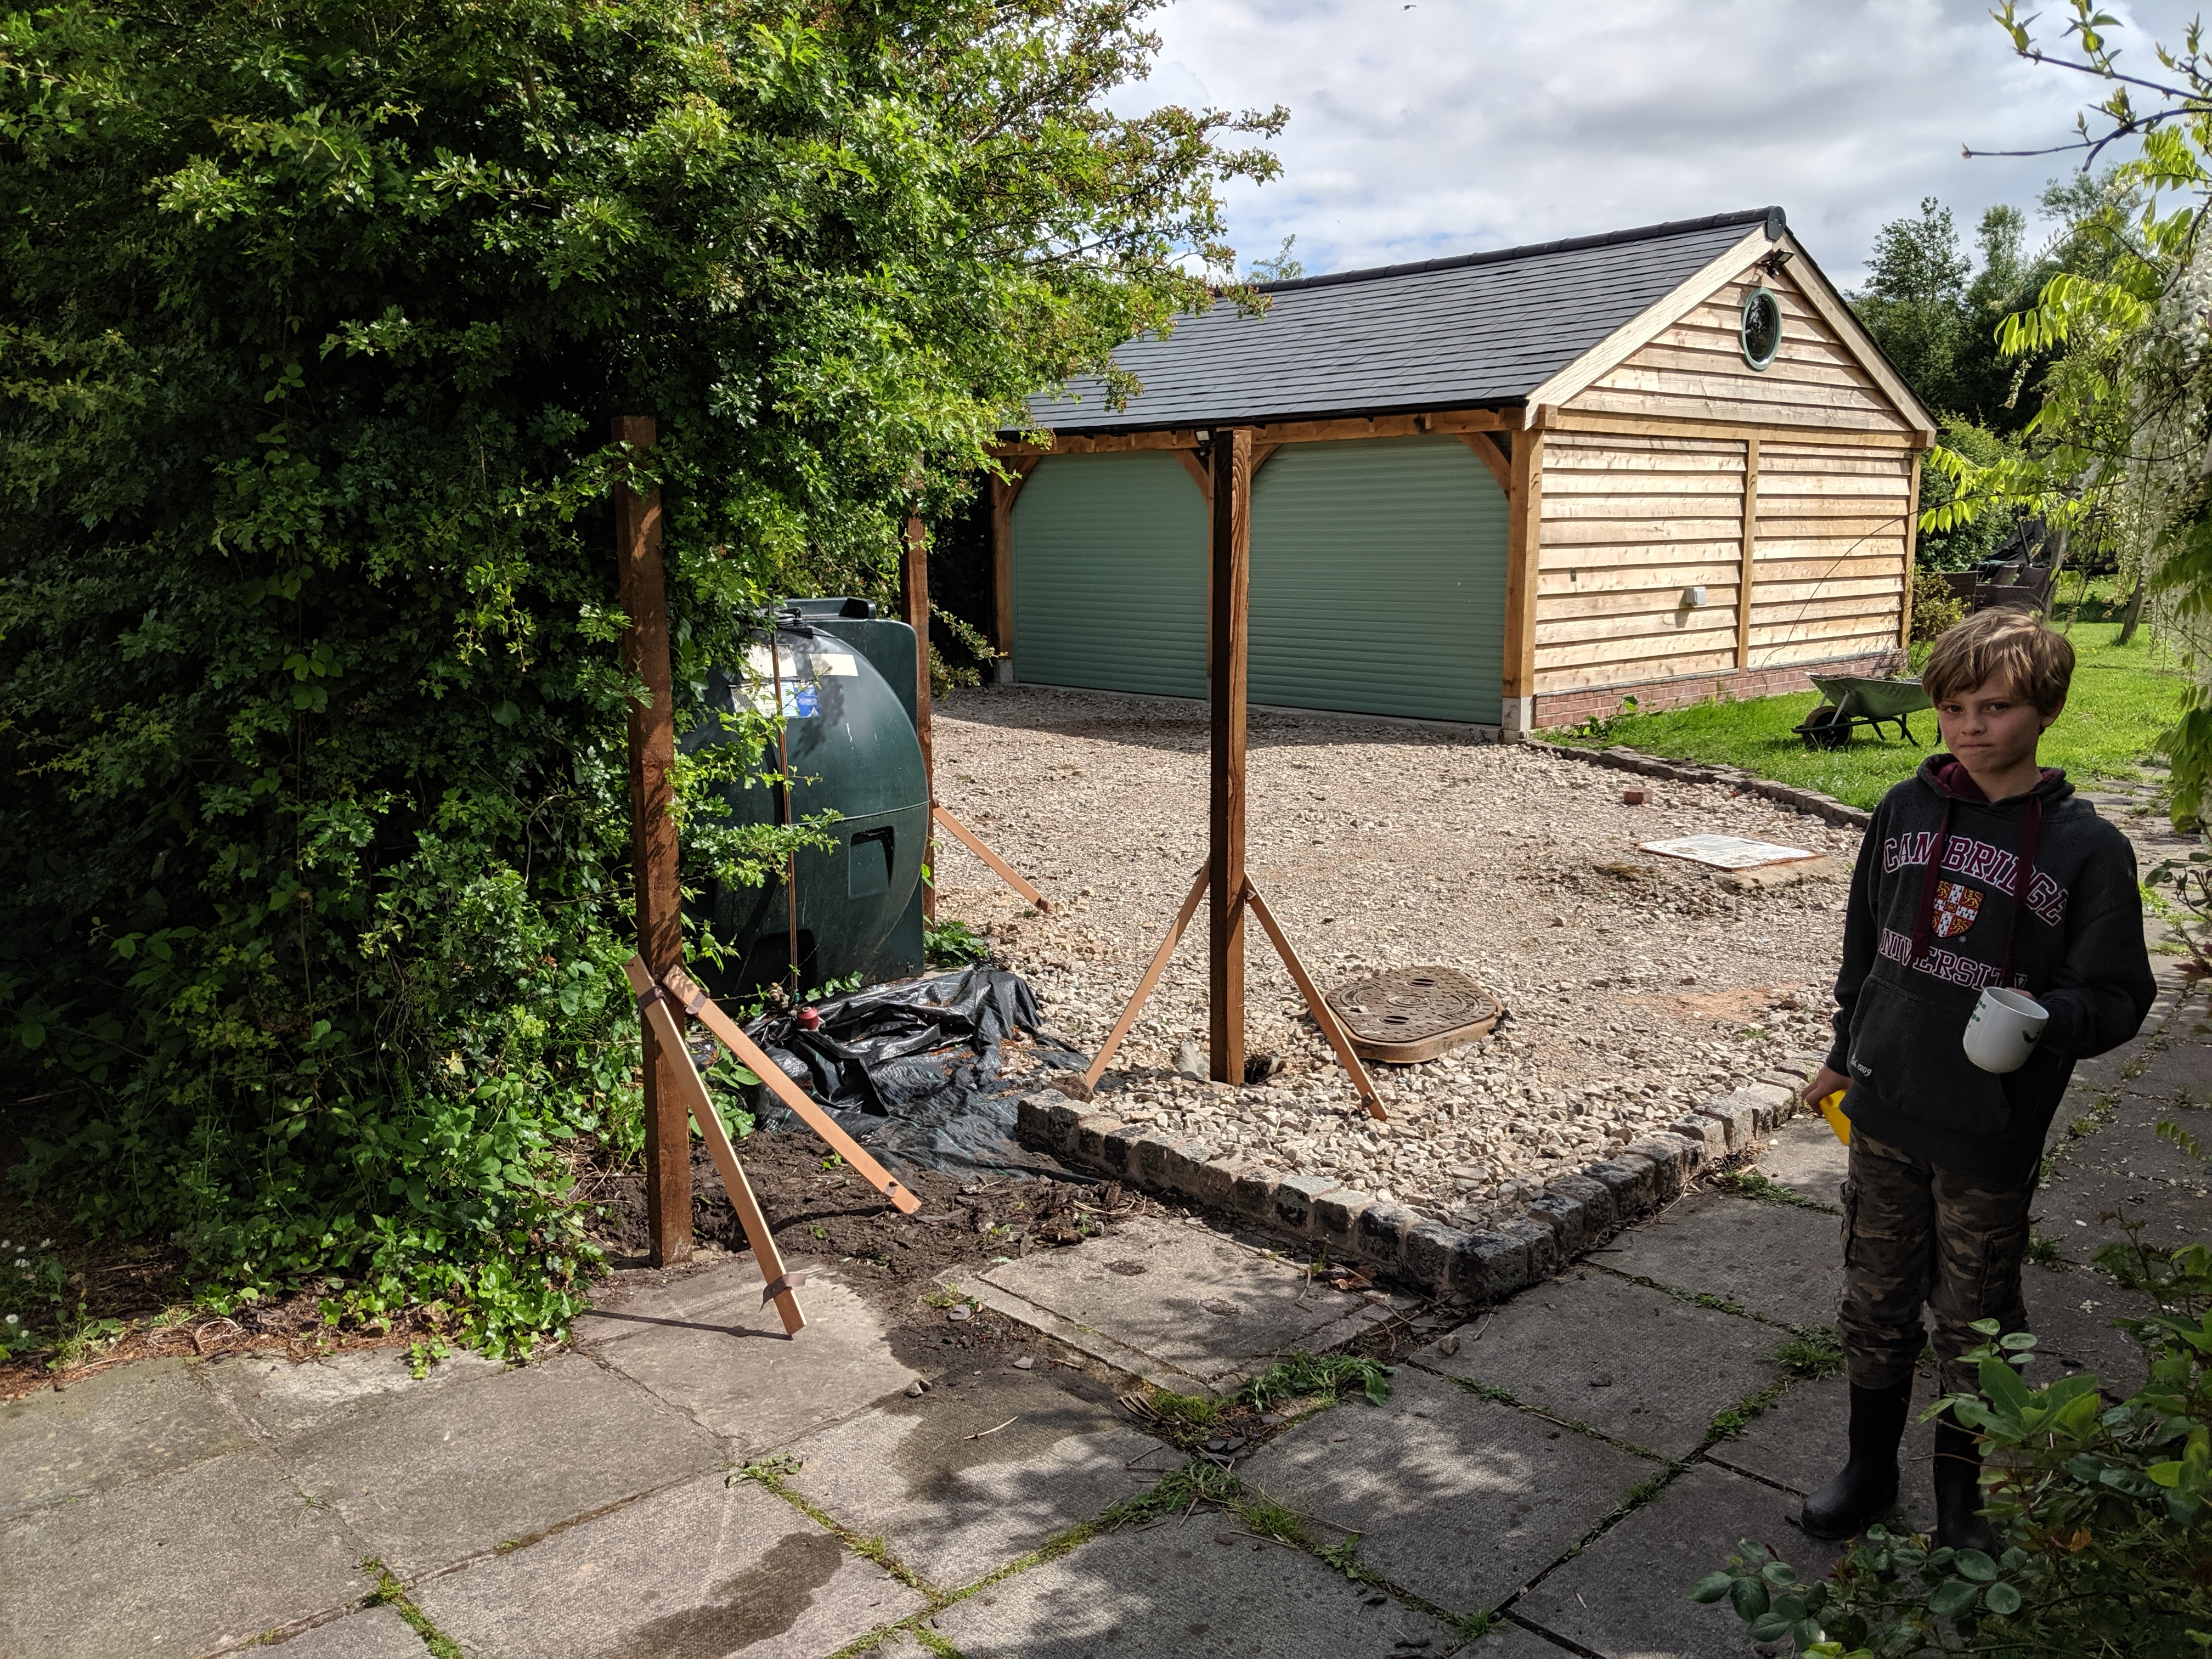
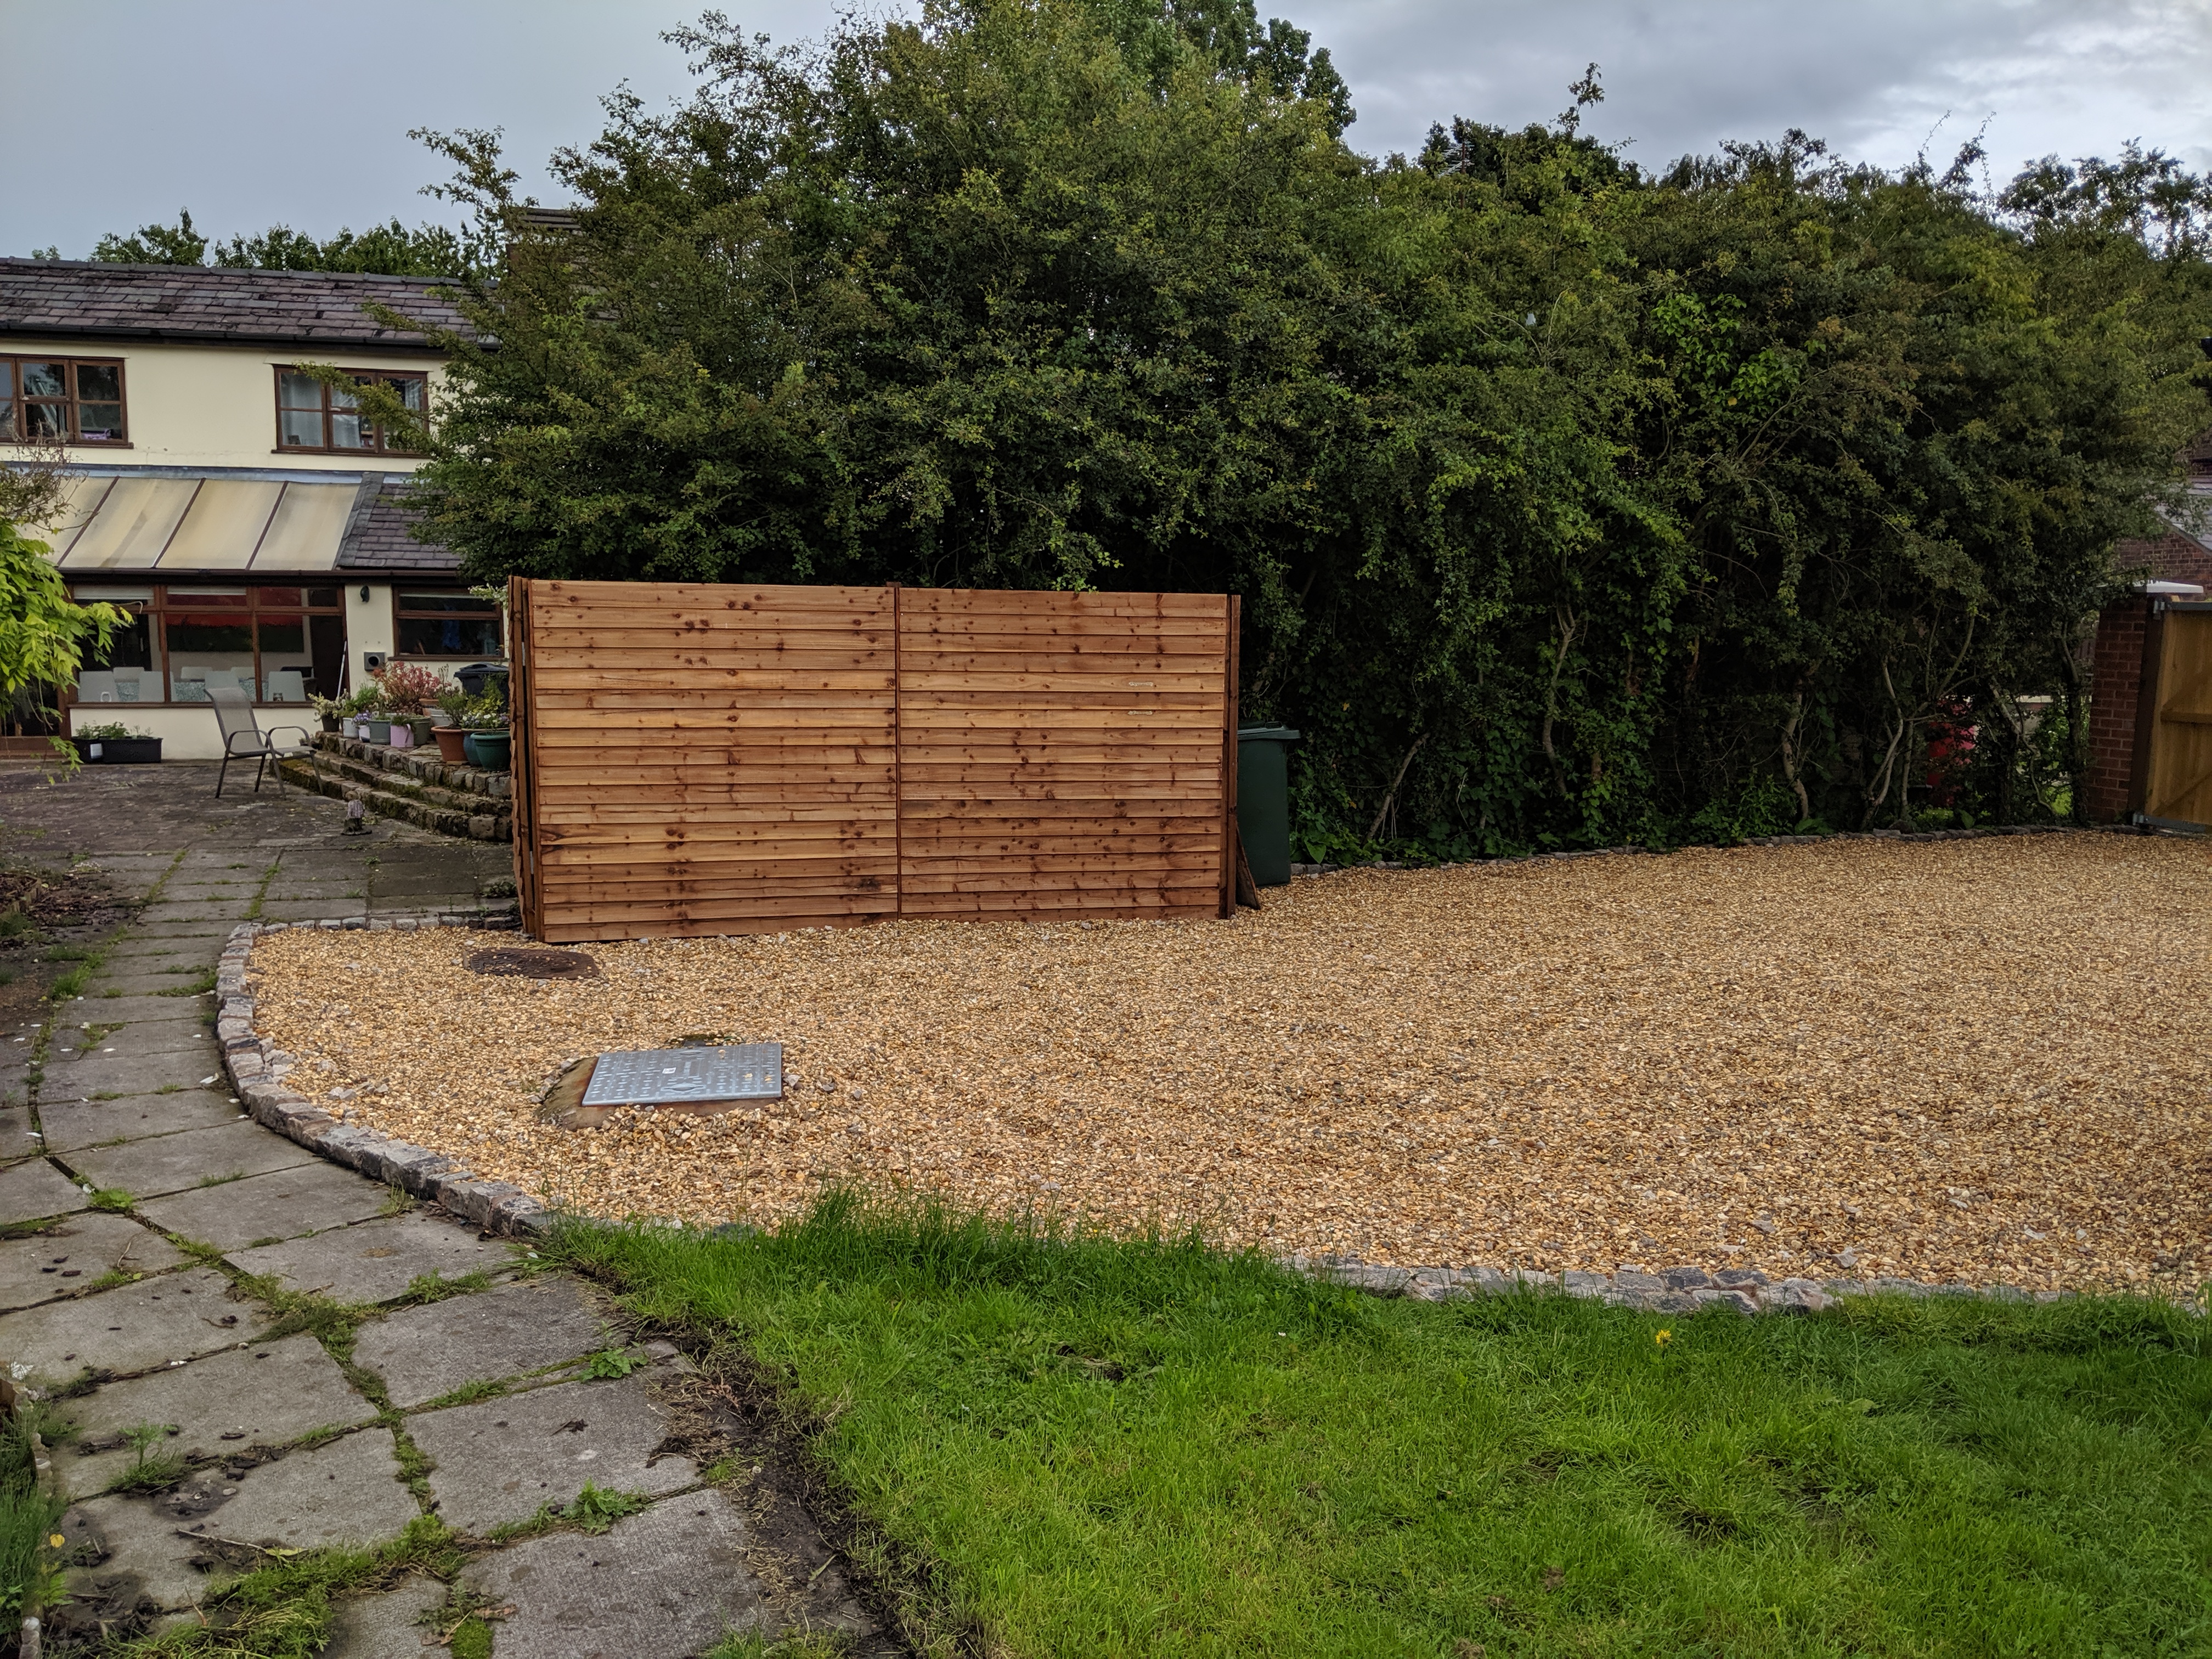
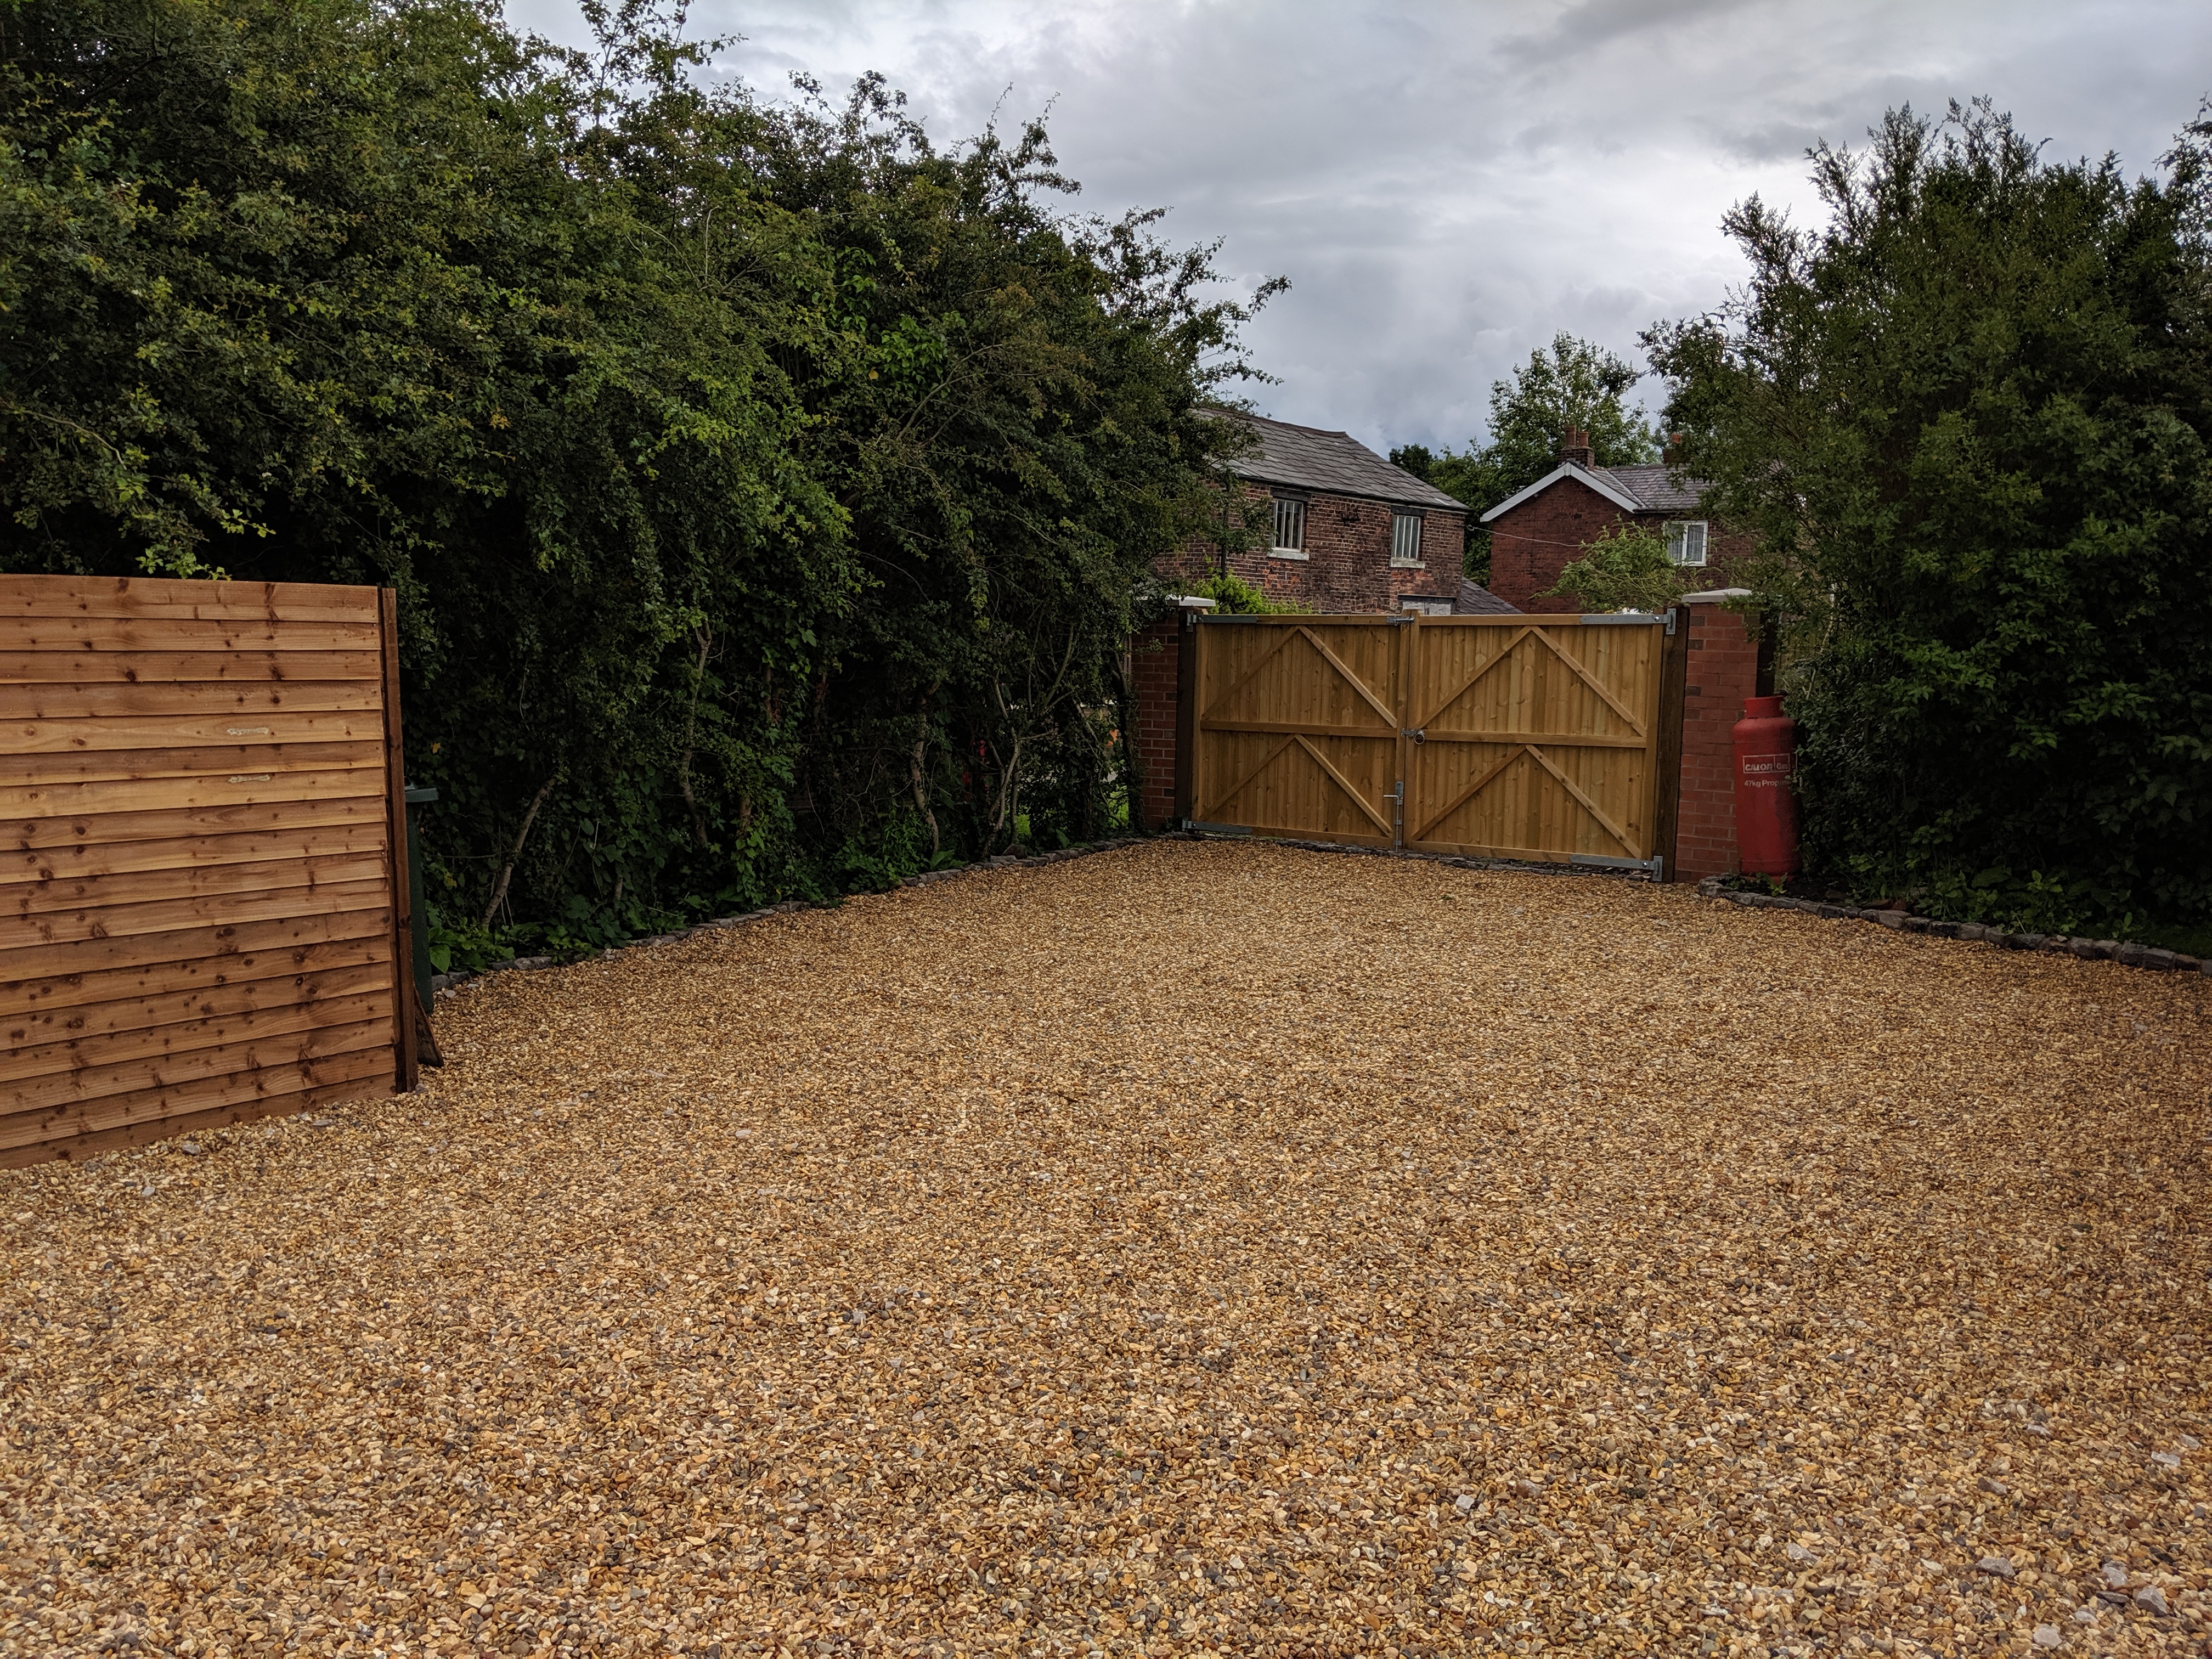
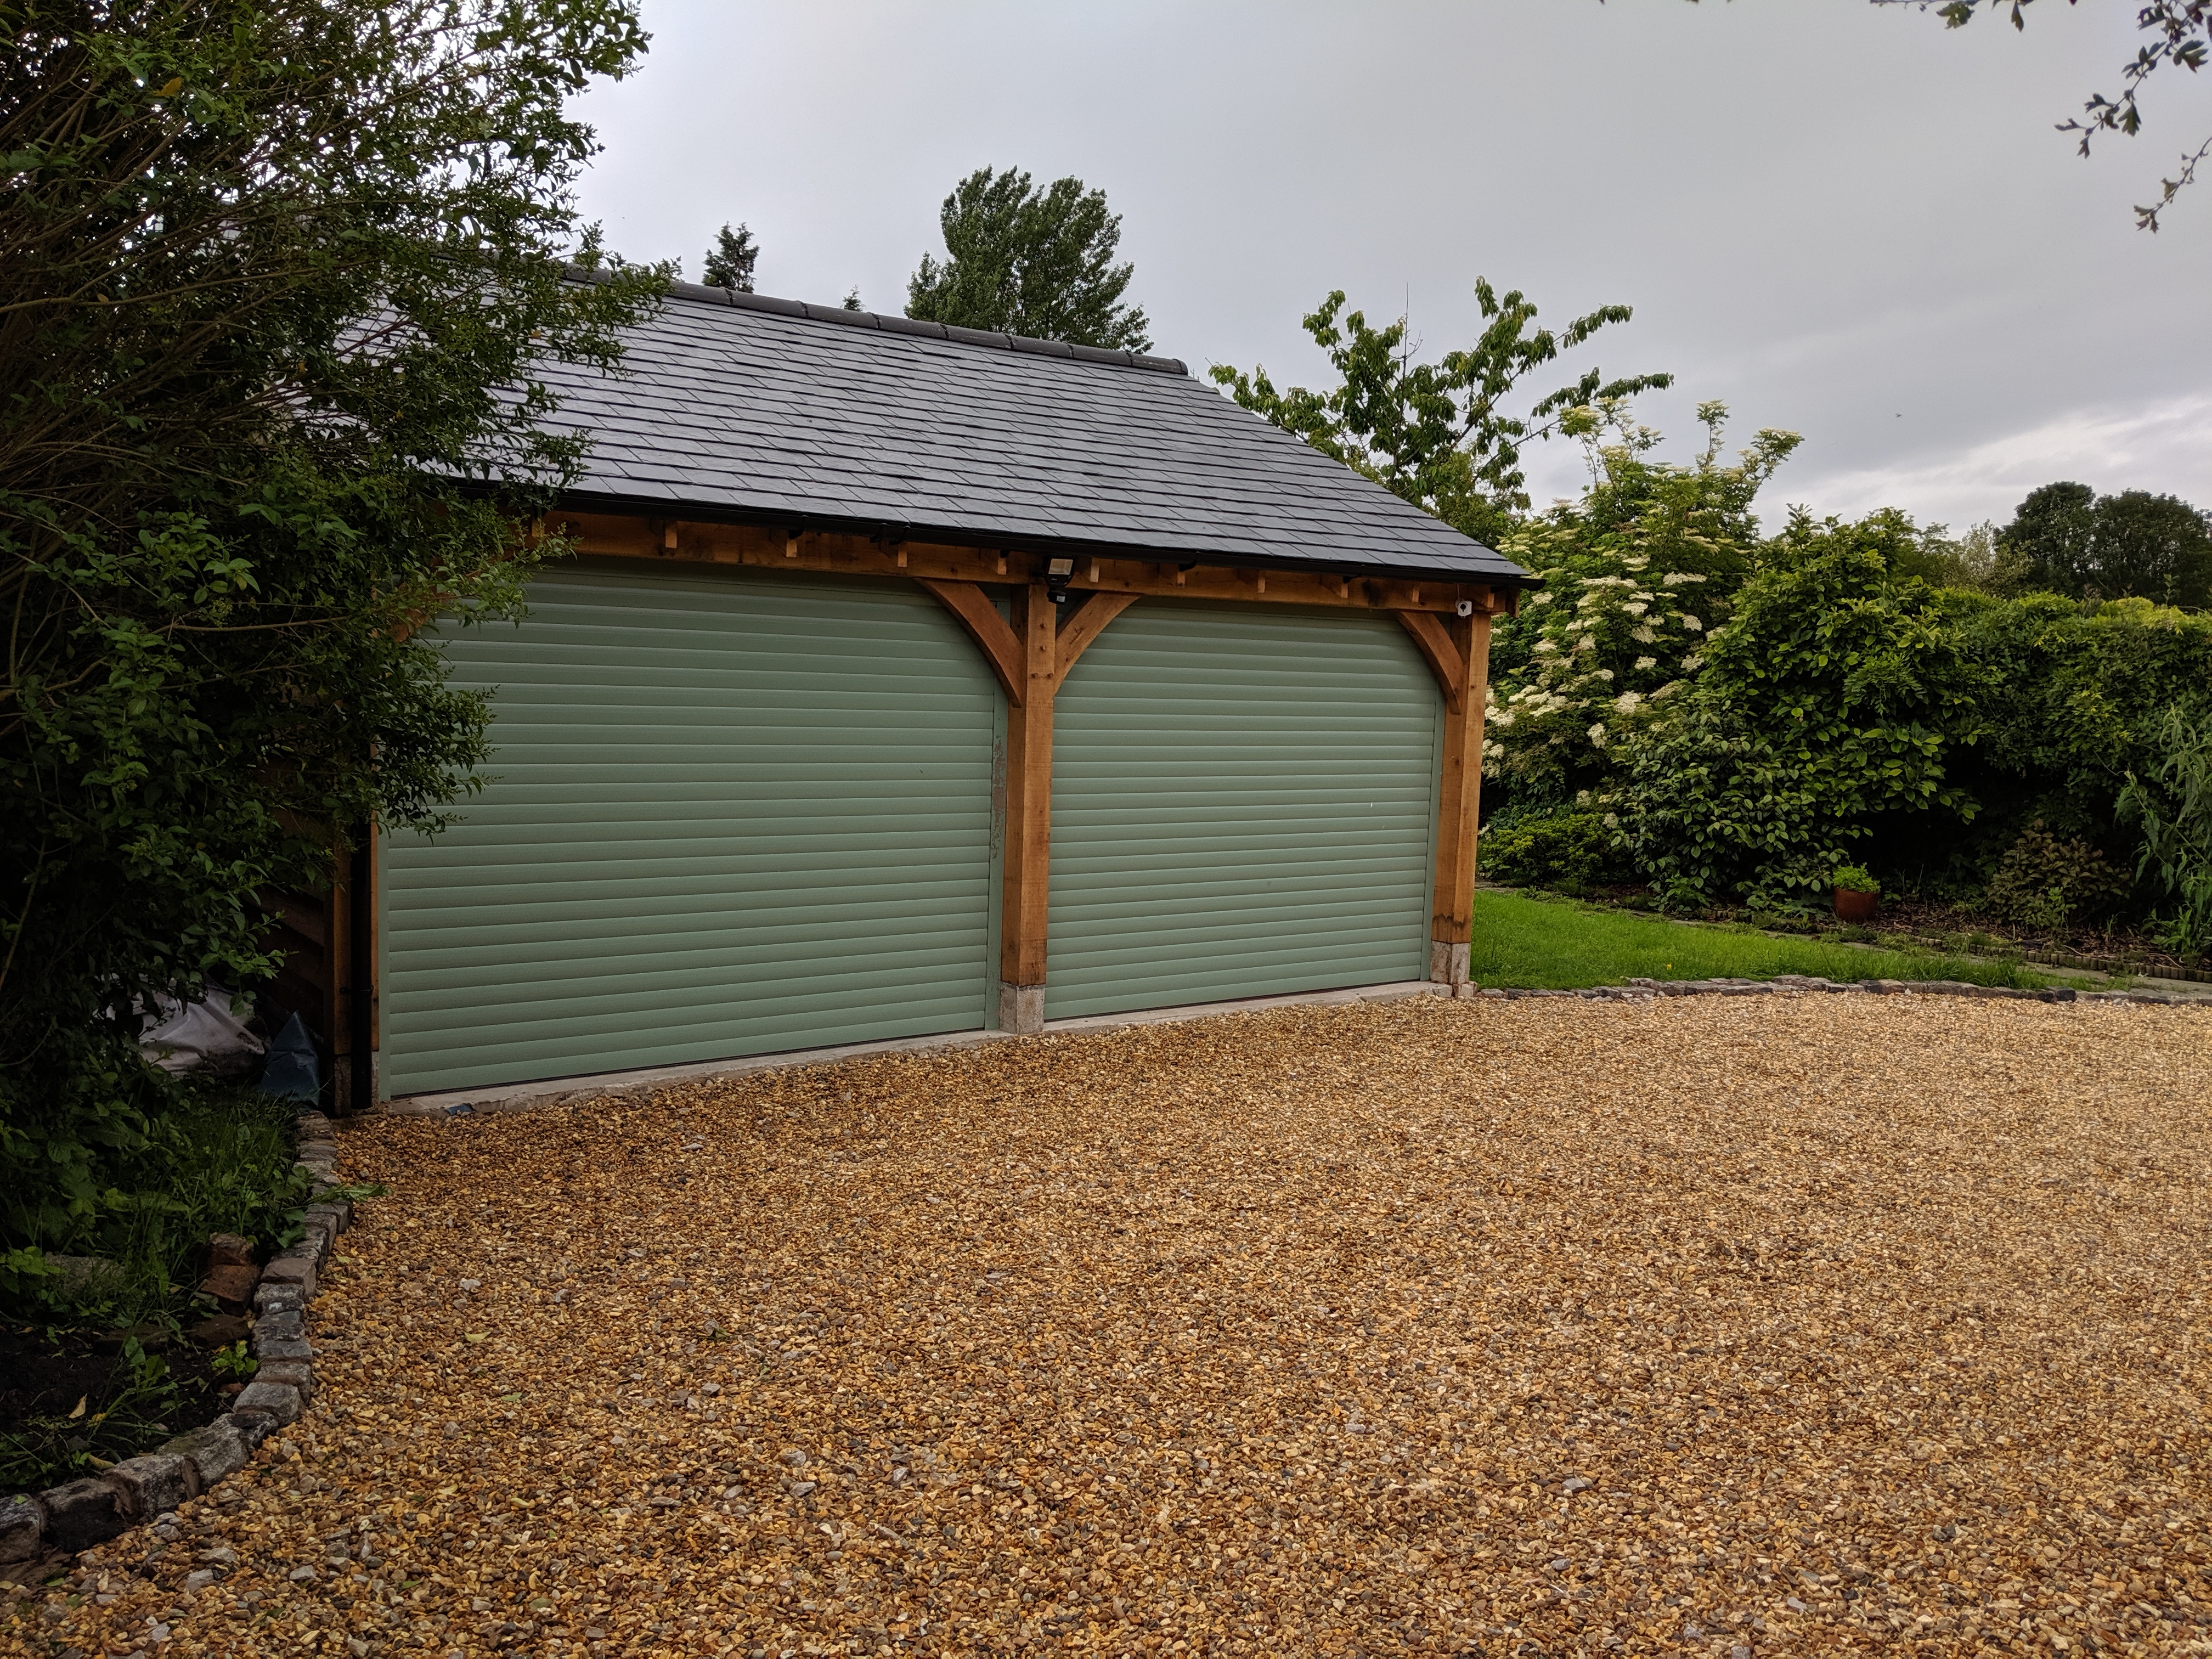
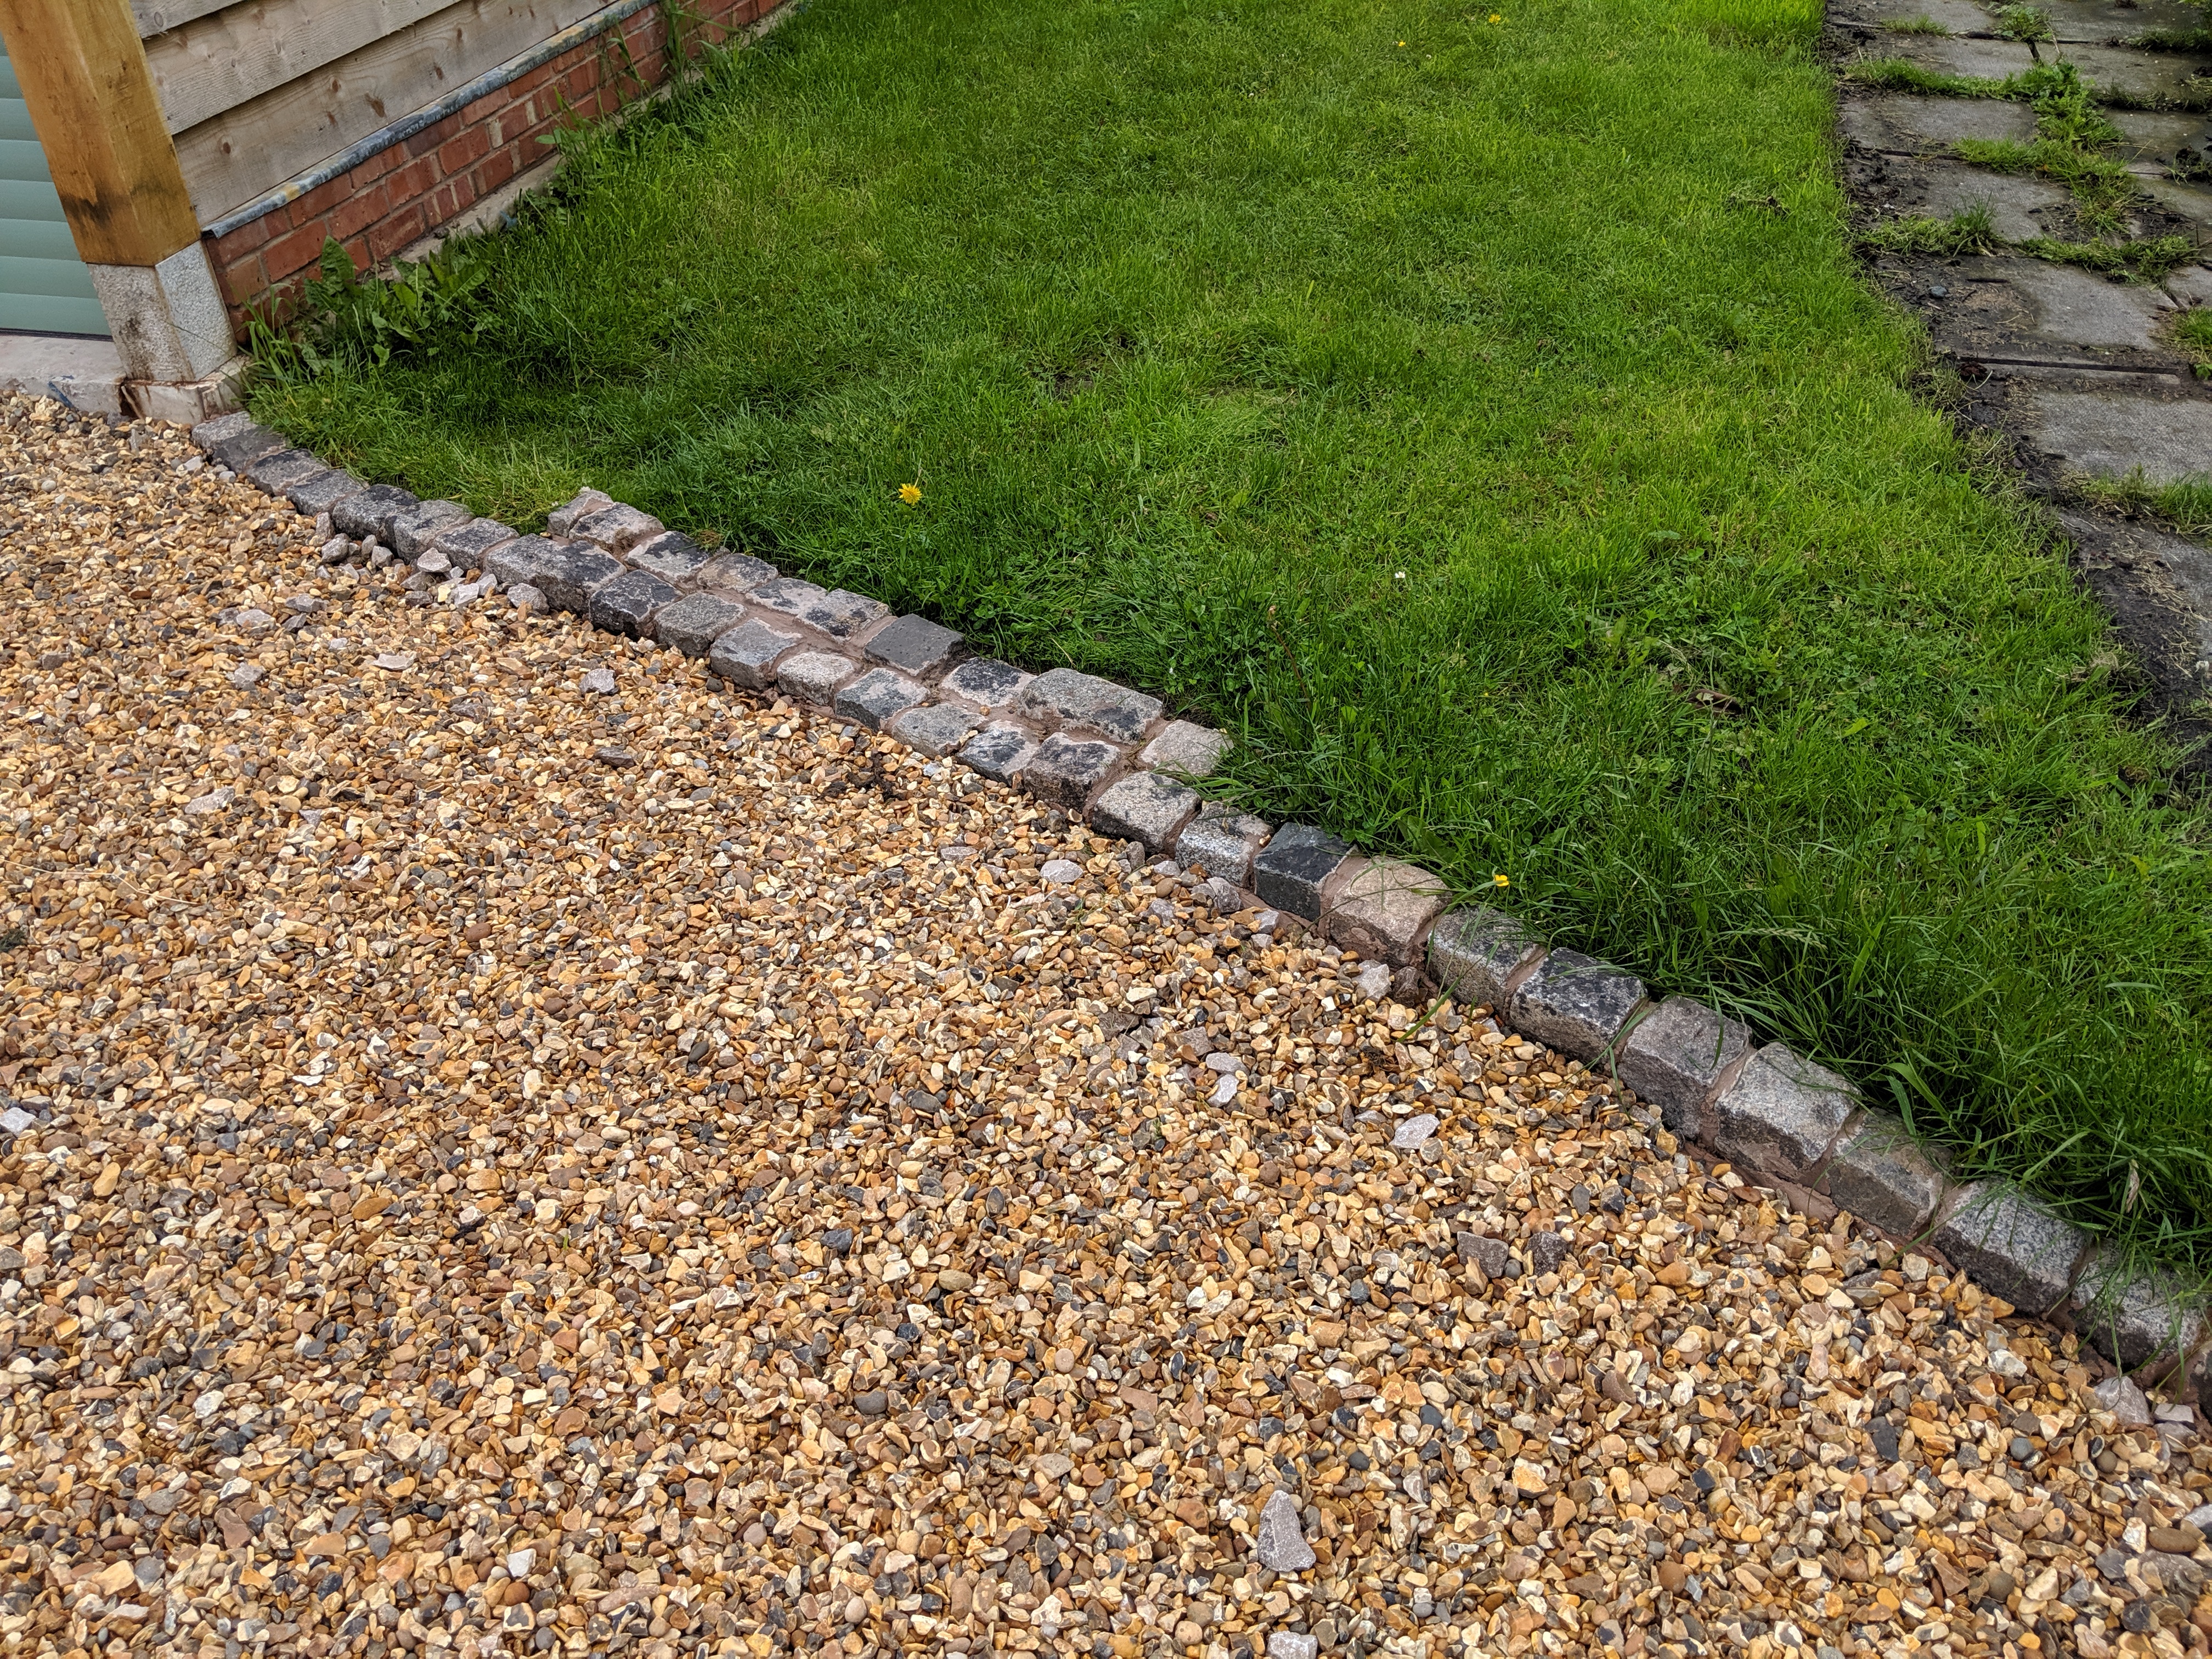
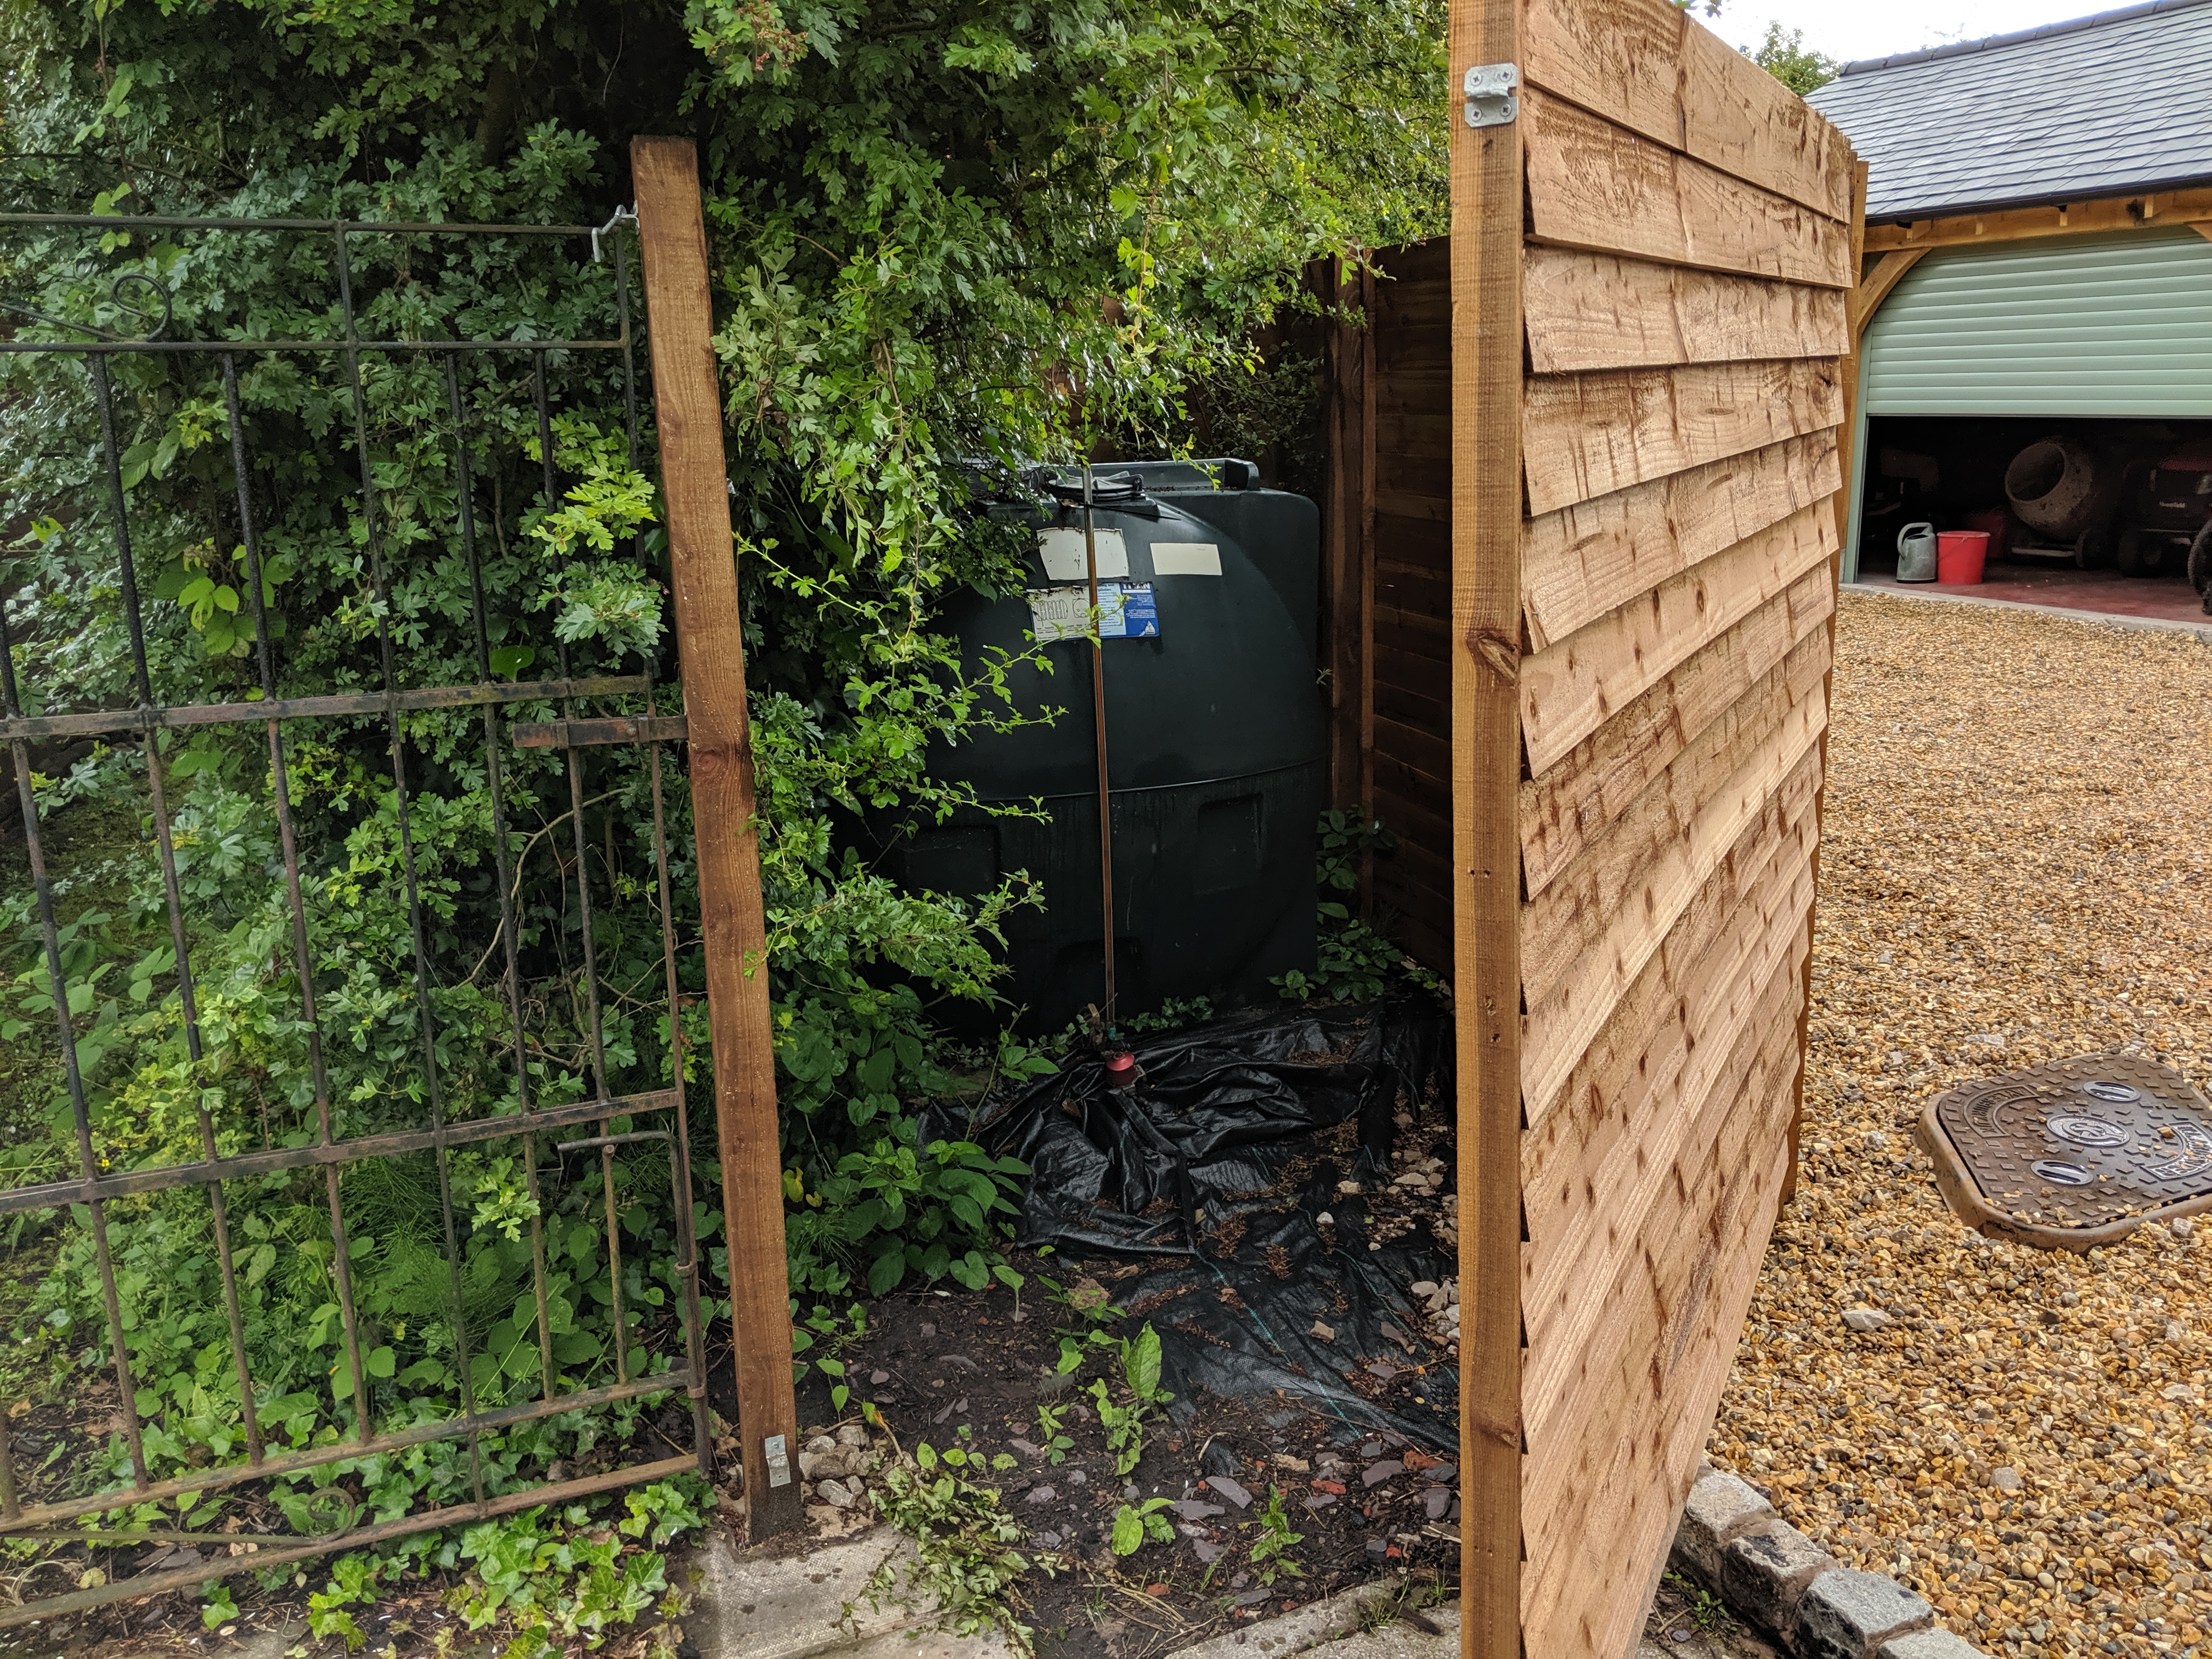
It took a while to work out the best way to achieve this. I wanted a fence around the oil tank but I had to access it sometimes to … you know…add oil to it. I was going to put some finger bolts on to unscrew it, but in the end I decided a hinge and catch would be the best solution.
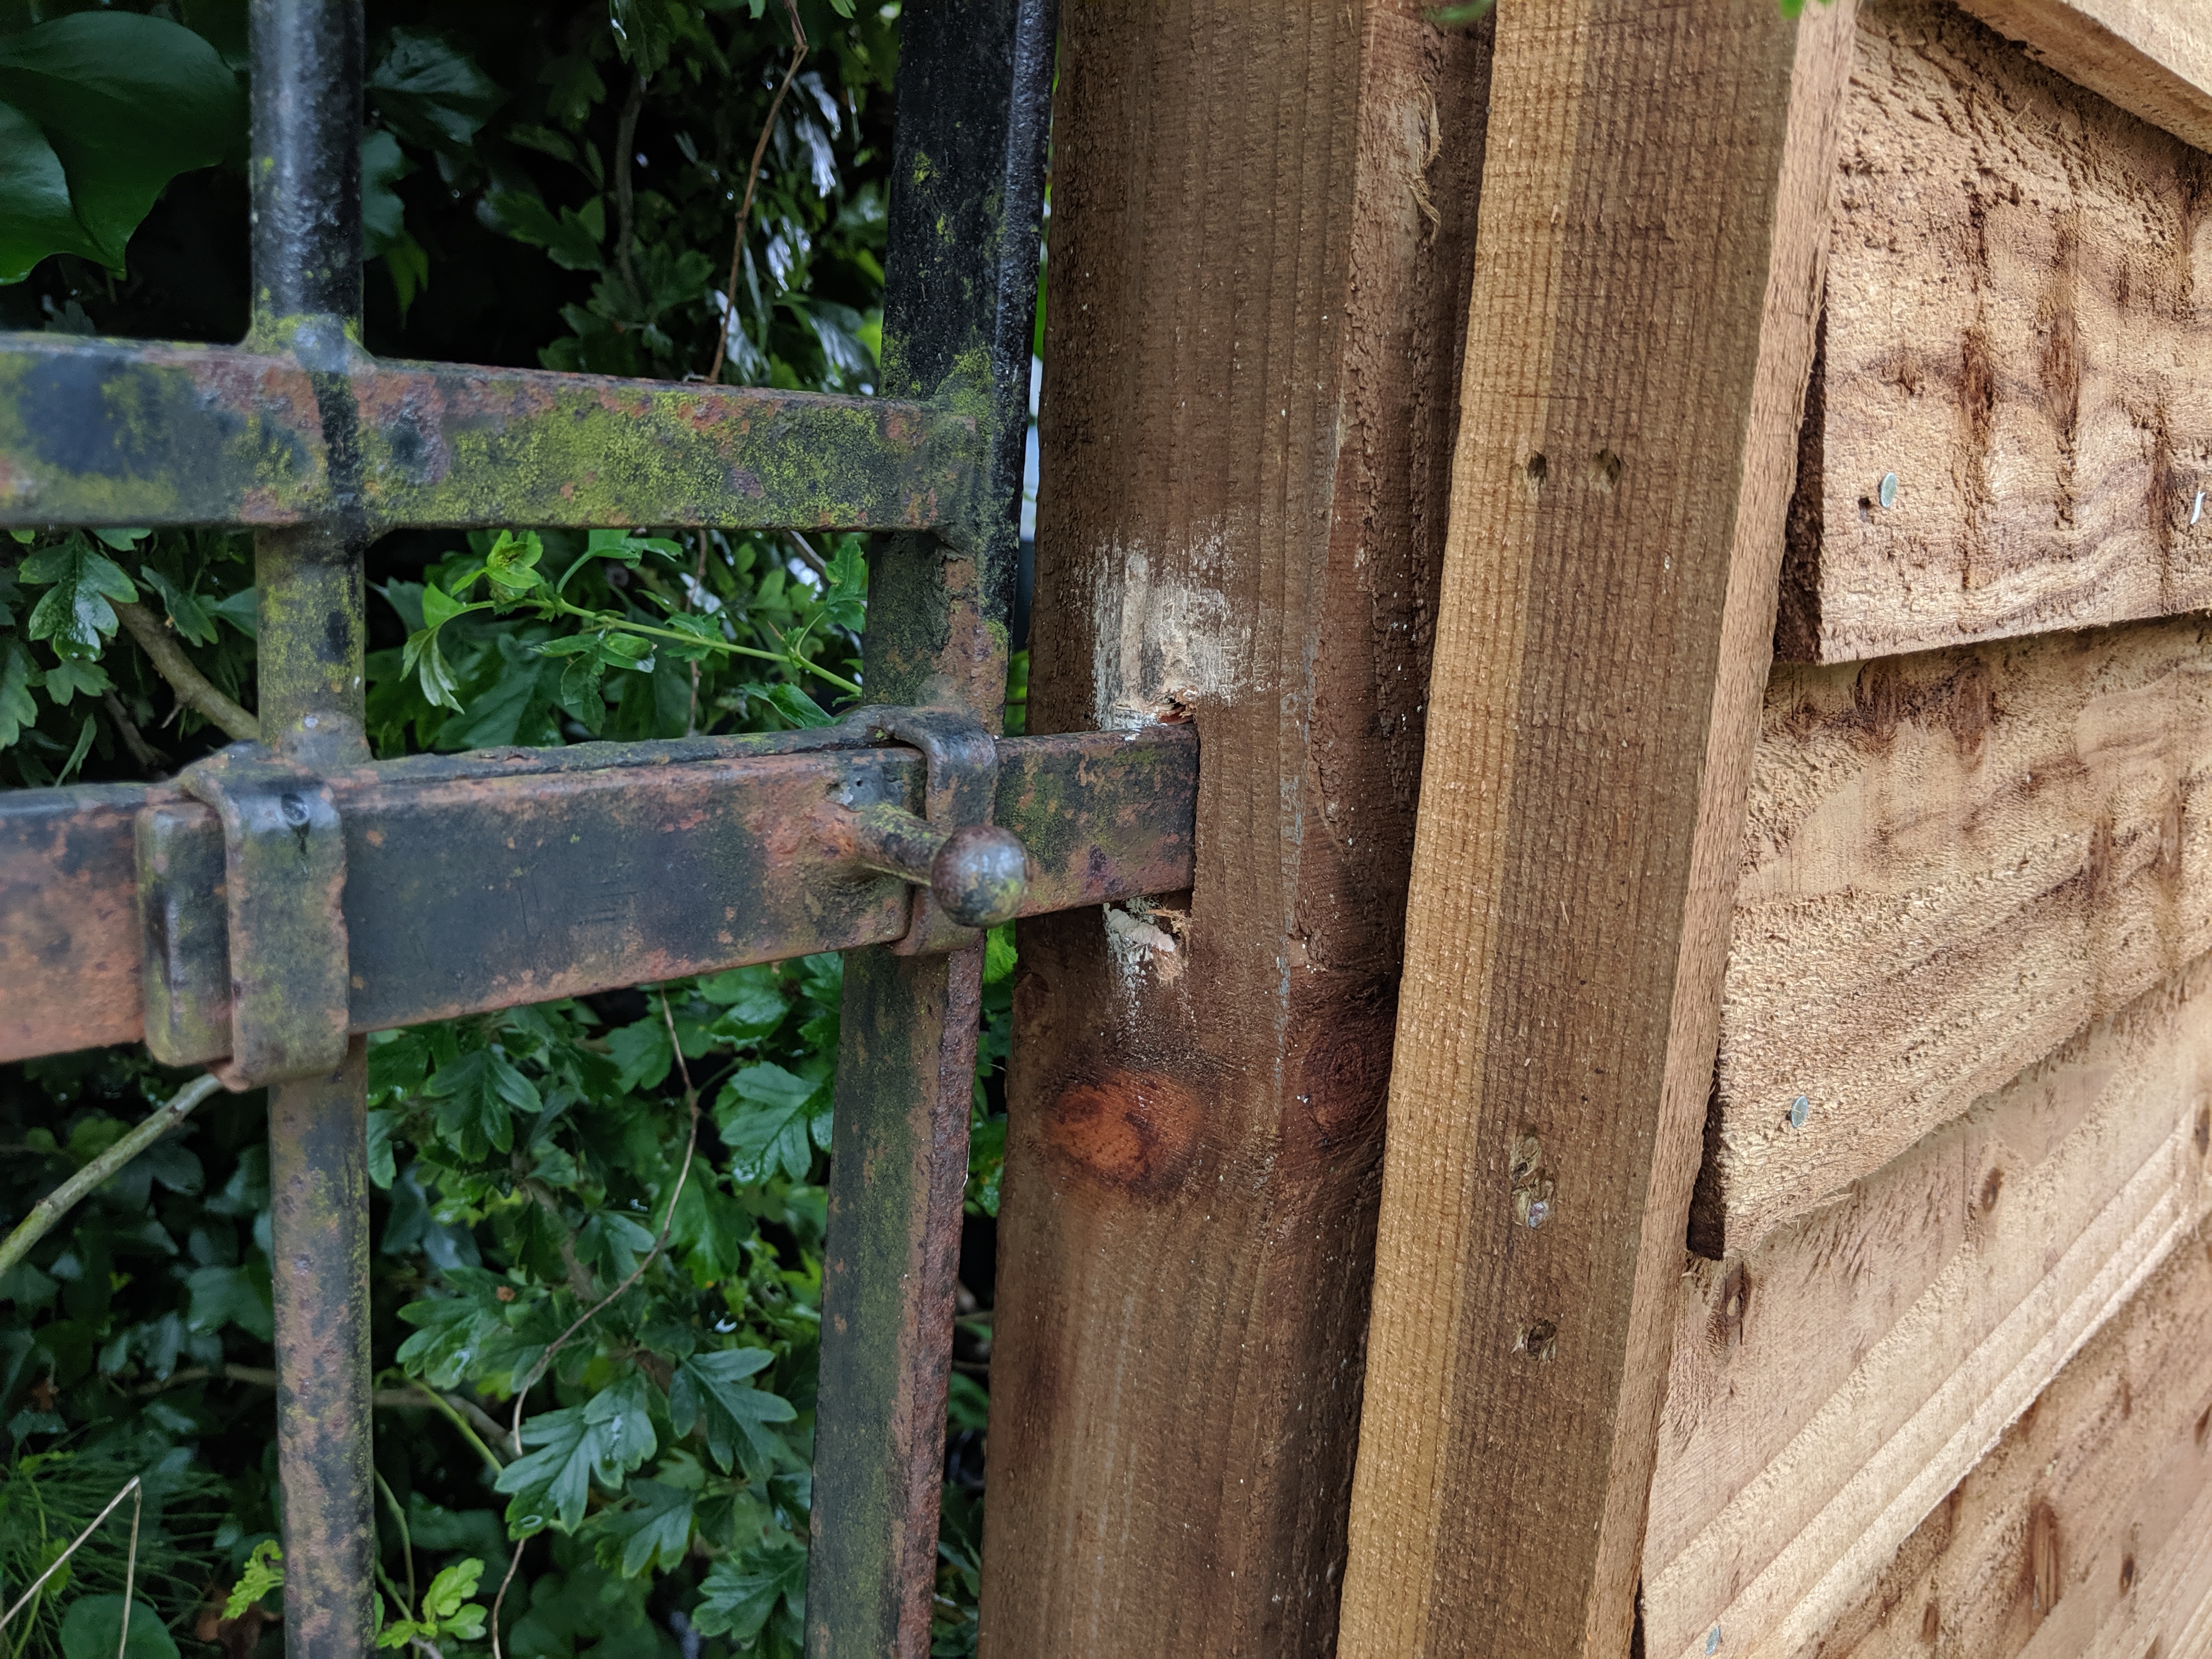
I got a bit carried away with the router. It probably didn’t help that I’d had a couple of glasses of wine when I was trying to do it.
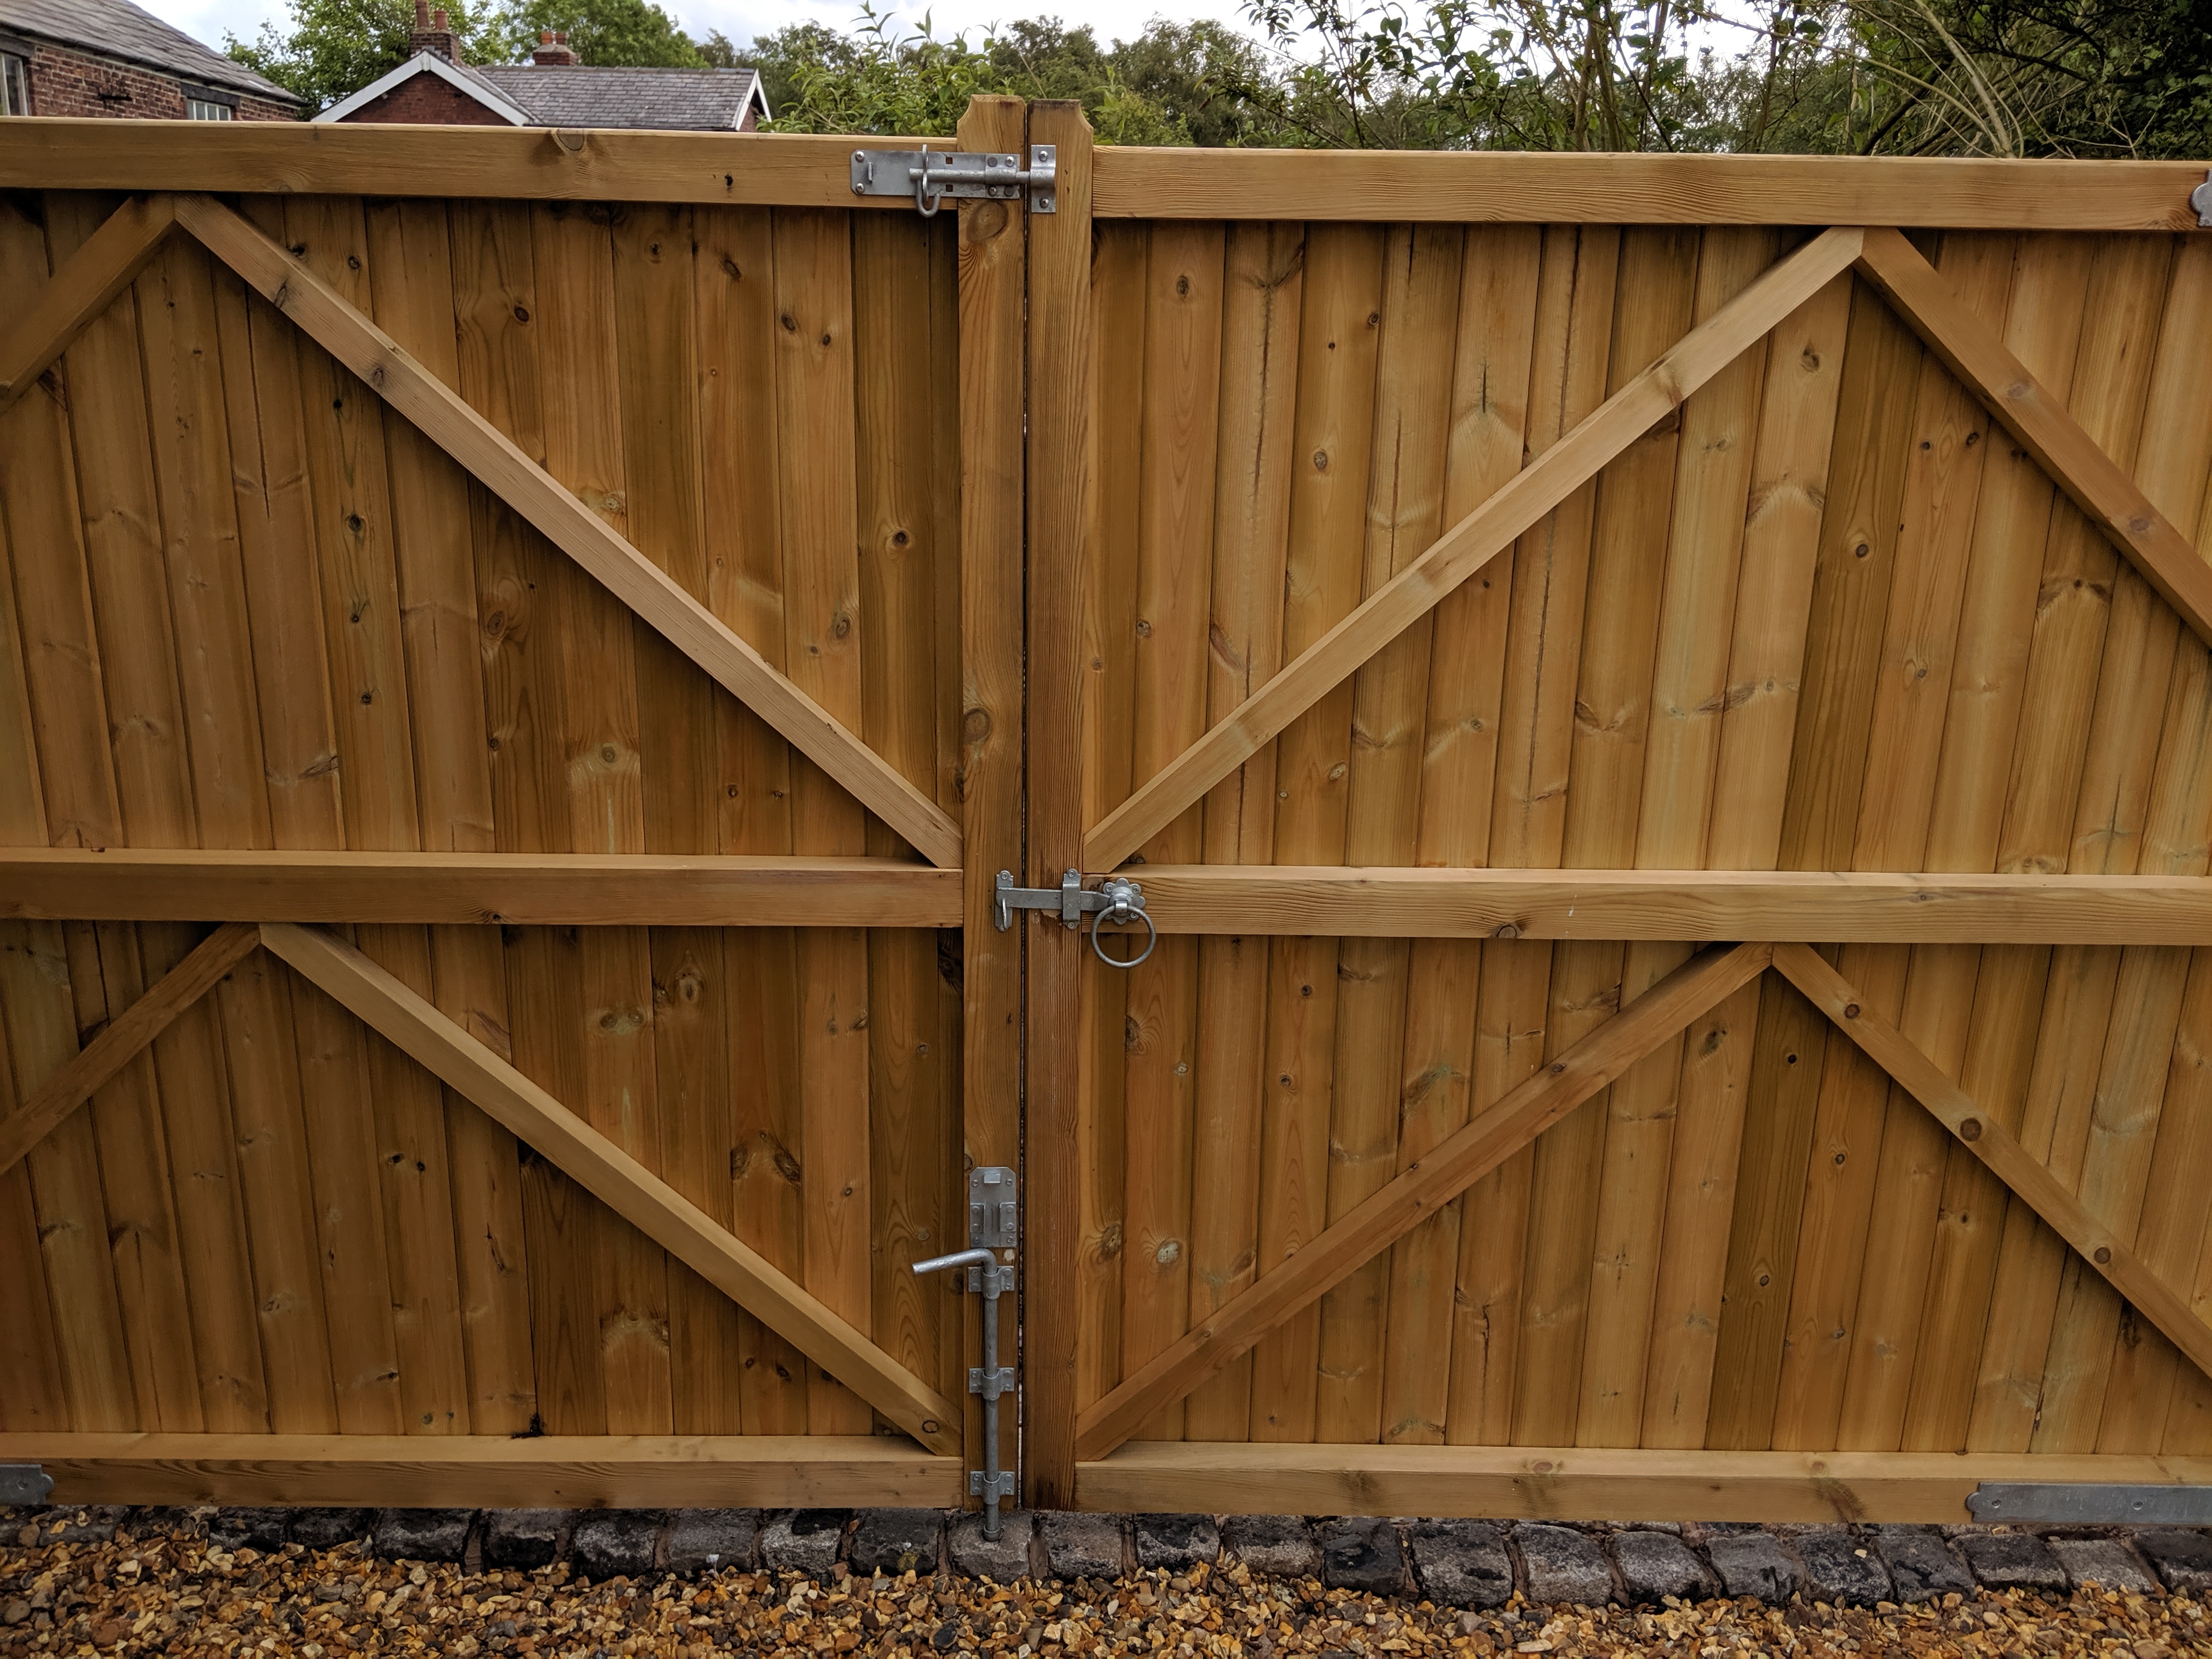
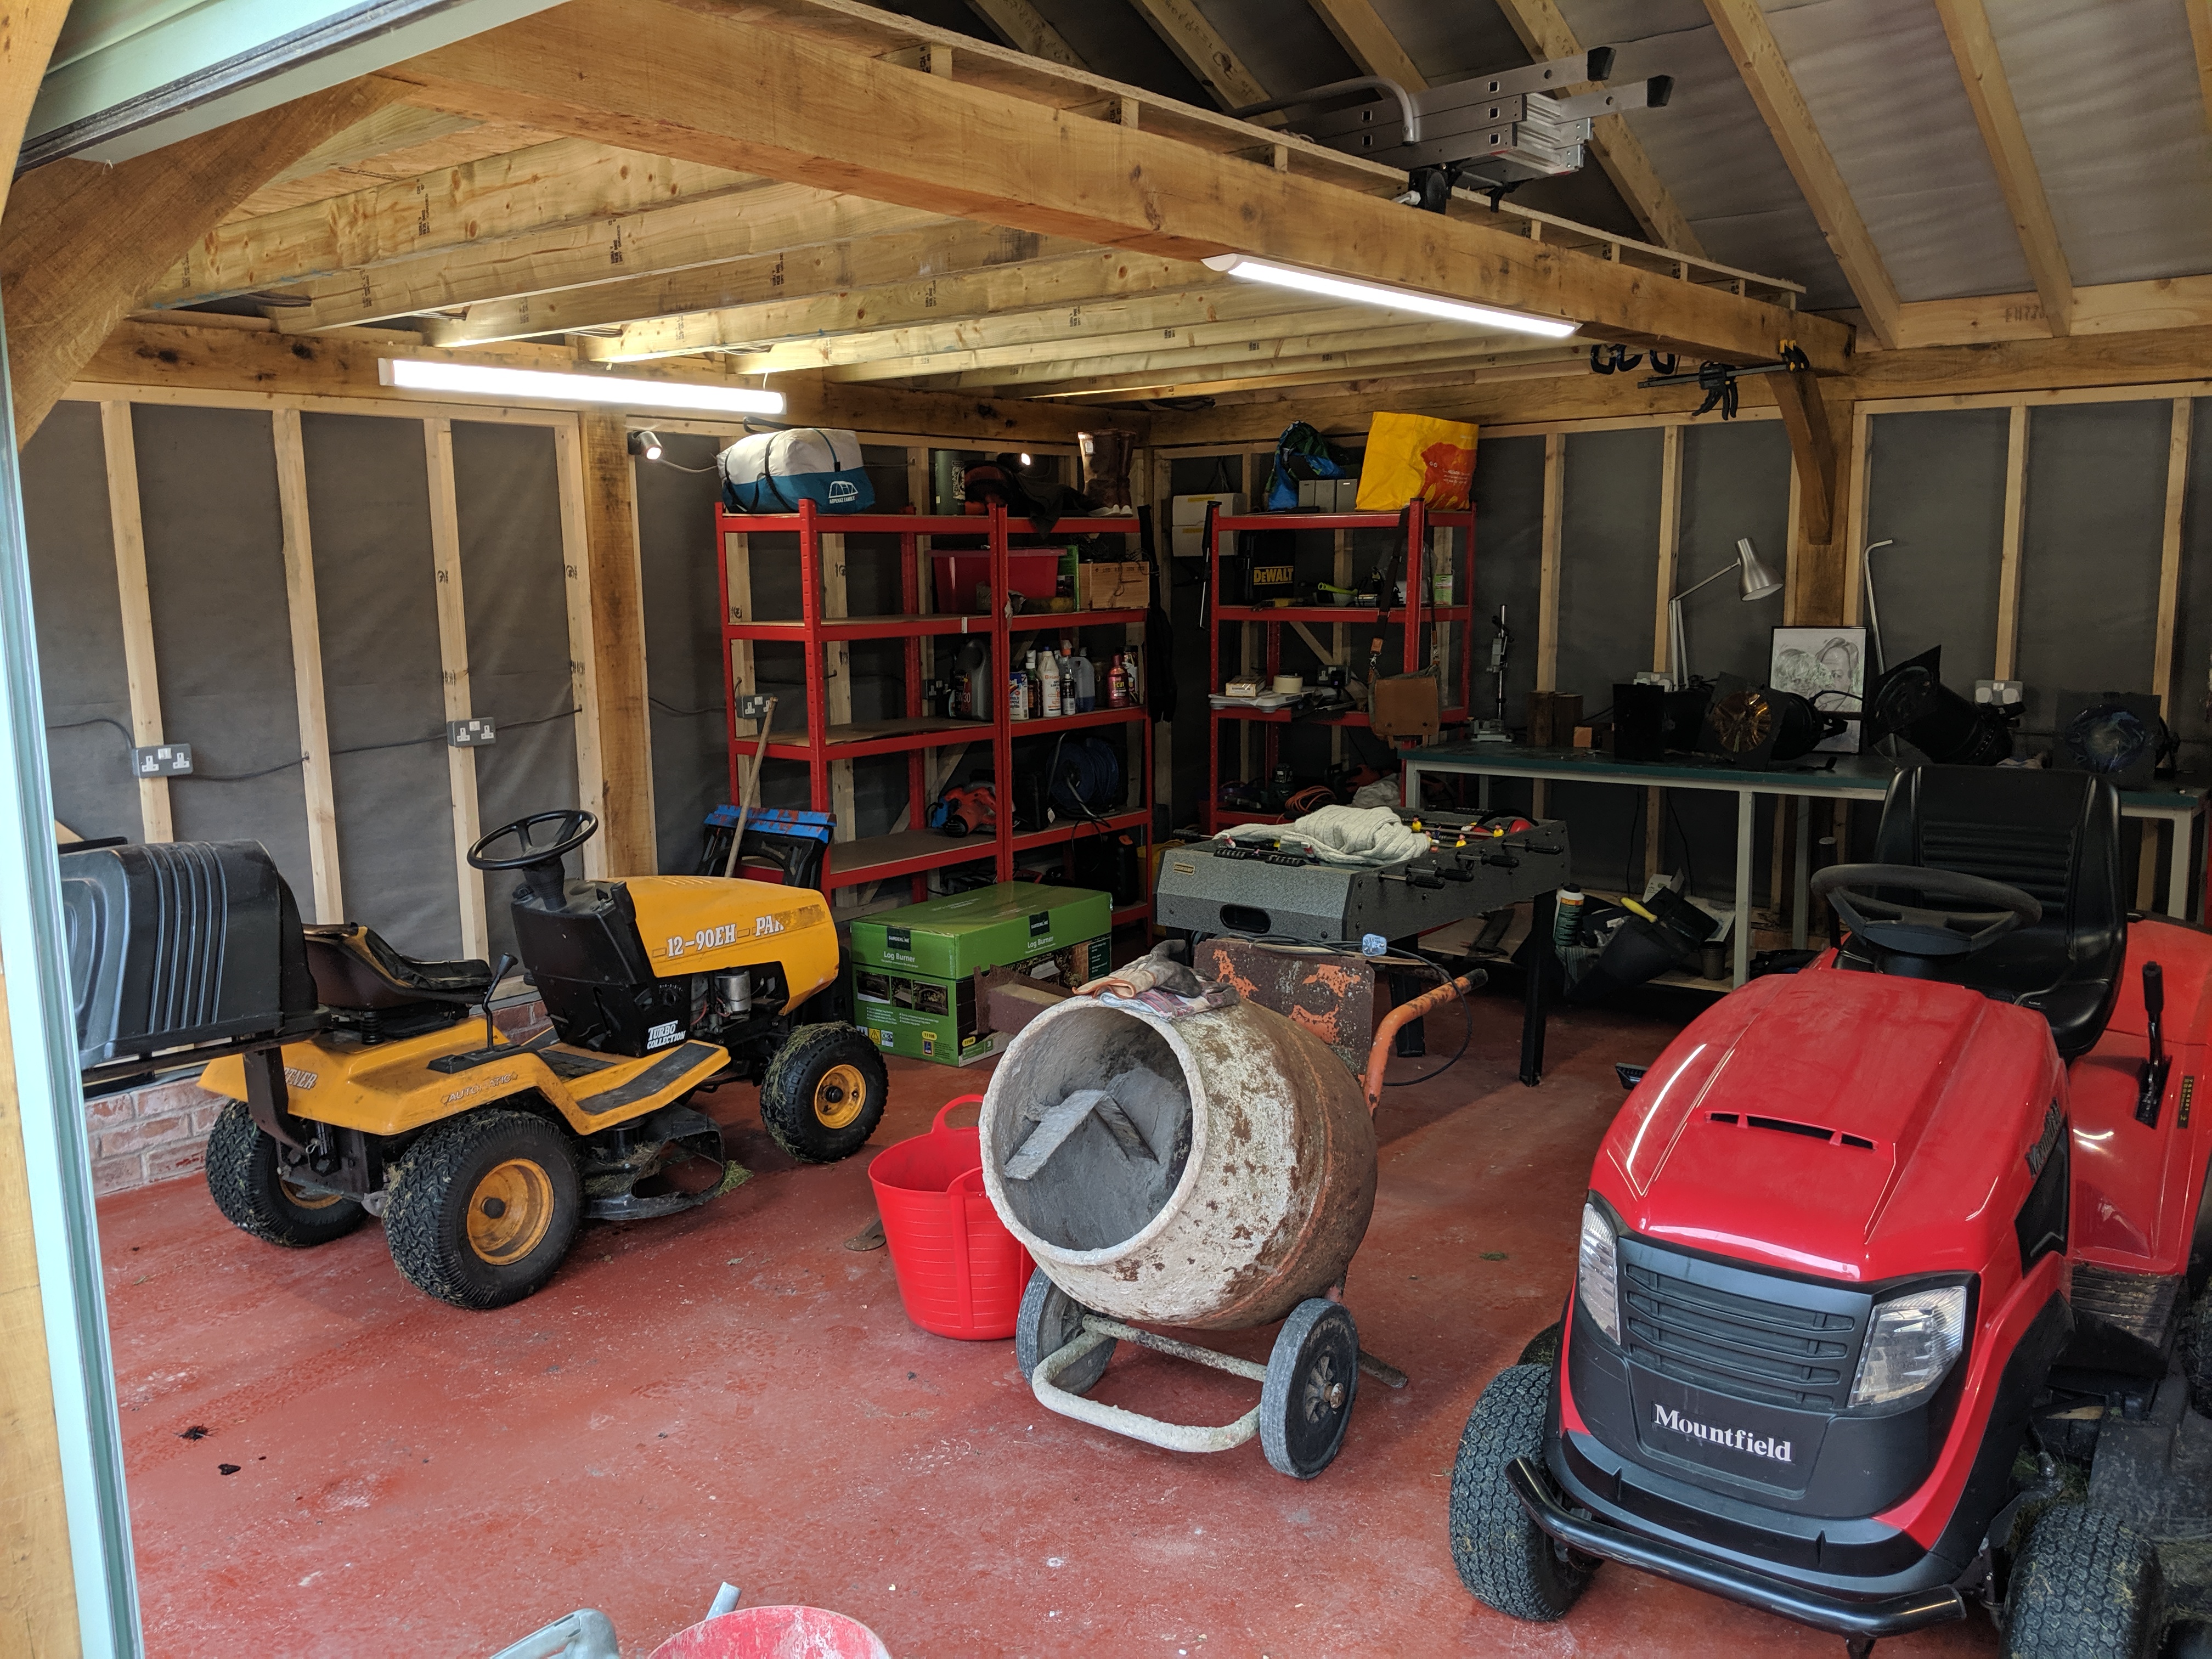
So it’s done, it’s complete, it’s taken months and months of my life and cost more than I anticipated … and now my nephew and his band have occupied it and it’s now known a recording studio.

Paul and I went to Chester races. There was a free bar – things got messy