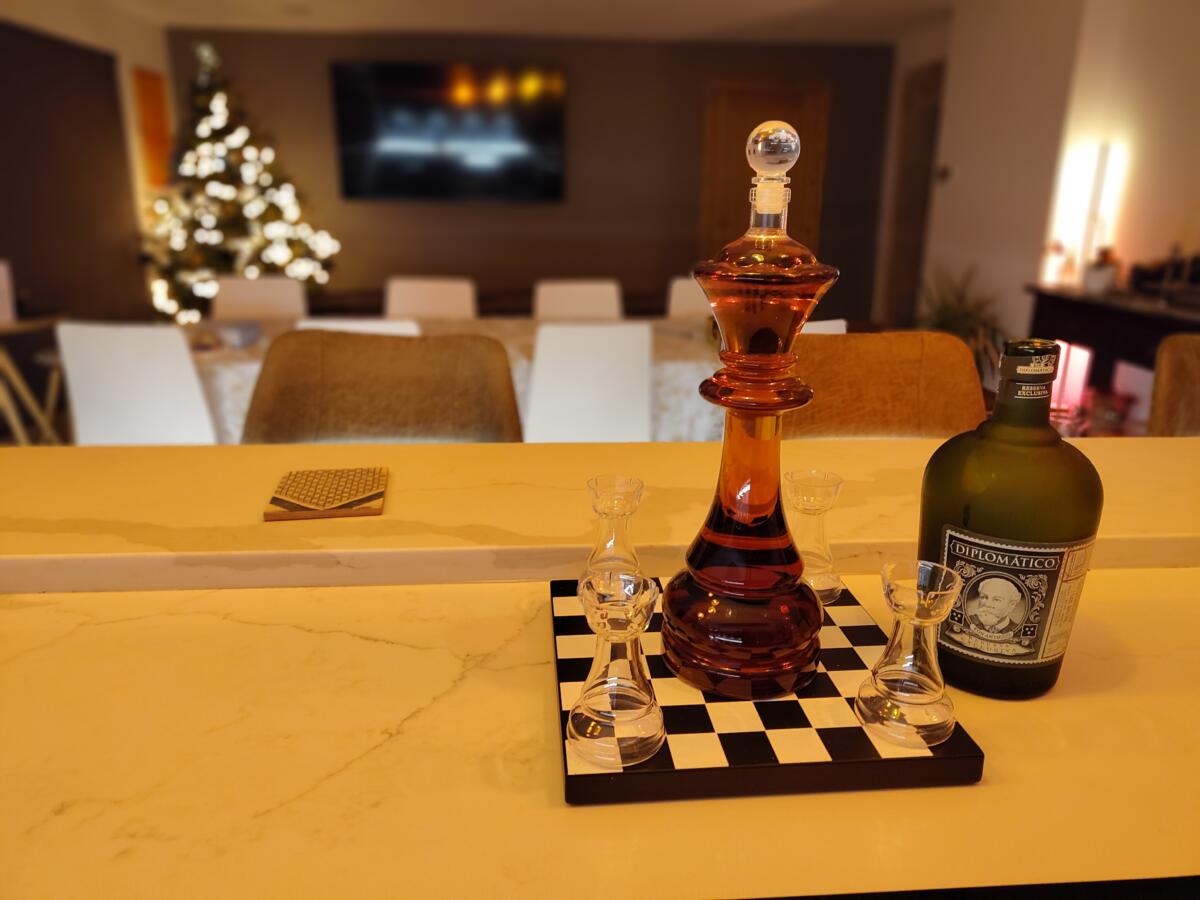
Oli always does a fine job of buying me Xmas gifts. This year he excelled by combining two of my favourite things, chess and drinking.
He bought me a chess piece [ Queen ] decanter which I filled with Diplomatico rum. It’s not quite that full anymore.
As an aside, in the past I could quite happily sit there drinking wine whilst playing Oli at chess and still win. He’s improved. Now I daren’t play him if I’ve had so much as a sniff of wine.
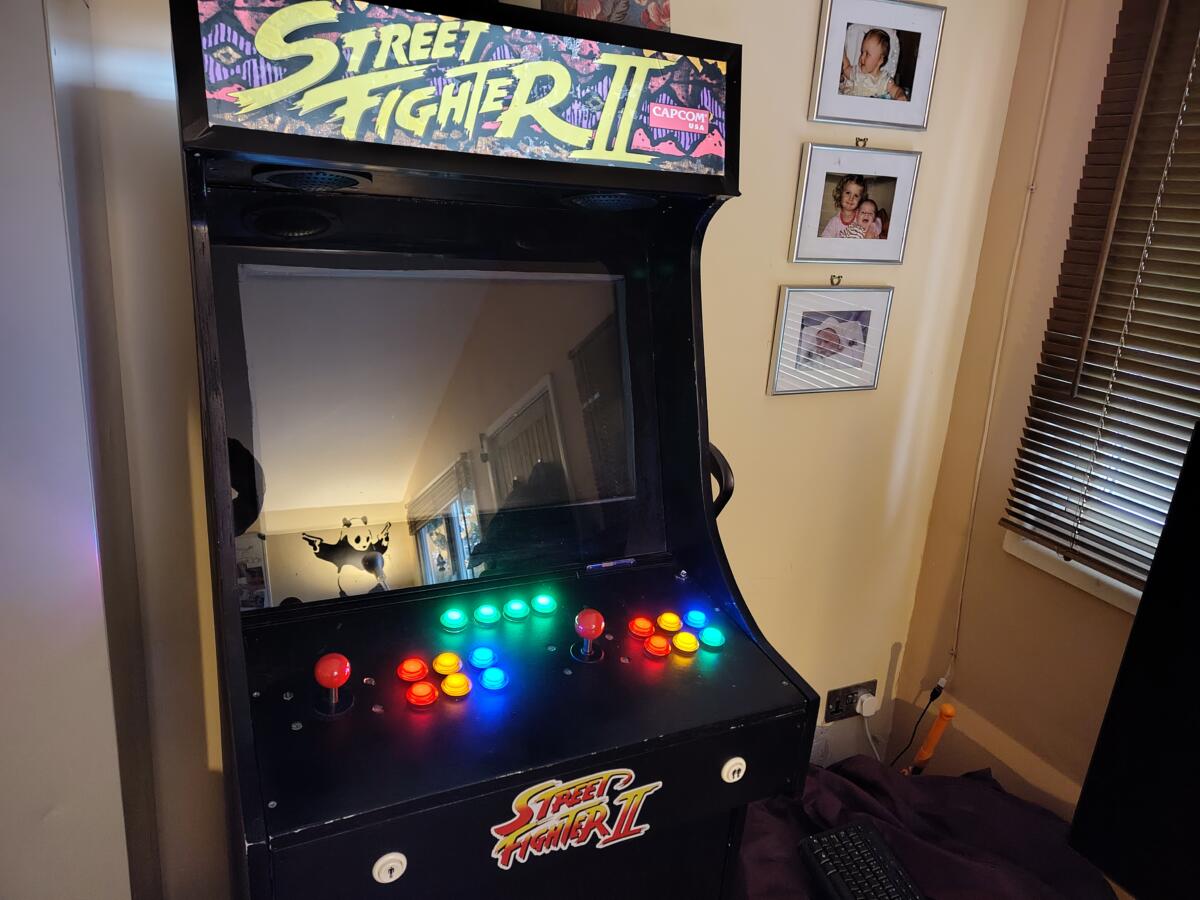
After all my work installing the lighty-uppy-arcade-buttons the day finally arrived. We drank Bucks Fizz from early morning. We moved onto wine. We ate turkey and ham and potatoes and vegetables with stuffing and gravy. We devoured trifle and then eventually made it down to my office.
Usually the annual Tetris-Off is myself and Charlie. This year Oli joined in with us….and annoyingly won.
The competition was all about score. Since we’re going for score the tactic is absolutely to get a “Tetris” when you clear four lines in one go. Oli, being the gung-ho, shit or bust, little turd that he is, absolutely went for it. His stack would get so close to the top but then he’d manage to pull off a Tetris and get the game back under control. It’s not really that we can blame it on fluke as we all had a warm-up game first. In the warm up it went Oli, Me, Charlie. Then we had the proper tournament, and it went Oli, Me, Charlie. So, pretty consistent stuff and unfortunately Oli takes the 2025 Tetris crown.
Pretty sure I’ve mentioned many times that I like a good family tradition of going to The Plough at the end of each term for food and drinks with the kids. We’ve missed it a few times because the kids have no respect, absolute zero, for the family tradition a la Darren. Anyway, this time they made it with the additional bonus of Big Bobble hats on heads
The dog was there with us…not entirely sure where she is at this point – but she’s deffo there.
I’m part of the Parish Council. Ever since I’ve been a member the Vice Chairman has baked fresh mince pies for the December meeting. Last year, when I was the Vice Chairman, I baked fresh mince pies for the December meeting. This year, when I find myself as Chairman of the Parish Council I was looking forward to the Vice Chairman baking up a storm, but he quit instead, and so I donned my apron.
Managed to make it into town for drinks and food with the darling nephew birthday boy and Ellie.
Gluhwein was consumed. Beer was consumed. Indian Food was consumed and a tram ride home with some drunken teenager creating a pool of vomit. Ahhh, we’ve all been there.
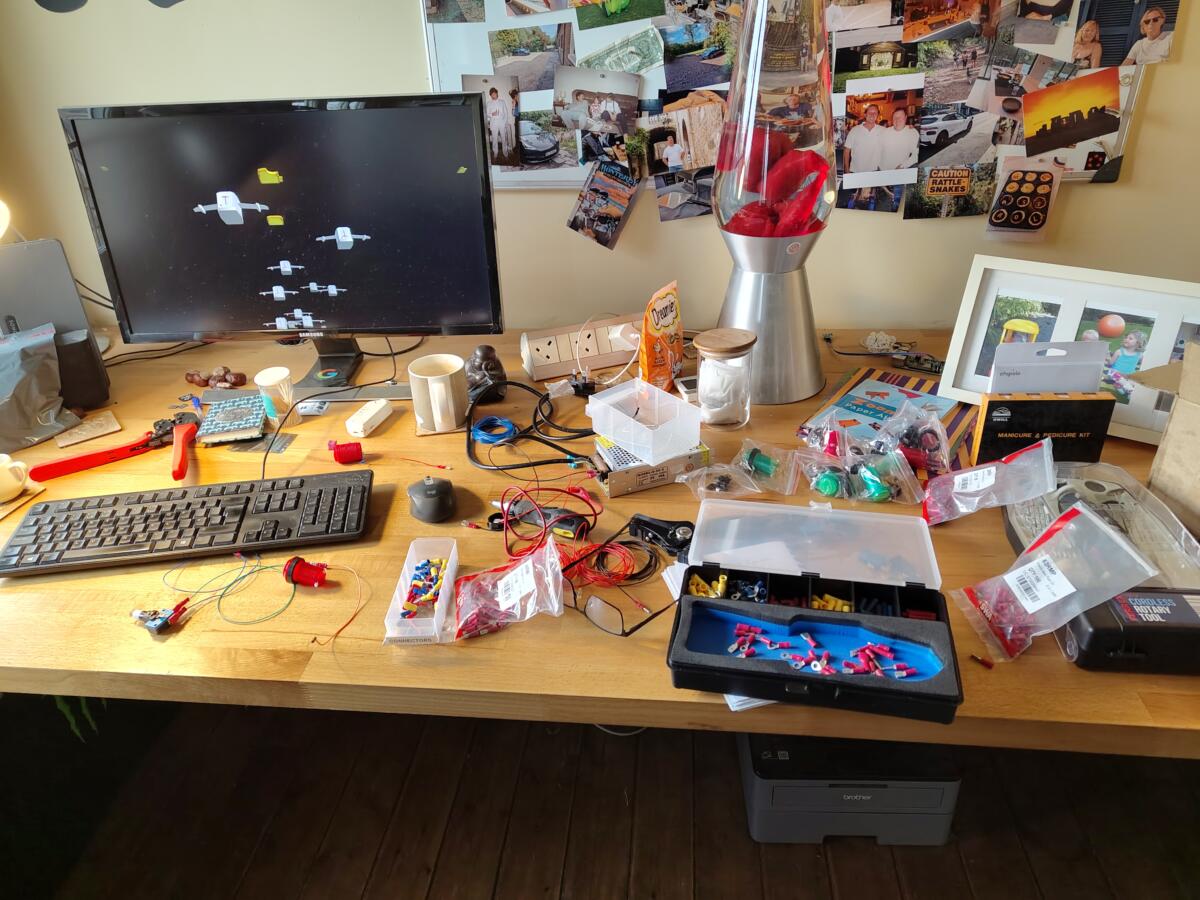
The lighty uppy arcade buttons arrived and I wasted no time in hooking them up to a 240v to 5v transformer that I had laying around.
The scene of devastation that is me mid-project!
After installing the wiring loom of GND and 5V throughout the cabinet I did a quick test.
We have a lighty uppy red button.
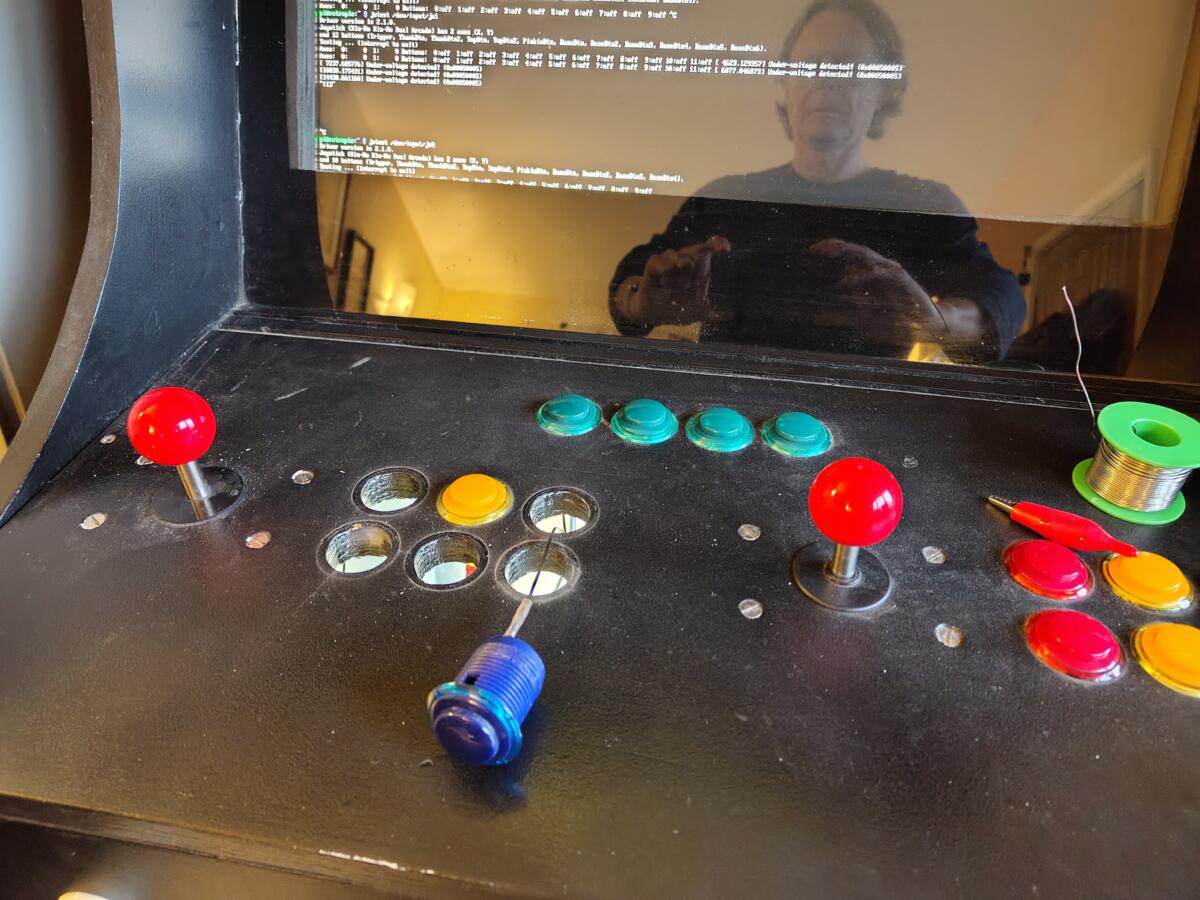
The only real problem now is that each lighty uppy button [ I have 16 of them ] now needs four wires, two for the LED and two for the microswitch that controls the button presses. Subsequently, it’s looking a bit of a mess inside the cabinet. Maybe on Arcade Cabinet Part 3 I’ll tidy all that up.
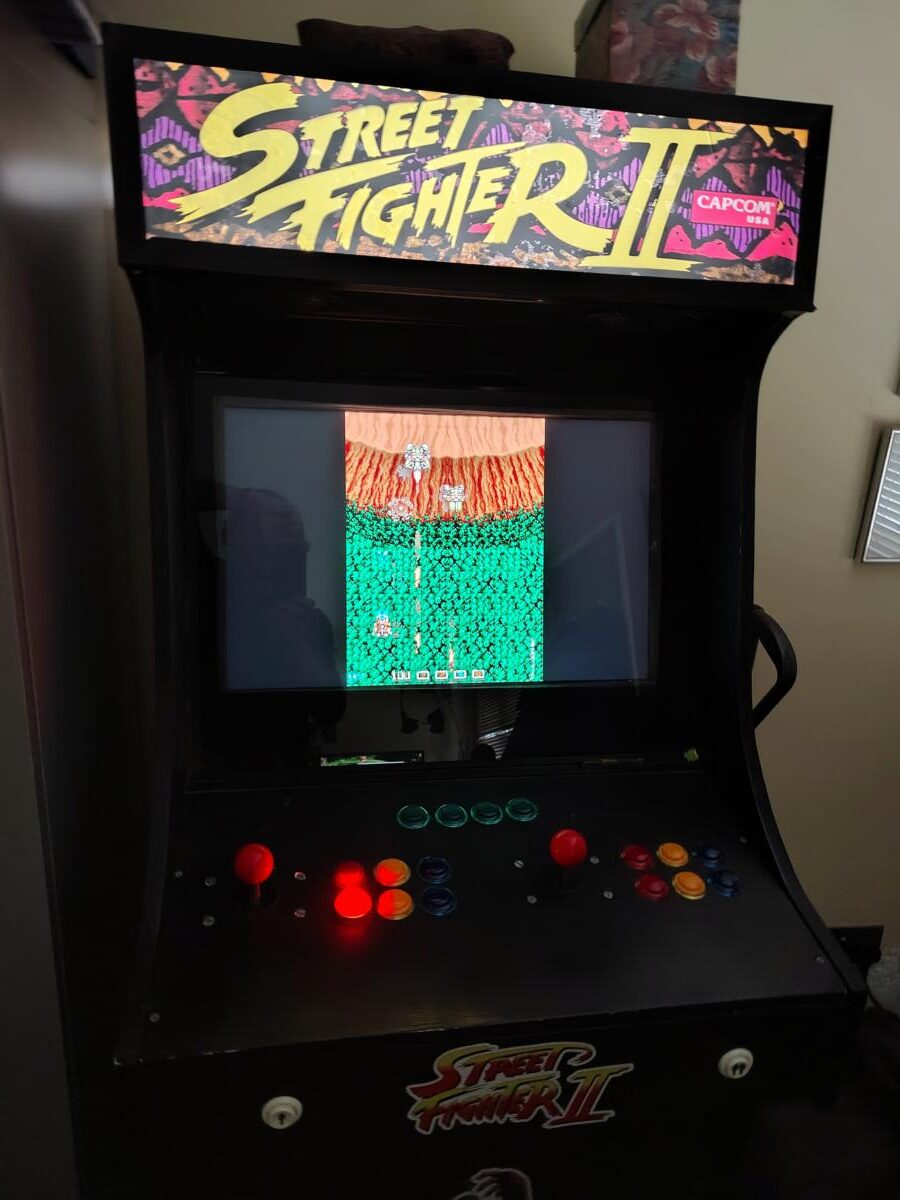
Finally….finally! It’s now ready for the tetris-off. See that bottom right button looks a bit green? It’s because it is. The button people sent me three blue LEDs and a green one by accident. They’ve since sent me out a blue LED but as I write this I haven’t installed it yet.
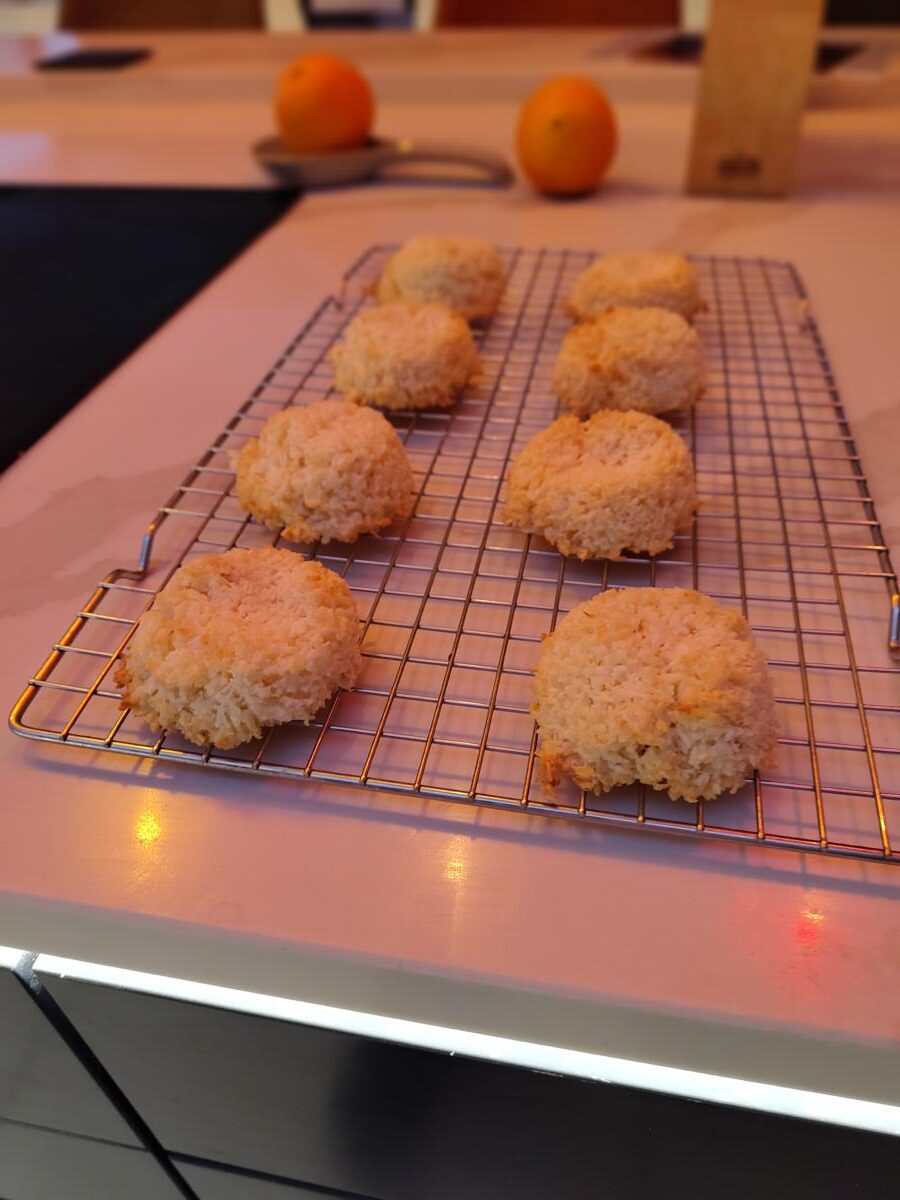
Every year we go to the Xmas Market and every year I crave Coconut Macaroons. Love them. Favouritest thing ever. This year was no different. We tracked the Macaroon shop down to Piccadilly Gardens and I approached. The first thing I noticed was that they were about half the size of last year and the second thing was they were more expensive. Robbing bastards. I still bought them though – and yeah, they were excellent.
A couple of weeks later Emma and I were heading up to York to visit Amelia. I enquired if there was anywhere on the York Xmas Market selling Macaroons. Amelia thought not. I was disappointed. So I decided to make my own.
When I make Macaroons I make them the proper size – like the Xmas Market used to!
They turned out absolutely fantastic. Two bags of dessicated coconut, a tin of evaporated milk and a drop of vanilla. Boom
Yeah so I built an arcade cabinet quite a while ago. I’ve had all sorts of fun and good times with it over the years and it’s now the location of the annual Tetris-off between Charlie and myself. The only problem is when I first built it I didn’t really know what I was doing with the electrics. The earth wiring loom that came with the joysticks was a 4.8mm female spade connector which was absolutely perfect for the joysticks, but the buttons had a 2.5mm male spade. So being the “it’ll do” person that I was I put the 2.5mm spade into the 4.8mm female and crushed it with a pair of pliers. This worked ok’ish. Every now and then a button would stop working and I’d have to go digging around inside and make a repair.
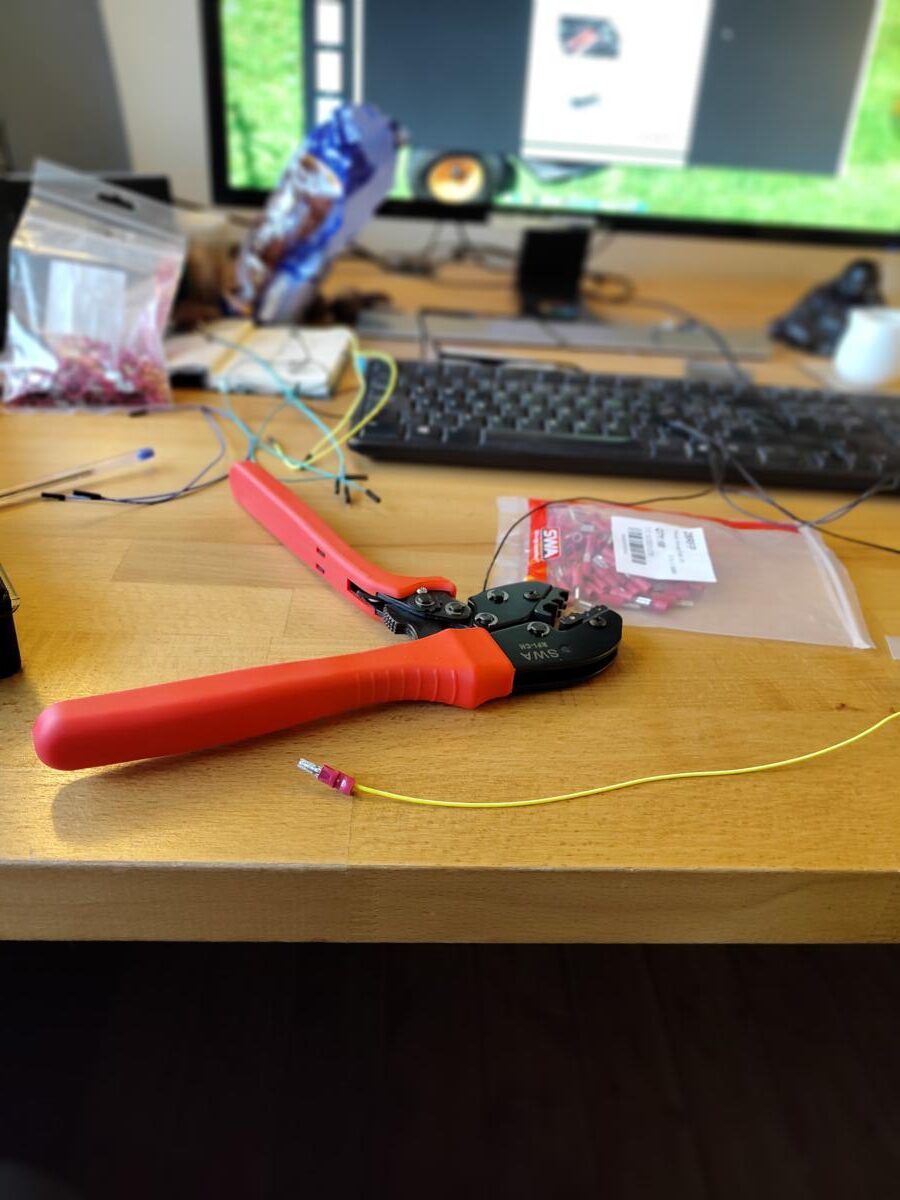
Ratchetting Crimper – beautiful bit of kit
Fast forward to November 2025 and I thought to myself “must do a bit of a service on the arcade cabinet and make sure everything is working for the Tetris-off”. So I fired it up and true to form one of the buttons wasn’t working. So I opened up the cabinet and went inside. Pretty quickly found the dangling wire and reattached it. In doing so I managed to dislodge two more connections and in fixing those connections dislodge some more. I was properly pissed off. Didn’t even need the original broken button for the Tetris-off anyway.
Anyway, given that I’m now more of a man of leisure I tend to do things properly and make sure I don’t have to fix them again in the future.
So out I went to the local electricians shop place which is like a trip to Aladdin’s cave for me, and picked up the new crimper pictured above and a selection of connectors of different sizes. Turns out if I’d gone to an online components shop I’d have saved a fortune but you live and learn…plus I wanted them that day because despite my mature years I’m still an impatient bugger.
I started taking the buttons out one by one and doing a better 2.5mm female spade connection to the 2.5mm male spade connector on the button. Because I’m doing it properly I had a bunch of black wire that I made connections with a 2.5mm female spade on one end ( for the GND connection of the button ) and a 4.8mm male spade on the other end. The goal was to make it easy to identify the GND connections from the signal connections. Incidentally I also used the appropriate coloured wire for the signals, so now the red buttons have a red wire and the blue buttons have a blue wire.
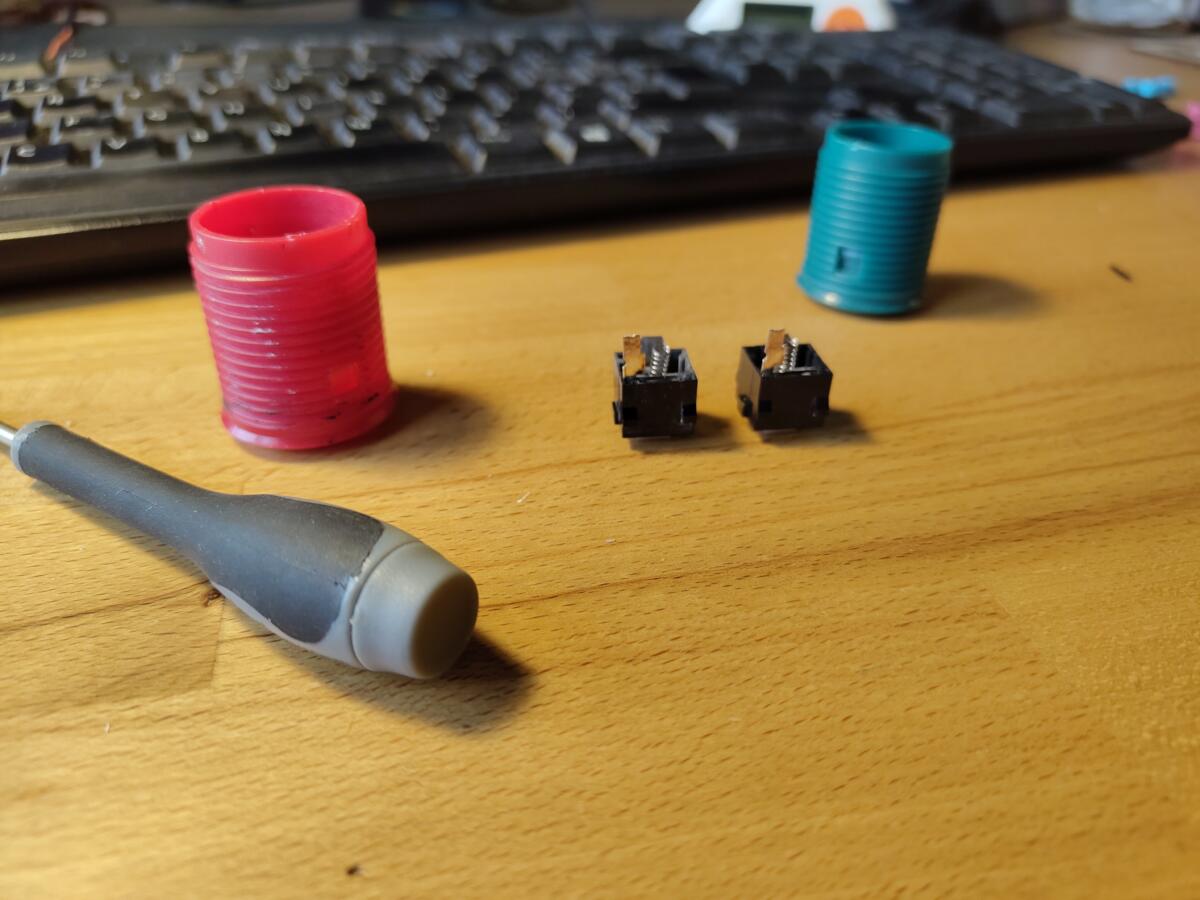
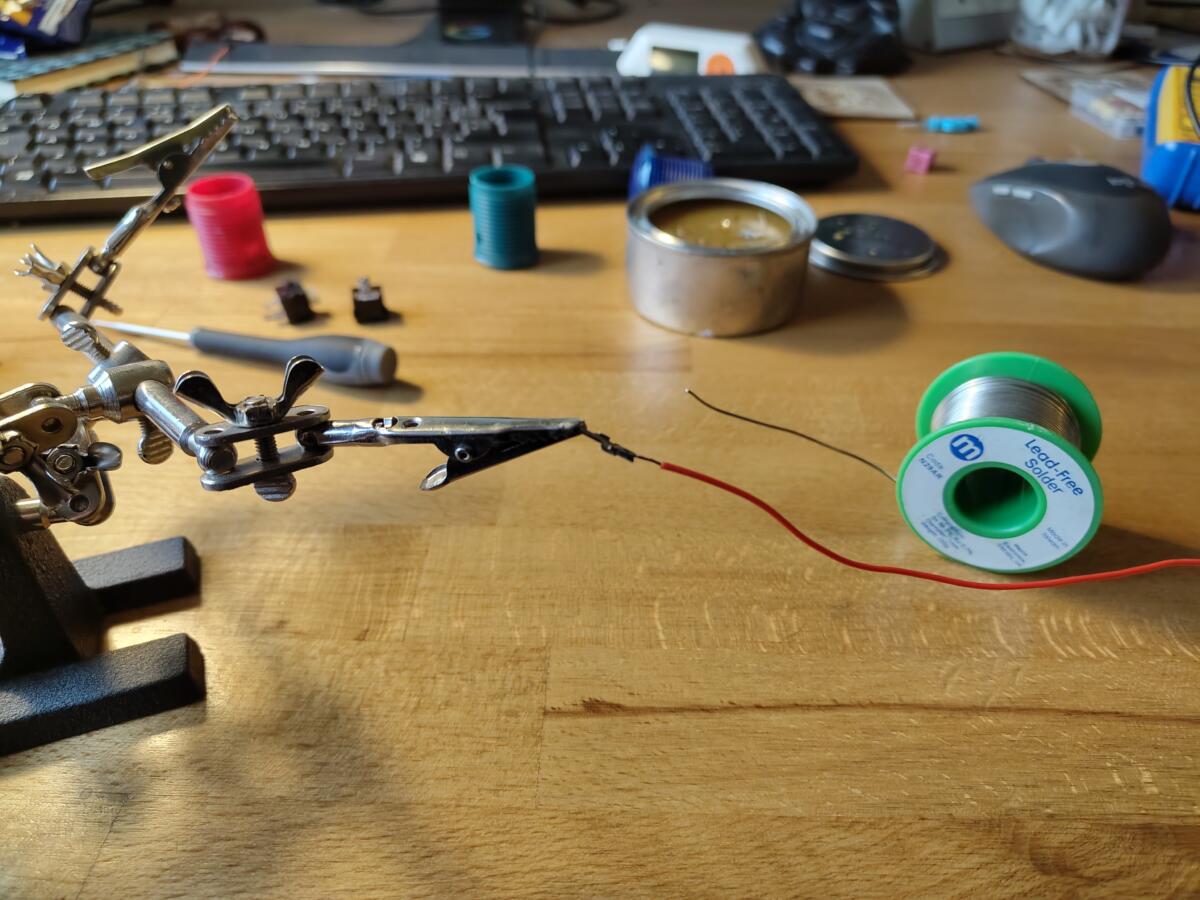
Everything was going swimmingly until I came across a few buttons where the connector snapped off after I disconnected/reconnected it one too many times. They’re pretty flimsy connectors and not really designed to be mucked about with by a clumsy oaf with a pair of pliers. Rather than just buy some new buttons I thought I’d break out my trusty Dremel and my soldering iron and repair them. How hard could it be?
Buttons and microswitchesSoldering up the connection for a red button
Turns out it wasn’t really that hard. I managed to get two of the buttons working again but the green button was properly cabbaged and I’d have to buy a new one. Slightly annoying, but not the end of the world.
Whilst looking at green buttons I saw that you could now get a green button with an LED inside it. God damned lighty up arcade buttons! How had I not heard of these before now? So I ordered four green buttons and four red buttons to give it a bit of a test run before committing to all sixteen buttons.