Never gets old
Will we as a race [ or possibly that should be as a gender ] ever get tired of drawing penis’ on things? It’s a pastime as old as the hills. I reckon somewhere in Africa there’s a cave with a huge penis drawn in dinosaur blood or something.
Anyway, I bring you the latest act of petty vandalism from my little boy.

Orange Traineeeeees
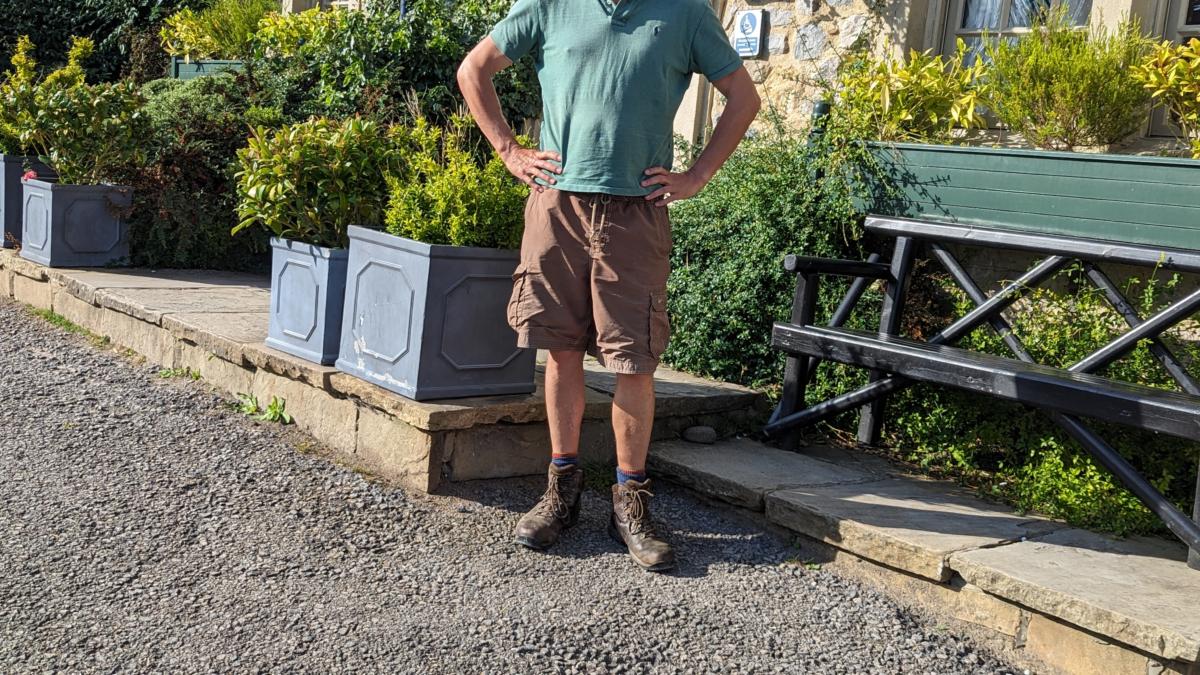
I finally got a pair of orange trainers and ohhhh my god are they orange! They don’t look so bad in the picture but once you get outside in them they’re bright. We went for lunch with Erika and Keith and I wore them. At the end of lunch I went for a wee. On the way back from my wee I heard some woman on a table remark to her companions “There they are…that’s the man with the trainers”

Plough
At the end of each term everyone tends to finish at lunchtime so off we pop to The Plough for lunch and beers. The Plough is great as it is walkable, you can book a table for four plus a dog and they do fantastic salt and pepper chicken with half rice half chips and curry sauce.
The end of the Summer term was a bit of a bust as both the kids refused to come despite it being a family tradition so this year I made it clear we were *all* going.

Plumbing
When we had the extension done we got a plumber in to do some stuff. Turns out he’s an absolute bell end. Monumental dick. Nearly ended up costing me a new boiler because he couldn’t be arsed flushing the system. Anyway. One of the other things he did was to fit a stop cock so that I could turn off my outside water supply when the weather gets toward freezing.
The input to the stopcock is a 15mm pipe. The output from the stopcock is a 25mm MDPE pipe that goes down the garden. So he fitted a 25/15mm stopcock. All good so far. The only minor problem is that the stopcock is unidirectional. It’s designed to stop the flow of water FROM a 25mm pipe to a 15mm pipe. The exact opposite of the situation we have. The upshot of this is that I could not stop the flow of water down the garden. This wasn’t such a big deal, I could cope with it, until the builders next door offered to remove my bamboo problem [ more on this later ] with a massive digger. The bamboo is growing directly above my water pipe and I was pretty convinced they were going to damage my pipe and my only solution would be to turn off the main stopcock in the house and we wouldn’t be able to use water until the pipe was repaired.
What the plumber should have done is put in a standard 15mm stopcock on the 15mm pipe and then just fitted an adaptor from the output of the stopcock onto the 25mm pipe. Piece of cake. No problem. Have it done in 5 minutes. Except of course since the pipe work has been fitted we’ve built a kitchen around it which makes access really really hard.
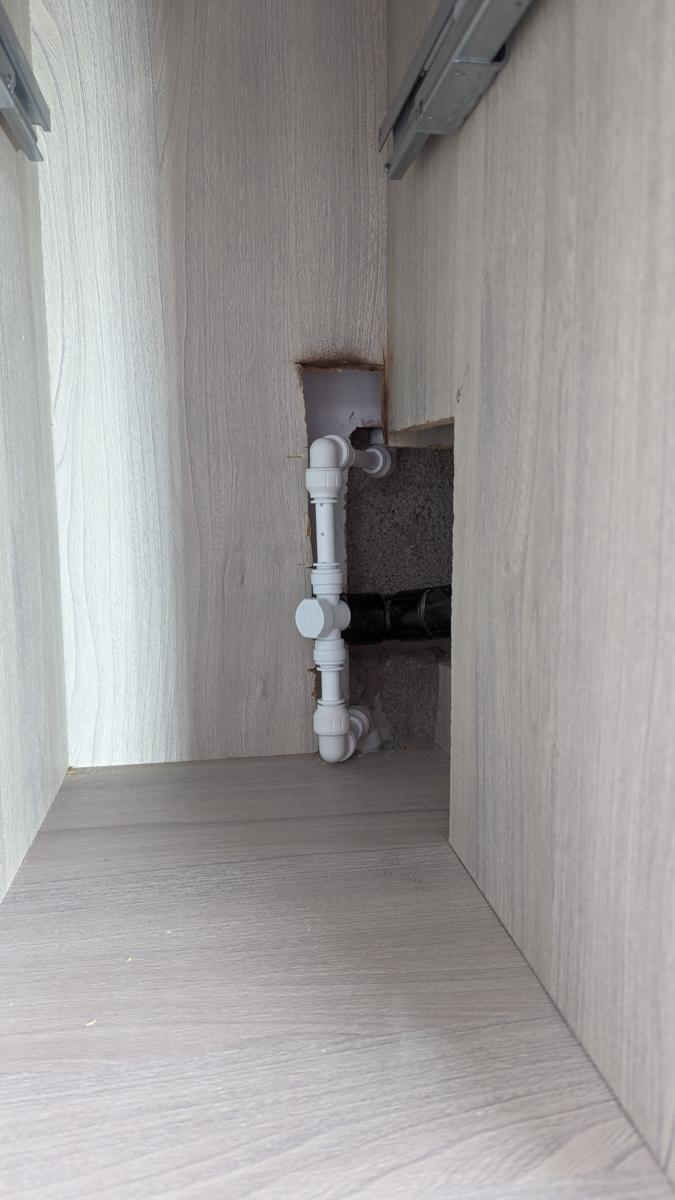
I had to chop the crap out of my kitchen cabinet, fit a series of 90 degree bends to avoid the waste pipe and introduce a 15/25 adaptor which can’t be seen in the picture above. All went pretty well until I had to introduce the adaptor. Getting a clean cut on a 15mm pipe is easy. inserting the pipe support on a 15mm pipe is easy. Everything to do with a 25mm pipe is really really hard. I couldn’t get a square cut with the cheap pipe cutters that the nobhead plumber left behind. I struggled to push the pipe insert far enough in. Both of which combined to give me a leak. Ultimately I bought a new pair of ratcheting pipe cutters which gave me an excellent cut on the pipe. I then fired up my heat gun on the MDPE to warm it slightly and make it just a touch more flexible so that I could get the pipe insert in.
Now the job is complete. I have a stopcock to stop the water going outside. The builders dug up the bamboo and didn’t even come close to my water pipe. It’s all been a massive waste of time.
Stud Walls
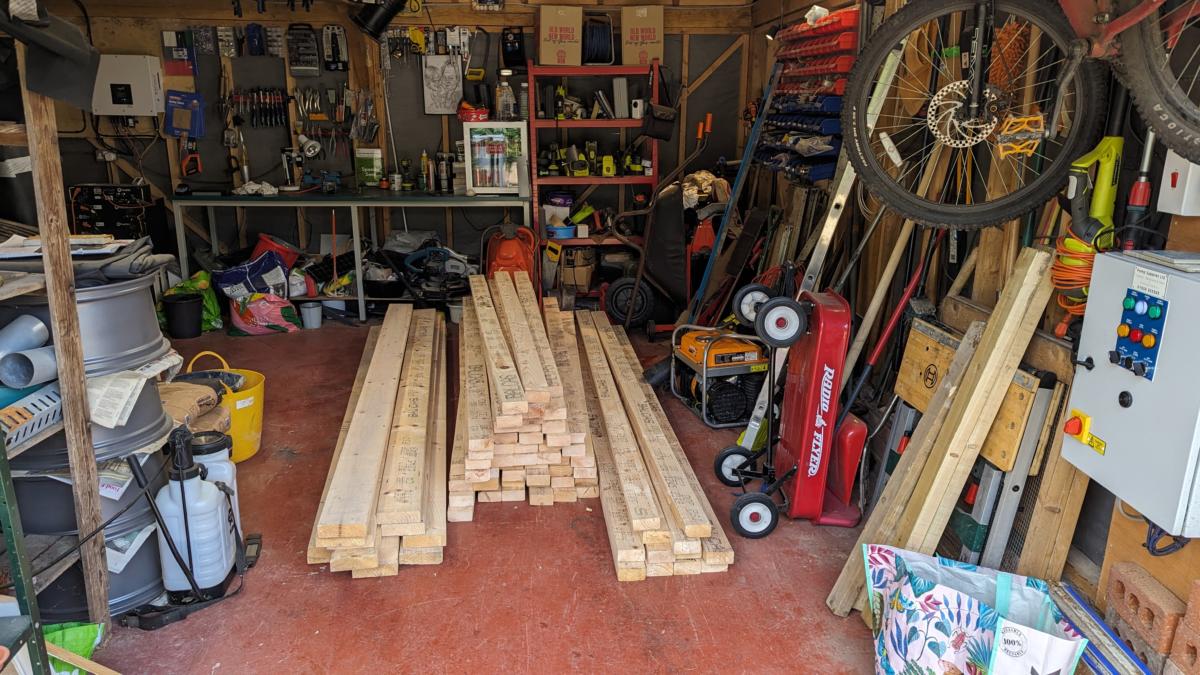
The time has come to build the stud walls and give some more rigidity to my oak frame. We got a delivery of timber and had to move it from the drop off point beyond my gates into my garage where we’d be storing it.
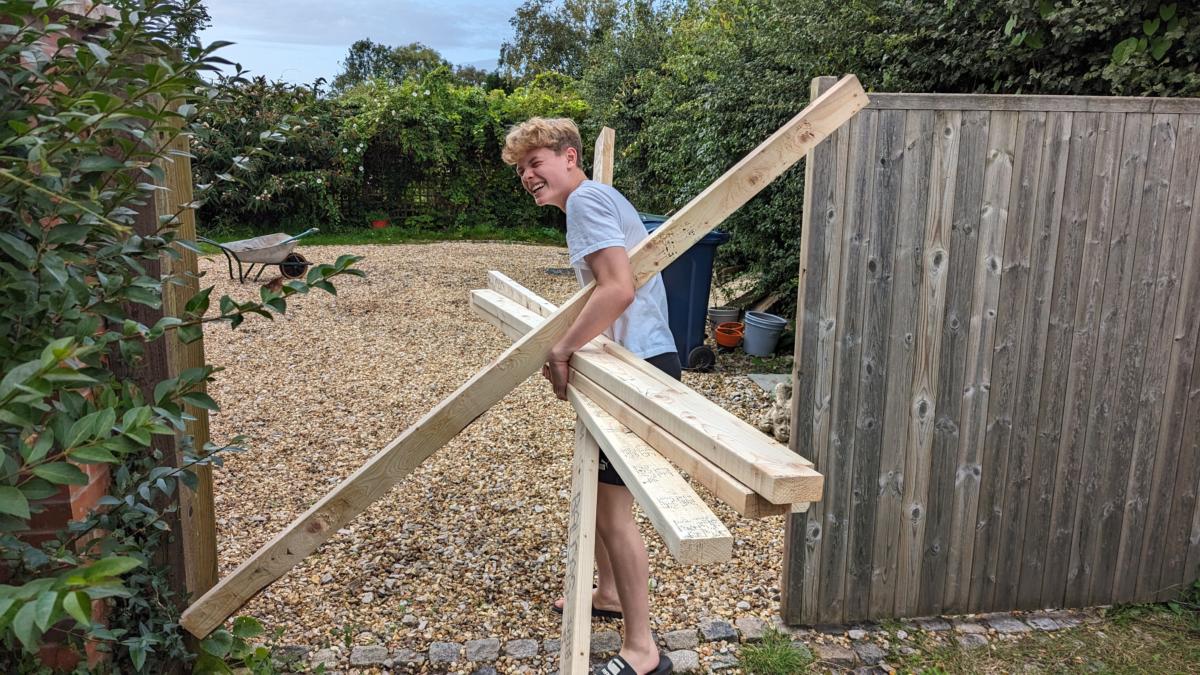
Oli and I did the manual labour since he was on Summer holidays. We started off carry 2 lengths of 4×2. Then I carried 3 pieces in one go. Naturally Oli then had to carry 4. So I moved 5. With 6 pieces of timber left Oli went for it. It all slipped out of his hands and he struggled to get through the gate but he made it in the end. Took him twice as long as if he’d taken them one at a time though
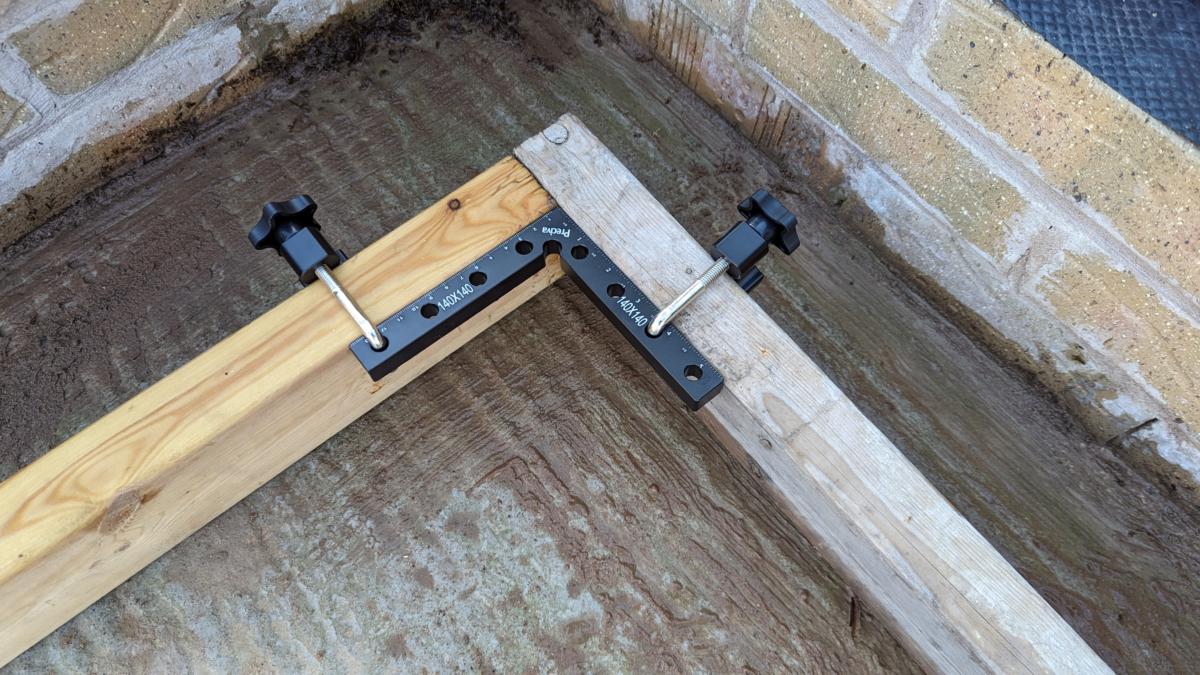
In the past when I’ve been making stud walls I just kind of eyeballed the right angles with varying results. But when I was making my bookcases I started to appreciate the beauty of a proper right angle. So I got some 90 degree clamps. I made use of them on each stud wall I made and they turned out pretty well.
As I put my first nicely square stud wall in it highlighted that the entire frame had shifted at some point and was now kinda leaning backwards a bit. So I dug out some ground anchors and a ratchet strap and brought the frame forwards by a few degrees. The ratchet strap would have to stay in place until I had stud walls everywhere. It was there for a couple of weeks and it was a happy moment when I eventually disconnected the strap and nothing fell over!
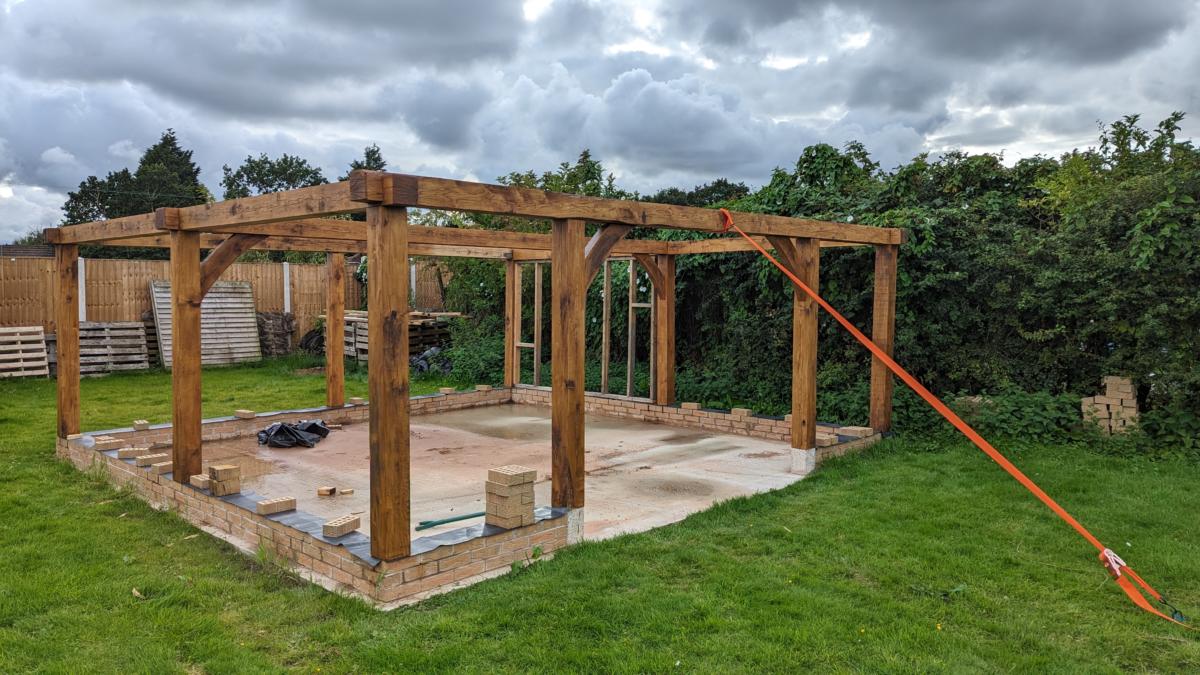
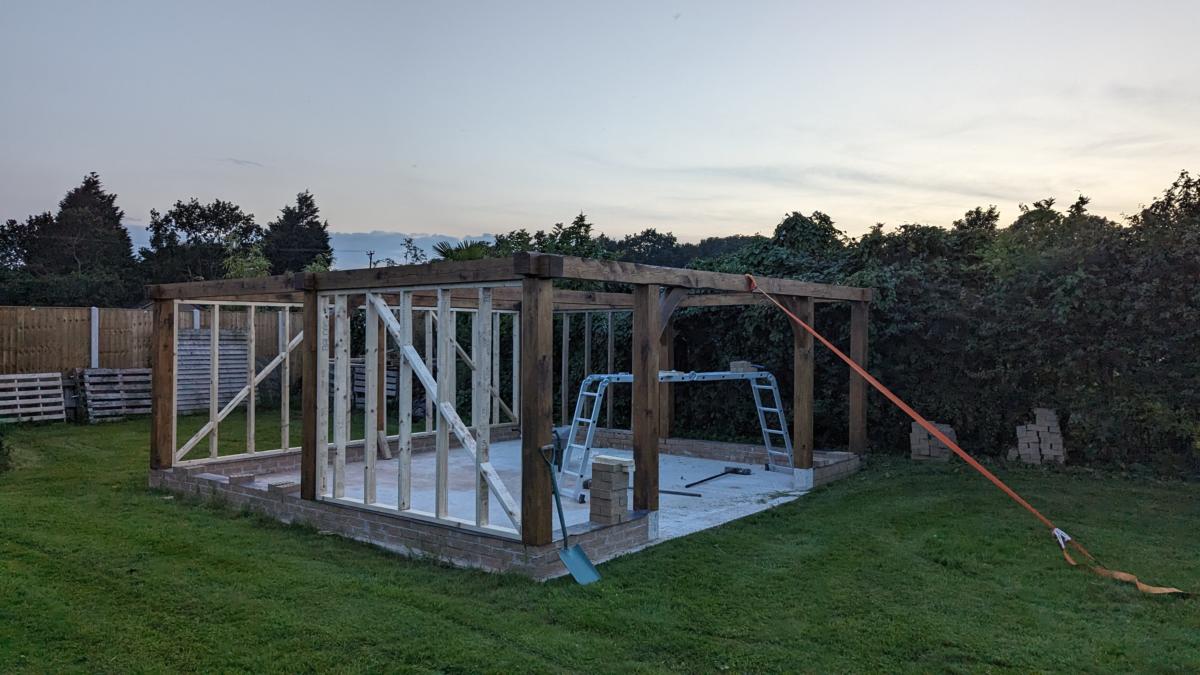
The day eventually came when I had all the stud walls in place and I could get rid of the ratchet strap and finally give my grass a proper cut.

It’s difficult to make out in the picture above but I’ve also put the rafters in for my mezzanine. So what’s the first thing everyone does when building a mezzanine? Lob a palette up there and then climb up a ladder onto the wobbly palette then call your son and say “hey look out of your window” and then wave at him from the end of your garden. That’s the first thing everyone does right?

Cambridge 34 years on
For the past decade or so all the old Xerox boys have tried to meet up in September to celebrate being another year older, wiser and still alive. We’ve lost a couple along the way and some have just drifted off but we always get a good turnout when we meet up

This year’s restaurant was Thaikuhn and we all had a wonderful time except Scouse who nearly got battered in the toilet when he flicked his wet hands in the face of a complete stranger who had a passing resemblance to Dickie. There’s always something that goes wrong!
For the past few years I’ve stayed in one of the colleges. I’m a bit dubious about going back to Sidney Sussex college after the fire alarm/smoke detector incident so this year a bunch of us stayed at Christs, which I argue is a better place anyway.

Emmerdale
Karting
A while ago we had a Thai meal with Sarah and Freddie. During the Thai meal Sarah mentioned they were going Karting later in the week and would Oli and I like to go. Oli said he’d like to try it, I was amazed that he’d never done it, so later that week off we popped.
Now I personally am rather a dab hand at this sort of thing as I went quite often during the magic4 days ….
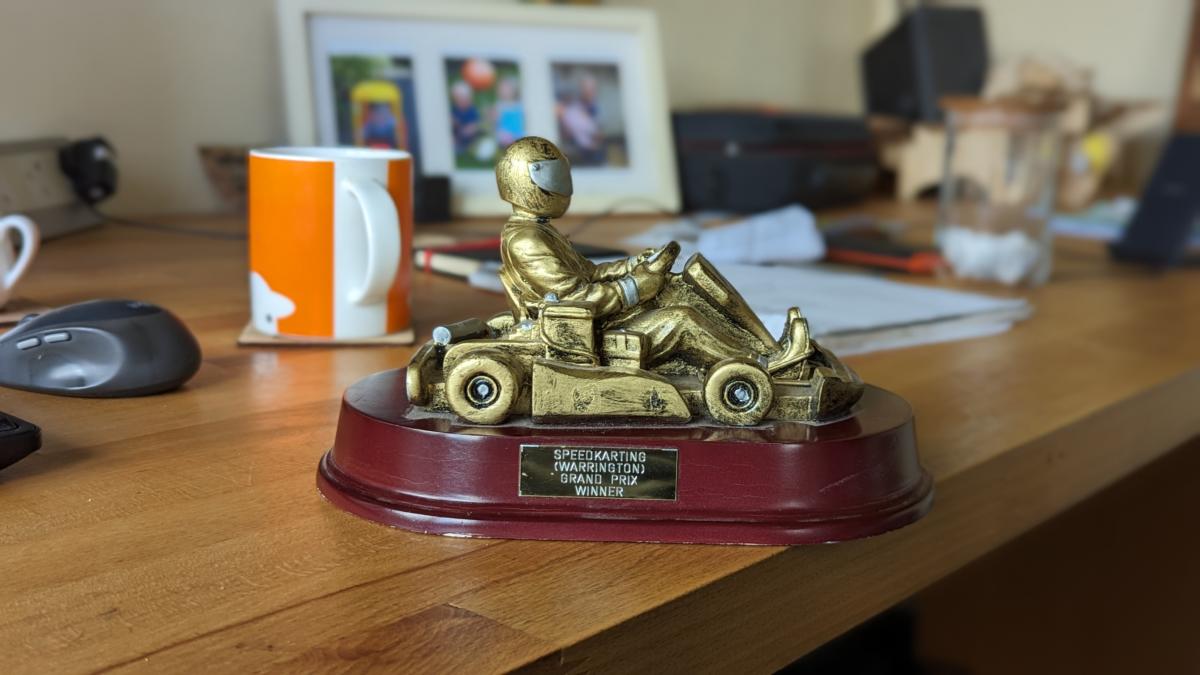
Oli did really well for his first ever go at Karting. I won, of course, but when the lap times came in Oli’s fastest lap was only 0.5s behind my fastest lap. I was very impressed with him.
After the karting session Oli was buzzing and asked if he could go again the week after with his mates. Oli organised it. I booked it. The parents went along to watch them and Oli took first place. Got a “gold” medal and everything.

Escape Room
Here comes the oak frame
I finished a recent blog post with “But it’s done. Next step…how on earth am I going to manhandle the oak frame into place. This is going to be tough.”
I looked into hiring a machine to do the heavy lifting for me but it was going to be about £130 per day and with hindsight of how long it took it would have cost me about £1000 down that route. Luckily for me I have a lovely friend that owns a digger and a trailer. He dropped it off for me, gave me a hand with the first part of the build and then nobbed off on holiday leaving me to crack on with it at my leisure.
The first wall we put up was the one on the right
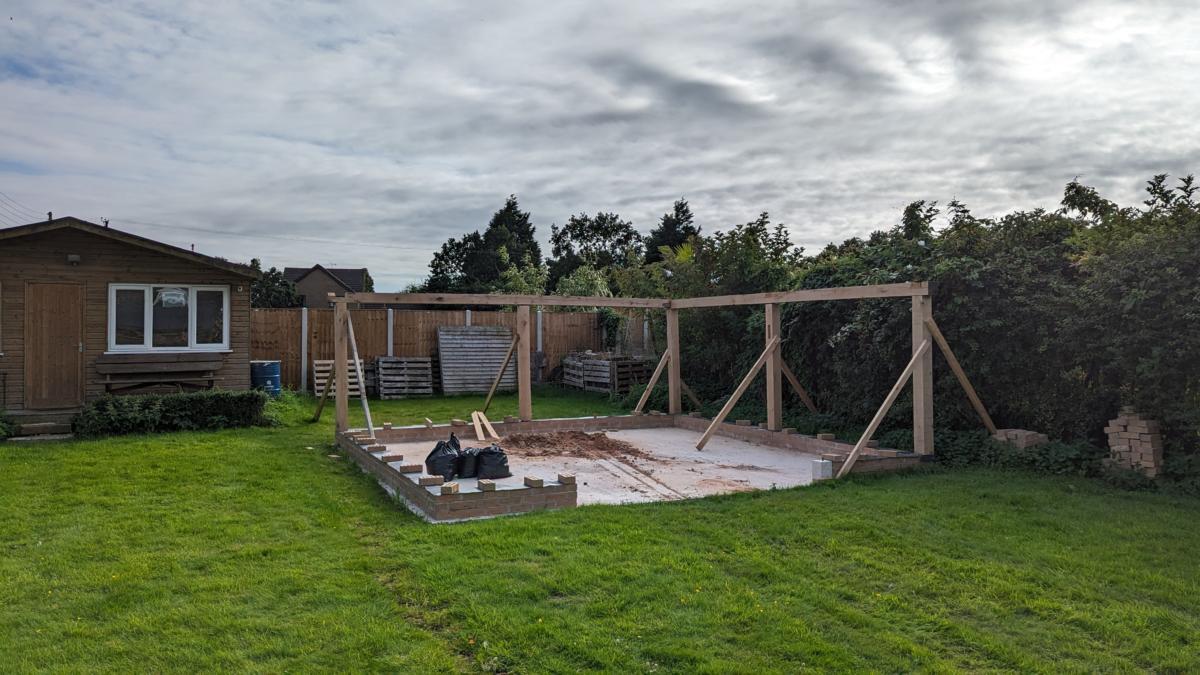
By the time we’d constructed the second wall of the frame I was getting a bit better at mortise and tenon joints – not brilliant….but definitely better. Before starting the build proper I spent an entire day making a mortise for the wind brace by hand with a hammer and chisel. Seriously….an entire day to make a practice mortise. I nearly cried. The realisation of how many mortise holes I had to make in this incredibly tough oak was soul destroying. So I rented a chain mortise. By the end of the build I could do a wind brace mortise in 10 minutes rather than 7 hours.
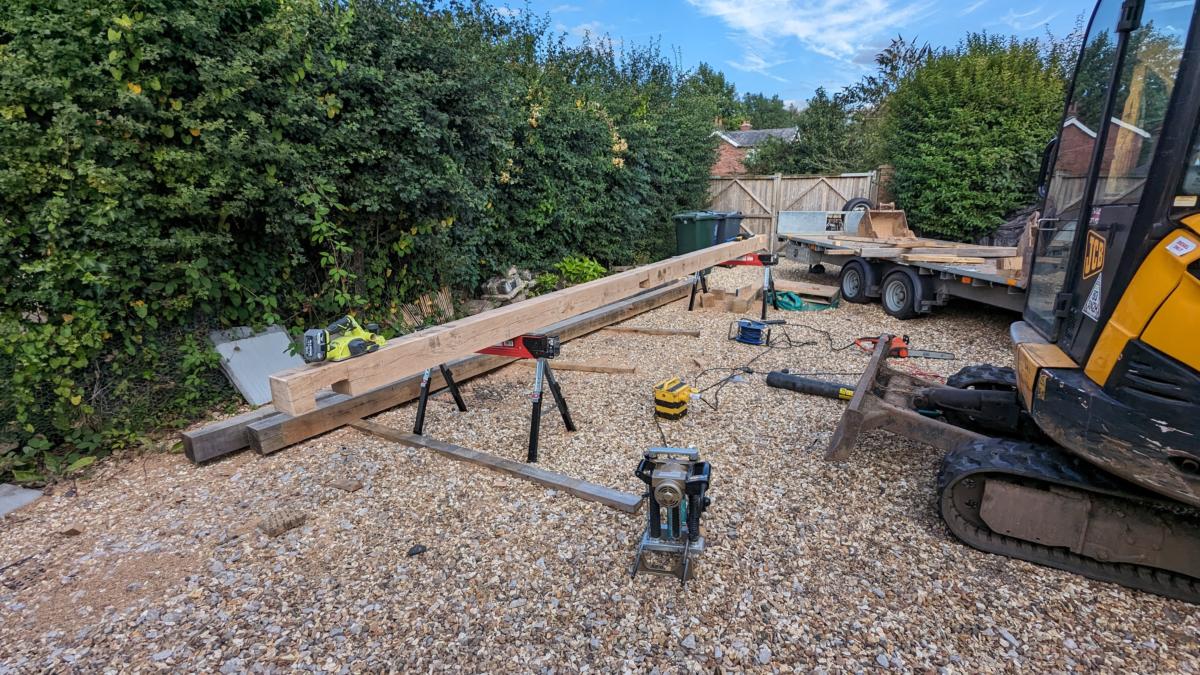
Three frame walls in and things were getting easier and quicker
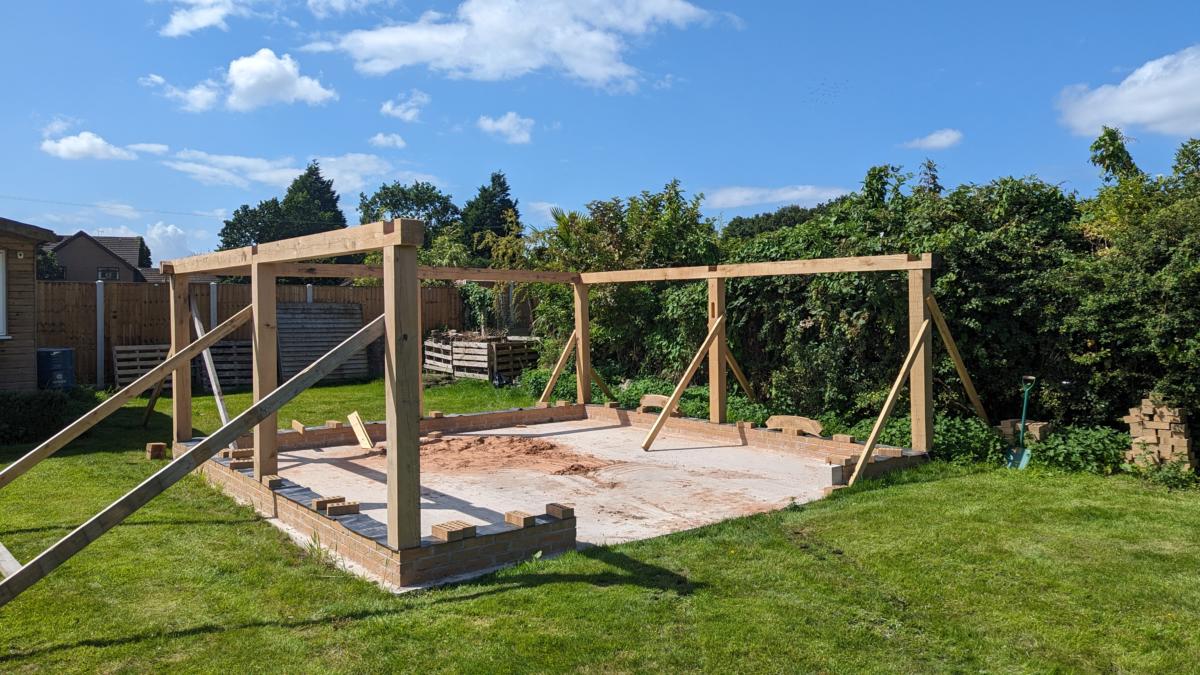
My lap joints were also getting better given that I’d picked up a few tricks on using the chain mortiser to take material out of the beam and finish off with a hammer and chisel. Took me a while to work out that the measure ticks on the side of the mortiser took into account the curvature of the chain saw.

Things start getting a bit complicated when connecting the middle brace. There are two lap joints and two wind braces to consider so stuff really needs to line up. This one turned out pretty well, the wind brace is a bit loose but I’ll fix it in when the frame is finished and the stud walls have pulled everything square.
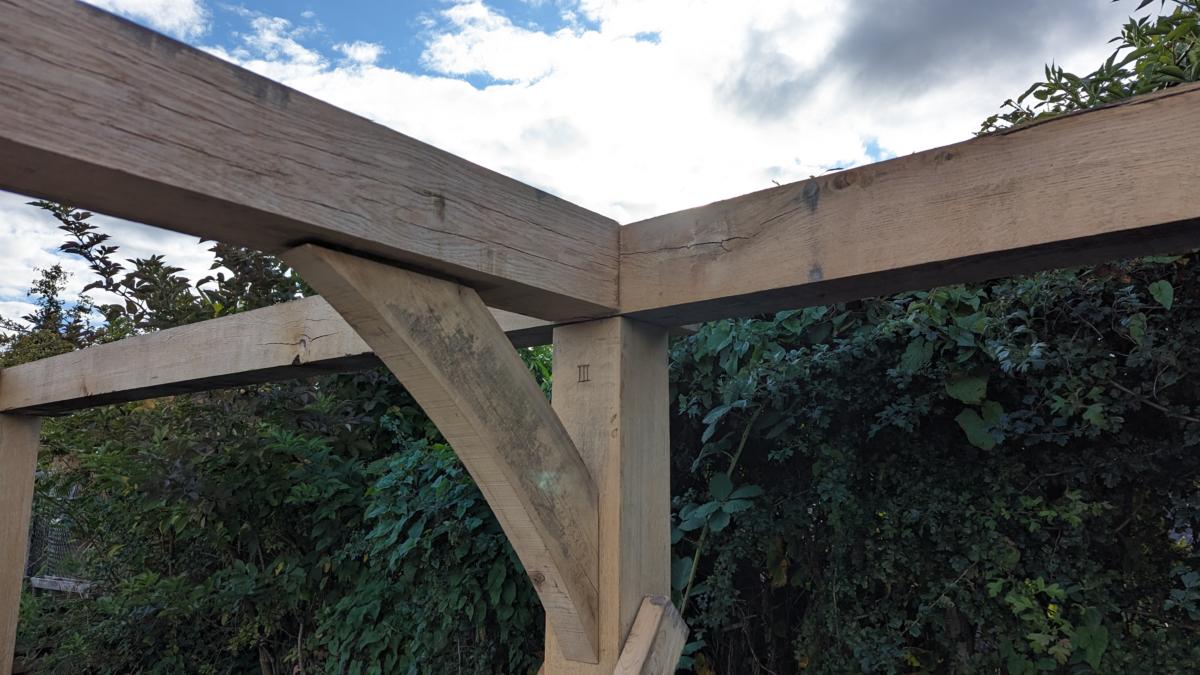
I had numerous special guest appearances from Uncle Chris who provided invaluable advice when it came to getting ratchet straps out and pulling the frame together. He’s a great engineer and can definitely wield a mallet.
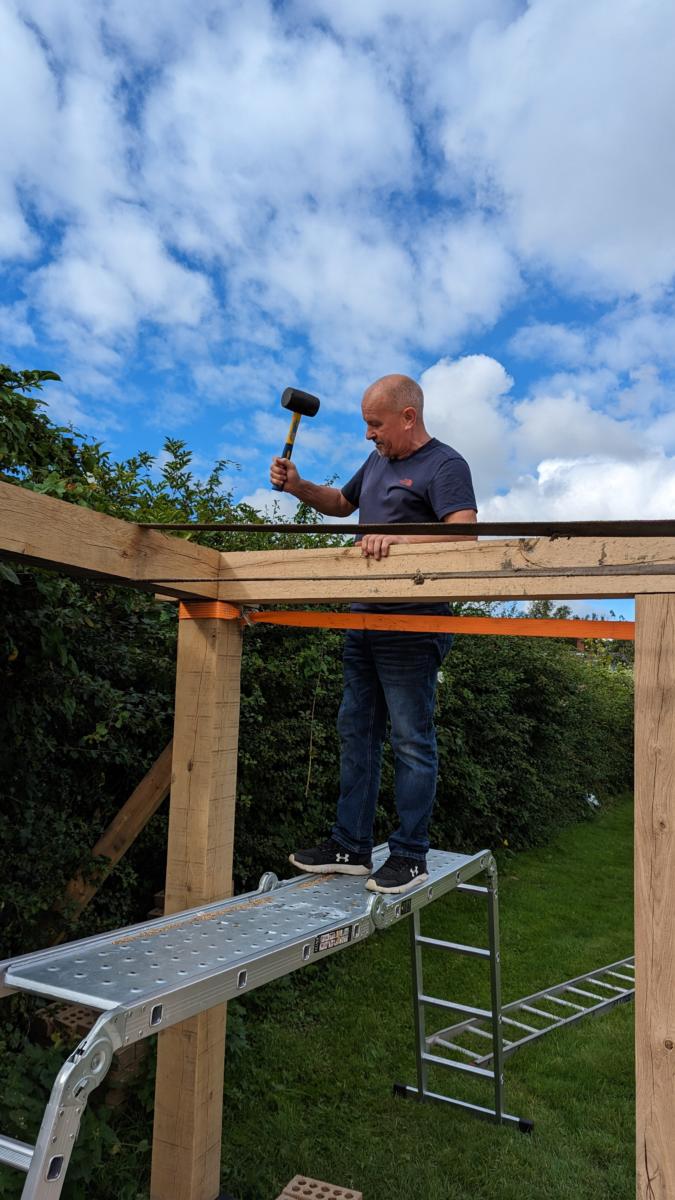
Until finally we get to this
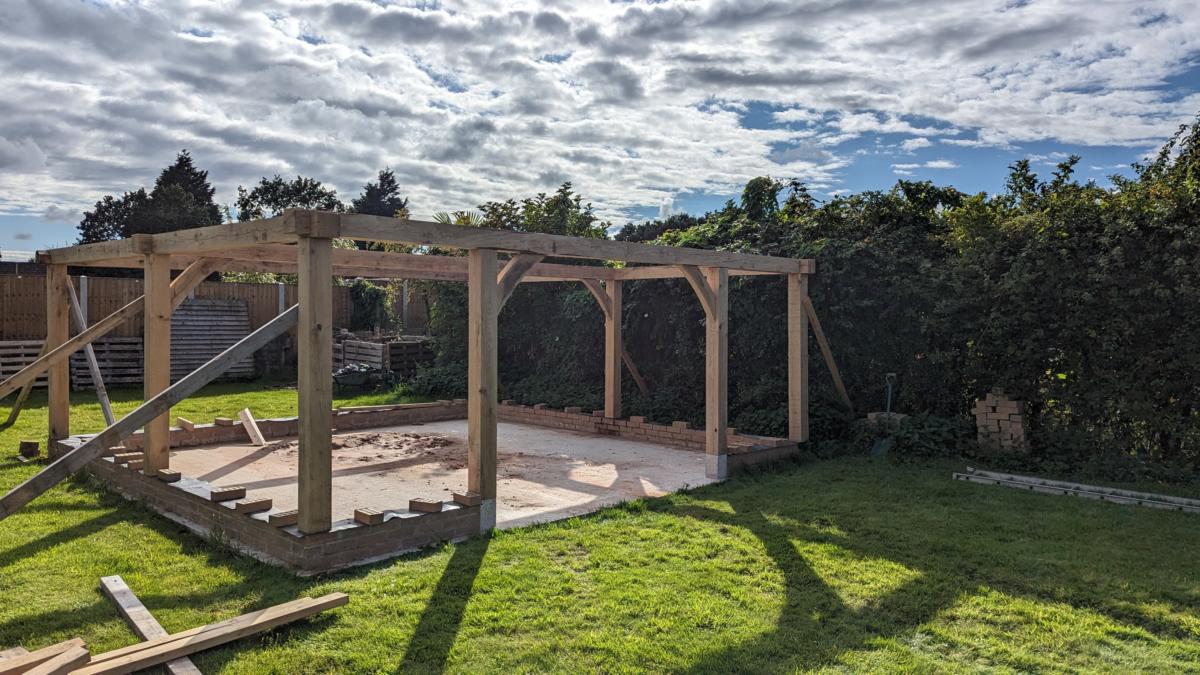
This is the phase that I always thought would be the hardest, and it definitely was. The brick laying was tough but I’ve done it before and knew it was a matter of patience. But manhandling 6m long 150mm square Oak beams was really really hard. Putting lap joints and mortises in there was tough. Manhandling them into place using a digger and mallets and ratchet straps with millimetre accuracy was insanely hard. Trying to get everything square…well that was beyond my capability. Things are a little wonky in places but hopefully the stud walls [ which are the next phase ] will neaten things up.
If I were building this again I’d probably do a better job as I picked up a few tricks along the way and the last few joints were way better than the first. I’d use longer tenons and deeper mortises but taking into account the bows in the beams is just a nightmare.
Carving
I watched a youTube video where a fella carved roman numerals into his beams so that he could easily identify which was which. This seemed like a stellar idea to me. So I copied him
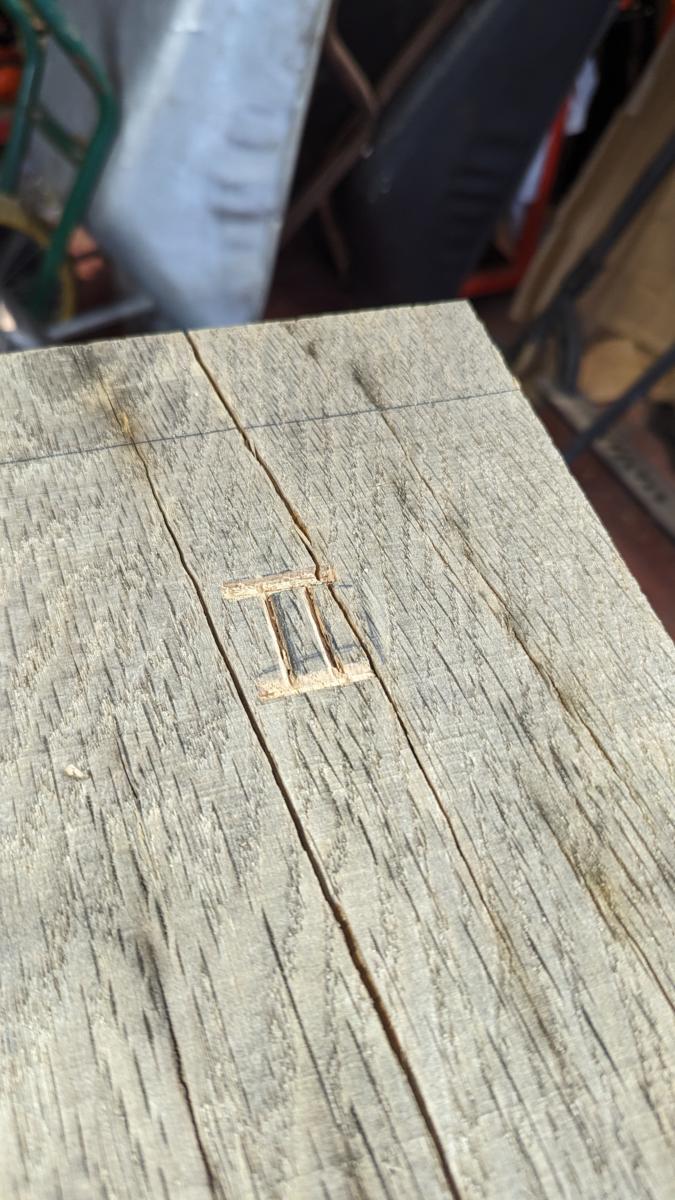
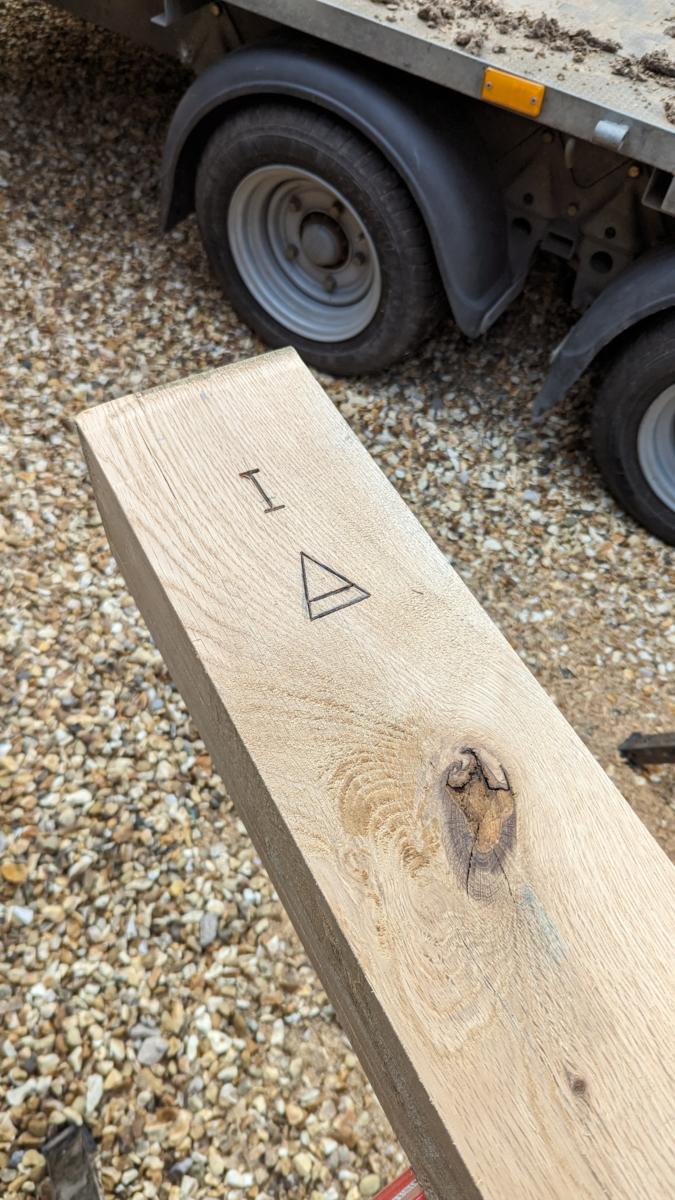
But then I decided to go one better and start chiselling pagan symbolism into my shamanistic meditation and hallucinatory experience workshop beams.
Circular saw rental
My circular saw just wasn’t big enough to cut through the 150mm Oak beams. So I rented this fella for a morning to chop them all to size.
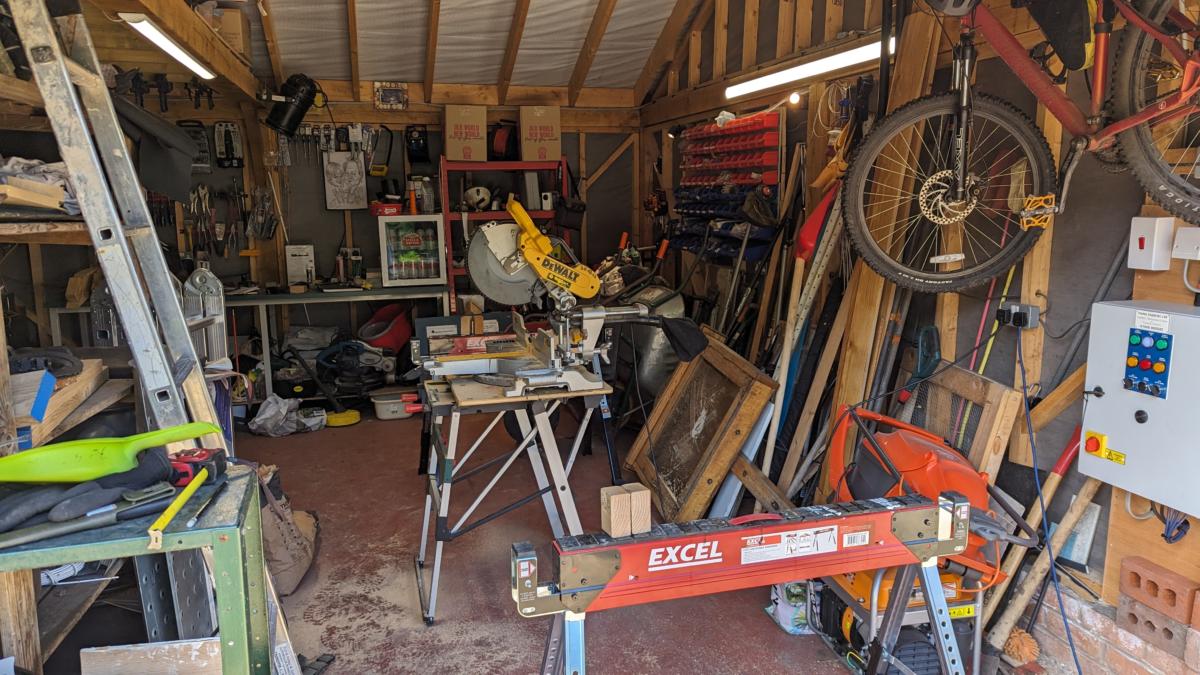
With hindsight I didn’t really need to. If I was doing it now I’d use my newly acquired skill saw…
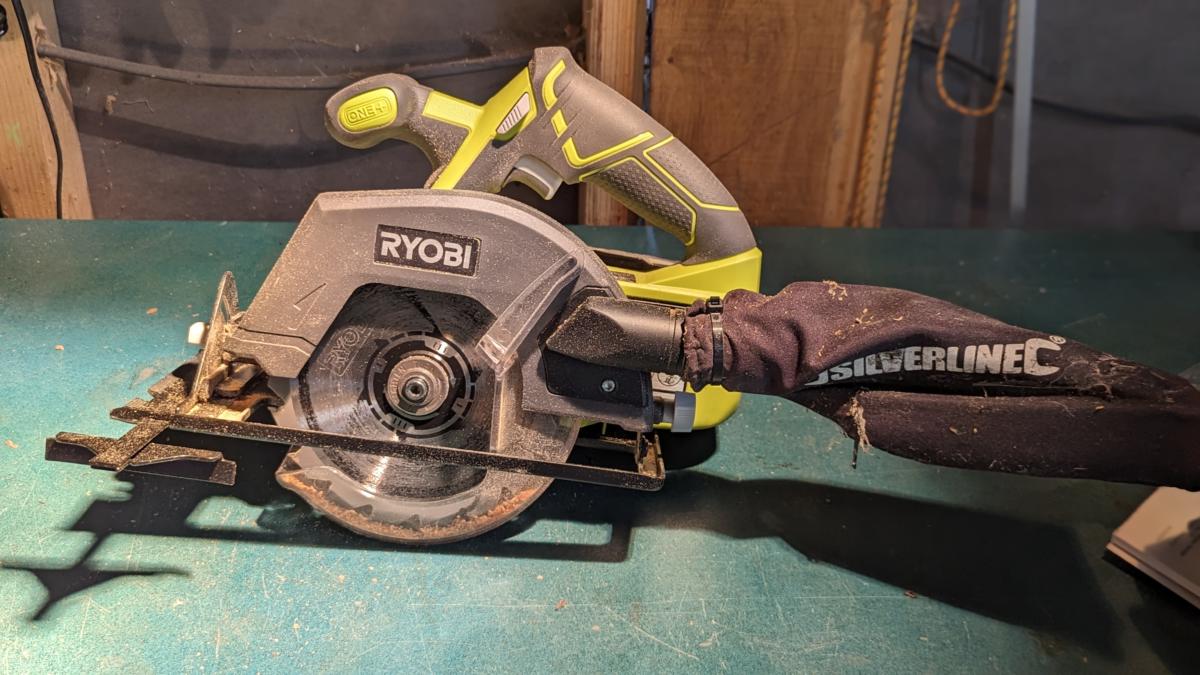
to make cuts all the way around the beam and then finish it off with a hand saw. But you live and learn. The big arse circular saw certainly made it quicker.
Whilst we’re on the subject of new tools acquired for this project.
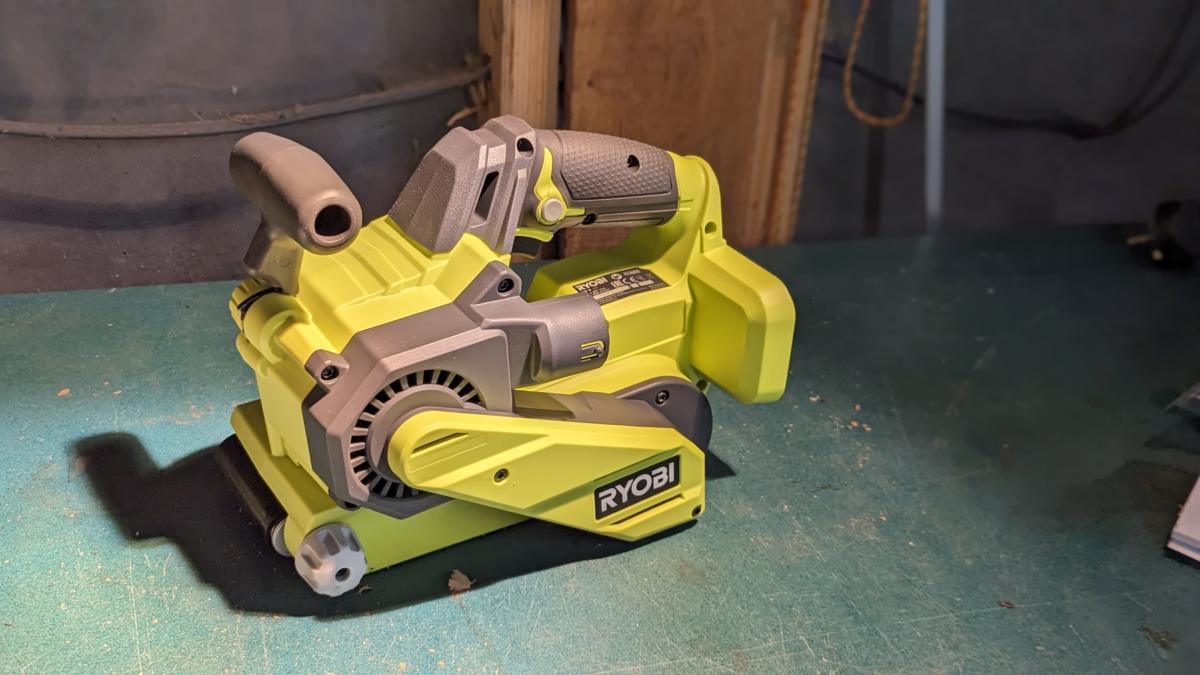
Aldi Sliders
The Workshop begins in earnest
I keep calling it a workshop but in reality I’ve got no idea what I’m going to do with it. Could become my art studio, or a sex dungeon. Maybe a VR room or a recording studio. Or maybe it’ll just end up being a really big shed. Whatever it’s going to be, the work has begun in earnest.
The oak beams that will form the load bearing frame arrived a while ago.
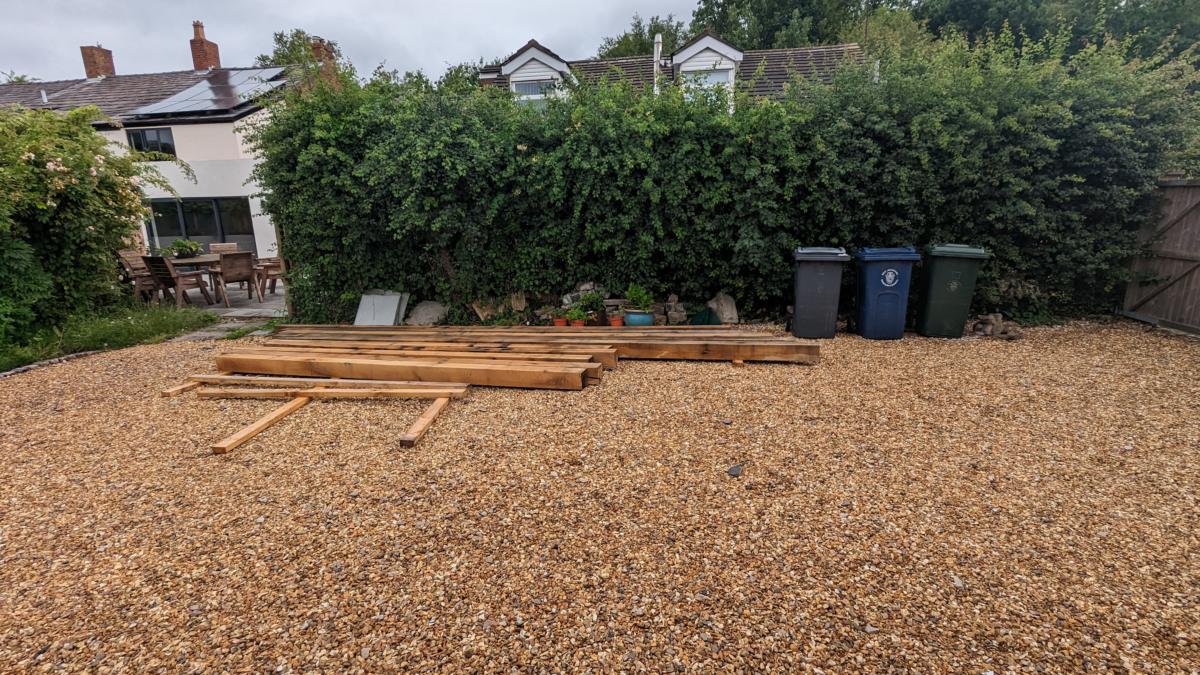
They don’t look like much on the picture above but the ones at the back are 6m long. All the beams are 150mm square and so the 6m bad boys weigh ummm I dunno how much but 5 of us struggled to get them off the delivery truck. Very heavy.
The builder people put a concrete slab in for me months ago as has been documented in an earlier post and I finally got around to buying some bricks and making a start on the construction. Bricks from my local building supplier were pretty expensive. Bricks online were slightly cheaper but I ended up nipping in to Huws Gray as they were right next door to the machinery hire place. Huws Gray had some clearance bricks that they were trying to get shut of. I didn’t really give a crap what the bricks looked like but they had to be 65mm and these bricks were. So I ordered 650 of these unbelievably cheap bricks and saved myself about £300.
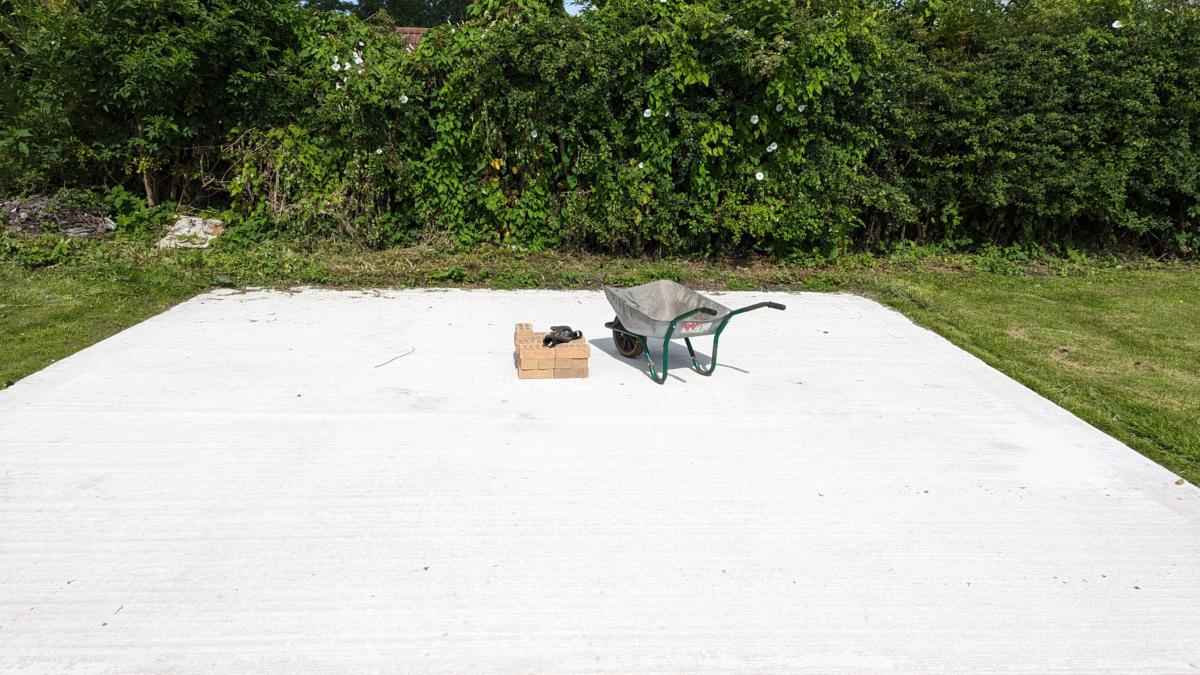
There is limited access to the garden so the bricks and sand were offloaded near my gates and I had to wheelbarrow them up the the desired location.
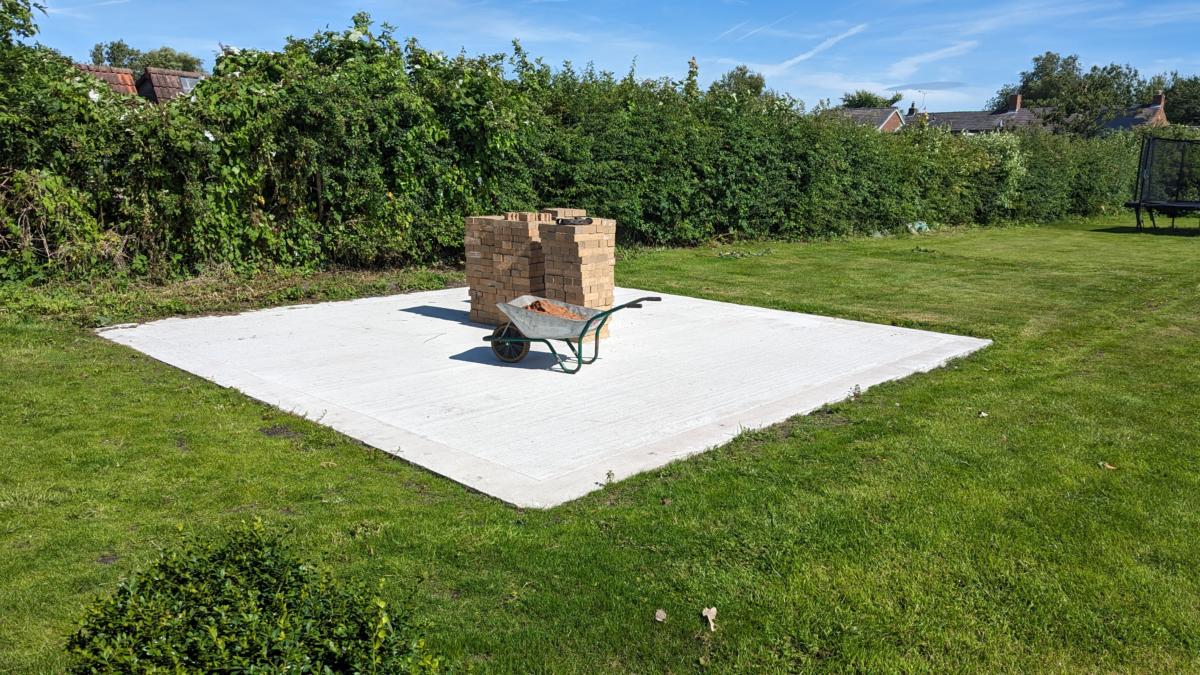
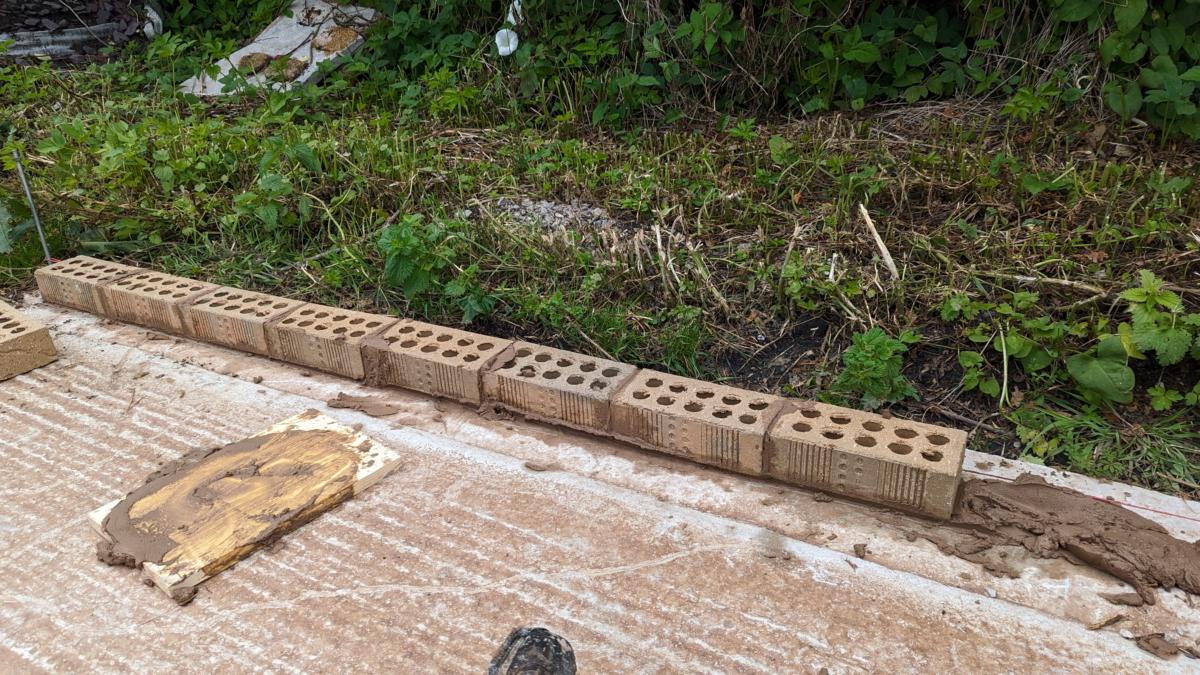
I’ll be the first to admit that I’m rubbish at laying bricks. I have much more of a “fuck it that’ll do” attitude than bricklayers really should. I’m much better at it now as I sit here typing this given that I’ve just picked up and mortared in a brick about 500 times. I can now tell when my mortar is wrong. I now appreciate the use of a piece of string and a spirit level. But when I first started this brick laying odyssey, I was pretty useless.
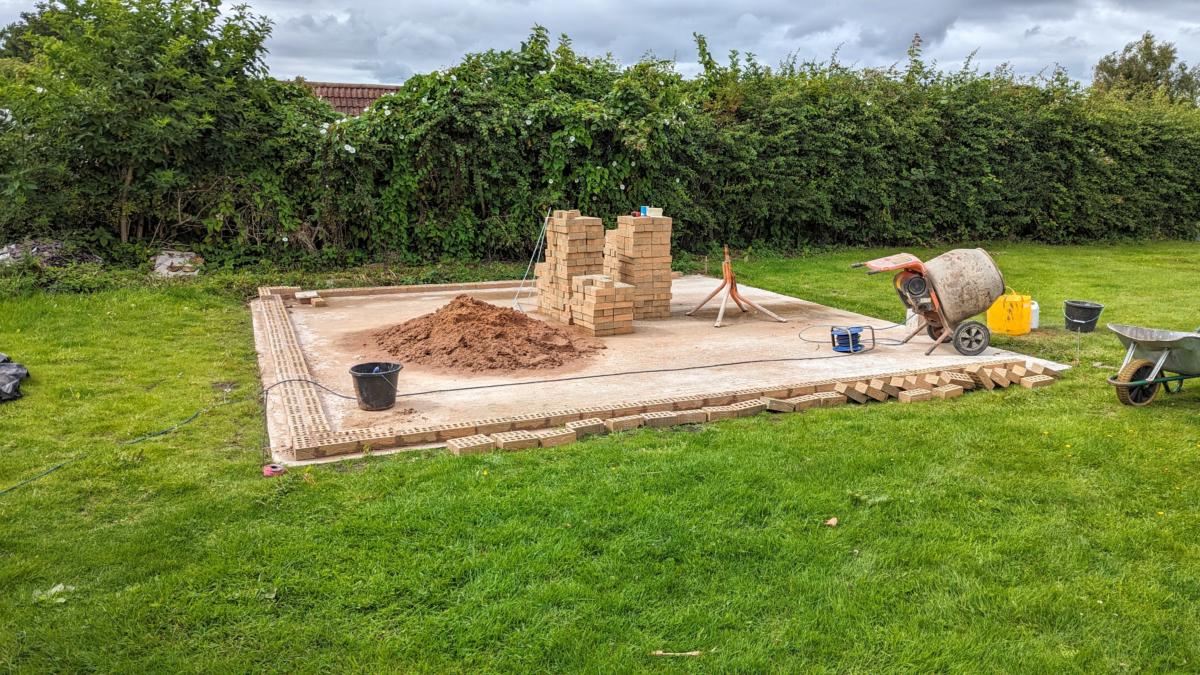
The first day I started laying bricks I made the fundamental mistake of not checking the weather. It started properly raining when I was about half way through using up my mix ( mortar ). The second mistake I made was then continuing to lay bricks as it rained. All that happens is the mortar becomes too wet and starts running everywhere. The third mistake was thinking that I had to force the brick into the mortar to get good adhesion – you really don’t have to – doing this just results in the mortar becoming too thin and all your brickwork height calculations ending up wrong. Probably the biggest mistake I made during this whole first day utter fucking disaster of laying bricks was that I thought I could do it whilst drinking several cans of Stella.
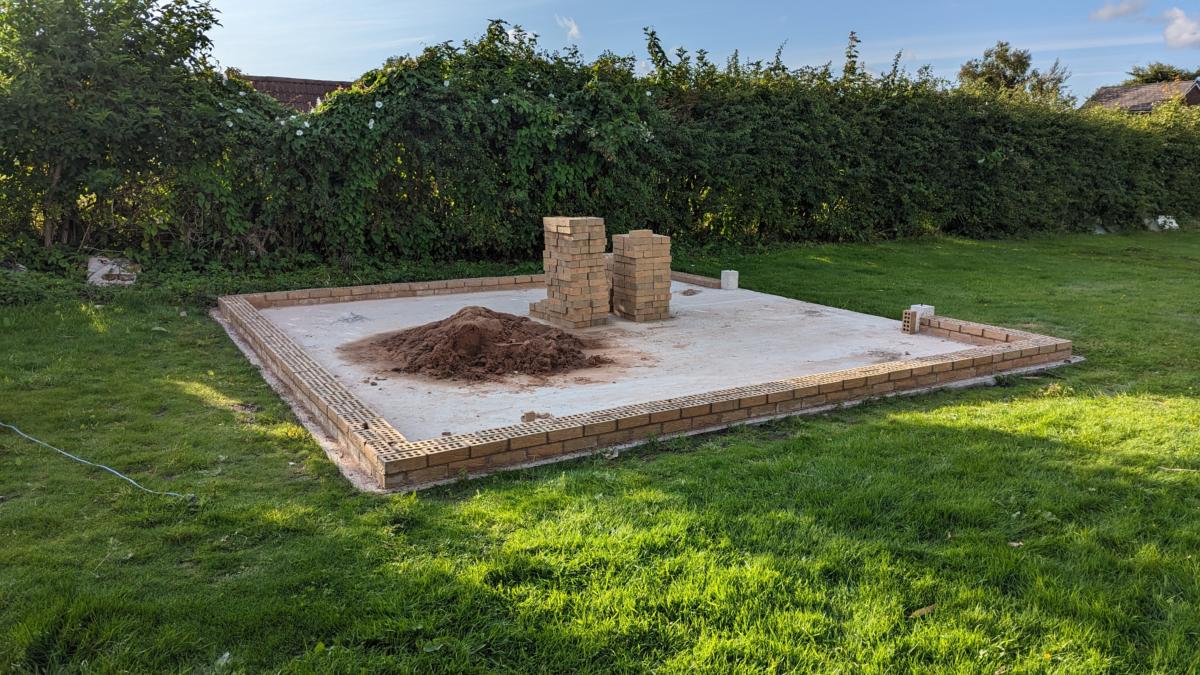
By the time I was onto the second course all sorts of memories of my father, who was a bricklayer, came flooding back. I spent a few weeks working with him one summer when I was a student. He didn’t need my help, he already had a labourer, I think he just wanted to spend some time with his son. Anyway, during this father son bonding period he taught me stuff…either that or my mind has completely made shit up. Stuff like wait an hour or two after your mortar has gone off and then point it. After pointing it go over all your new mortar with a stiff brush and scrub the excess from around the edges and the face of the brick work. Don’t lay brick until the very end of your row and force yourself into chopping a brick to make it work; instead meet in the middle and put your chopped brick in there. All sorts of stuff came back to me and course 2 was better than course 1, and course 3 was better than course 2. I really don’t claim to be an expert but brick laying no longer holds the fear for me that it did a few weeks ago.
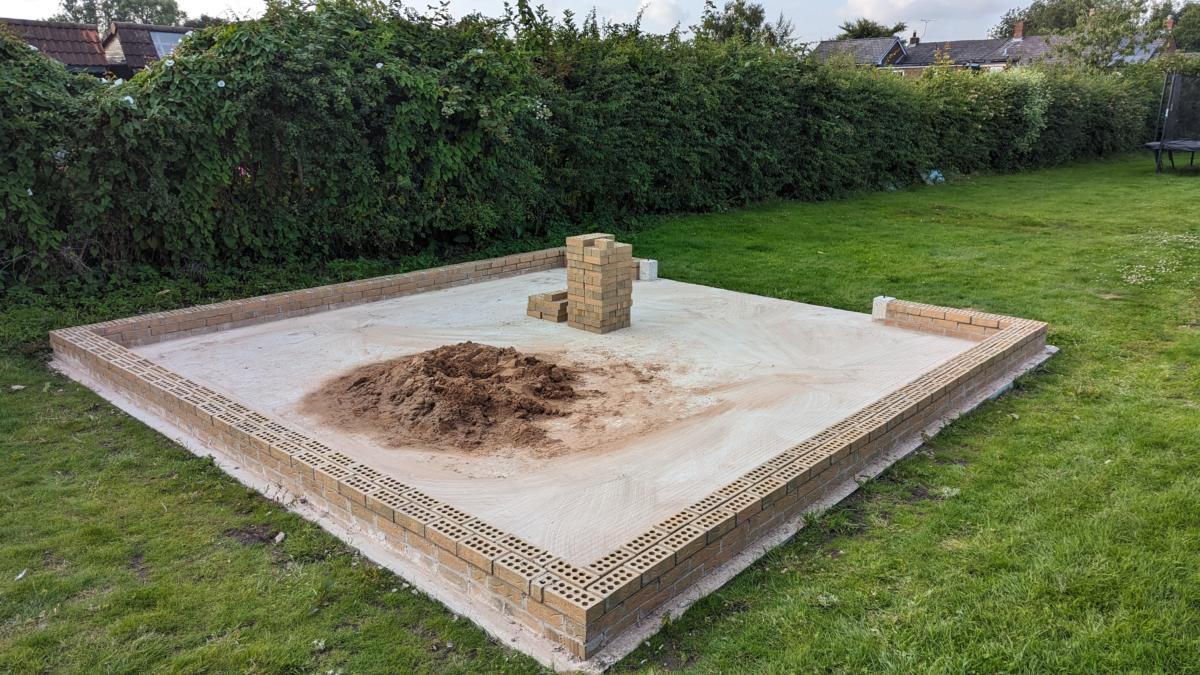
It turns out my estimation for the number of bricks needed was pretty good. I initially estimated 600. When the Huws Gray bricks came in so cheaply I decided to buy an extra 50. I ended up with about 100 left over and plenty of sand and cement. It’ll all get used at some point as I need to build some new steps to my office and then just stuff.
All in all it was a pretty terrifying and physically demanding process. But it’s done. Next step…how on earth am I going to manhandle the oak frame into place. This is going to be tough.
Coolant
Amelia and I were on our way to Blackpool to have fun on the pleasure beach. As we set off my car flashed up a warning about the level of coolant. We had some time to spare so we nipped to the car shop place nearby and bought some coolant. I opened up the bonnet, Identified the oil thingy. There was only one other lid which I therefore assumed was the coolant so I added a bit.
Fast forward a couple of weeks and the coolant thing came up again. I opened the “coolant” flap and had a look, it was fine. So I ignored it.
A week later the coolant thing alerted me again but this time the engine temperature hit the max level whilst idling. This was not right. I did a proper investigation. Turns out underneath a flap in the engine is the coolant reservoir. So, hang on a minute, thought I. Where the fuck did I pour that last lot of coolant? Apparently I added coolant to the power steering reservoir. A quick google search about this reveals this is really really really bad. Like power steering system destroying bad. Several thousand pounds in repairs bad. So I flushed the system
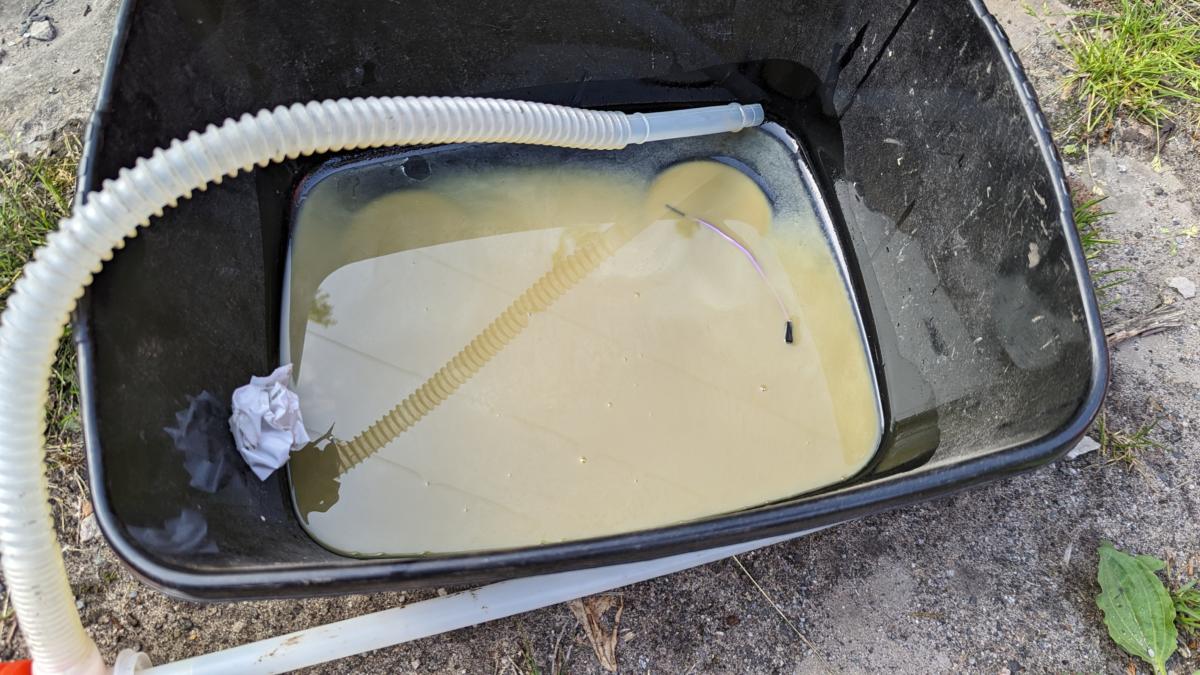
This is the milky coloured shit that came out of my system. Not groovy.
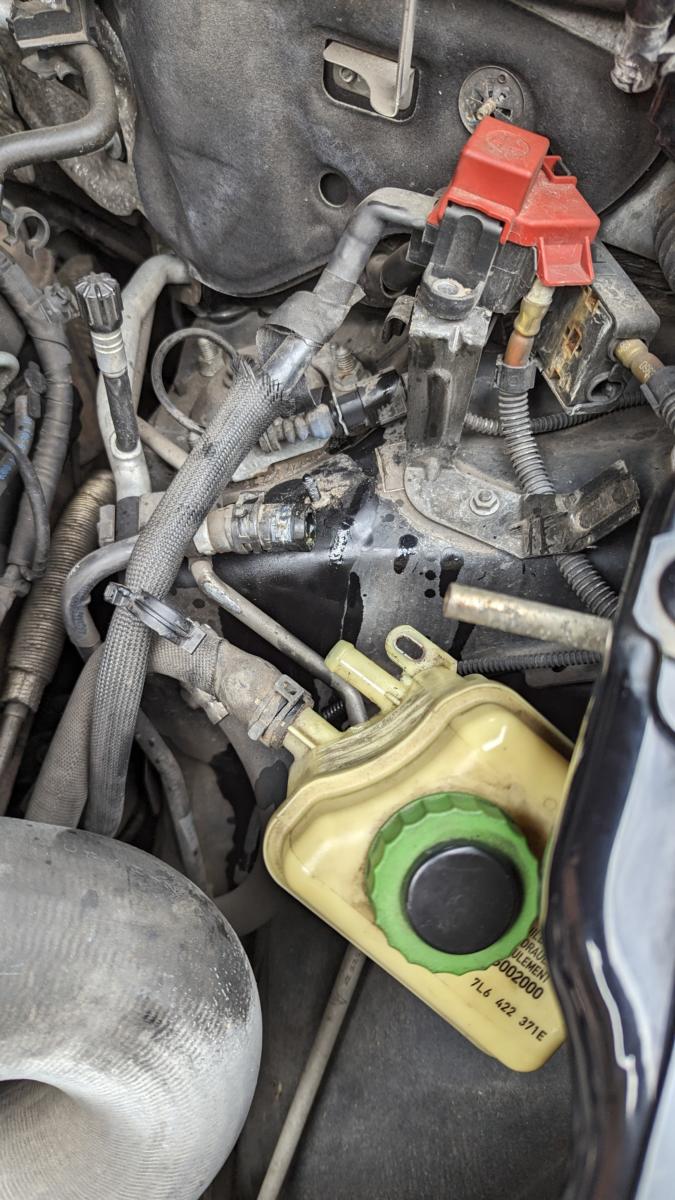
This would be the thing I thought was the coolant, but is actually the power steering thing with the return ummmmmmm thing disconnected, so I could flush it. Took me 5 litres of power steering fluid at £10 a pop to sort it out. But it was worth it
Bench
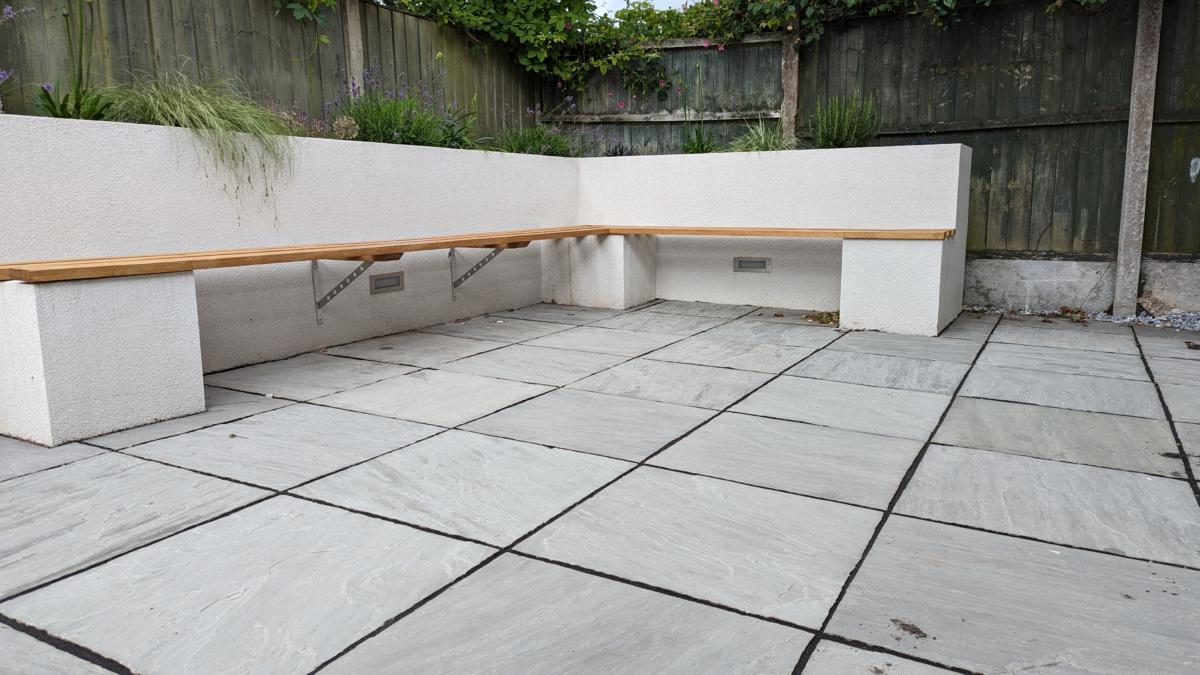
Back when we did the extension we had a bunch of planters built and filled them with flowers. In front of the planters we laid a few breeze blocks and covered them with render with the intention of building some benches out there. Since I was buying a load of oak to build a workshop at the end of my garden…more on that soon…I got a few bench slats thrown onto the delivery.
Whilst waiting for the oak to be delivered I took some 4×2 and laid it out to see how it would perform over such a large span.
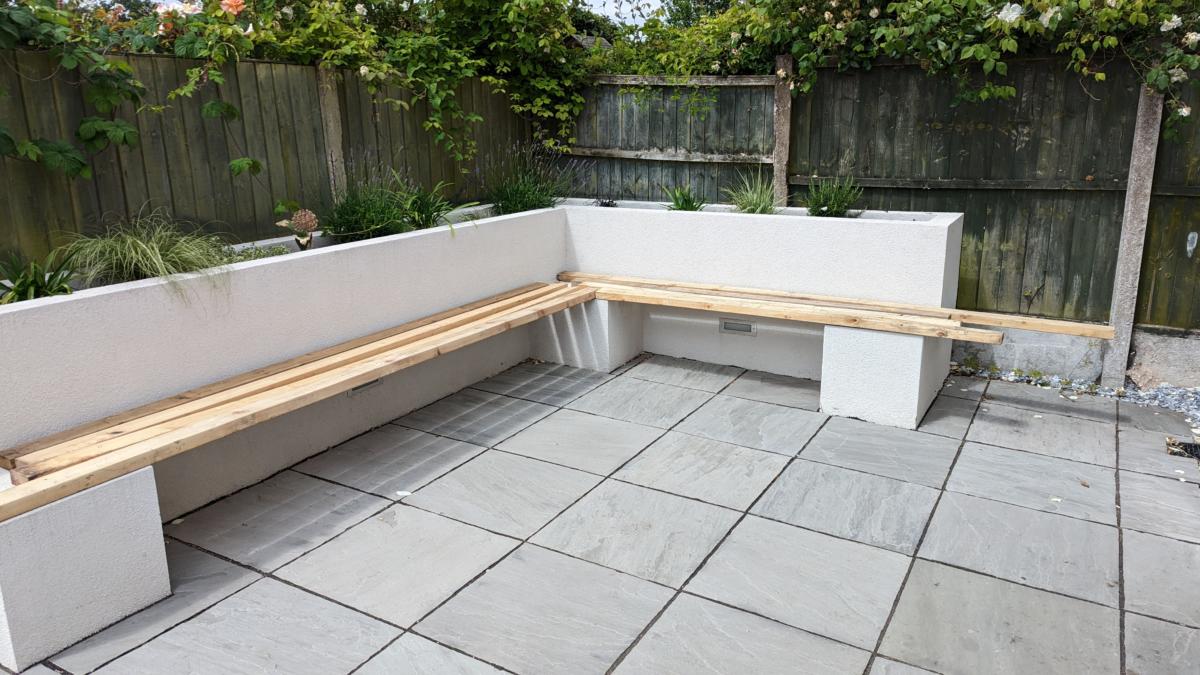
Not cut to size or anything, just playing around. The short span at the end of the picture was absolutely rock solid. But the large span was just rubbish. It was going to need some steel to brace it.
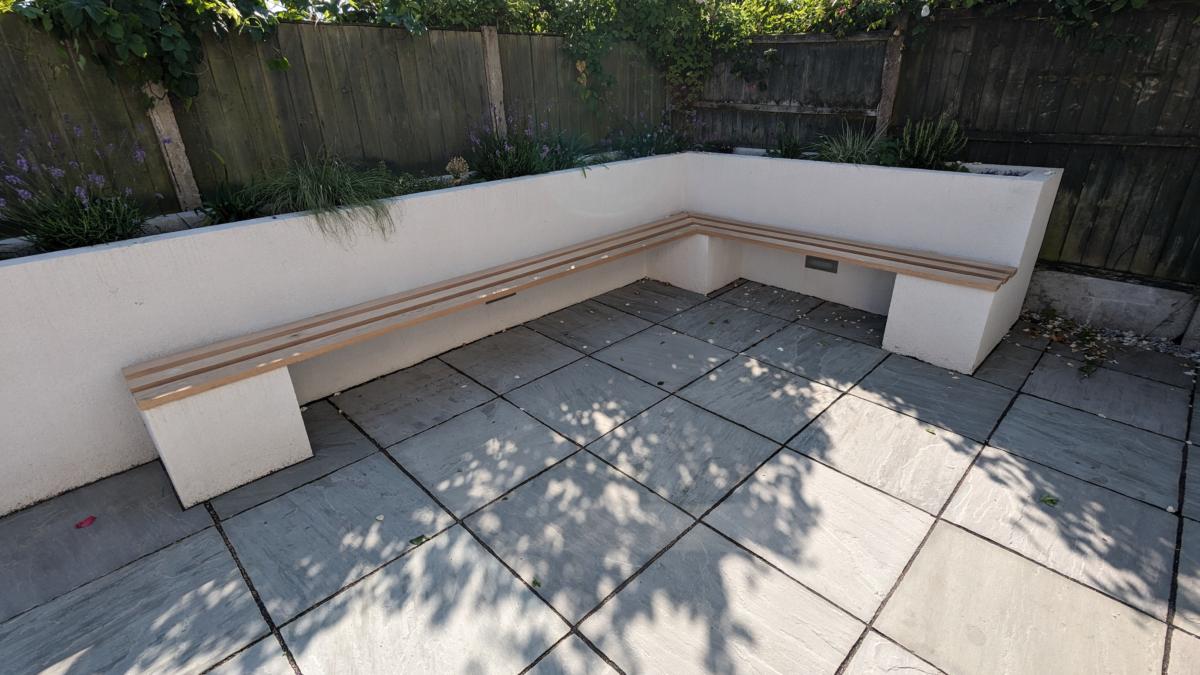
The oak arrived and I cut it all to size and laid it out.
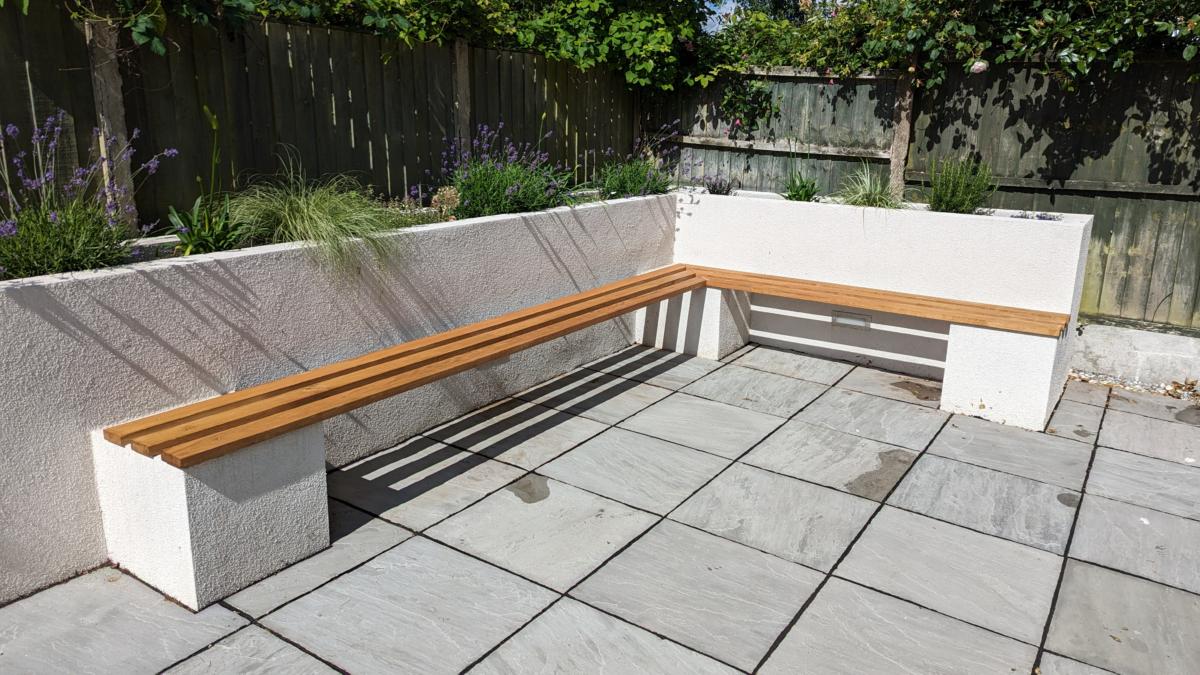
After clearing some space in my garage I managed to set up my wood horses and add some Osmo Garden Furniture Oil to preserve them a bit better.
The steel finally arrived and I used some rawl plugs and screws to fix the steel supports in,
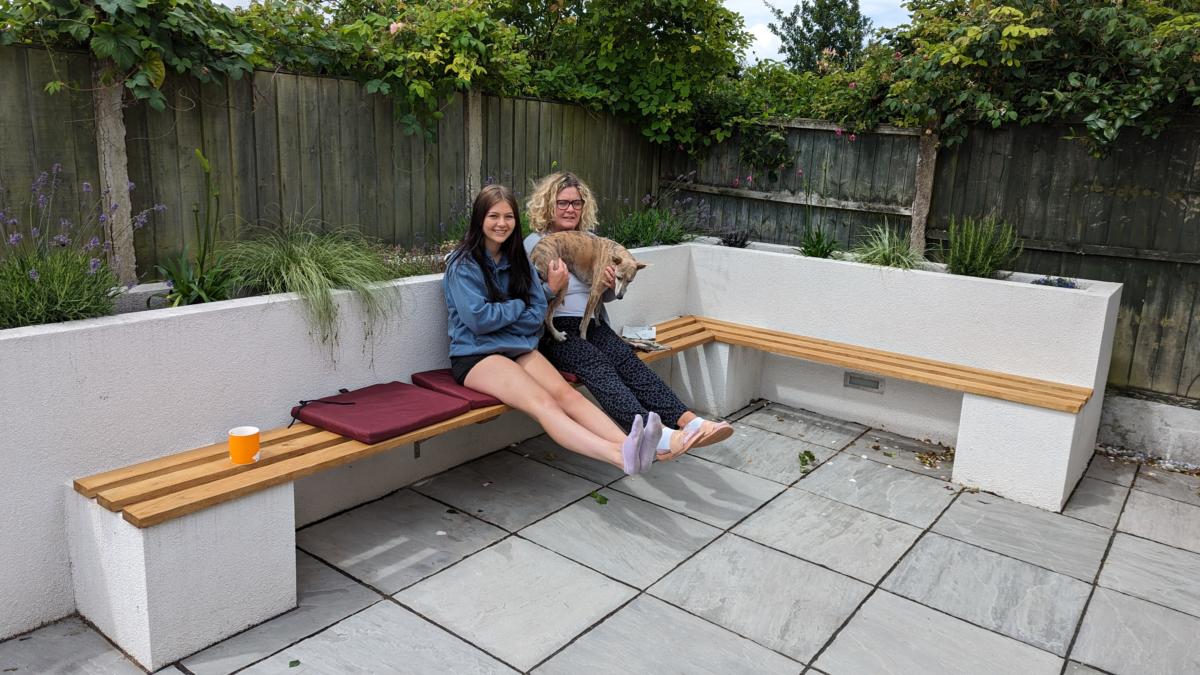
It worked pretty well until about 2 seconds after I took this photo when the entire bench dropped an inch having ripped the screws out of the top mounting point. I was a bit worried this would happen so I made a trip to the local hardware shop for some concrete fixings. Then I made a trip back to the shop to buy a 12mm masonry drill as my 12mm cheap crappy SDS drill from Aldi was bent and ended up making a 15mm hole rather than a 12mm hole. Then I used my concrete fixings and it’s definitely so far so good. When the screws were ripped out it made a bit of a mess of the render but I have a cunning plan to patch it up again.
Roger Waters
Garage Pi
I’ve got electric garage doors. You may remember that from an earlier blog post where I managed to close the garage doors on my car before fitting sensors. Well now I’ve gone one better and made it so that I can open and close my garage doors with my phone.
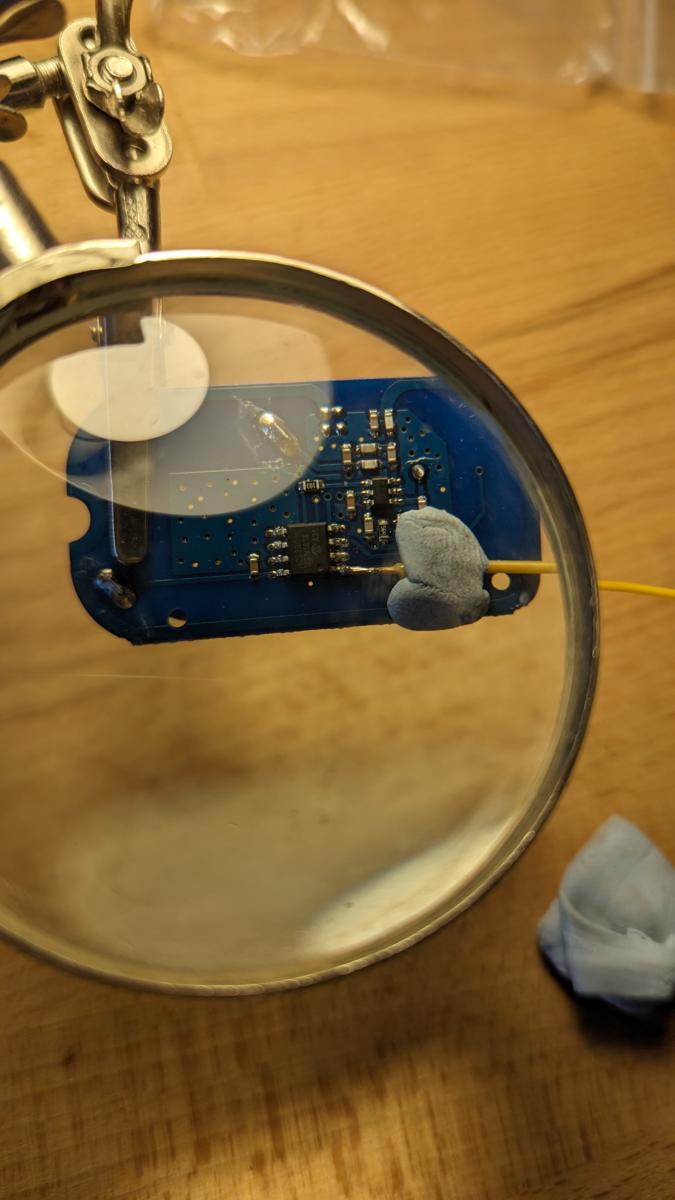
It all began in January 2023 when I bought some spare remote control garage fobs, synced them up with my garage doors and then ripped them apart. I used an oscilloscope to determine which pins on the chip went high when I opened and closed the doors and then I delicately soldered some wires to the chip and then hooked them up to a raspberry pi [ of course ]
Now, my electronics has always been a bit rubbish but I knew that the raspberry pi GPIO pins ran at 3.3 volts. Also, I knew that the battery powering the fob was running at 3.3 volts so I just made a direct connection. It worked first time. I was amazed that I could open my garage from the end of the garden. The remotes had never been that powerful before.
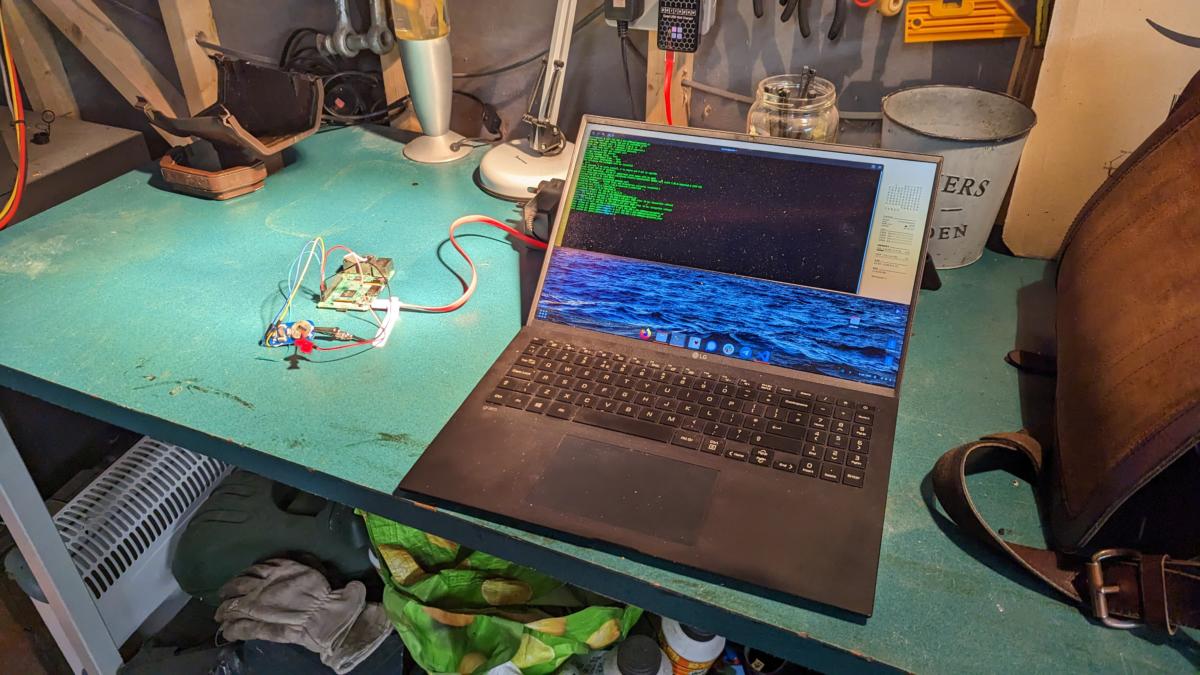
Then came a problem. It stopped working after the first go. It confused me for a while…quite a while…about three remote control key fobs at £20 a pop. I thought maybe I’d damaged the processor when soldering so I again hooked up my oscilloscope to see which side of the switches were ground and I hooked my wires up to them to keep some distance away from the delicate microprocessor. Again it worked for a while and then stopped working.

One day I had an epiphany. “It’s the current! The signals from the raspberry pi are blowing up the processor”. So with a really simple fix of dropping a 55k resistor between the pi and the remote control everything worked well.
At this point I only hooked up one door and I could just make it go up or down as I hadn’t soldered up the stop button. Fast forward a few months and I bought another remote control for the second door, ripped it apart and soldered up all three buttons [ up, down and stop ] and whilst I was at it I took the first remote control and soldered the stop wire onto that too.
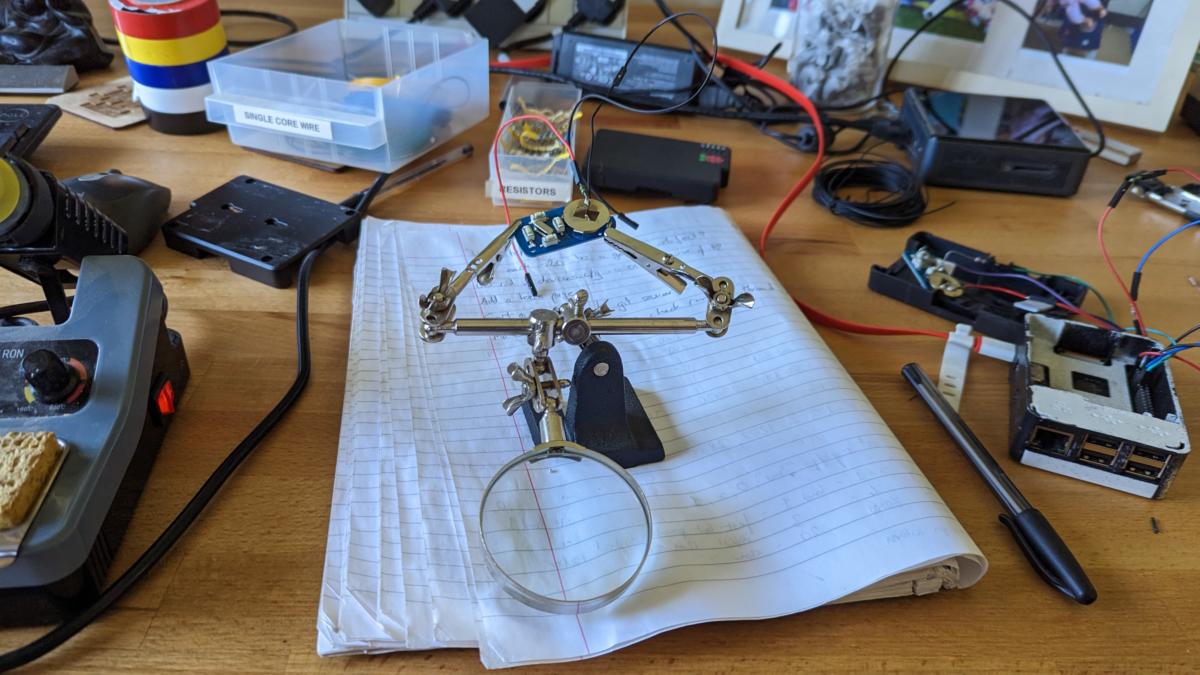
The finished item looks rather like an IED
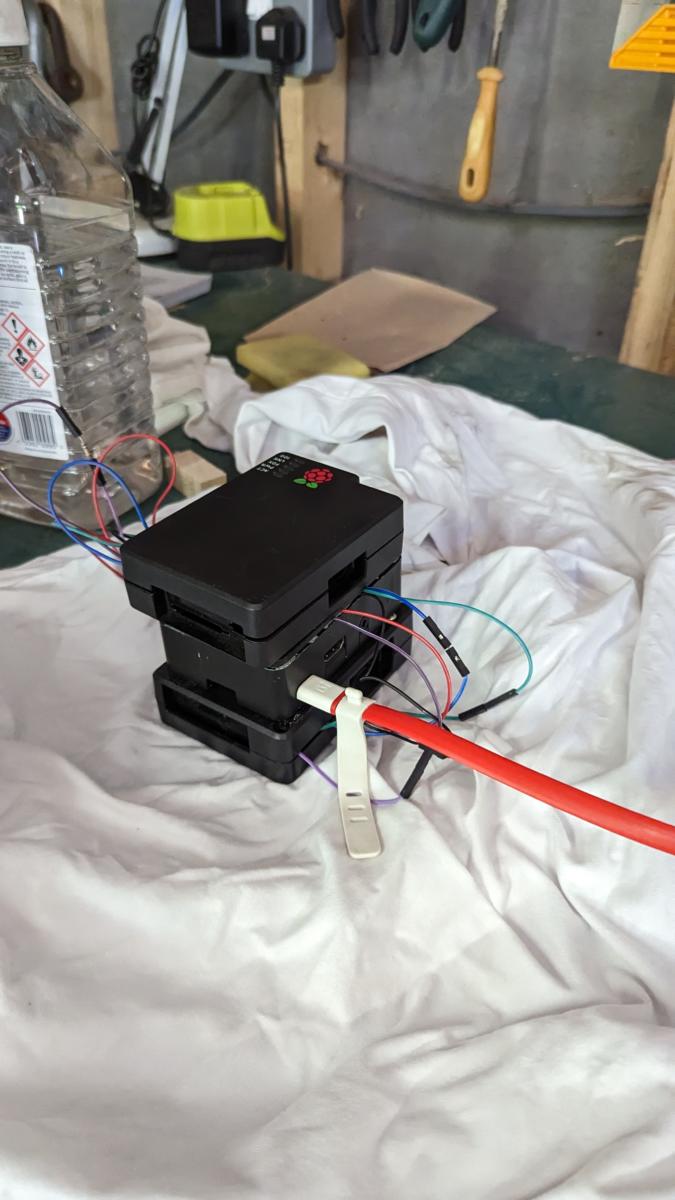
Then of course there is the mobile phone app which powers the whole thing and the python based flask server running on the raspberry pi that does all the real work of driving GPIO pins and such


