When we remodelled the driveway there were some casualties. Namely several fence panels that had over the years been ravaged by the elements and by ground ivy. So rather than buying new fence panels at ridiculous post pandemic prices, I thought I’d make my own.
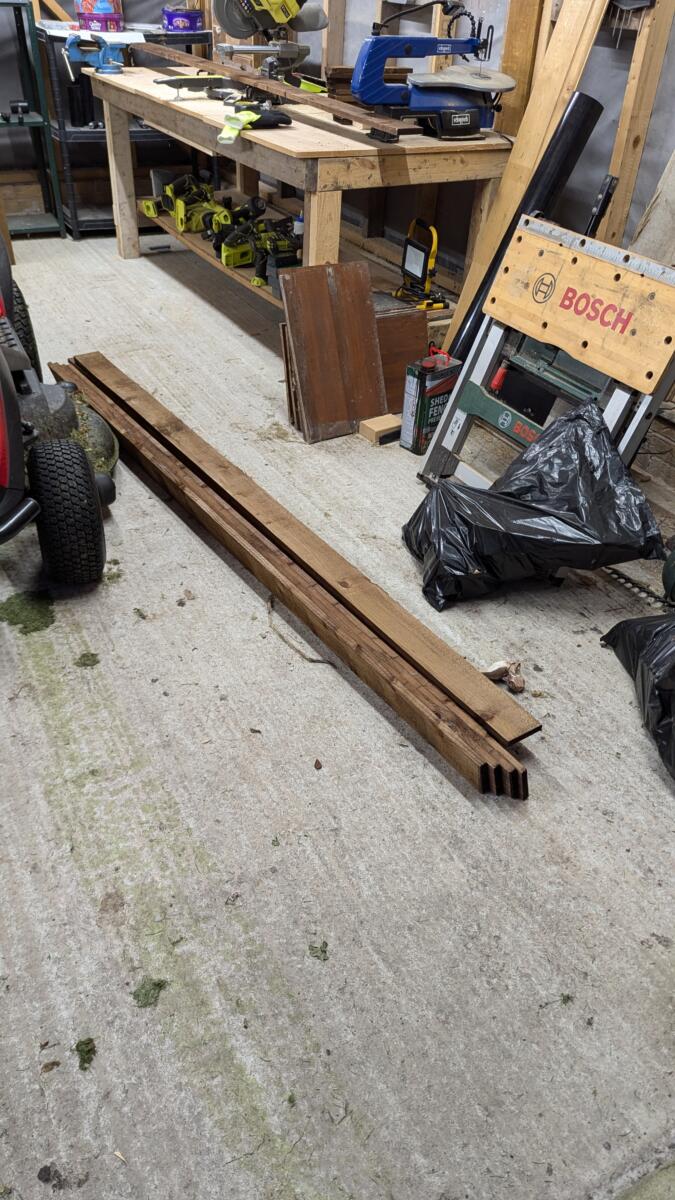
I took some measurements off one of the old weather damaged fence panels and set up my trusty mitre saw to do some cuts.
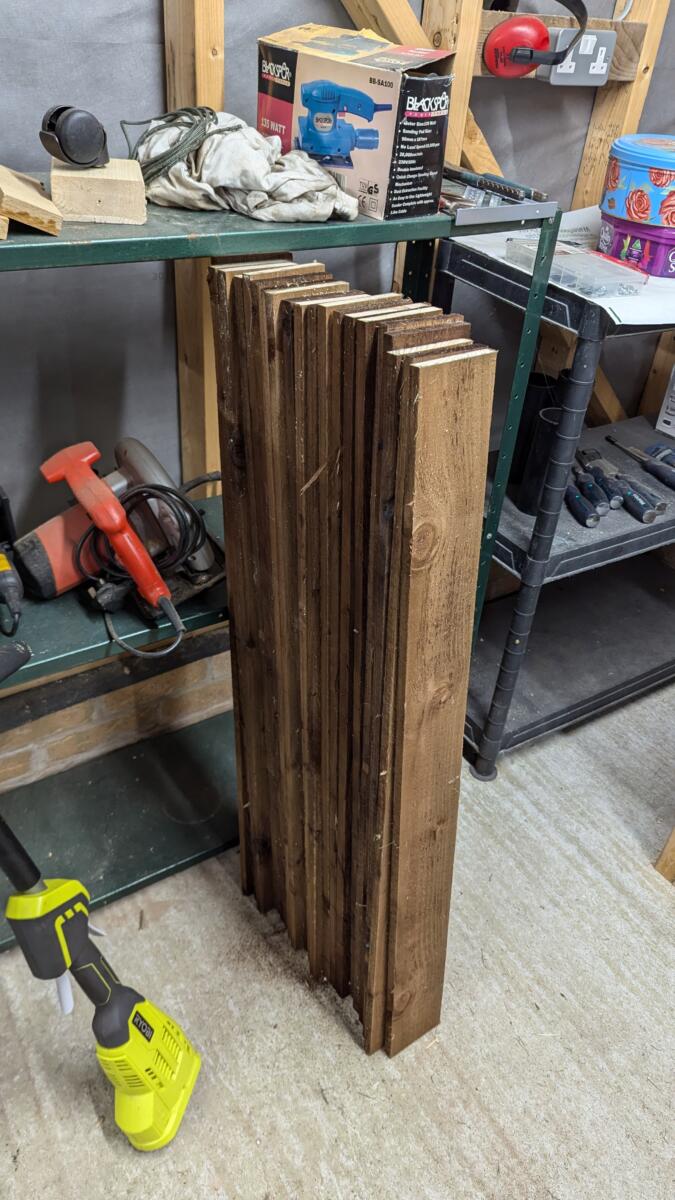
When I first started building a panel I would chop all the planks in half. Then I’d set the angle on the mitre saw, then I’d chop individual planks one at a time always measuring and remeasuring the place where the cut is going to be.
By the time I’d got to my 5th fence panel I’d built a rudimentary jig to hold the planks and was cutting through them 3 or 4 at a time. It got a lot faster to build each panel!
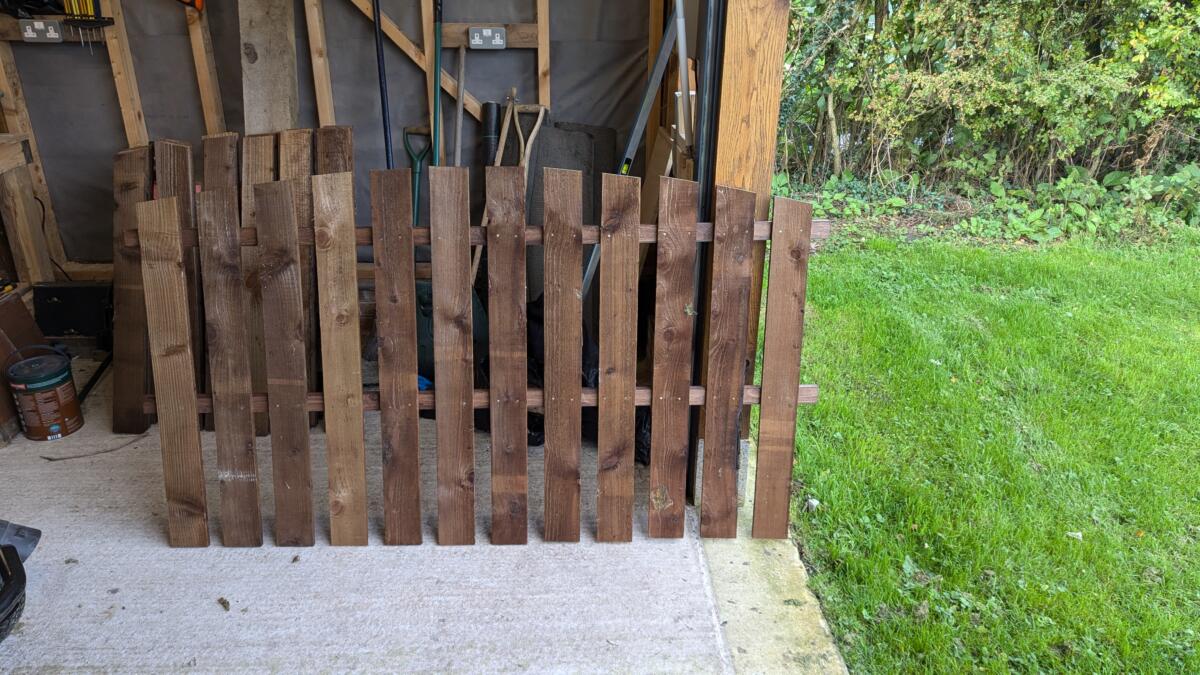
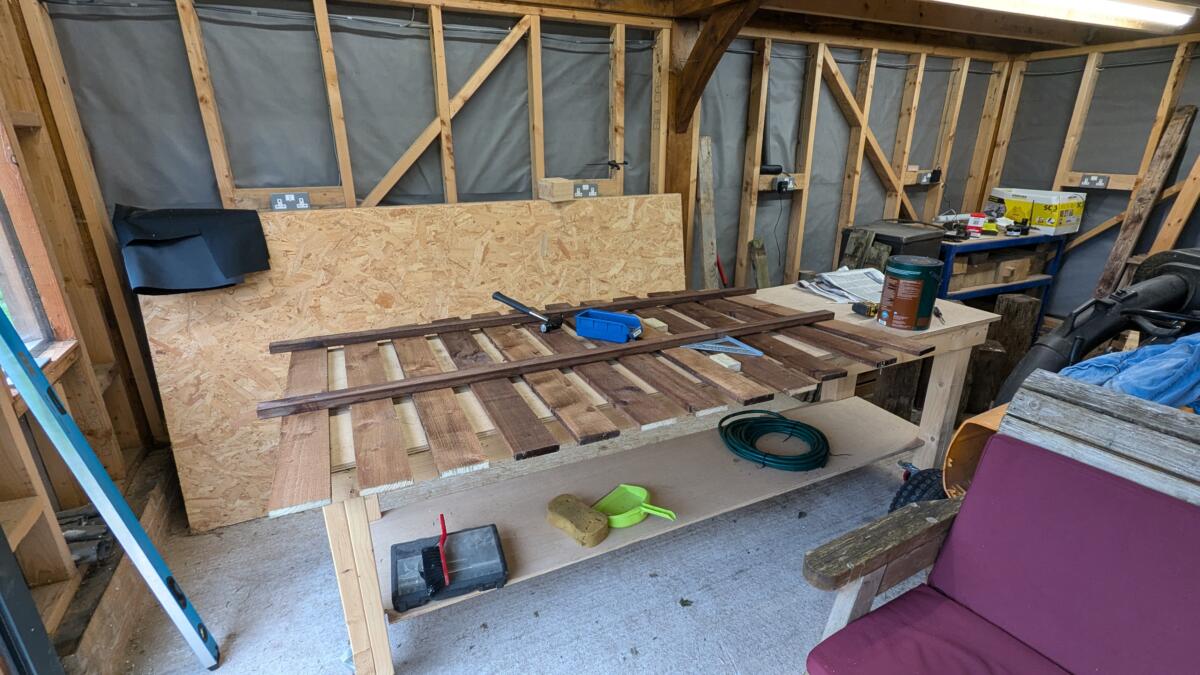
In a similar vein when it came to assembling the panel I was pretty slow for the first few, but after each panel I learned a new time saving trick and also got a bit more accurate so the later panels were much faster to put together and a lot straighter.
Finally I got around to digging some holes, buying some 75×75 fence posts and a few bags of postfix. I know hand mixing concrete apparently makes for a better, more secure fence post but you just can’t argue with the simplicity of “dig a hole, throw some water in, add your fence post, throw some postfix in and maybe a bit more water and you’re done”
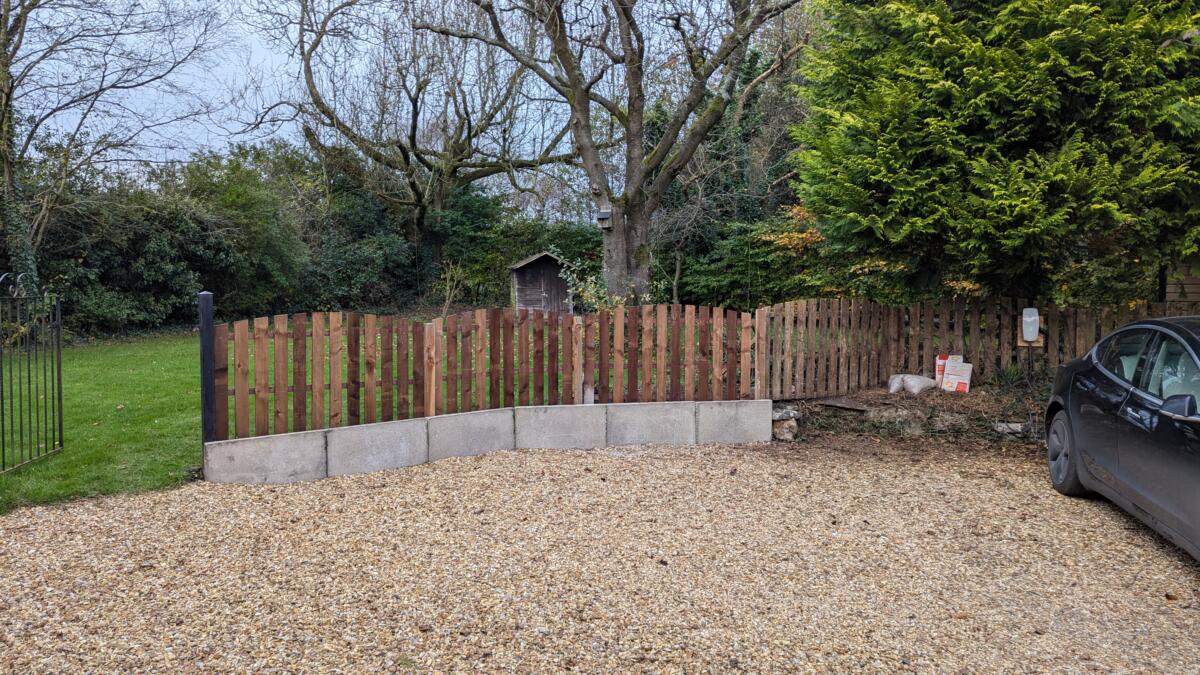
The more or less finished job. I had to put a few more panels up off to the left of the picture above but you get the idea. The fence panel planks have been pressure treated to greater or lesser degrees which is why there is some colour variation but I suspect they’ll all fade to the same colour after a year or two. I don’t really mind though, quite like the multi coloured fence panels.
