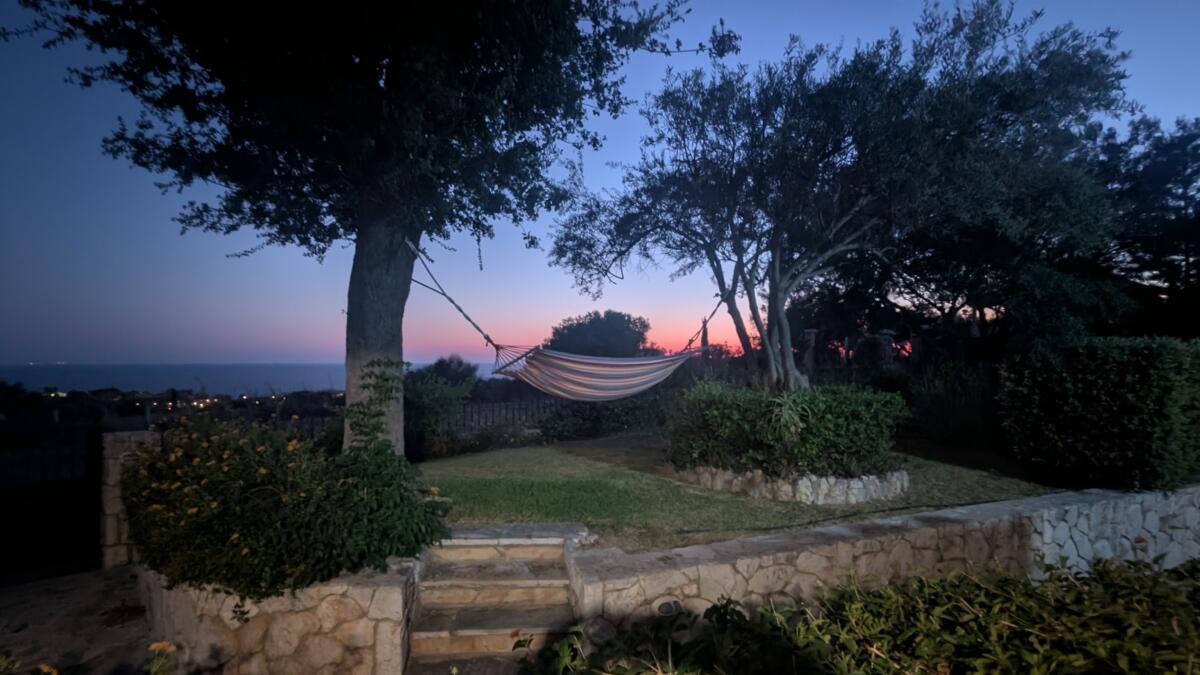
Years ago I went on a foraging course in the Lake District. Slept in a sleeping bag in a hammock beneath a tarpaulin strung between two trees. All was going well until I fell out of the hammock and then whilst stuck in my sleeping bag rolled down the hill. Brandy may have been involved.
Anyway, whilst there we ate mushrooms, pigeons, deer and other stuff. Recently I was wandering through the woods with ze hound when I came across some mushrooms.
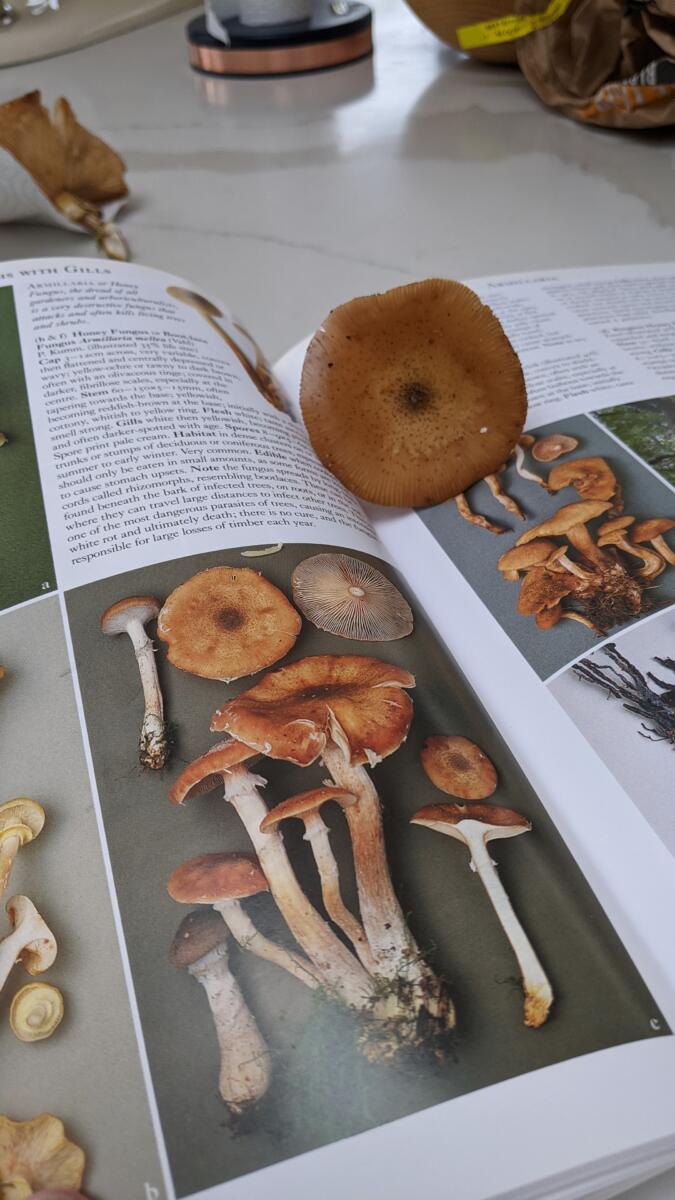
Google Lens identified them as Honey Fungus which are generally edible.
I came back the next day with a bag and picked some of them. Got them home and double checked Google’s identification with a proper book written by a proper mushroom dude who knows what he’s talking about.
It was an exact match. So I cooked it up and ate it.
I didn’t die [ obv. ] but it didn’t exactly taste brilliant. You could eat it if you were starving in the woods but I’m guessing there’s a good reason they don’t stock Honey Fungus mushrooms on the shelves of our supermarket. I’ll probably try it again, with a little garlic and see how things improve. Also, when I ate it I boiled it first which I wouldn’t normally do with mushrooms but various websites suggested it.
You’ll notice I keep talking about it in the singular – I only ate one in the hope of mitigating any stomach cramp, food poisoning, painful death scenarios.
People who know me will know I likes me a bit of a Raspberry Pi. I use them everywhere to do everything from raising chicken coops, playing Image Fight, summoning cups of tea and controlling various parts of my house. If there was an option to fix something with a nail and a bit of string, or to build an ARP sniffing raspberry pi housed in a 3d printed weatherproof box running off a solar panel then I’d be out shopping at 3dprintersandsolarpanels.com
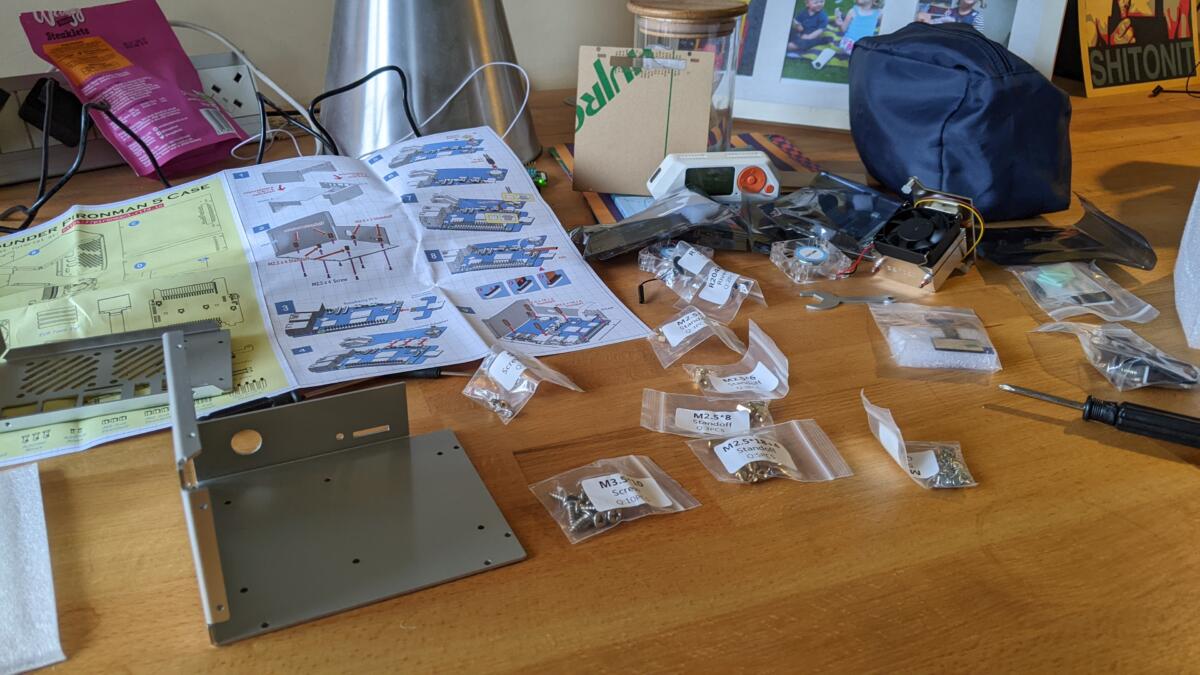
Anyway, I noticed that one of my Pi’s constantly had the cooling fan running. Since it was beside me on my desk in the office the noise started to piss me off. So I looked into all the /boot/firmware/config.txt type stuff and set it all up. Still the same. I started digging around all the proc files and everything seemed to be setup as it should. Still the fan span. So I thought “maybe it’s a dodgy fan”. I could get a new one….or….or… I had just been reading about a beautiful new Pi case with a processor fan, two more RGB fans, some LED’s built in to light it all up and a little tiny screen that shows the IP address, disk space, temperature…all that sort of gubbins. It was [ as you may have guessed ] marketed as a Pironman5.
It came in many pieces.
I took my time building it. Enjoying every moment. Trying to build it perfectly. The perspex sheets that made up the case came covered in brown sticky paper. As I peeled it off some of it got left behind around the place where “Pironman5” had been printed. I could have used a bit of rubbing alcohol to remove it. I could have used some blu-tack. I probably could have just rubbed it off with my finger, but noooooooo, nooooooo I had a screwdriver in my hand. “I’ll be gentle” I thought. I’m an idiot. Scratched the beejayzuz out of it. Oh well.
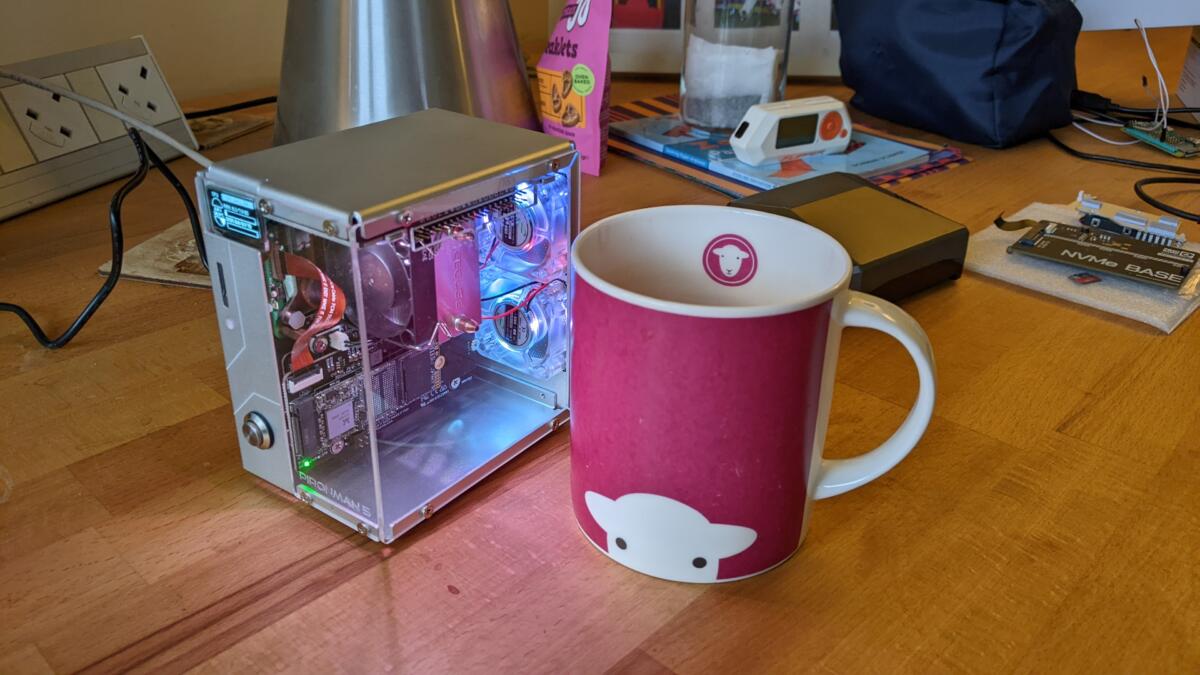
Herdy cup added for scale
It all worked perfectly after building it. Only annoying bit is that the processor fan still spins constantly. Pretty sure there is a hardware fault on the board where the FAN PWM is going to GND somewhere. However, it’s now in a case which makes it quieter and it’s now no longer on my desk….it isn’t even in my office so it doesn’t bother me at all. It’s taken over the duties of my tea summoner and my spotify connector so it’s taken two pi’s off my network and I suspect it will become my git server.
In summary, buy a Pironman5 for your Raspberry Pi 5 – they’re ace. Don’t scratch off the brown paper with a screwdriver – that’s just folly. I’ll be buying another one to house my baker.
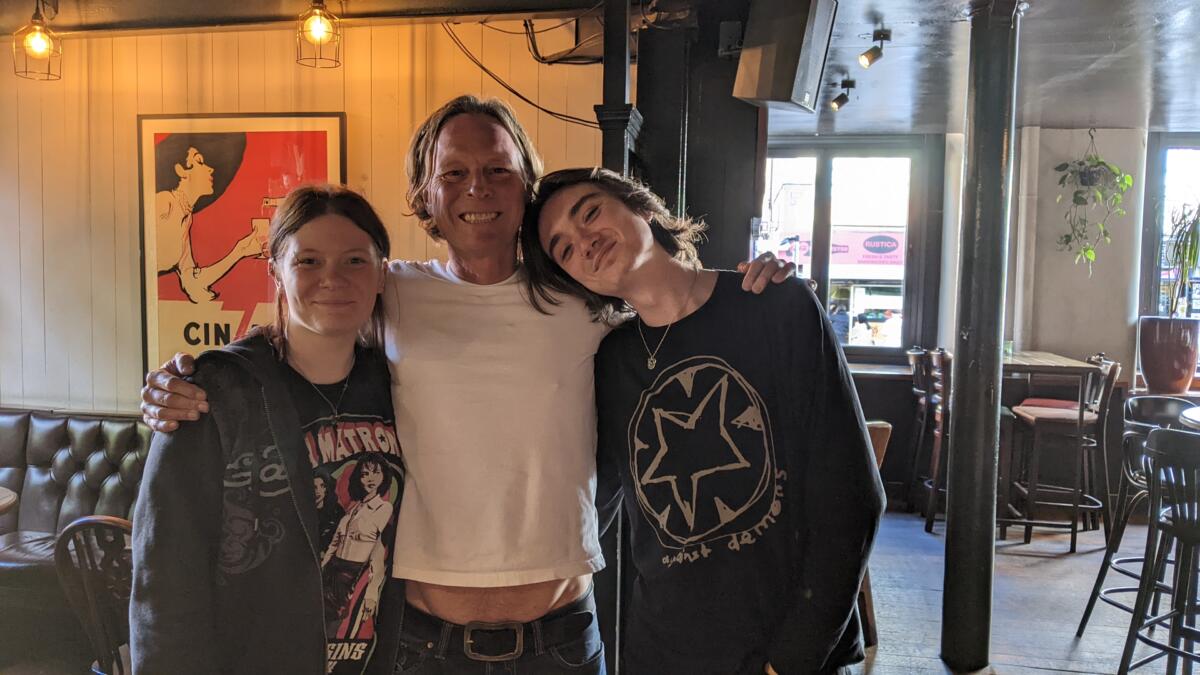
Another smashing afternoon out with Charlie and Ellie. We drank in Afflecks, we ate in My Thai and I managed to get the train home again without too much drama. Even managed a cheeky mid afternoon “nightcap” in The Windmill on the way home.
During lockdown we got adopted by a cat. Pickle, AKA Moses, we found his owners and returned him but he kept coming back, probably because Emma kept feeding him. Eventually we started letting him come into the house but he really is a smelly cat and it was sometimes a bit unpleasant. I’m not 100% sure if it was him or our actual cat Willow that would poo in the house so we ended up kicking them both out. This is fine in the Summer but I always felt a bit sorry for him in the Winter.
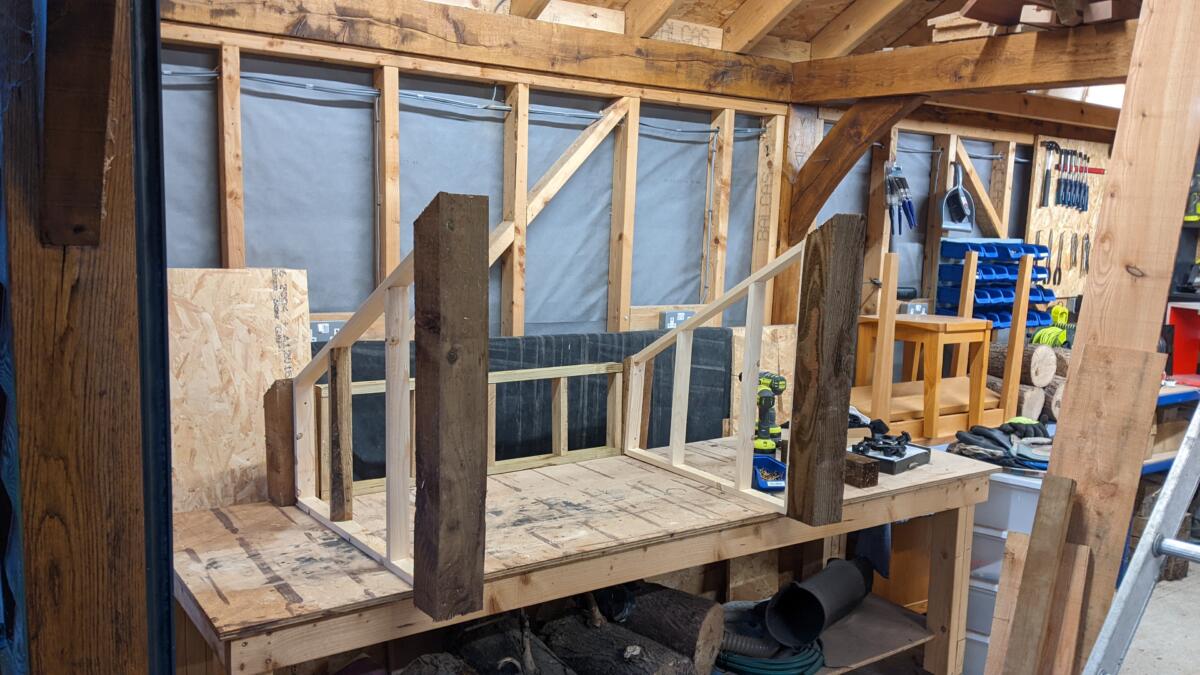
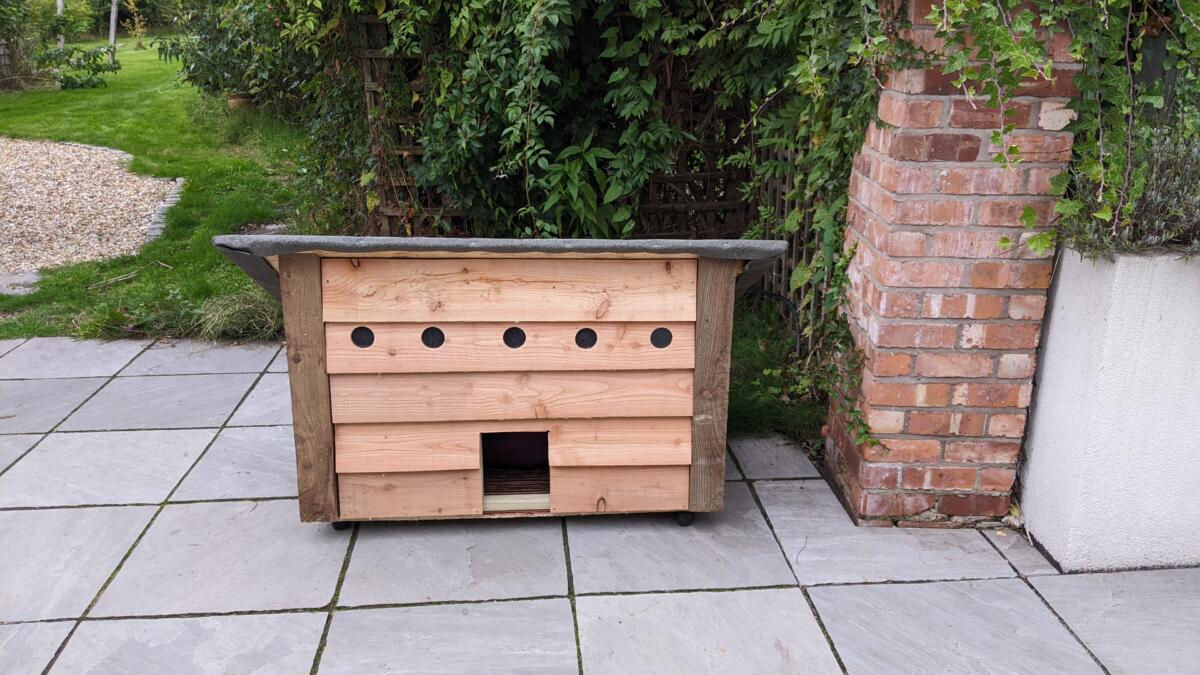
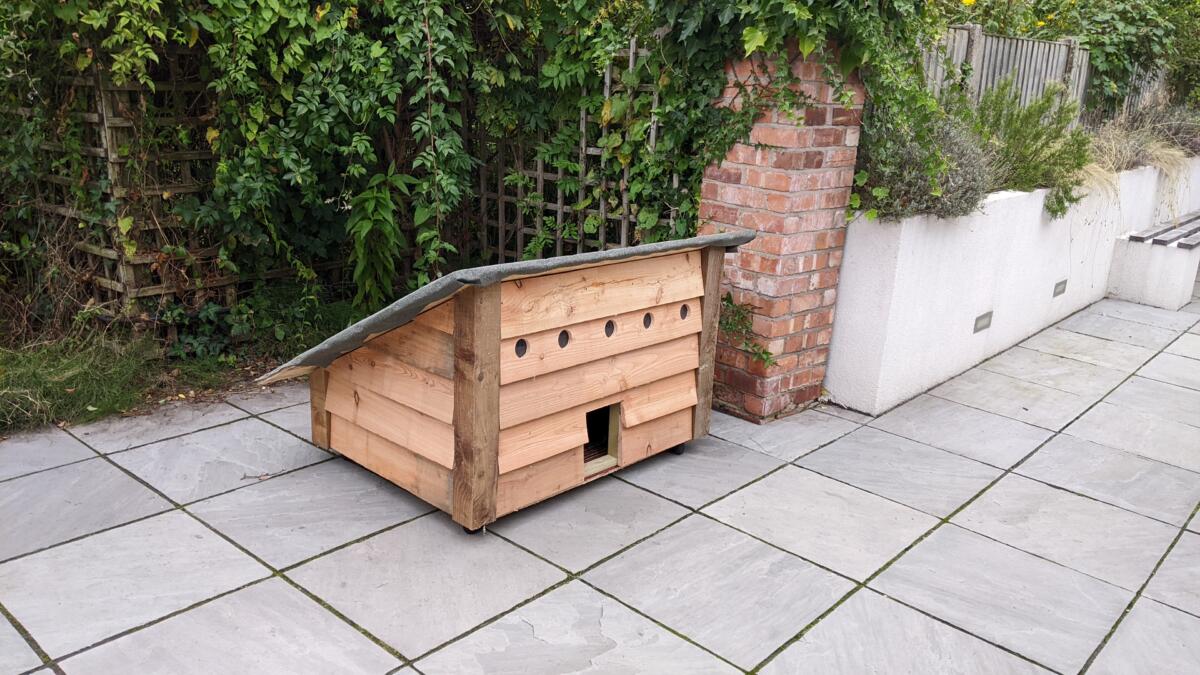
So I decided to build him a house.
I had to buy some 2×1 wood to make the stud walls but all the other materials were leftovers from building my workshop.
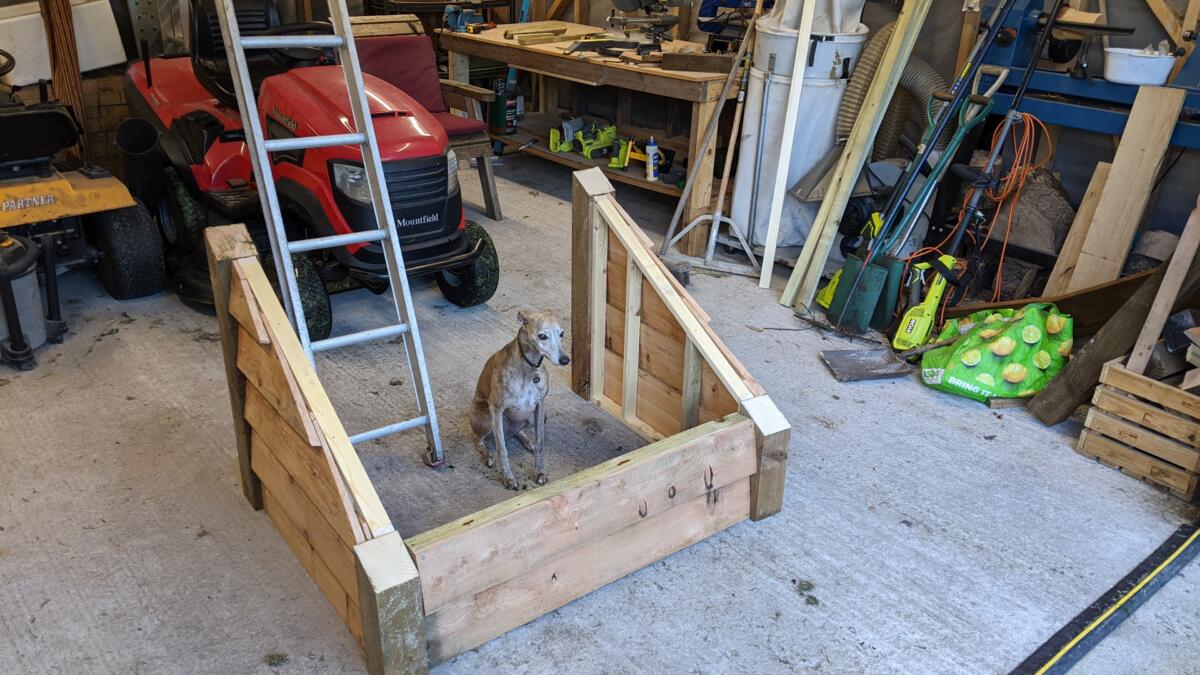
I gave it a test run with Violet to make sure it was big enough.
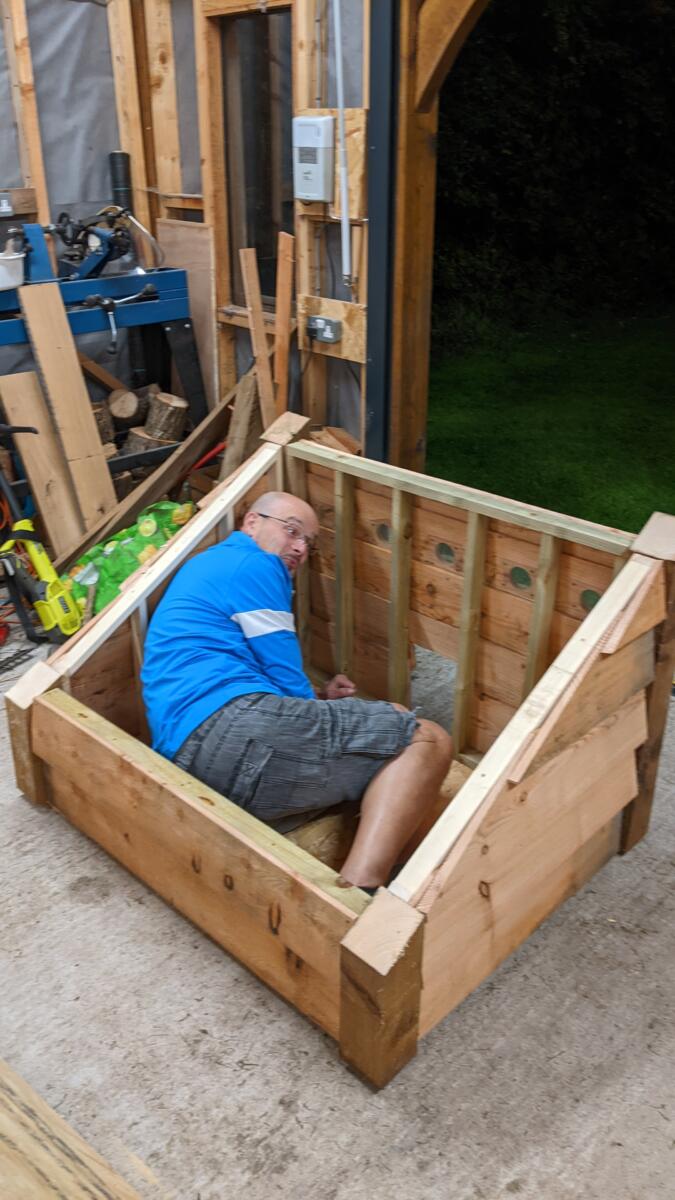
Then I gave it a test run with Jason to be doubly sure. Since all 6’3 of Jason can make it in there I’m pretty sure a cat will be comfortable
It took two of us to carry it down the garden as it weighs an absolute tonne. It’s mounted on wheels to move it around a bit. It’s not 100% finished as the roof is just resting on the top but it’s pretty heavy so will survive all but the strongest of storms. The roof covering is a bit rubbish but I’ll make improvements over time.
It took Pickle about 5 minutes to move in after Emma placed some cat treats in there. The dog is also quite interested but hopefully she can’t fit through the hole. Moderately proud of myself.
The annual reunion/pilgrimage/drinking-session took place in Cambridge on the 12/13/14 of Cambridge depending on when you arrived and when you left. The sensible folk arrived on Friday and left on Sunday. Just the crazies Scouse and Mikey did all 3 days.
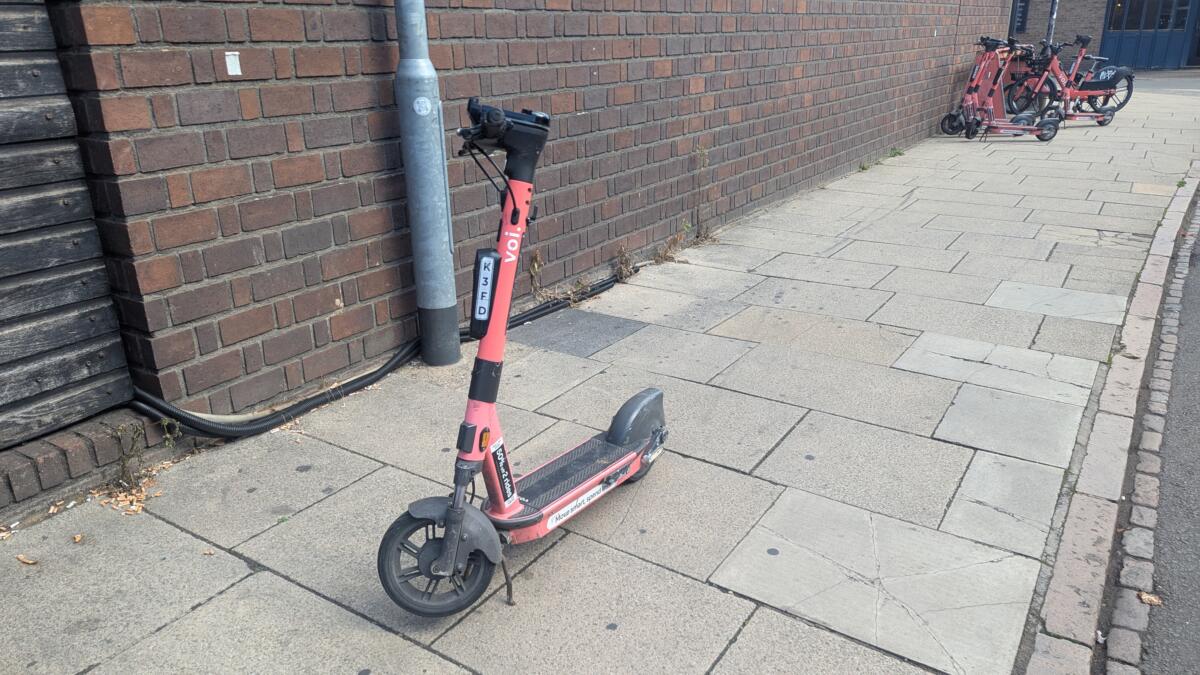
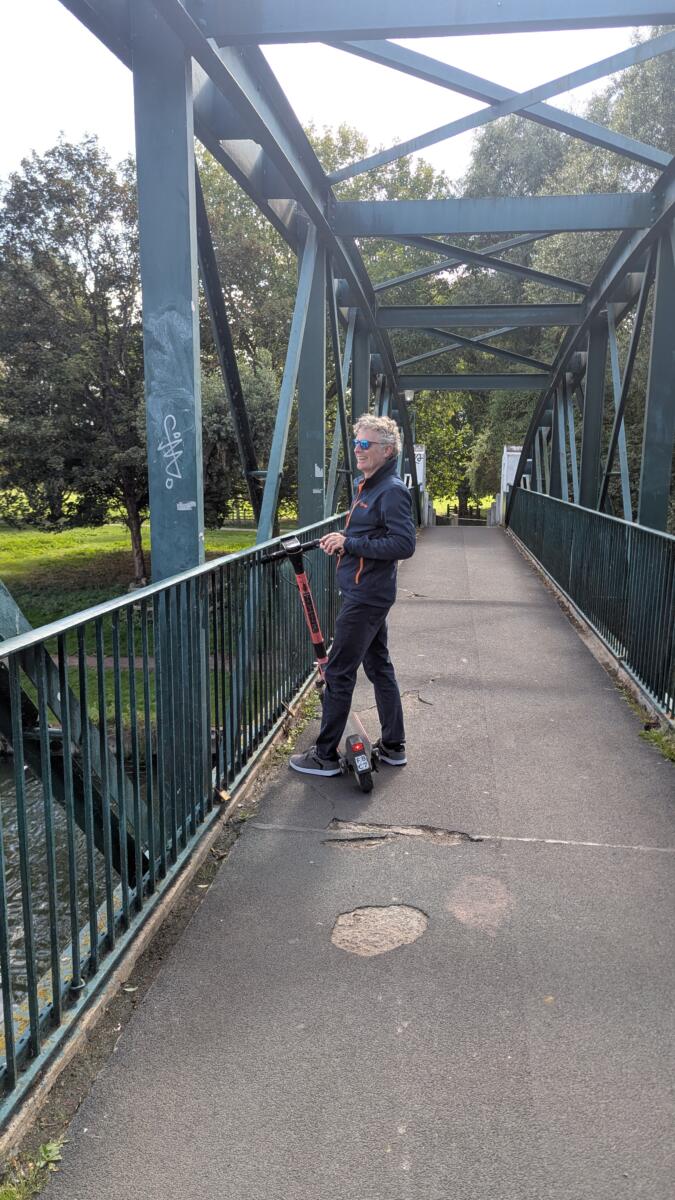
After a relatively quiet night out on Friday, ahem, Aggy and I decided a Saturday morning of Voi scooter fun was necessary
We had a few mini quests. To go take a look at the place of my first proper employment [ Philips/Simoco ] and after much head scratching and thinking “I’m sure it was around here somewhere” comments – we found it. Or rather, we found where it used to be before it got knocked down and had a housing estate built on it.
Then we went in search of the Green Man – found it – and then remembered it was called the Green Dragon – or to be honest it may be the other way around.
After scooting we went to the pub.
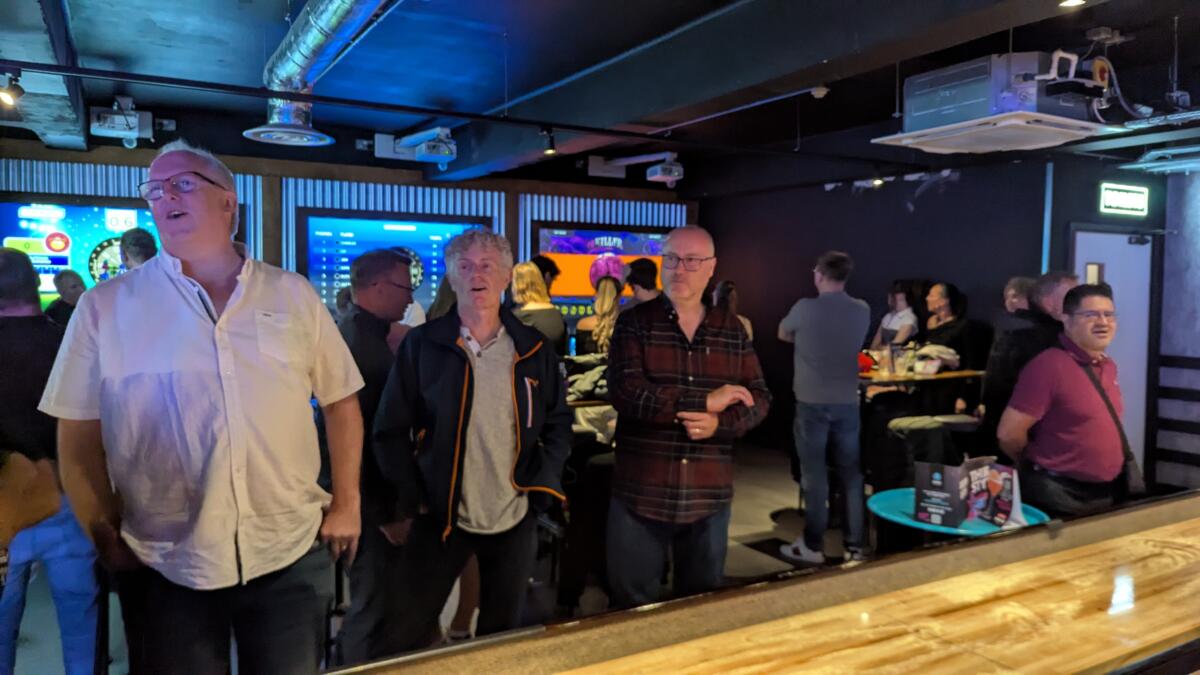
Obviously we started the day at The Prince Regent and had a few warm up drinks there. We then headed off to play Shuffle Board and Beer Pong at some Boom Bar place in Cambridge. Hands up I fully expected it to be shit, however we all had quite a lovely time.
From left : Me, Aggy, Lofty, Scouse, Gordy, Caspell, Alvie, Mikey and Photobomber.
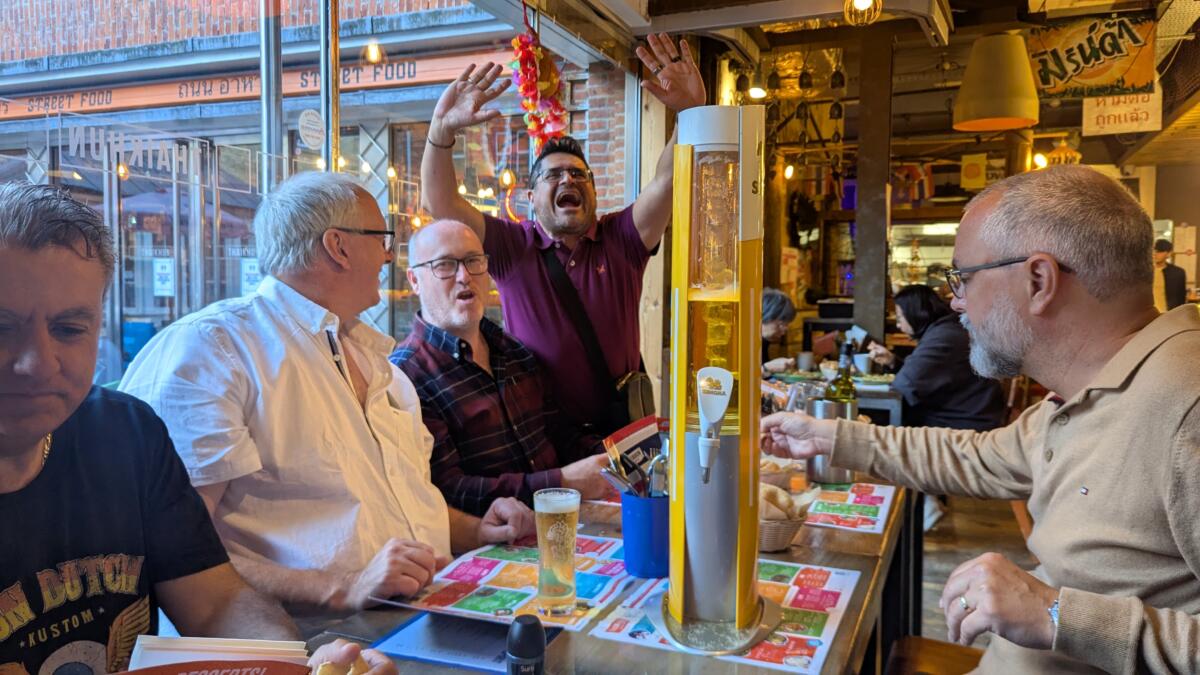
We tend to visit Thaikun each year and try to soak up the beer with Thai food. This time we [ or maybe just “i” ] was/were absolutely hammered.
It was not a great idea giving us a “serve” yourself beer thing
It got messy. Clothes were removed. Beer was spilled. Videos were made. Not entirely sure we’ll be allowed back next year. Should have left a much bigger tip.
It all gets a little blurry after this but we went to Sainsbury’s which was like an episode of Supermarket Sweep and I woke up with all kinds of random crap in my bag and then we finished the night at The Butter Bar in Christ’s College which since we were all guests there was very much like our own little Gentlemen’s Drinking Club.
Wake. Breakfast. Voi to car. Charge car in Bar Hill Tesla and then shoot up to visit Mr Howarth before finally making it home on the morning of the Monday – definitely in need of some rest.
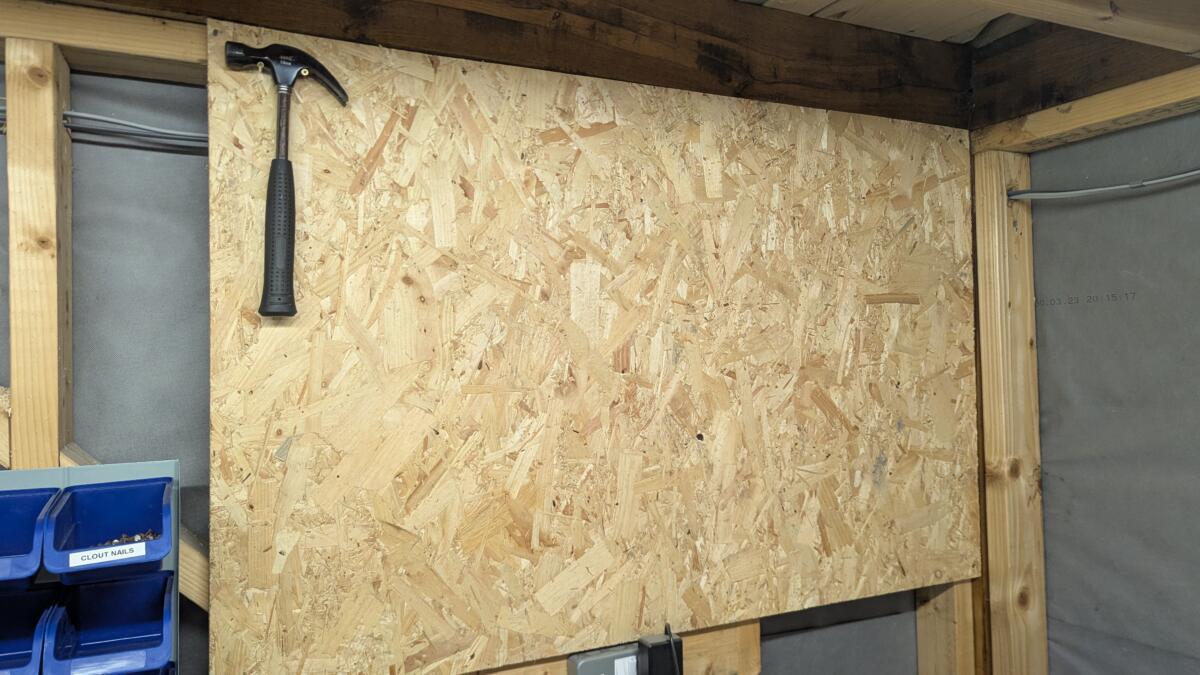
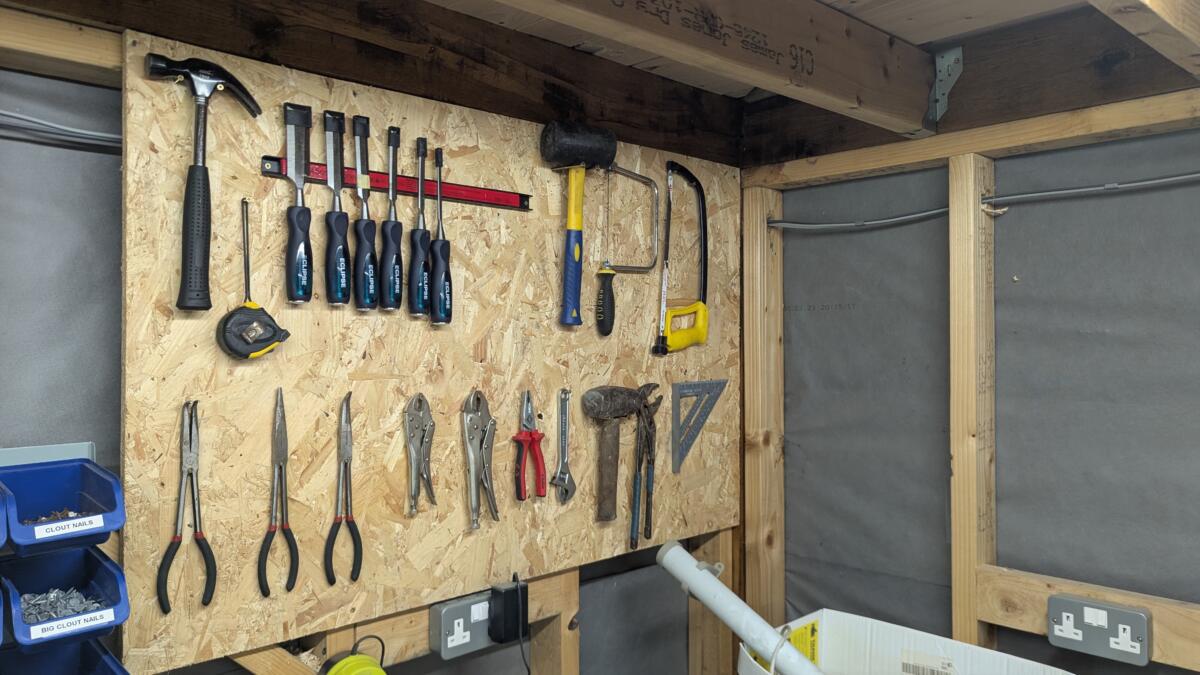
My newly built workshop was beginning to look a bit of a mess with tools strewn hither and thither. My good friend Jason made a “shadow board” in his garage and so I thought I’d do the same with some left over OSB.
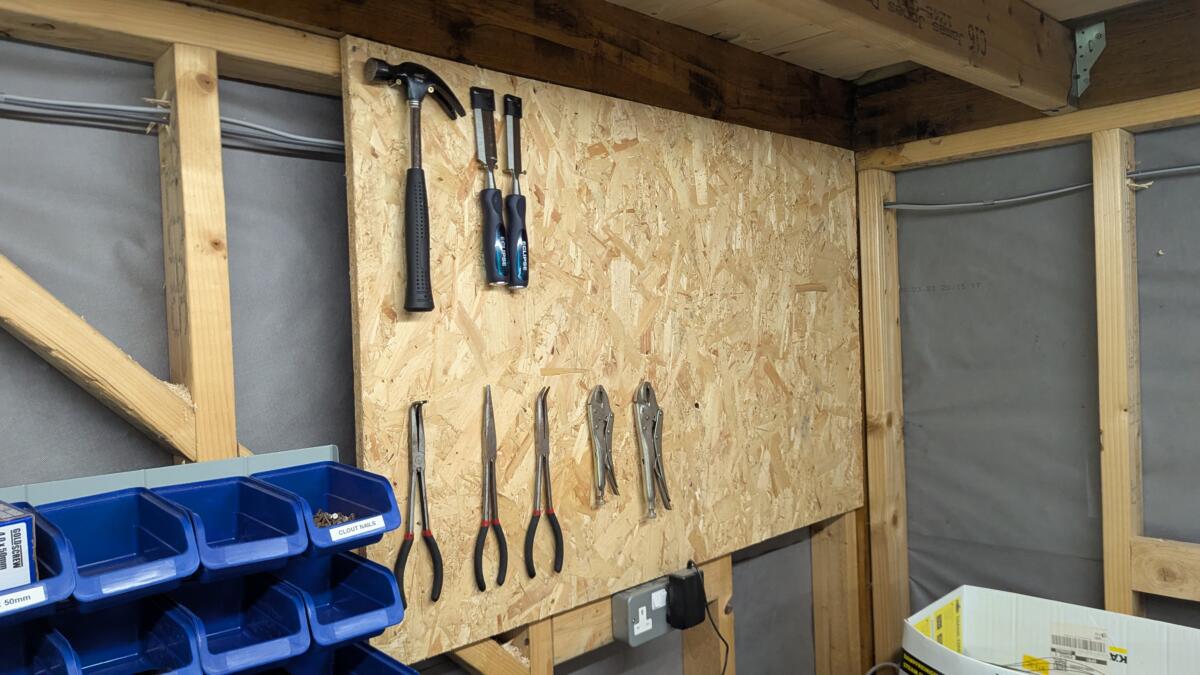
You should always start with a hammerThe chisel mounting thing didn’t quite work out, as you’ll see in the next picture.I had to use a magnetic strip to hold the chisels up. Worked out alright though.
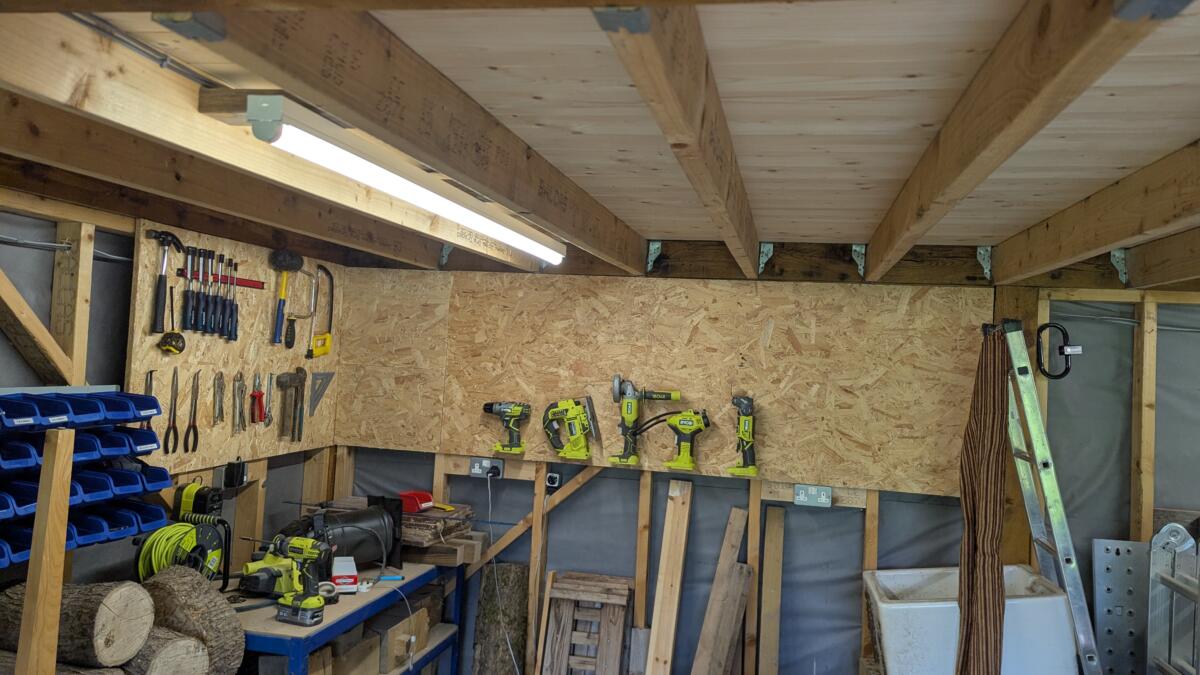
So far so good. But I still had a crap load of Ryobi tools scattered around the workshop. My first thought was to put up another piece of OSB and then have little shelves for the tools to sit on. This didn’t feel like a great idea though, the shelves may get knocked and then an expensive bit of kit falls on to a concrete floor and breaks. I realised I couldn’t be the first person to be suffering from this problem so I did some googling and found these Ryobi-green plastic wall mounts that you screw in and mount your tools on the fake battery connector shape thing that protrudes from the mount.
Genius
I only ordered 5 as a bit of a test, but they’re great. I’ll be ordering 5 more….hmmmm, maybe 10.
Not so long ago I was driving around in a big ass Porsche. Skiing in the French Alps. Renting private villas in the Summer and generally having more money than I knew what to do with.
Oli and I went to Winstanley College to sign him up for his A-Levels. After we’d done all that picking subjects and listening to the head teacher’s speech nonsense we headed back to the car. On the way to the car we found this…
Oli absolutely refused to let me take a picture with him on it…pussy. So I had to get him to take one of me. Not sure why I felt the need to cross my arms though. Felt kinda angelic to do so.
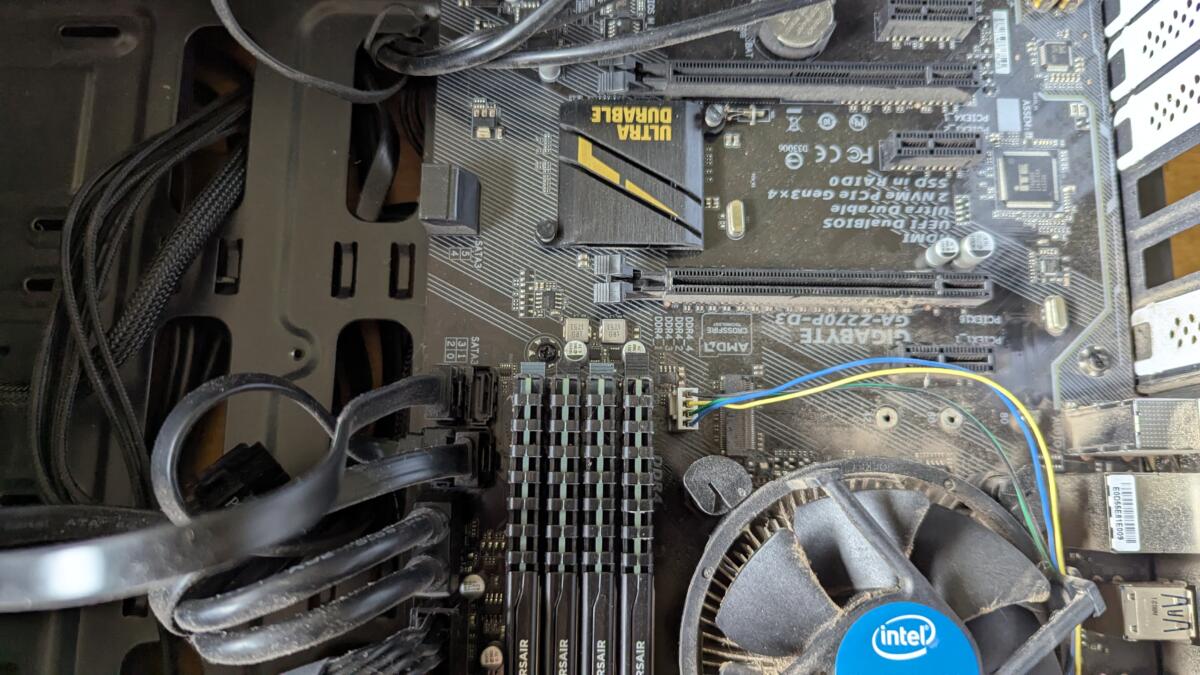
For a long time I’ve wanted to be able to send a “magic packet” from my laptop to my desktop in order to power on my desktop machine remotely. Unfortunately my old ass motherboard didn’t support it which was always a source of frustration.
my old ass dusty motherboard
Then I bought a new Raspberry Pi 5 because they released a new version which had 16G RAM which I desperately needed to build some software. When I bought the Pi I also bought an NVME HAT and a new 1TB NVME. Unfortunately something wasn’t working but I wasn’t sure what was causing the error. So I went ahead and bought a new NVME from Crucial via Amazon and it worked first time. So I knew the NVME was at fault and returned it to Pimoroni expecting a refund. I didn’t get a refund, I got a replacement.
My old ass motherboard had an NVME slot so I thought “oooh, I don’t really need a 4th drive in this desktop machine but I’ll plug it in anyway”. So I took it apart, plugged in the NVME drive, put it all back together and booted it up. Nothing, except for the dreaded BIOS beeps of death. 5 of them – which means something is wrong with the motherboard or the processor. Expensive. “No worries” thought I – I’ll just take out the NVME drive again. Took it apart, removed the NVME, put it all back together. 5 beeps. Damnit.
This desktop machine has been my workhorse for about a decade. When I first got it I absolutely maxed it out. It was beautiful. Silent. Fast. Compiled code in seconds. However, it seems taking a ten year old motherboard and plugging in a cutting edge NVME drive wasn’t a great idea.
I did some research and went for a reasonable Ryzen motherboard with a new AMD processor. £200 for the pair and my existing DDR4 RAM was compatible. The MoBo arrived and I ripped the entire machine apart. Came to put my RAM in and realised the new board only had 2 DDR4 slots – whereas I had 4 8G DDR4 modules.
So I fired it up with 16G RAM. Tried to do a build whilst some background processes were running and ran out of memory. This would not do. I quizzed Oli about his machine and he had 32G made up of 2 * 16G modules. So we swapped. It was a win win. I got 32G again and Oli got 32G but the RAM I gave him was faster than the RAM he had. Since he’s a gamer he’ll benefit from faster RAM – about 50% faster. To me the speed of RAM didn’t really matter so much.
Get to the point Darren!
After a few weeks of my new AMD Ryzen motherboard I once again remembered my goal of being able to do a WOL [ Wake On Lan ] – I did a quick check on the motherboard and it indeed supported Wake-On LAN.
So…..I set up a systemd job to enable Wake-On LAN each time it boots and I can now finally fire up my laptop and run a script which basically does:
wakeonlan <MAC ADDRESS>
and as if by magic my desktop starts up and gets on with doing it’s thing whilst I eat breakfast.
So I now have a slightly faster, slightly quieter desktop again and I haven’t quite got around to testing if the replacement NVME drive works anywhere.
Clouds, silver linings and all that.
But hey kids, in general if your machine is working fine and you don’t need another 1TB of storage then just leave it alone. Put the NVME in the spares cupboard and get on with life. But WOL is cool 🙂
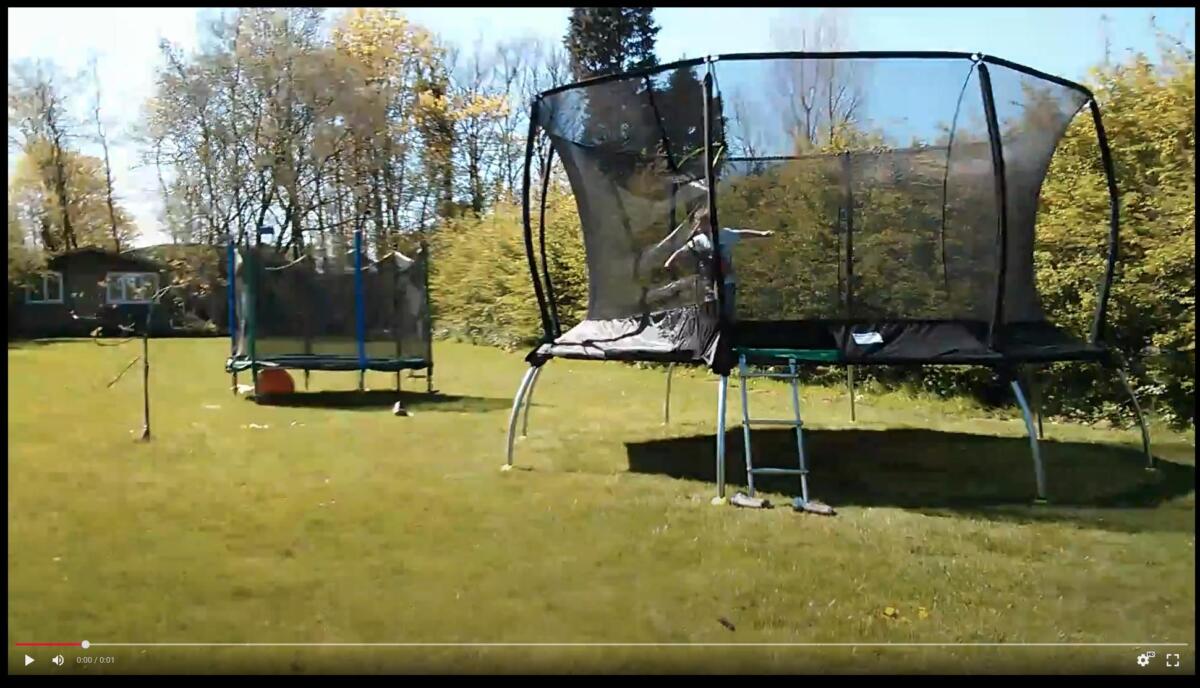
Many many years ago when my kids were little they decided they wanted a trampoline. Being the doting father I am I bought them one, and then built it. A few years later it was getting a bit small and knackered but they still played on it all the time so we bought a bigger one.
I didn’t have a photo of the original so this is a screen grab from a video showing the OG trampoline in the background and the new one in the foreground.
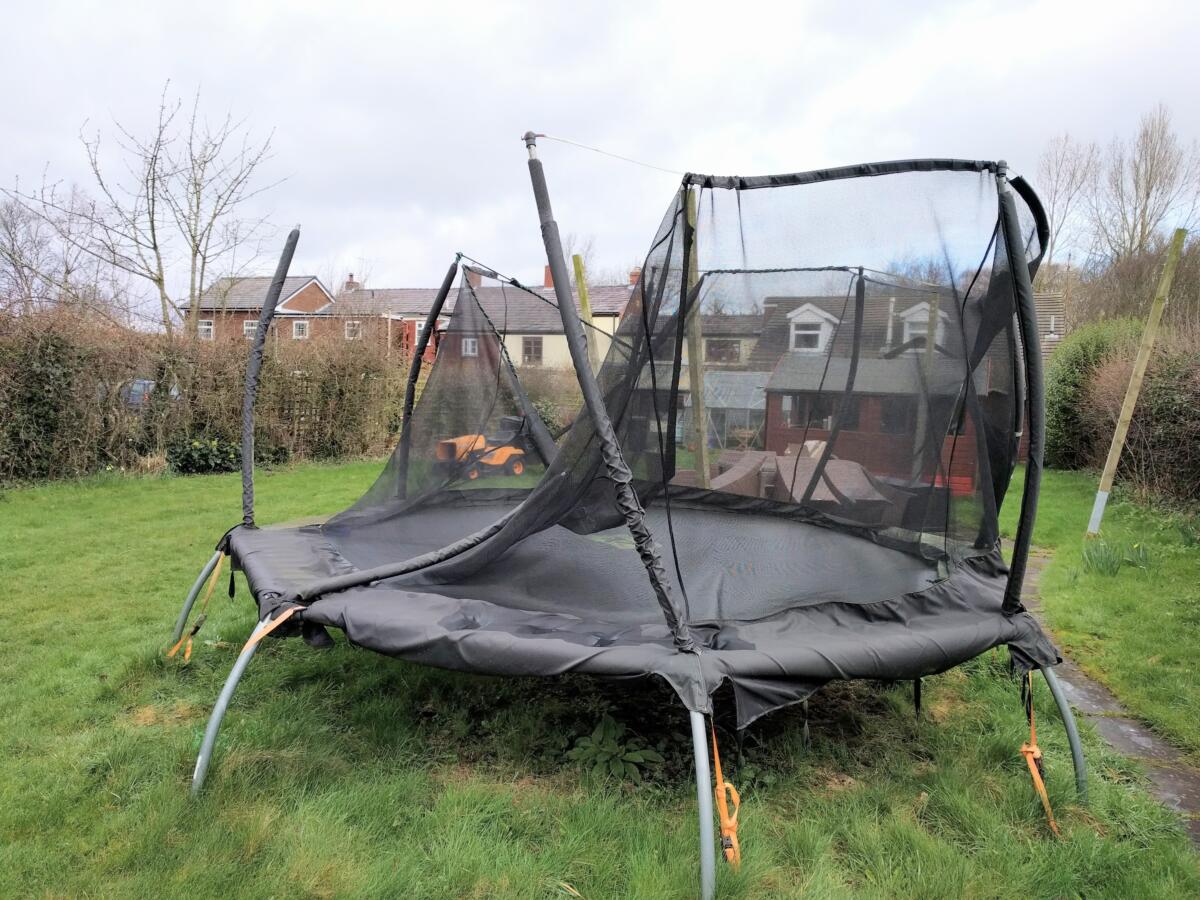
After a few years the “new” one started showing signs of wear and tear and then a storm came in.
2017
I got Uncle Chris to do a bit of welding and did some work to bring it all to a working state but I’d be constantly repairing it and was getting pretty annoyed with the whole situation.
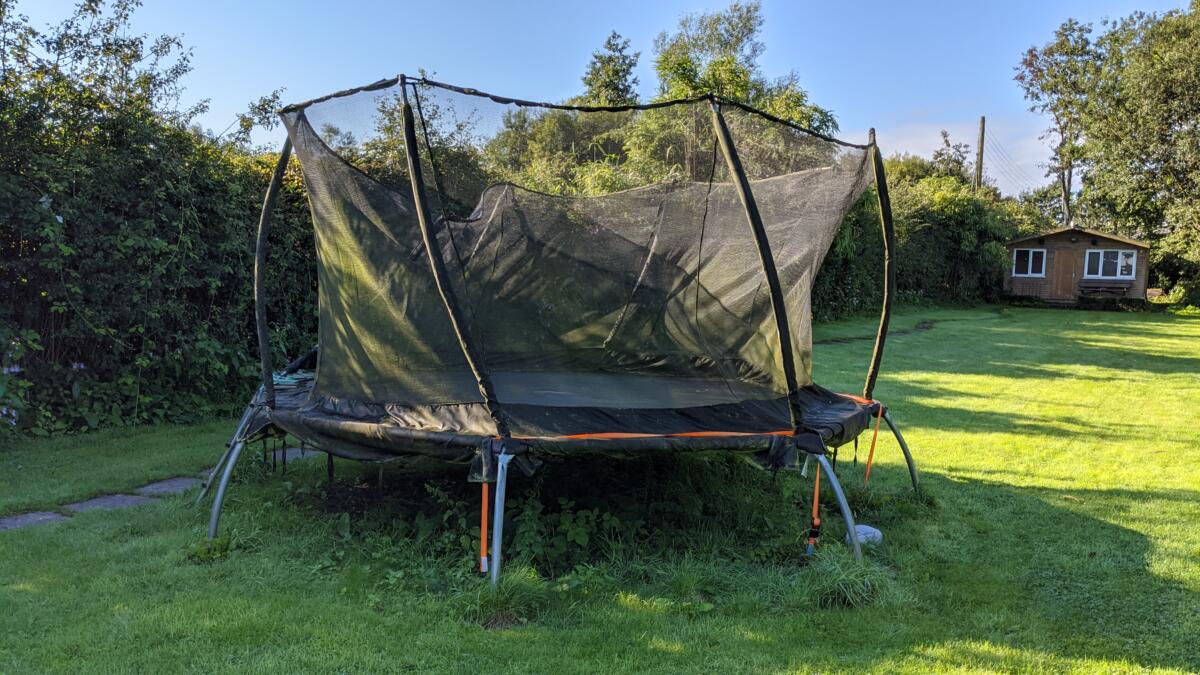
2020
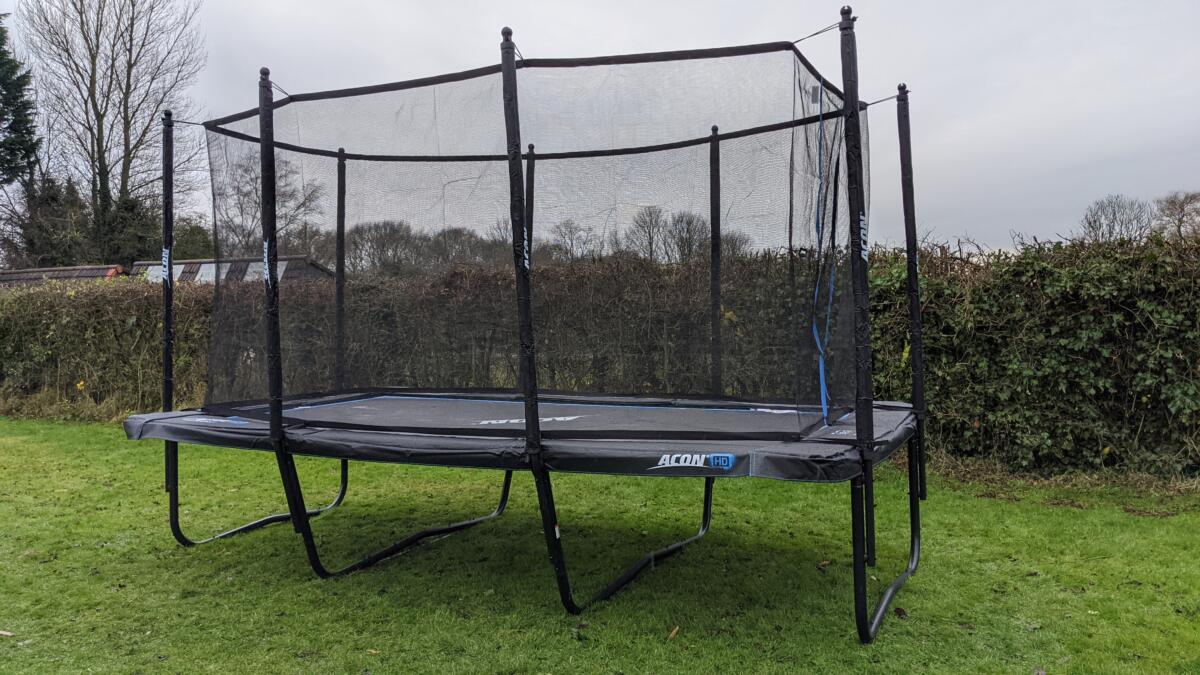
Eventually I decided it was a bit of an embarrassment and decided it had to go. Getting fed up with buying new trampolines, building them and disassembling the old one I decided the next trampoline was gonna be a keeper. Plus I was earning good money at the time thanks to Sky so I basically bought the best outdoor trampoline on the market
A thing of beauty, weighs a tonne.
This trampoline was then secured to the ground with ground anchors and ratchet straps and survived many many storms without incident.
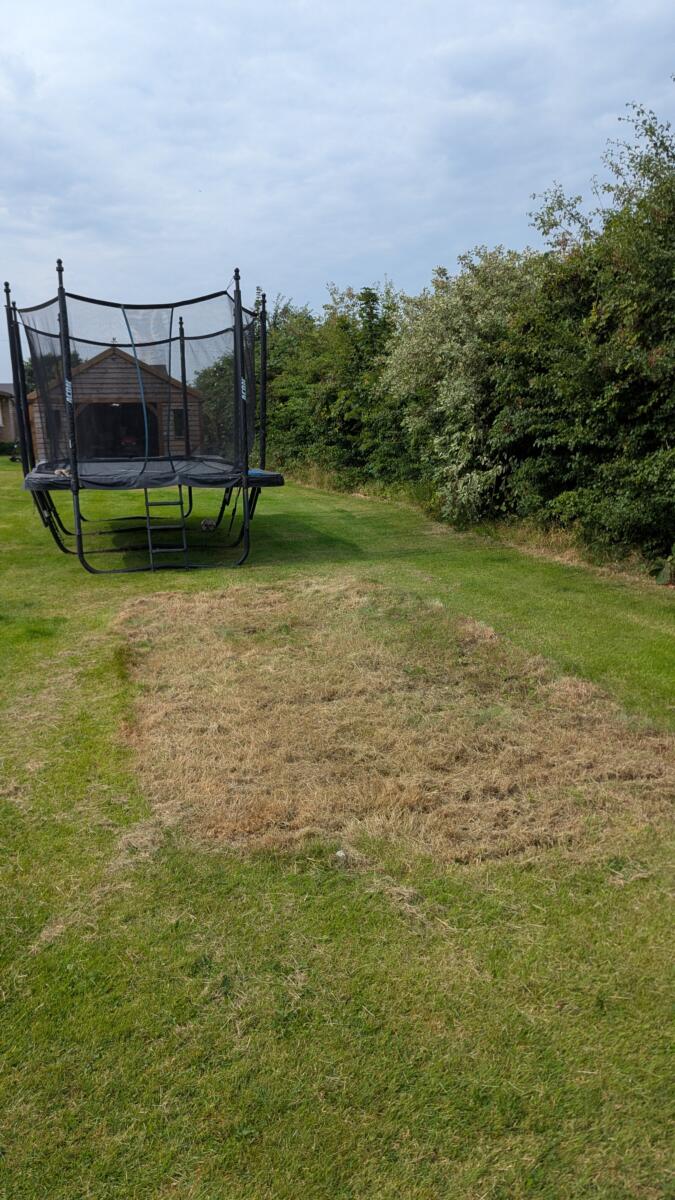
Fast forward to 2025 and the underneath of the trampoline was looking a proper mess since I couldn’t fit the ride-on mower beneath to keep the ground looking good. Every now and then I’d get the strimmer and fly-mo out but it was a PITA to do that and eventually it all just got overgrown.
I assembled the Droylesden Avengers, stocked up on beer and wine and invited them along for a trampoline moving party. Which involved 10 minutes of trampoline moving and 5 hours of drinking beer and wine.
four “burly” men moved it and then I ran the ride-on over the mess that was left behind. It’ll green up soon enough and the untrained eye will never know.
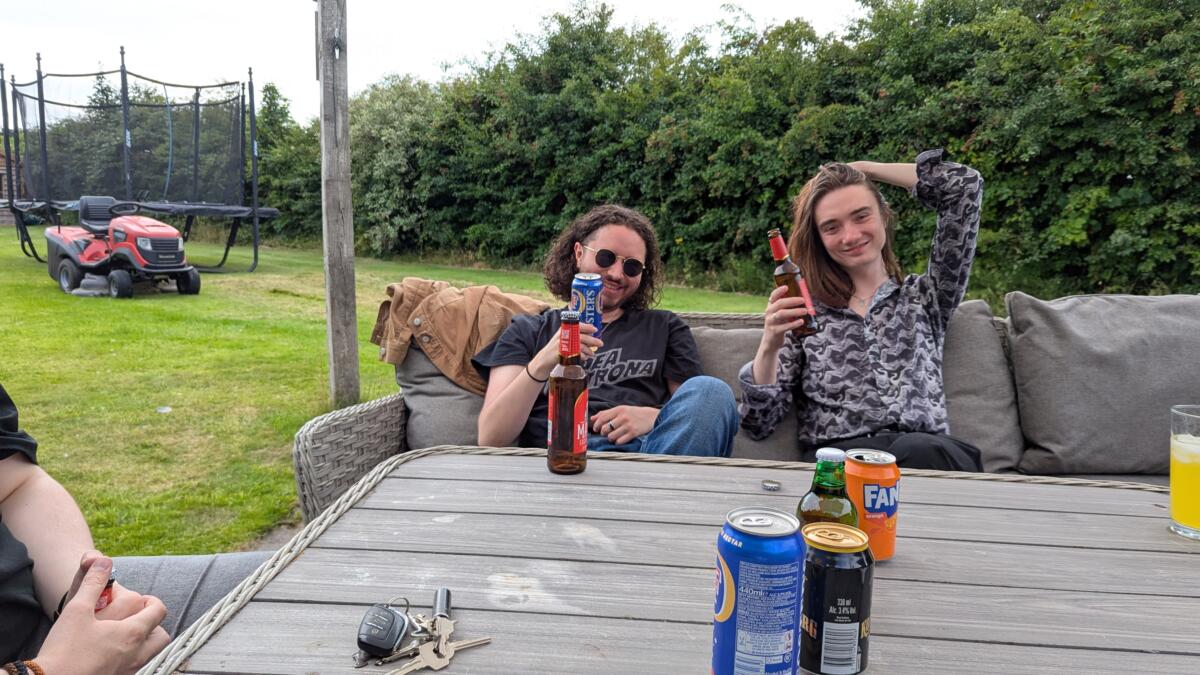
A side-quest to this whole adventure was to get rid of the random beers left over from Oliver’s after party party.
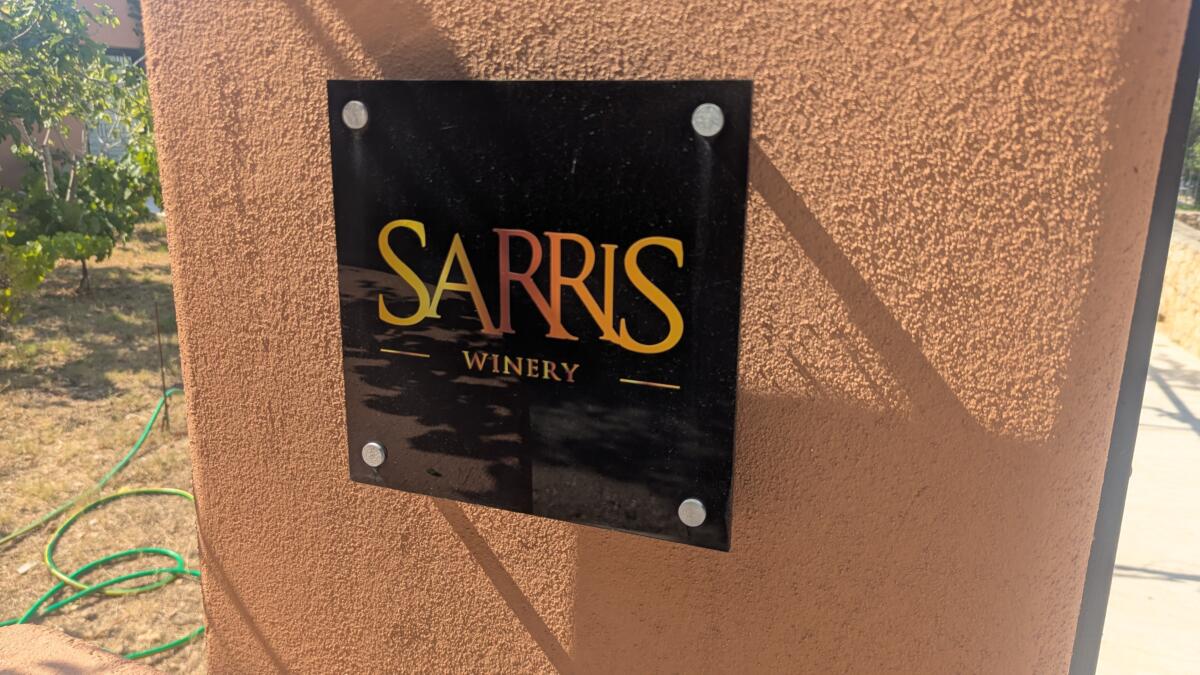
As we can see Deej turned out to be a superstar and take a Fosters for the team. Charlie and James likewise helped to get rid of some bottles of Madri. Then we got stuck into far too much wine. We drank the whole recent delivery from Naked Wines, drank my two bottles of wine that I’d brought back from the winery in Greece and generally just emptied the wine fridge. Still, it was worth it.
Mission accomplished. I suspect the next trampoline moving day will be August 2026.
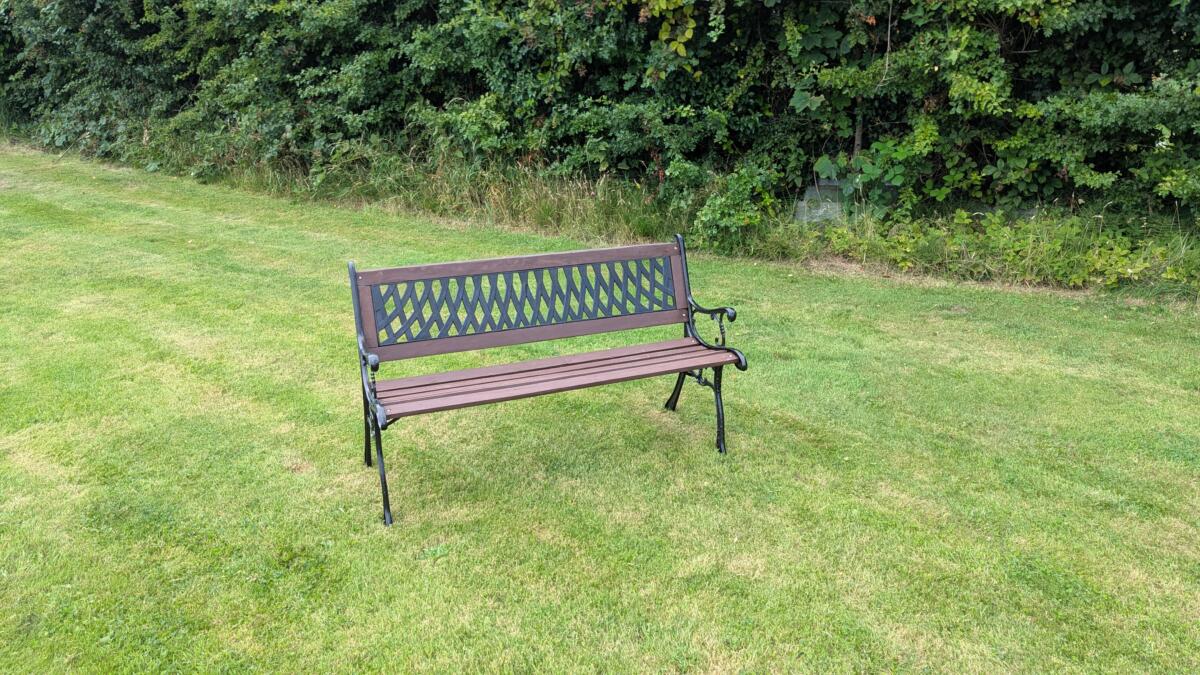
John, my father in law : “Darren, could you have a quick look at our garden bench and give it a quick tidy up?”
Me : “Sure, shouldn’t take long”
2 months later :
Every single screw, nut and bolt was rusted. They all had to be drilled out, chiseled out, or angle-grinded off.
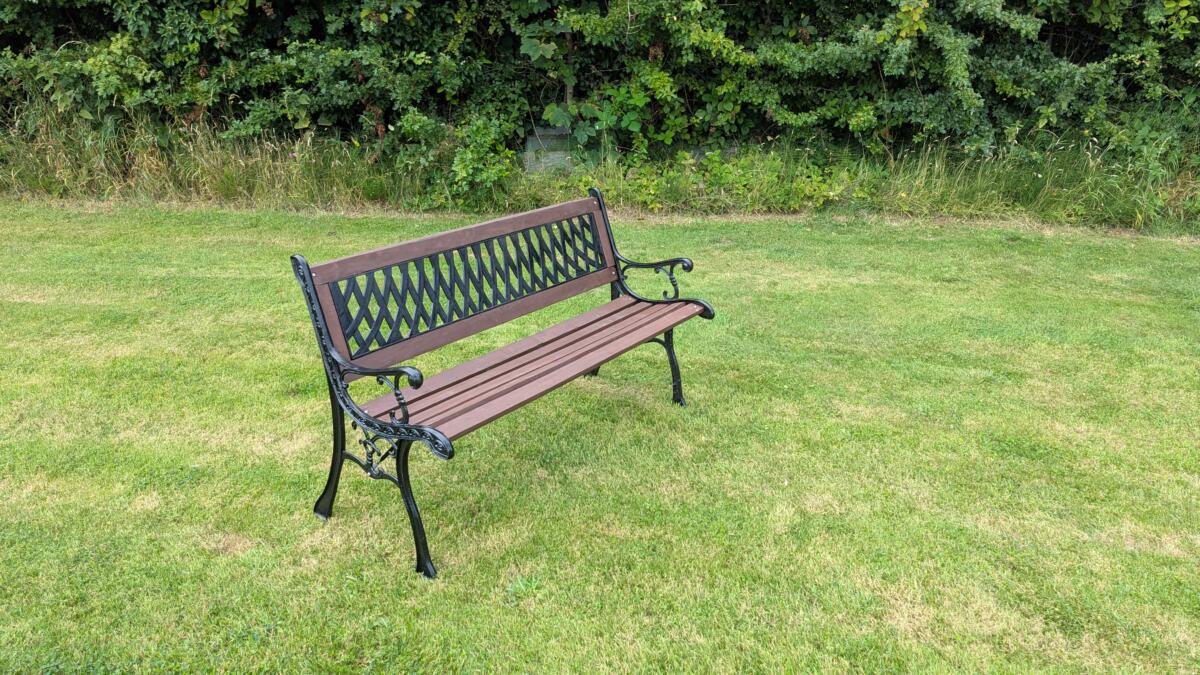
The wood was rotten in a few places so that had to be chiseled out and filled with wood filler.
Two of the slats were too far gone to be saved so I had to go out and buy new slats that were about the right size and then plane them down to be close enough to the originals so that it wasn’t too noticeable.
The metal work was all scrubbed down and painted with some metal paint and then the whole thing had to be reassembled. I think Oli and I may have put the back rest on upside down though.
After returning from Greece I was super excited [ I wish I could say “we” but it’s really just me ] to find that my chilli fruits were going red.
This is partly due to Charlie and Ellie doing a super job of keeping them watered in our absence. Many thanks!
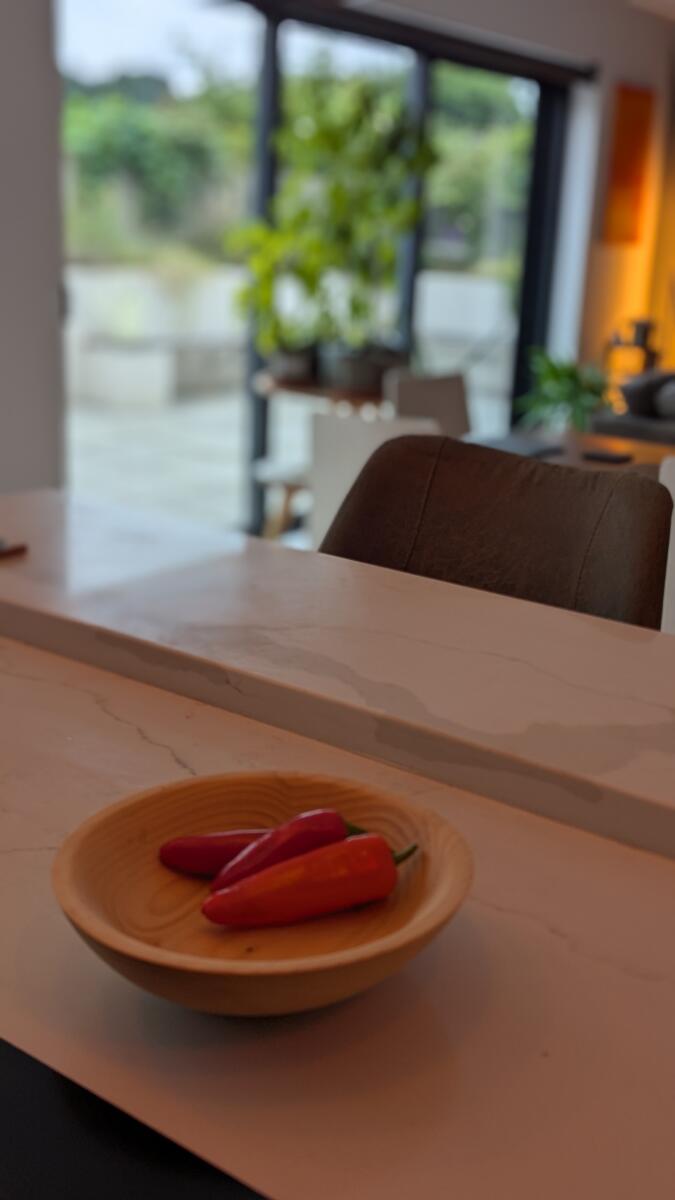
A while later they started to be properly ready and I harvested a few and put them into my home made bowl that I created on a wood turning course.
We’ve now started putting them in dishes and I’m absolutely loving the results.
It would be easier to just buy them from the shop but as my wise-beyond-his-years-son pointed out “It’s not about the destination – it’s about the journey”
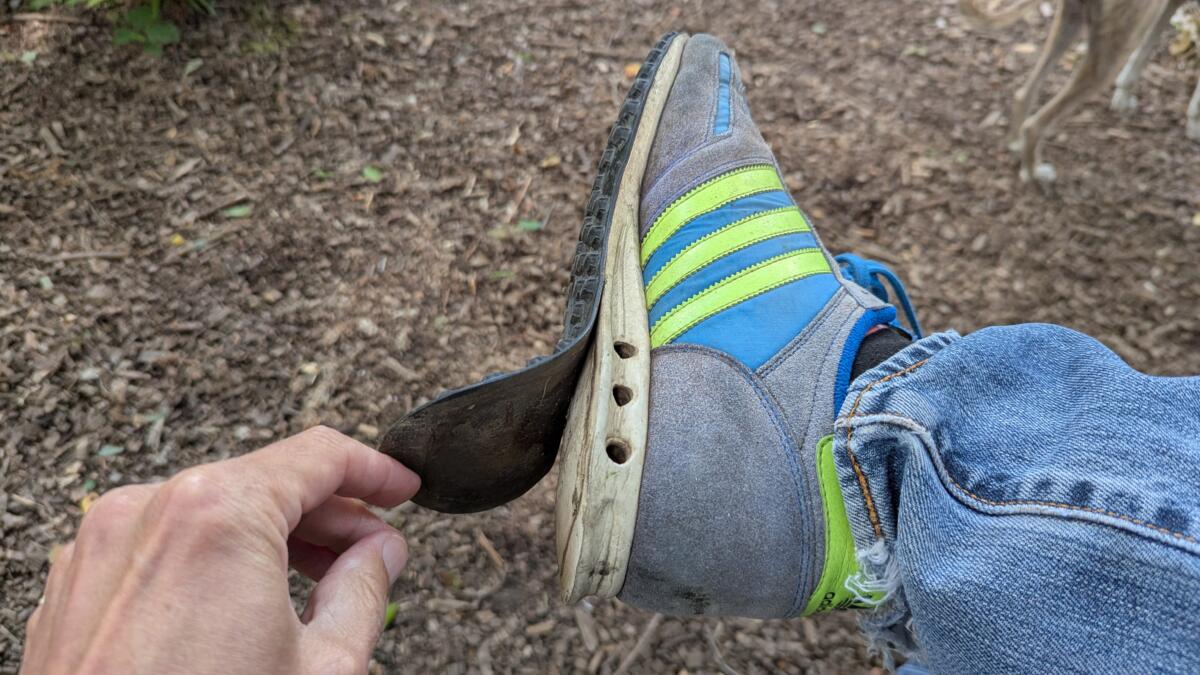
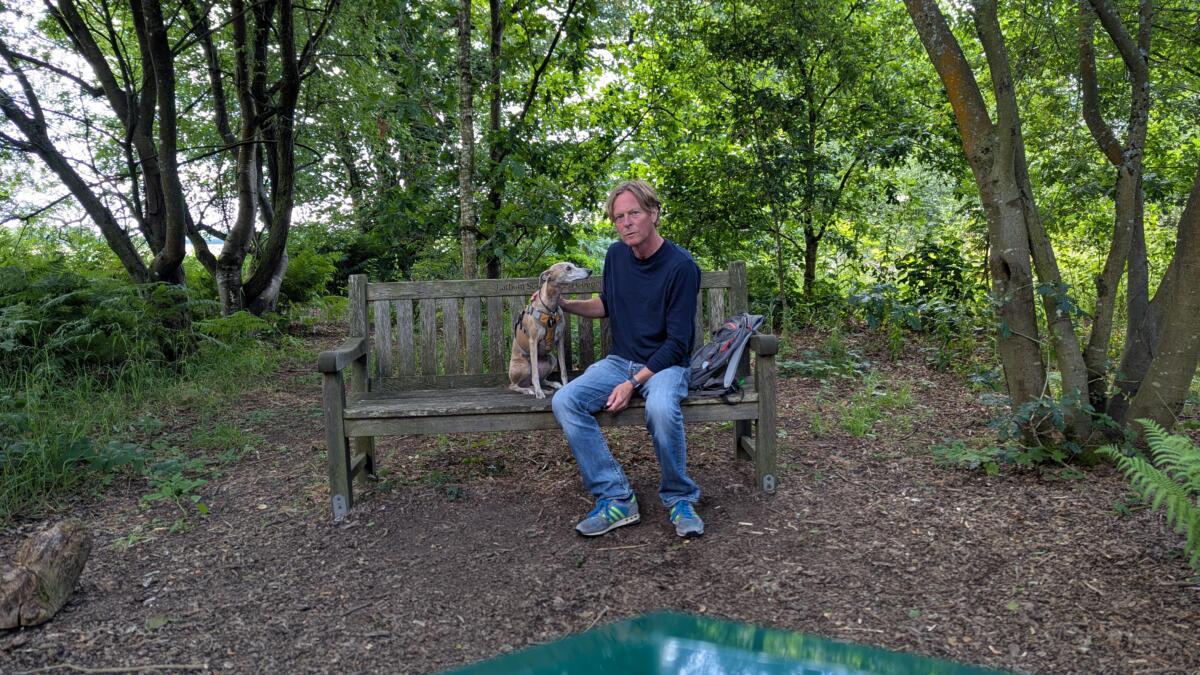
For quite a while I’ve been suffering from either Plantar Fasciitis or a bit of a bruised heel. No idea which and it doesn’t really matter. It’s bloody painful – sometimes. Anyway, in an attempt to not hobble around like an old man I’ve been taking ze hound for a walk in my trainers for a while. This is fine at the moment in a beautiful British Summer, but I’ll have to go back to my boots in the Winter. Walking in my trainers does seem to have improved things but recently disaster struck.
My sole became disconnected from my heel. I spent the rest of the walk with a funny flapping slapping noise coming from my foot as I hobbled along.
The day it all began
My trainers are currently in my garage waiting for a bit of super glue but I’m pretty sure a bit of plastic or rubber or something fell out of the heel as I walked so I’m going to walk the same route a few times and see if I can find the fally outy bit before committing to glueing the trainers back together
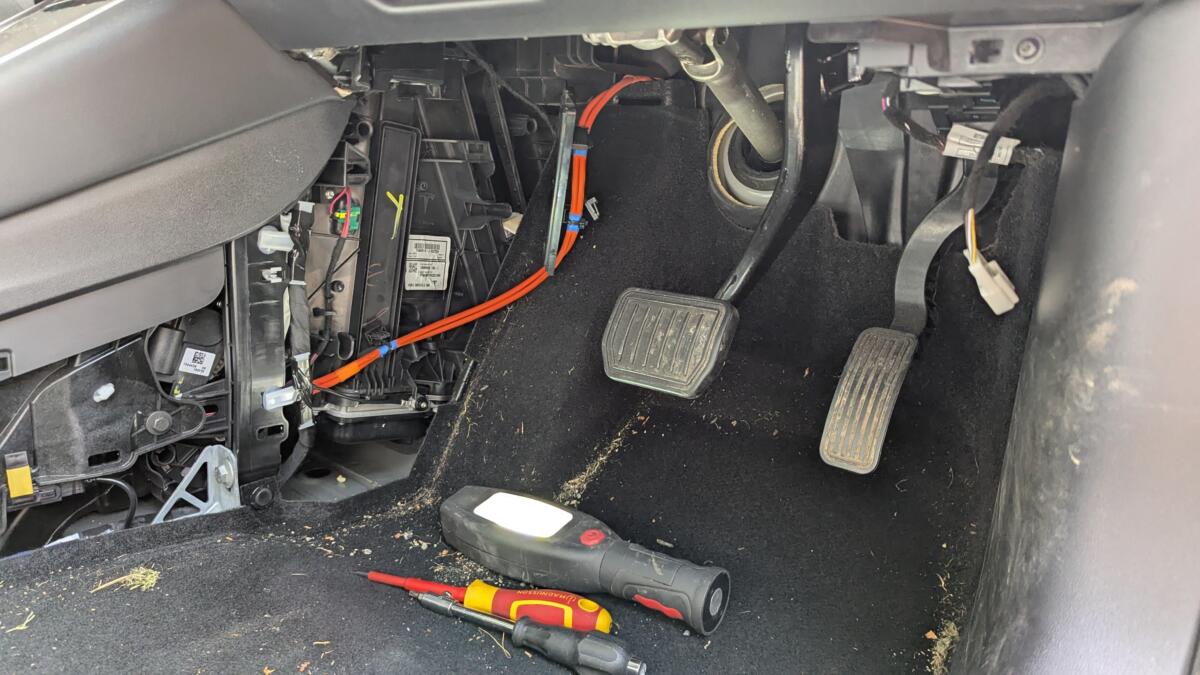
I noticed that my air con didn’t seem to be quite as effective as I thought it should. It could just have been my imagining things as the UK was bloody hot at the time, well, you know, by UK standards. It was either get the air con system re-gassed or put some new air filters in as they may have become blocked. A bit of googling and it seems the air filters should be changed every two years. The car is now five years old and I can almost guarantee they’ve never been done – so that was the first stop.
Order new air filters
Watch youTube video about how to replace air filters
Rip car apart and change filters
It wasn’t a particularly tricky job, but laying on your back across the door frame looking up underneath the steering wheel to remove some air vent ducting was a trifle uncomfortable.
Air filters replaced. No real noticeable difference in the air con but the UK has cooled down a bit now so no rush. I’ll probably start investigating re-gassing the system soon. Maybe it can wait until Spring – we’ll see
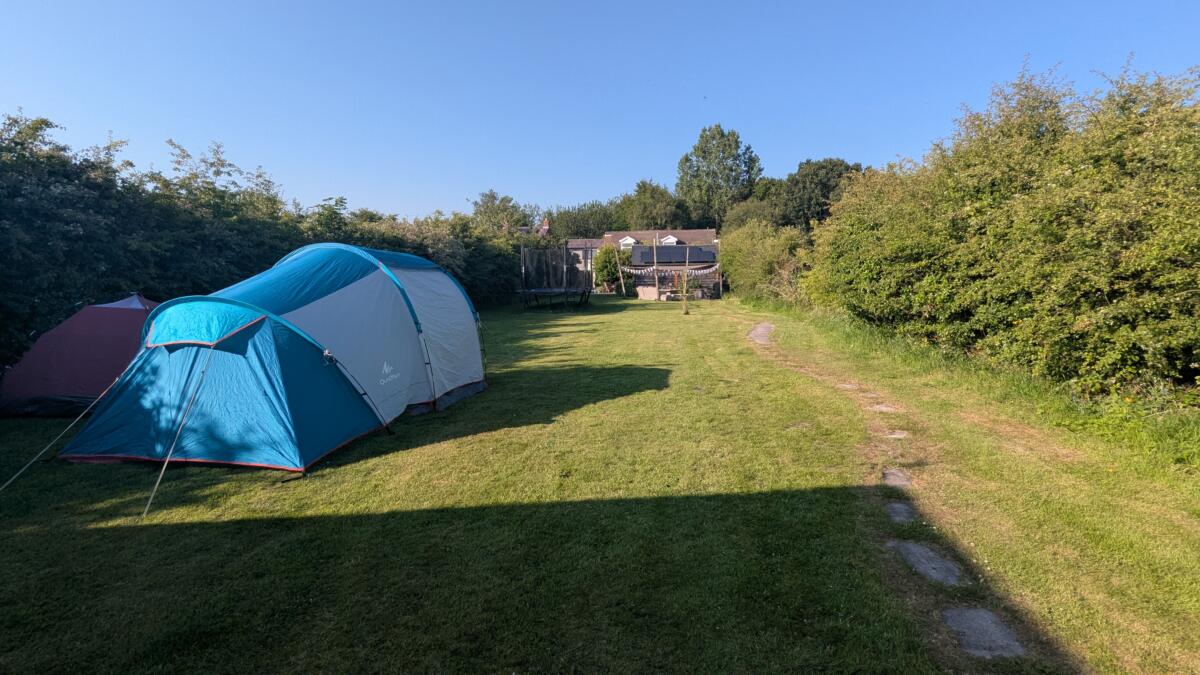
Oli has finally finished high school and will soon be making his way to college to study some yet-to-be-determined-which A-Levels. Before all that nonsense they had, as is the tradition in the UK these days, a prom to to attend. After the meal in the pub prom celebrations the class decided they wanted to have a proper party with beer and drugs and dancing girls and what have you.
OK, just beer.
In an overly optimistic moment Oli decided to put up some tents where everyone could sleep. Josh came along and helped by putting his tent up. Which is currently still in my garage.
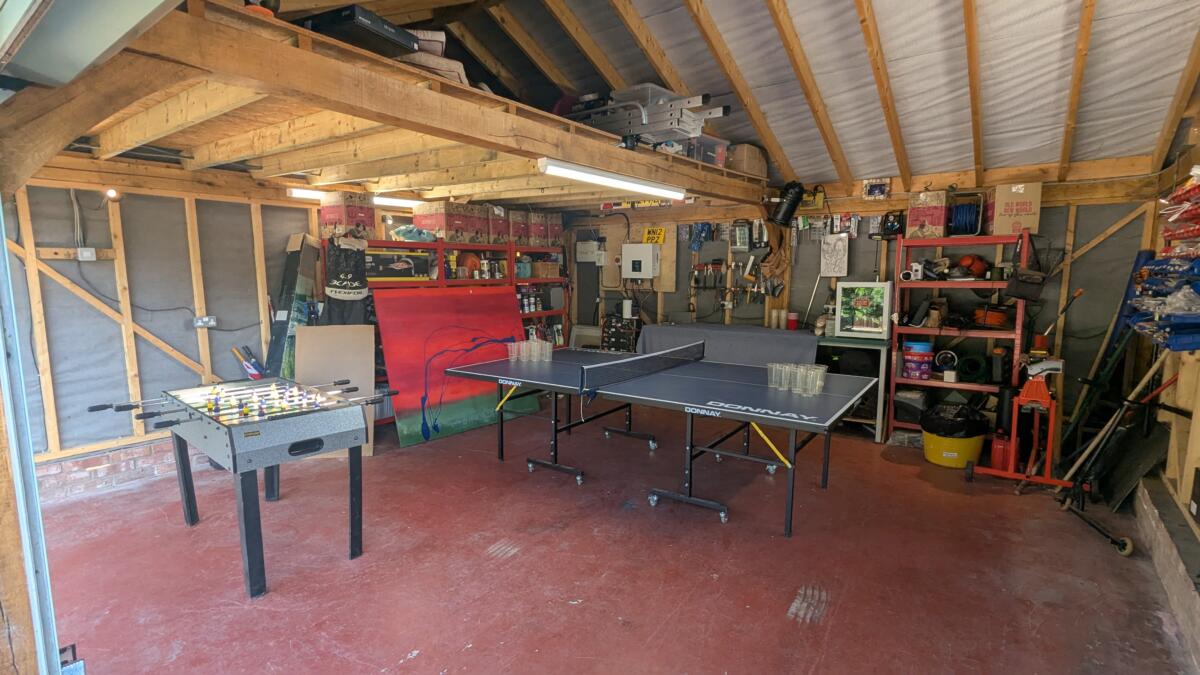
The night arrived, pretty much the whole class came back to my house. I went to bed. My hard work had been done organising the garage just in case it rained.
I came downstairs at about 6am and opened the kitchen blinds. There were still a bunch of boys partying and I think it’s the first time I ever saw my little boy drunk. Apparently the last girl left at 5am so a pretty good party all in all.
I made them all a bunch of sausage butties and a plate of beans on toast with cheese and egg on top for Ayman.
Then I started the clear up. I swear to god – these kids must have just been opening a beer, taking a sip and then wandering off before coming back and opening another beer. The quantity of beer and cider I had to pour away before recycling the cans was simply heartbreaking. Flippin’ youf!
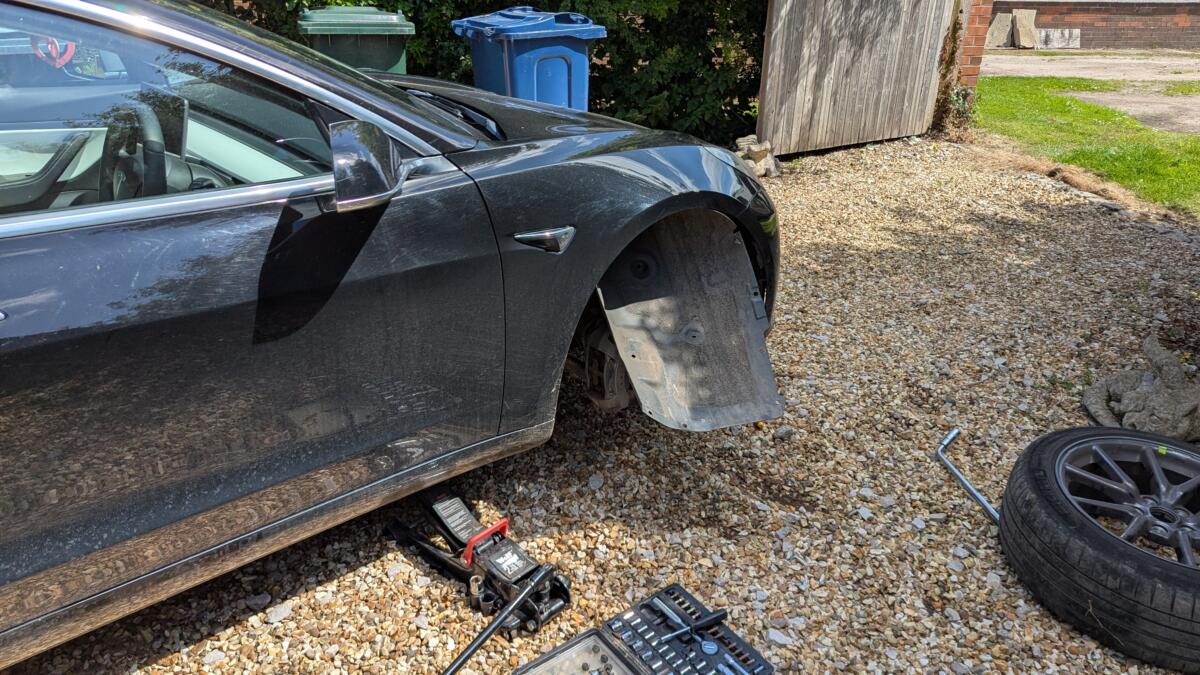
We’ve been having a minor issue with the Tesla. If you hit a bump in the road with sufficient force then the whole car goes haywire and the cruise control stops working, the regenerative braking stops working, ABS stops working – all sorts of crazy stuff. As soon as you stop the car, get out and lock it then the whole thing resets and it’s back to the normal “drive with just the accelerator” mode. So it’s not anything too worrying – just massively annoying. Massively, massively annoying. Especially annoying given the absolutely atrocious condition that British roads are in.
After combing the UK Tesla owners group posts several people were suggesting it was either a dodgy ABS sensor or a loose earth connection on the 12v battery. I checked the battery – no problem there. So I decided to jack the car up and re-seat the sensors.
This is me mid unplugging and replugging the sensors
After unplugging and re-plugging the sensors I took it for a test drive. Before the work you had to hit something with quite some force to send the car mental. After the work you had to just glance in the direction of a pothole and the car would have a meltdown. I’d made it worse. Oddly though this actually encouraged me. It made me think I was messing about in the right area.
I bought a couple of new ABS sensors on eBay for £30 and then me and the boy decided to jack up the car and do the drivers side first. After doing the drivers side sensor I took it for a test drive. First bump in the road….nothing. The place where it usually goes on the drive to the high school….nothing. Speed bumps which would always trigger it…..nothing.
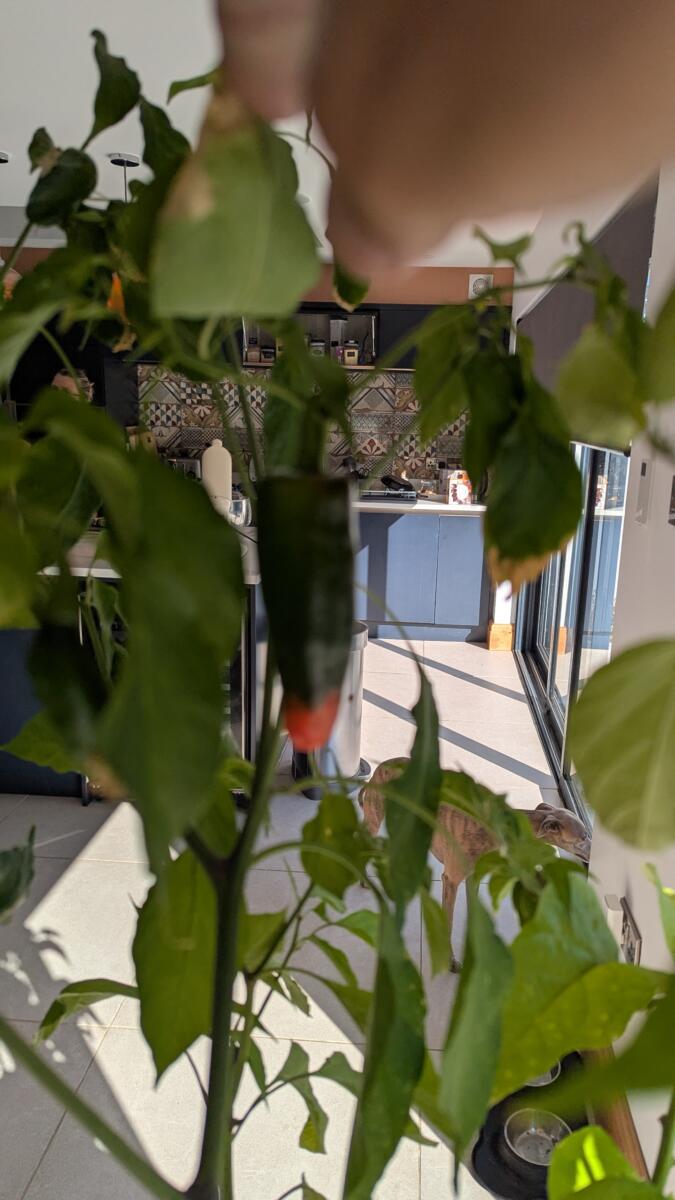
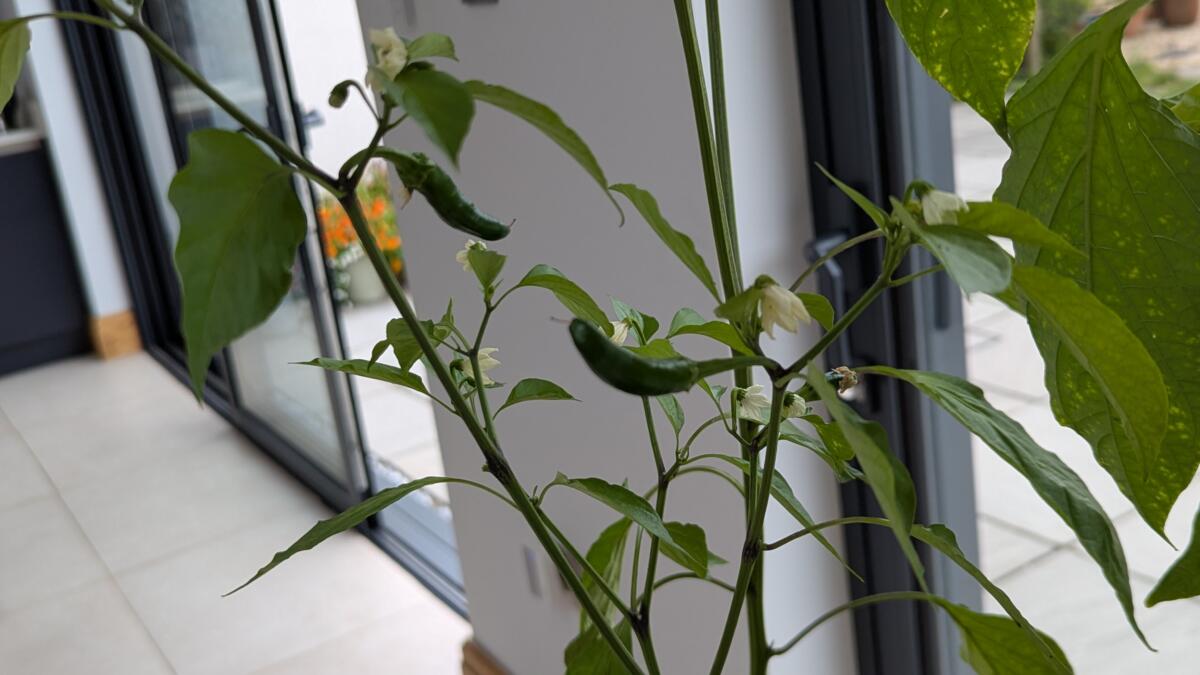
I’m well pleased with the way my chilli plants have grown. I probably should have topped them when they reached about 30cm but I was kind of curious to see how big they would get. Pretty damned big is the answer. I reckon the biggest is just less than 1m tall. However, the most excellent news and the reason for this post is I now have a pile of chillis growing.
I’m going to leave them on the plant until they ripen and go red. Then I have to decide something to cook with them. I’m thinking tofu.
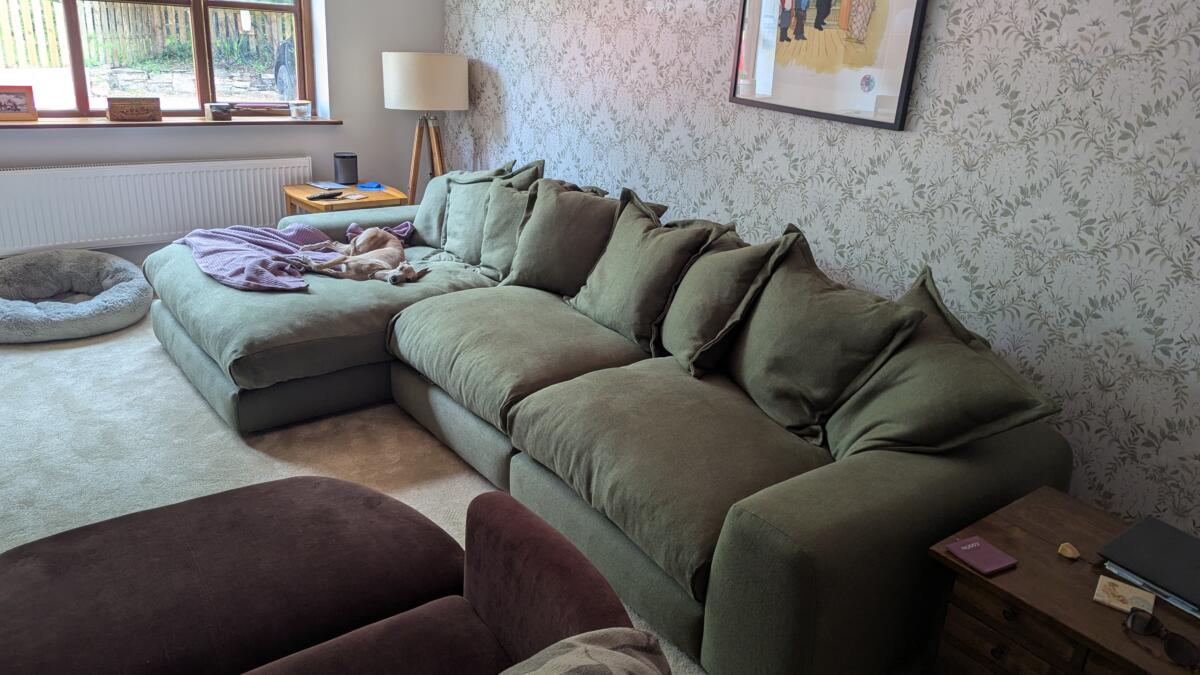
The old sofa was falling apart. It had been sat on for over a decade, flipped over to turn into a mini fort for the kids on many many occasions, had gallons of tea/wine/lager spilled on it – but I still love it and it’s taken up residence in my office for lunchtime snoozes.
It’s been replaced by this bad boy
When it first arrived my initial thought was “it’s too big”. After having had it for a while I’m now thinking “it’s too big”. We have to get rid of the purple sofa, get rid of the tripod lamp and then maybe, just maybe we’ll be able to move around in our living room.
I can however confirm it’s very good for snoozing on. Many naps already completed and we’ve barely got the labels off it.